|
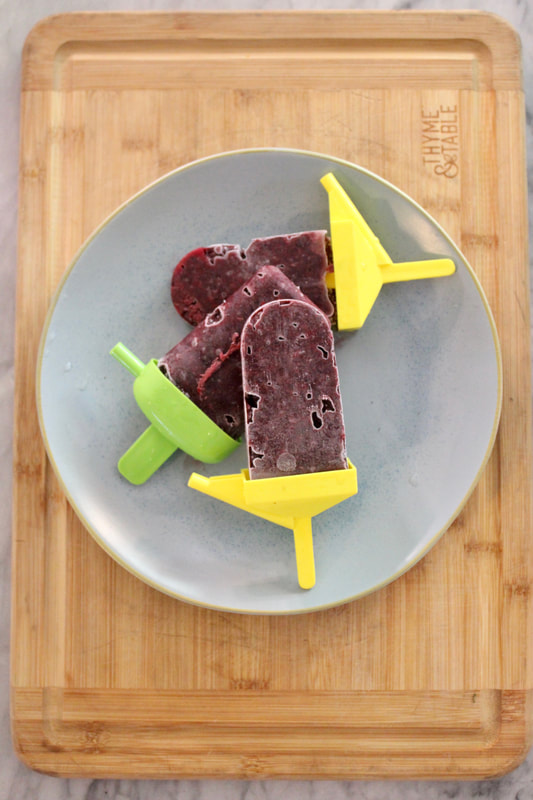
These blackberry pulp popsicles are a great way to use the pulp left from juicing blackberries to make jelly. They are delicious and healthy with only two ingredients, blackberry pulp and honey or maple syrup.
We are a participant in the Amazon Services LLC Associates Program, an affiliate advertising program designed to provide a means for us to earn fees by linking to Amazon and affiliated sites.
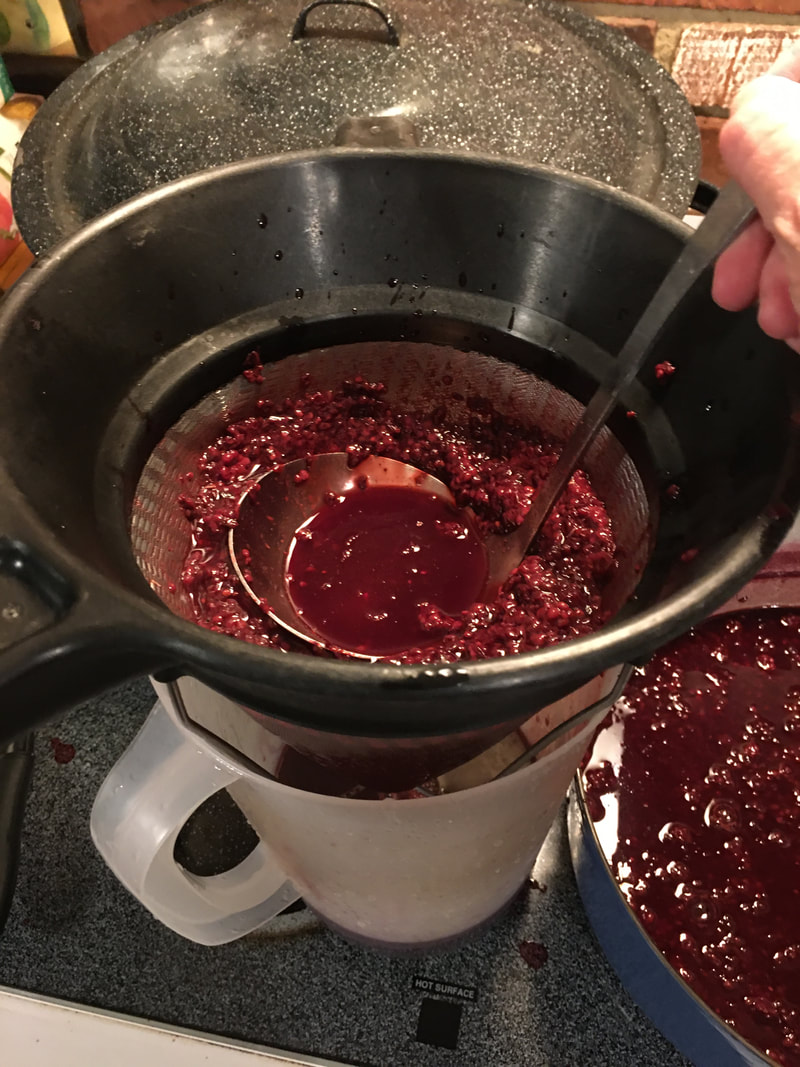
We had a good crop of blackberries this year, so we made several batches of home-canned blackberry jelly. When you juice berries to make jelly, there is a lot of leftover berry pulp. If you want to make blackberry jelly, I recommend the recipe in the ball blue book (amazon link). In fact, my blackberry jelly got Best of Show at the fair!
I was trying to figure out a way to use the blackberry pulp and decided to try making popsicles. I simply added some honey (we have our own hives so we always have honey on hand) or maple syrup to taste and then froze the pulp mixture in popsicle containers. These healthy homemade popsicles are delicious and make use of leftover blackberry pulp that would otherwise become food waste.

Can you use other berry pulp to make these popsicles?
I have only used blackberry pulp, but I think raspberry pulp would be similar in texture and work really well.
Can you simply mash up berries to make the popsicles instead of using leftover pulp?
I have only used leftover blackberry pulp so far, but I think you could mash up strawberries, blackberries, raspberries etc. to make these popsicles. 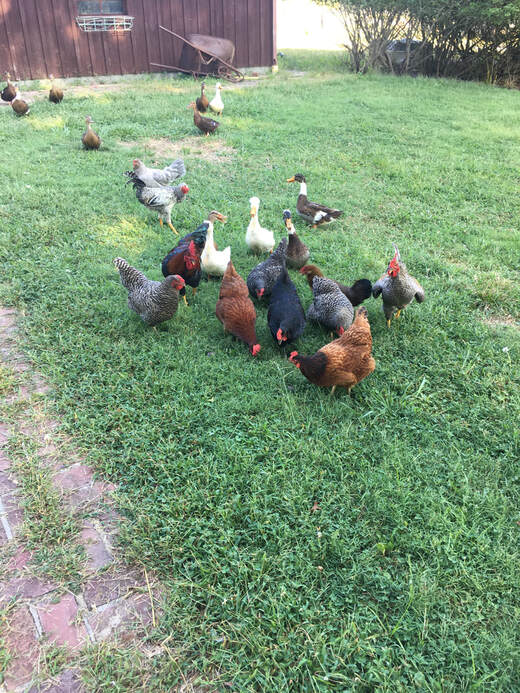
Can you feed leftover blackberry pulp to chickens?
Absolutely! I found another use for our leftover blackberry pulp. I froze some unsweetened pulp in ice cube trays to give to the chickens on hot days. They love the frozen blackberry treats! It gives them something nutritious and cooling when the temperature rises. I simply freeze the unsweetened pulp in ice cube trays then transfer to a ziploc bag and keep in the freezer until use.
Ingredients:
Leftover blackberry pulp (from canning jelly) Honey or maple syrup to taste Directions: Simply mix ingredients together and freeze in popsicle molds. To remove frozen popsicles from the molds, run some tap water over the outside of the mold while gently tugging on the popsicle stick.
Pin on Pinterest

0 Comments
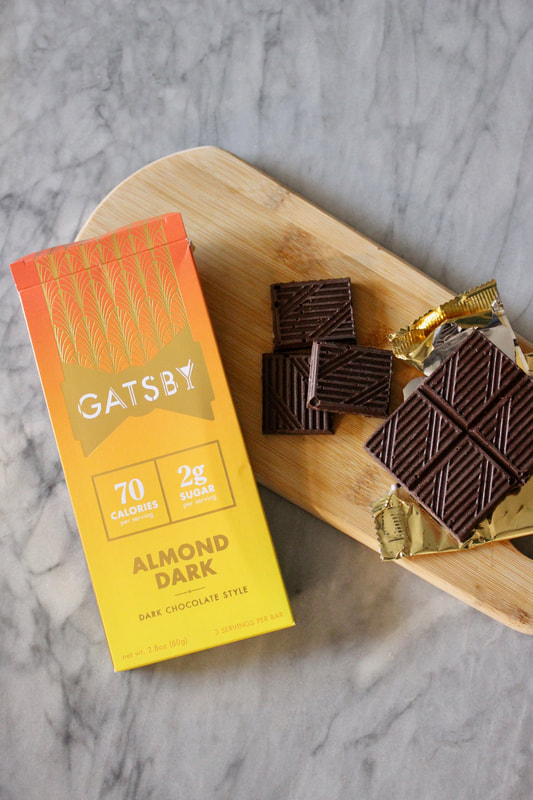
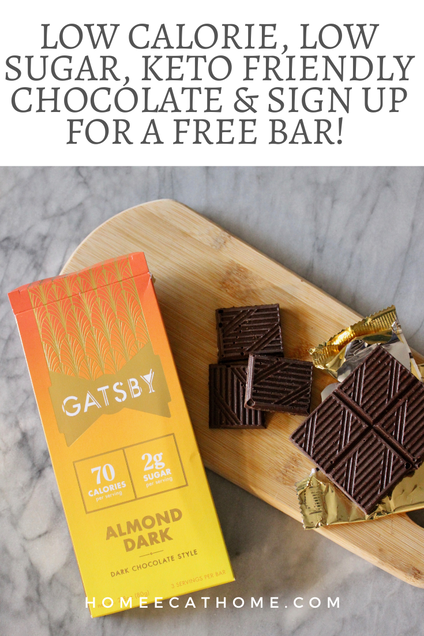
Every year my husband and I follow a lower carb eating style during lent. It's a nice way to reset our health after the holidays and we always feel better when we do this. We don't eat as many sweets when eating lower carb, but we do enjoy some low carb treats from time to time. Since it is lenton season, this was perfect timing to try Gatsby almond dark chocolate style bars.
Disclosure: I received this product for free from Moms Meet (momsmeet.com) to use and post my honest opinions. This post may contain affiliate links.
We all tried these Gatsby Almond Dark chocolate bars and everyone liked them, even the boys. I love dark chocolate and these have a really good dark chocolate flavor. You know it's good, when the boys ask for more. These are a low sugar, low carb treat that satifies my chocolate cravings.
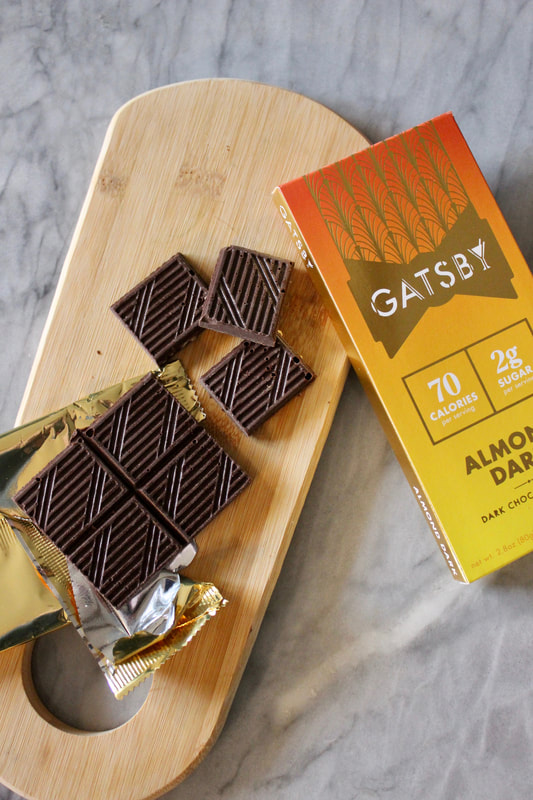
Gatsby chocolate bars are low calorie. They contain half the calories of sugar-free brands. They have 90% less sugar than premium chocolate brands. The almond dark chocolate bars are keto friendly containing only 3 grams net carbs per serving which is 1/3 of a bar.

We are a participant in the Amazon Services LLC Associates Program, an affiliate advertising program designed to provide a means for us to earn fees by linking to Amazon and affiliated sites.
Try a Free Bar of Gatsby Chocolate!
Sign up for a free Gatsby Chocolate bar! Enter your phone number, purchase Gatsby Chocolate at your local retailer, and they'll Venmo or Paypal you back for the full price of one bar or pack of peanut butter cups. Offer ends March 6th.
You can find Gatsby chocolate at Sprouts Farmers Market, Safeway, Albertsons, and Walmart (I saw it in my small town Walmart). You can also order it on Amazon. (affiliate link) Pin on Pinterest
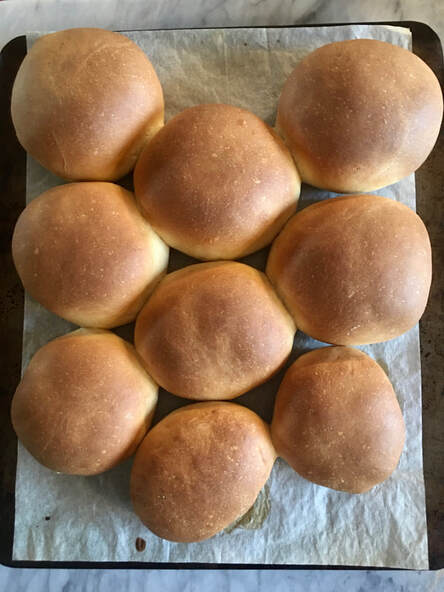
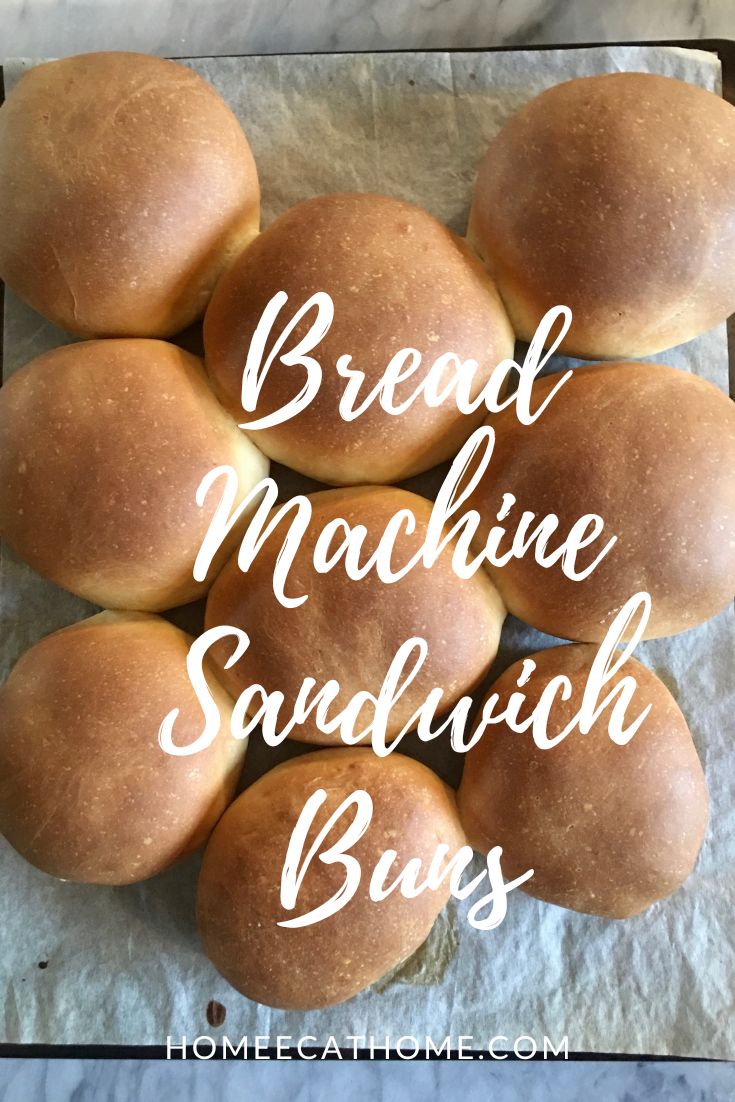
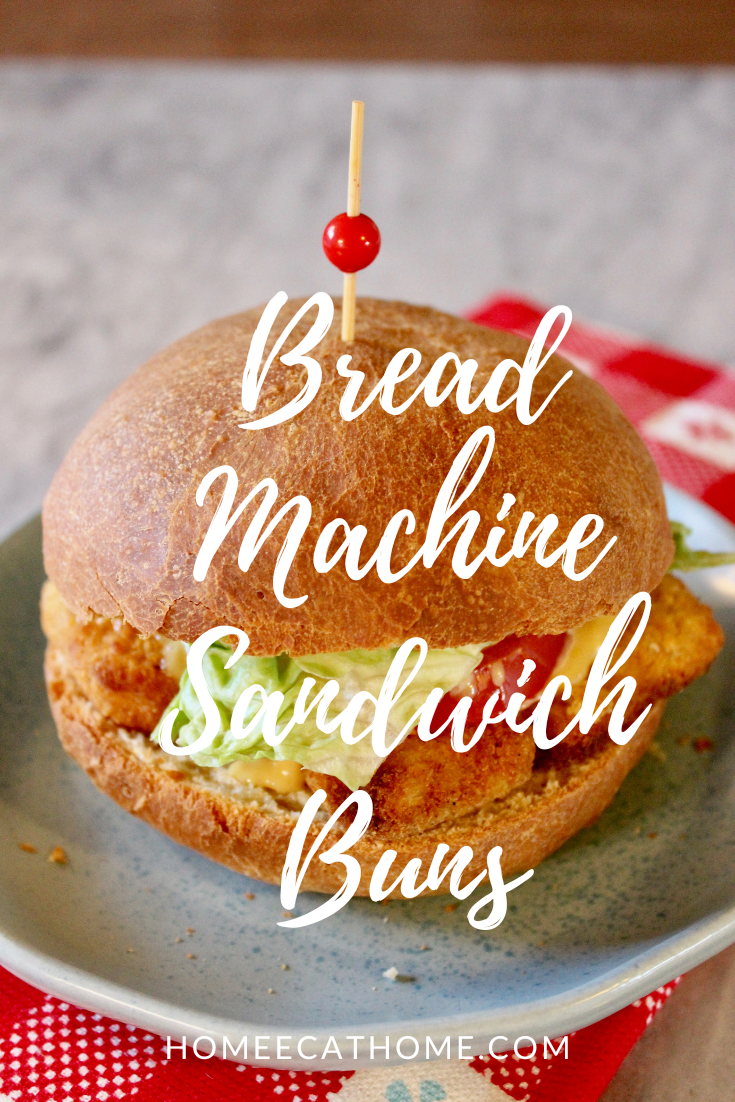
These bread machine sandwich rolls are so easy to make and are the perfect bun for your favorite burger, sub, sloppy Joe, chicken sandwich, or even Nutella sandwich. My boys love them with butter and Nutella for a quick snack.
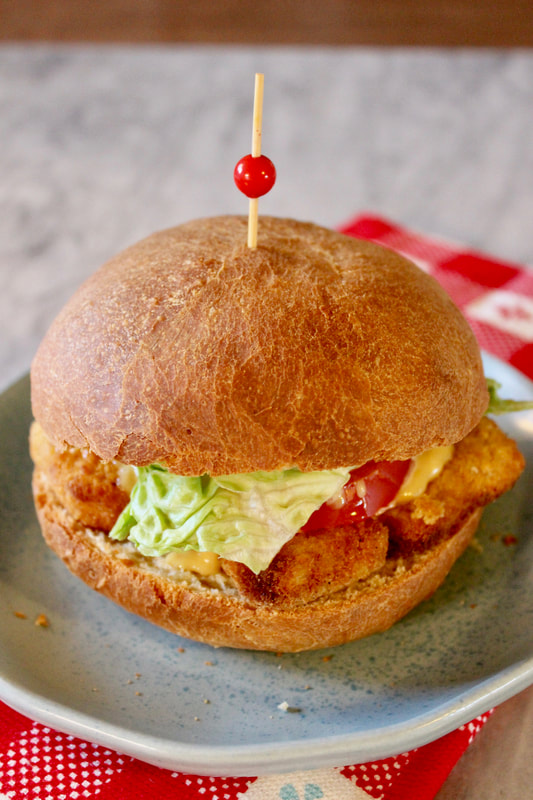
These bread machine buns are like fancy bakery buns for a fraction of the price and since they are made with real ingredients in your own kitchen you can feel better about what you eating.

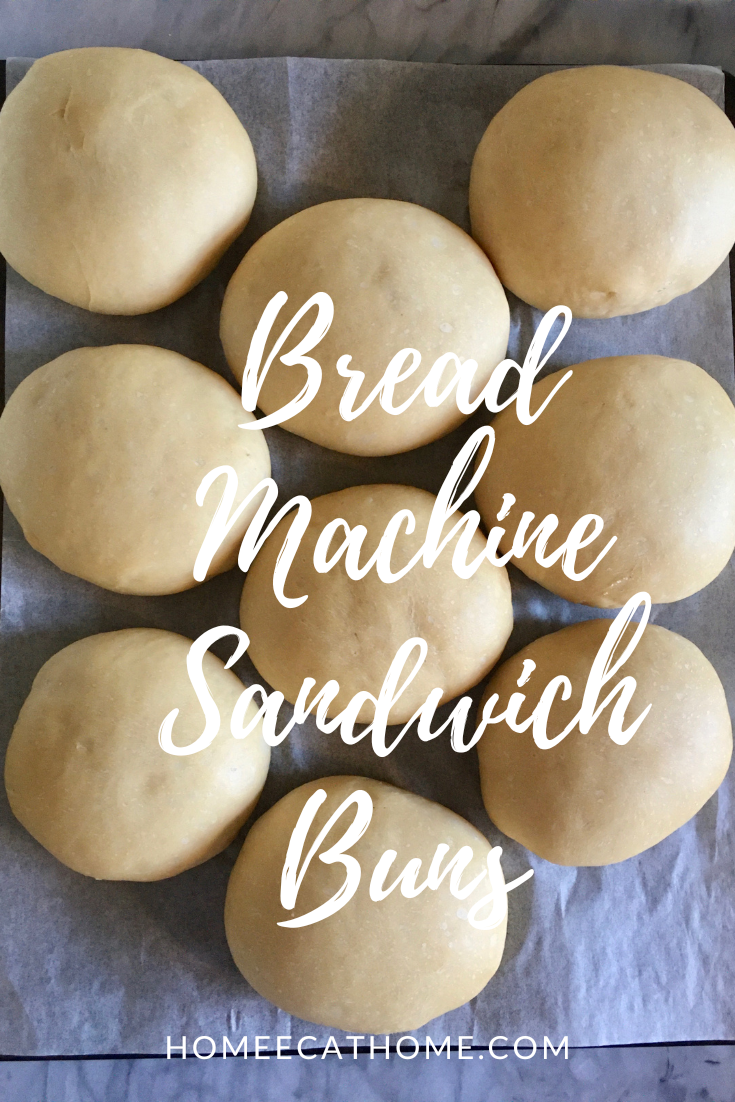
To make these sandwich buns, you simply put the ingredients in your bread machine in the order listed, run it on the dough cycle and then shape the buns, let rise, then bake.
We are a participant in the Amazon Services LLC Associates Program, an affiliate advertising program designed to provide a means for us to earn fees by linking to Amazon and affiliated sites.
You can make them any size and shape you need or make smaller dinner rolls or slider buns if desired.
Can you make these bread machine buns ahead and freeze them?
Yes, you can make these ahead of time and freeze them. This is helpful if you have a lot of prep work leading up to a celebration meal and need a large quantity. You can freeze several batches and have them ready to go. Here is a link to my roll post which includes instructions for freezing the dough to thaw and rise and bake later.
Bread Machine Sandwich Buns
1. Add the ingredients in the order listed to your bread machine. (I have an extra large Welbilt bread machine which has been a great machine, but I bought it for $6.99 at a thrift store.) 2. I put the milk and butter together in a large glass measuring cup and microwave for 1 minute on high then add it to the bread machine. 3. After you add all of the ingredients, run on the dough cycle. 4. When dough cycle is complete, divide into 8-10 rolls and shape into balls. 5. Place on a greased or parchment lined baking sheet. 6. Press down to flatten the top and form a bun shape. 7. Cover with a lint free towel and let rise for at least 15 minutes. I let rise longer if I have the time.** 8. Bake at 375 degrees for about 15 minutes until golden brown. Yield 8-10 buns *I use coconut sugar because it is lower on the glycemic index than white refined sugar. I buy it at Big Lots for $3.50 a pound. I use coconut sugar a lot in baking as I don't feel it changes the final product and its healthier than using granulated refined white sugar. **If freezing the dough before letting it rise, you will want to let it rise for a few hours at room temperature (covered with a lint free towel) while thawing on the day you bake it. You can also let it slow rise in the fridge overnight. Cover with plastic wrap if slow rising in the fridge. Store extra buns in an airtight container at room temperature for a couple of days (they never last more than 1-2 days in our house). Leftover rolls are great for breakfast with butter and honey.
Pin on Pinterest to save for later.
Or Yum on Yummly
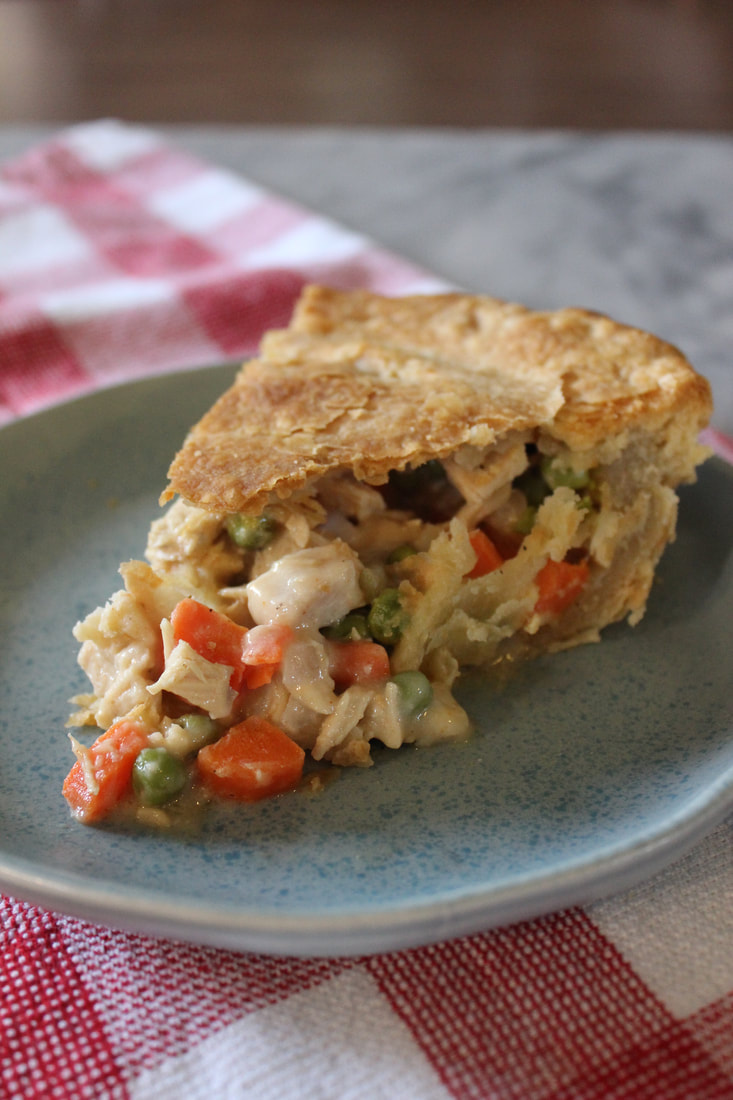
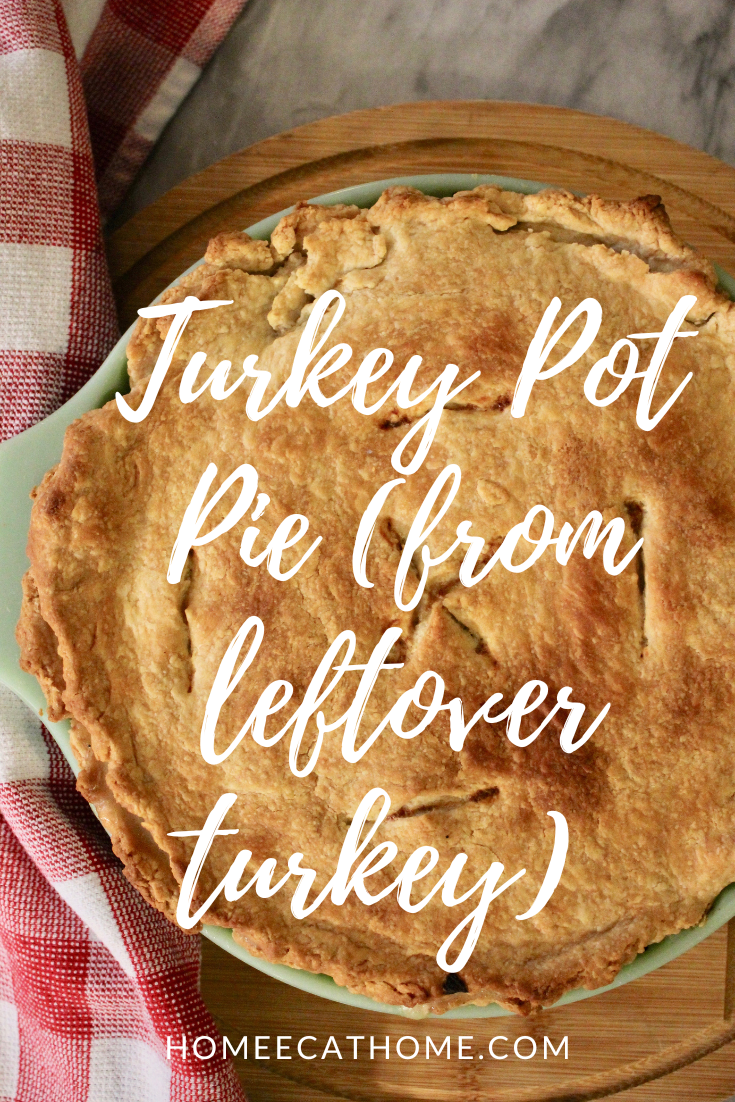
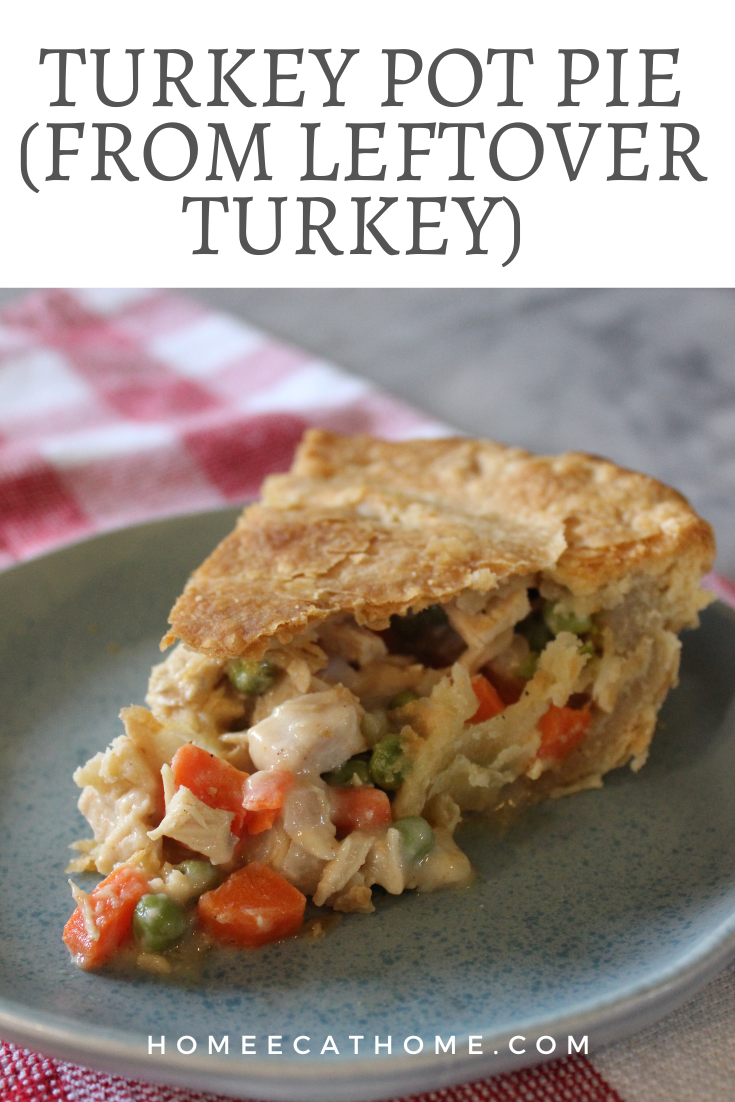
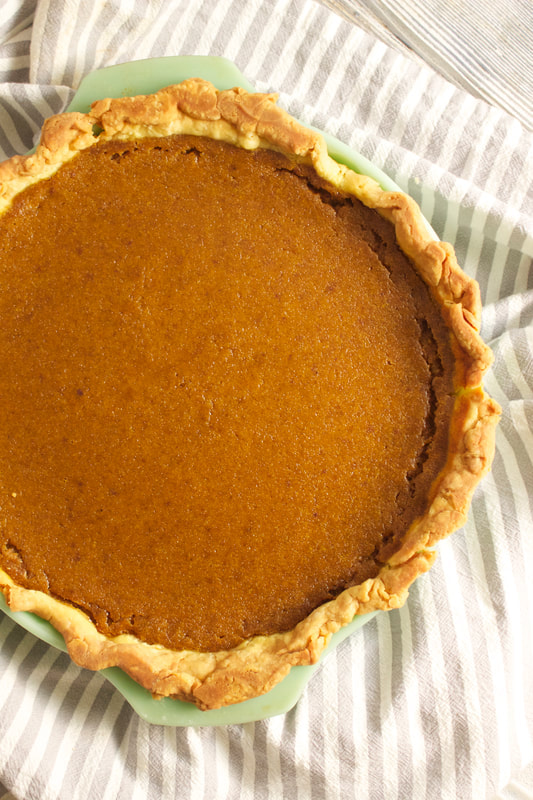
This turkey pot pie is so good and it's a great way to use up any leftover turkey. Of course, it would be great with leftover chicken too.
We are a participant in the Amazon Services LLC Associates Program, an affiliate advertising program designed to provide a means for us to earn fees by linking to Amazon and affiliated sites.
Perfectly tender and flavorful filling in a flaky, buttery crust, this turkey pot pie is absolutely delicious.

Can you use fresh carrots in place of the frozen carrots?
Yes. If you want to use 1 cup fresh sliced carrots and 1 cup frozen peas in place of 2 cups frozen peas and carrots, you can, but you will need to cook the fresh carrots first. Simply microwave the fresh sliced carrots for a few minutes until they are fork tender before putting them in the filling. If you do not pre-cook fresh carrots before adding them to the filling, they will be too firm in the finished pie. Do not pre-cook any frozen vegetables before adding them to the filling.
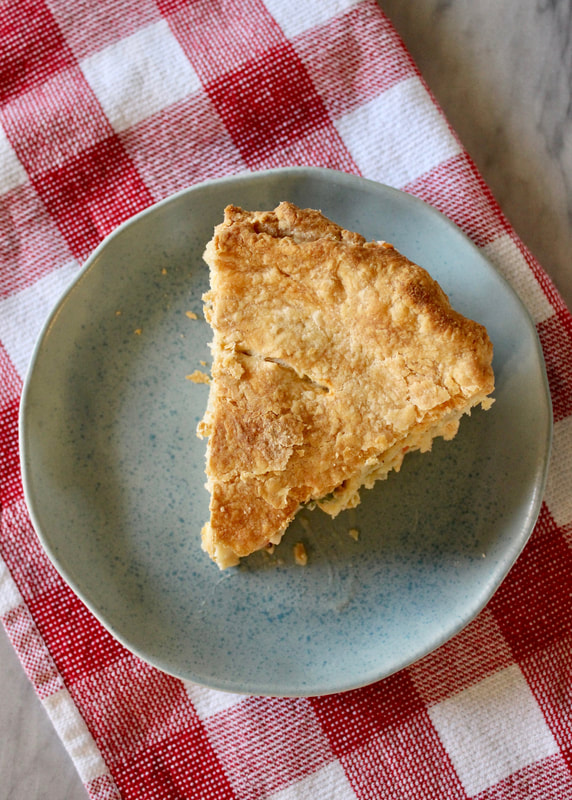
You will need two unbaked pie crusts (for the top and bottom). Use a large deep dish pie pan at least 10 inches in diameter. It is also helpful to place foil on the lower rack to prevent any filling dripping from bubbling over onto the bottom of the oven when baking.
I use this Never Fail Butter Pie Crust recipe which is amazing and makes two crusts. Ingredients for filling: 1/3 cup butter (5 1/3 Tbsp.) 1/2 cup diced onion 1 stalk celery, diced 1/3 cup flour or 1 tsp. xanthan gum (I prefer xanthan gum as a thickener) 1/2 tsp. salt 1/4 tsp. pepper 1/2 tsp. Tony Chachere's Original Creole Seasoning 1 3/4 cup vegetable, turkey, or chicken broth 1/2 cup milk 2 heaping cups leftover turkey, diced 2 cups frozen peas and carrots 1. Preheat oven to 425 degrees F. 2. Saute onion and celery in butter about 2 minutes. 3. Stir in flour or xanthan gum, salt, pepper and creole seasoning until well blended. 5. Then stir in milk and broth. Cook and stir until bubbly and thick. 6. Stir in turkey and vegetables. 7. Spoon filling into crust lined pie pan. 8. Top pie with second crust. Cut slits into the top crust to vent. Kitchen shears work great for this. 9. Seal and crimp edges of pie crust. 10. Bake for 35-40 minutes. During last 20 minutes of baking, cover crust edges with strips of foil or a pie shield to prevent over-browning. 11. Let pie rest for at least 5 minutes after removing from the oven before serving. It will be too hot to eat right away and will thicken up more as it rests. Pin on Pinterest
Or Yum on Yummly
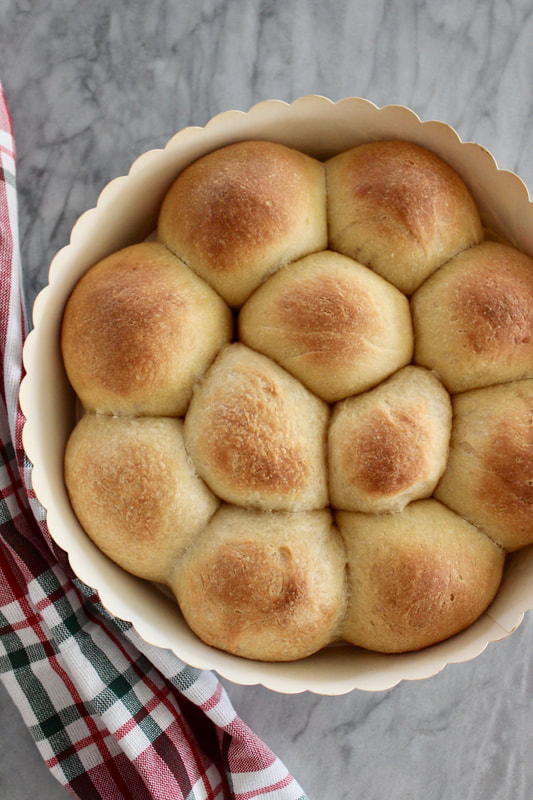
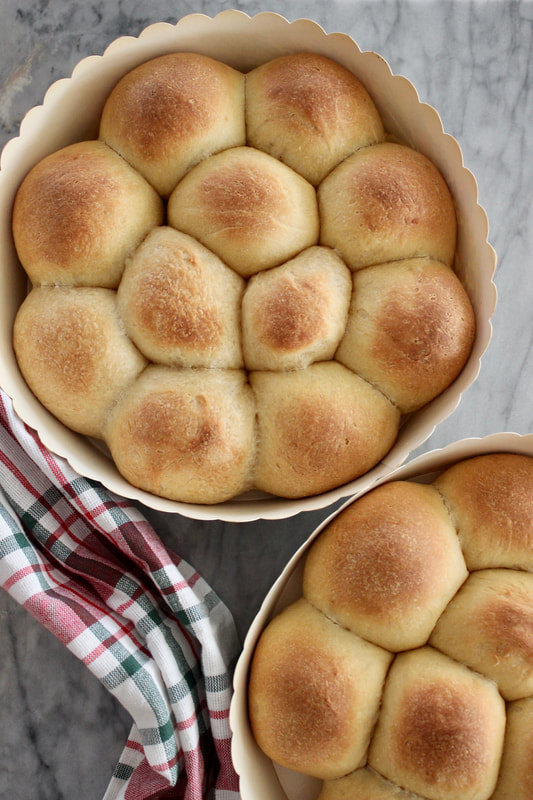
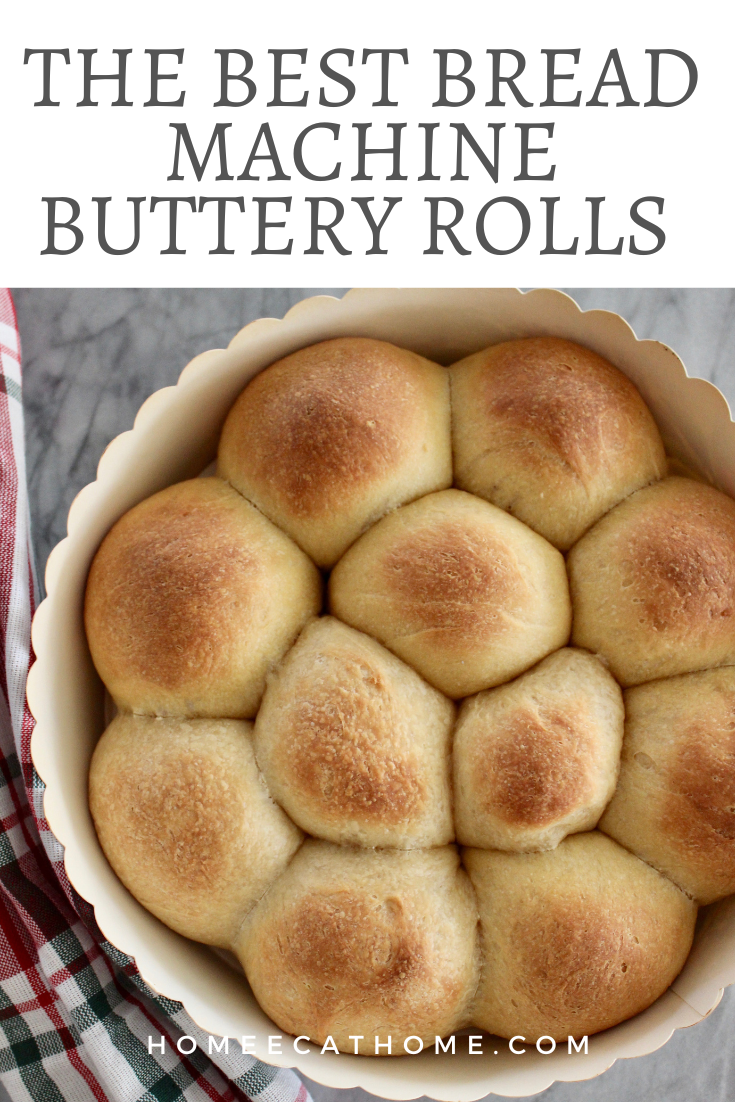
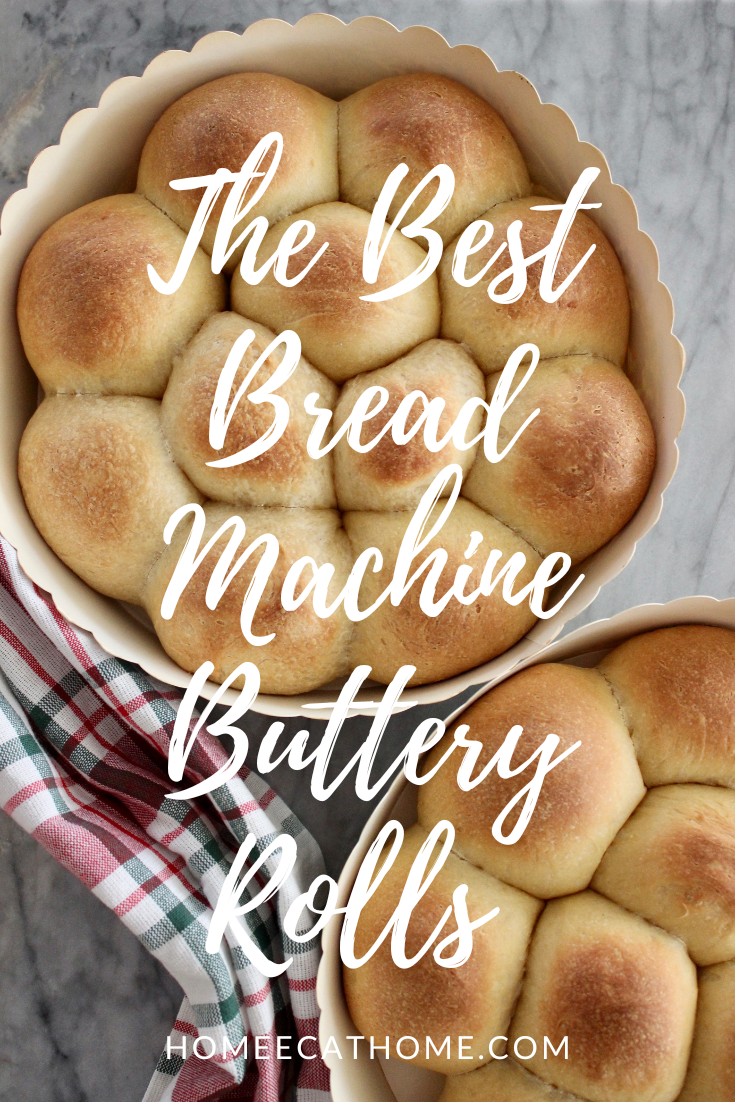
I have been making these delicious bread machine buttery rolls for years. They are so fluffy and buttery and perfect for any occassion. They are always a hit and so easy to make that you can even make them for everyday family meals.
We are a participant in the Amazon Services LLC Associates Program, an affiliate advertising program designed to provide a means for us to earn fees by linking to Amazon and affiliated sites.
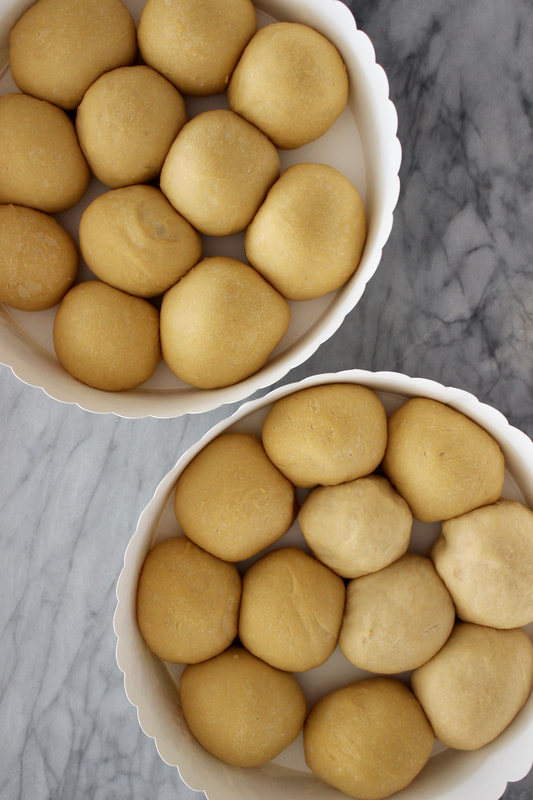
These rolls are really simple to make and so delicious.
You simply put the ingredients in your bread machine, run it on the dough cycle, and then shape the rolls, let them rise and bake.
Can you make these bread machine rolls ahead and freeze them?You can make ahead and freeze the dough balls before letting them rise. Simply freeze on a parchment lined cookie sheet, then once frozen put the dough balls into a plastic container or ziploc bag and label to store in the freezer. When you are ready to bake them, place on a pachment lined baking sheet or pan and let them thaw and rise for several hours at room temperature. I place them close together, but with a little room between them to allow them to rise and touch after they have risen. You can use pie pans, cake pans, casseroles, baking sheets, whatever you have and like for baking rolls. If you don't have parchment paper, just grease your pan with a little butter.
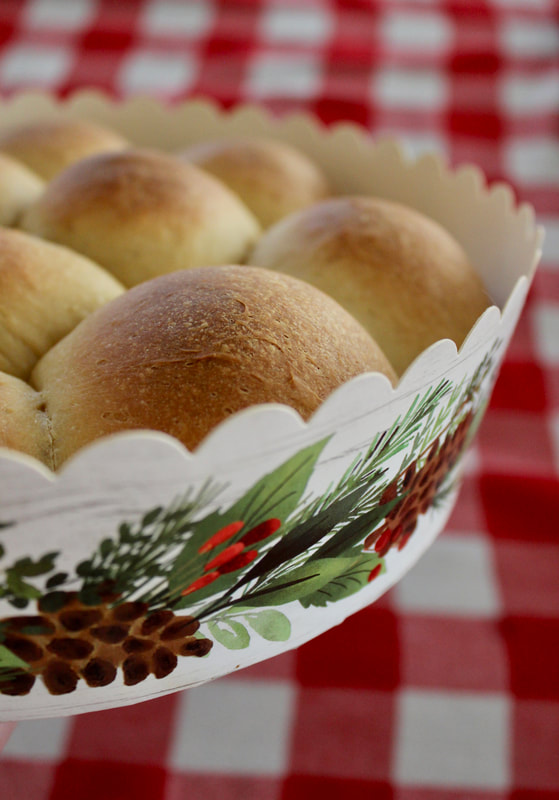
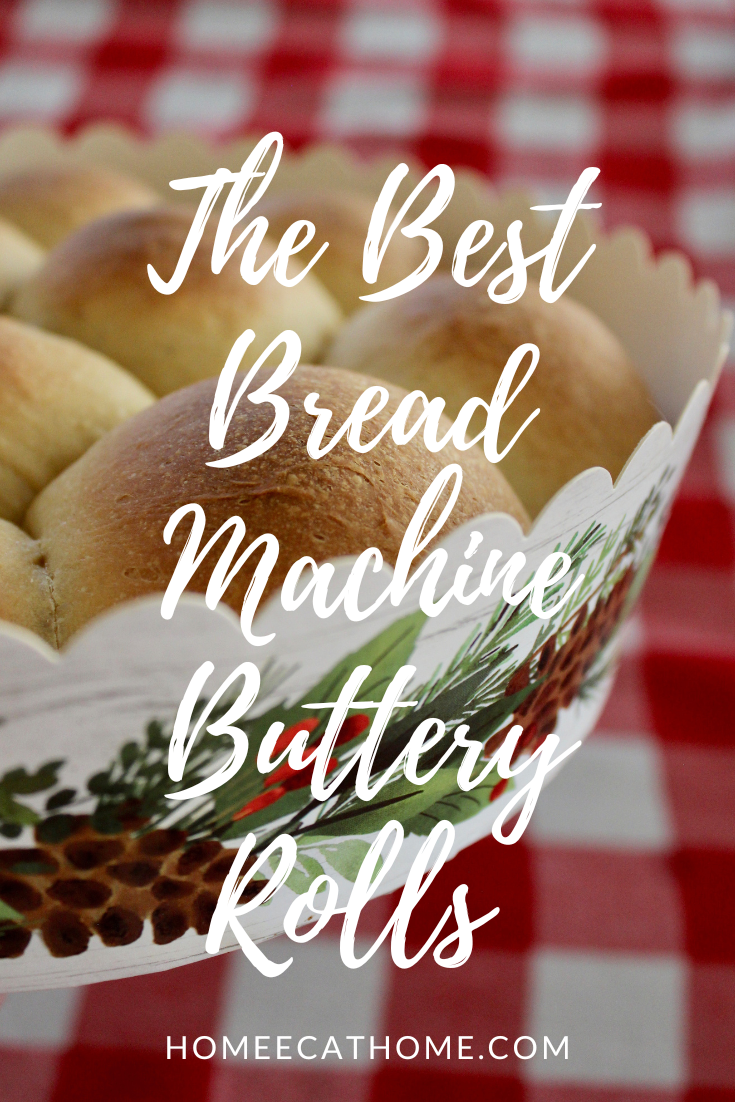
My mother-in-law gifted me these pretty holiday paper baking pans last year at Christmas. (I think she bought them at Hobby Lobby.) They are perfect for taking rolls to friends and family or to a holiday dinner party. You bake right in the pan, no greasing or parchment paper needed and they are disposable so no need to ask to have your pan returned. I have also frozen rolls in these pans and then let them rise on the counter and then baked them right in the paper pan. So easy!
The Best Bread Machine Rolls
1. Add the ingredients in the order listed to your bread machine. (I have an extra large Welbilt bread machine which has been a great machine, but I bought it for $6.99 at a thrift store.) 2. I put the milk and butter together in a large glass measuring cup and microwave for 1 minute on high then add it to the bread machine. 3. After you add all of the ingredients, run on the dough cycle. 4. When dough cycle is complete, divide into 18-20 rolls and shape into balls. 5. Place on a greased or parchment lined baking sheet or pan of choice. 6. Cover with a lint free towel and let rise for at least 15 minutes.** 7. Bake at 375 degrees for about 15 minutes until golden brown. Yield 18-20 rolls *I use coconut sugar because it is lower on the glycemic index than white refined sugar. I buy it at Big Lots for $3.50 a pound. I use coconut sugar a lot in baking as I don't feel it changes the final product and its healthier than using granulated refined white sugar. **If freezing the dough before letting it rise, you will want to let it rise for a few hours at room temperature (covered with a lint free towel) while thawing on the day you bake it. You can also let it slow rise in the fridge overnight. Cover with plastic wrap if slow rising in the fridge. Store extra rolls in an airtight container at room temperature for a couple of days (they never last more than 1-2 days in our house). Leftover rolls are great for breakfast with butter and honey.
Pin on Pinterest to save for later.
Or Yum on Yummly
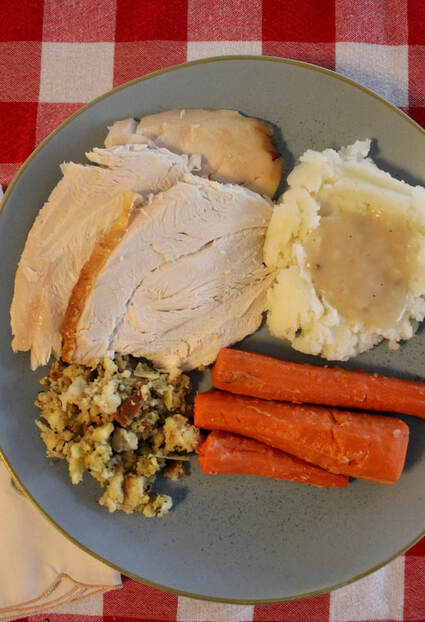
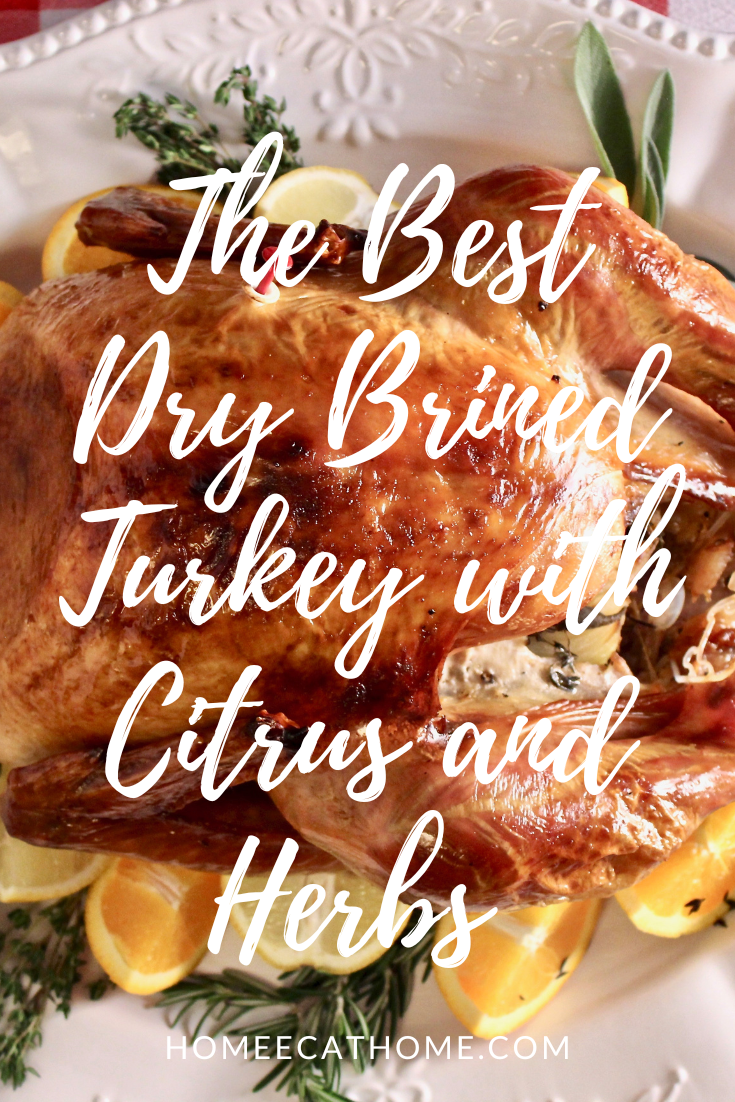
A classic Thanksgiving turkey is the centerpiece of the Thanksgiving meal. Make a delicious juicy turkey with crisp skin by rubbing it down with a dry brine and letting it brine overnight in the fridge. Dry brining or salting the bird helps to draw moisture out creating juicy meat and crispy skin. I have been dry brining turkey for several years now and think the results are so much better than when I used to soak the bird in a wet brine.

We are a participant in the Amazon Services LLC Associates Program, an affiliate advertising program designed to provide a means for us to earn fees by linking to Amazon and affiliated sites.
What is the best salt for dry brining a turkey?
Coarse kosher salt is the best salt for a dry brine. I have used fresh ground salt to make the brine for this turkey when I was out of coarse kosher salt and it was fine, but not as good. I used a lot less when using fresh ground salt. They both help to create a moist and delicious turkey, but the best results come from using coarse kosher salt. It gives the turkey the best juicy flavor and texture.
Can you make dry brine ahead of time?
Yes, you can make the dry brine up to three days in advance. Cover and refrigerate until use.
How long do you need to thaw a turkey?
If buying a frozen turkey, it will need to be thawed before cooking. A 12-14 pound turkey will need to thaw for 3-4 days in the fridge. This thaw time guide has the recommended thawing time for various turkey weights. You can thaw a turkey faster in water, but I always thaw in the fridge because it is so easy. You may be able to find a fresh turkey in larger grocery stores that would not need to be thawed before preparation.

I stuff the turkey with onion, garlic, rosemary, thyme, sage, and some lemon and orange chunks which adds so much flavor to the meat as is roasts.
Serves 8-10
Dry Brine Ingredients: 1/2 tsp. ground coriander 1/2 Tbsp. fresh ground pepper 1/2 cup kosher salt 2 Tbsp. brown sugar Zest of two lemons Zest of an orange Other Ingredients: 12-14 lb. turkey 1 onion, quartered 1 head of garlic, halved Poultry blend of fresh herbs (Rosemary, Thyme, Sage) 1/4 cup (1/2 stick) butter, at room temperature* 1 quart or more chicken broth* (I ususally need about 6 cups broth to baste and refill pan) Lemon and orange chunks (you can save the lemon and orange from the dry brine for stuffing in the turkey) Day before: 1. Rinse thawed turkey, remove neck and giblets. Pat dry. 2. Mix the dry brine ingredients together. Rub all over turkey. Put the turkey in a large pan or brining bag and refrigerate overnight. Roasting day: 1. Preheat the oven to 425 degrees F. 2. Rinse the brine off of the turkey. Pat dry. Place the turkey breast side up on a rack in roasting pan. 3. Stuff the bird with onion, garlic, lemon and orange chunks, and fresh herbs. 4. Loosen skin over breast meat and rub 3-4 T. butter under skin and allover the outside of the bird. You can tuck any remaining butter in the bird and under the wings and legs. 5. Pour 2-3 cups broth into roasting pan. Roast turkey 30 minutes. 6. Reduce the oven temperature to 325 degrees F. 7. Continue to roast, basting with pan juices every 30-40 minutes, adding more broth to the pan as needed to keep liquid in the pan. Keep an eye on the skin to make sure it doesn't over-brown, tenting with foil as needed. 8. Roast for another 2 1/2 -3 hours (for 12-14 lb. turkey) until a thermometer inserted into the thickest part of the thigh registers 165 degrees F. 9. Tranfer the turkey to a platter. Tent with foil and let rest 30 minutes before carving. 10. For a pretty presentation, surround turkey with orange and lemon wedges and fresh herbs. If you need a turkey platter, I suggest Bed, Bath, and Beyond. I bought mine there several years ago for a very good price and love it. It is huge so I kept the original box and store it on shelves in the garage. *When it comes to broth and butter, you can use unsalted butter or regular butter and low sodium broth or regular broth. I have used both and did not find the meat to be too salty when using regular butter and regular broth. Make sure to rinse all of the brine off of the bird before preparing it to roast. A nice balance would be unsalted butter with regular broth or salted butter with low sodium broth.
Some of our other Thanksgiving favorites:
Pin on Pinterest
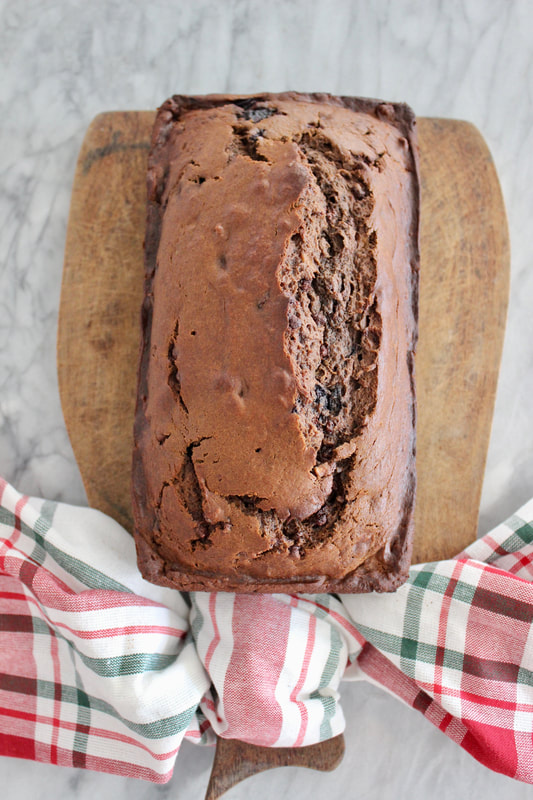
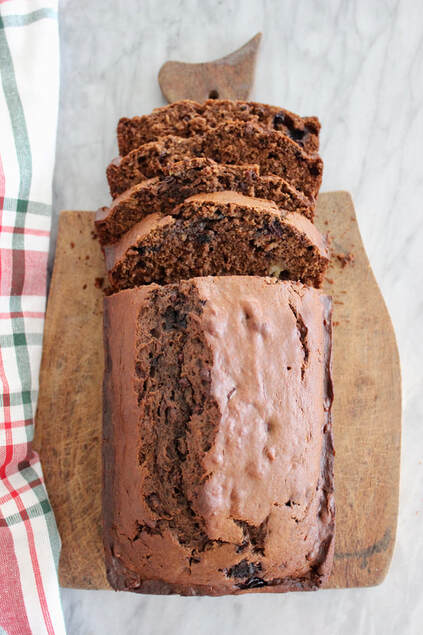
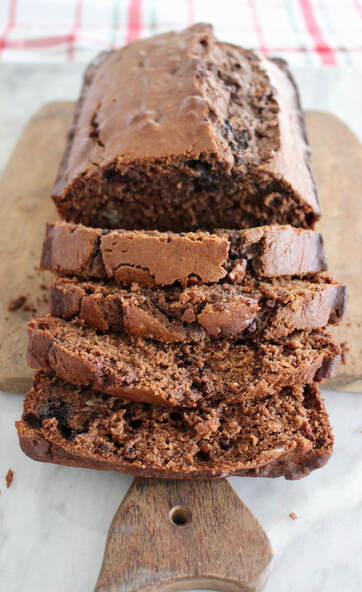
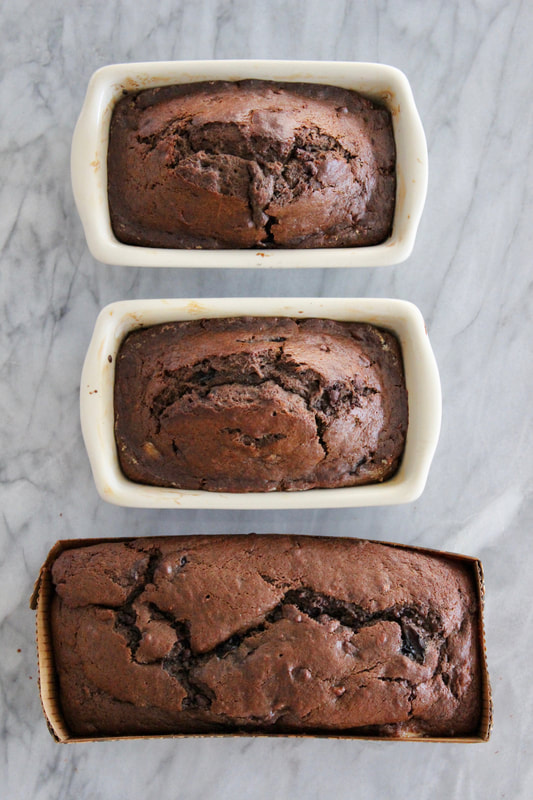
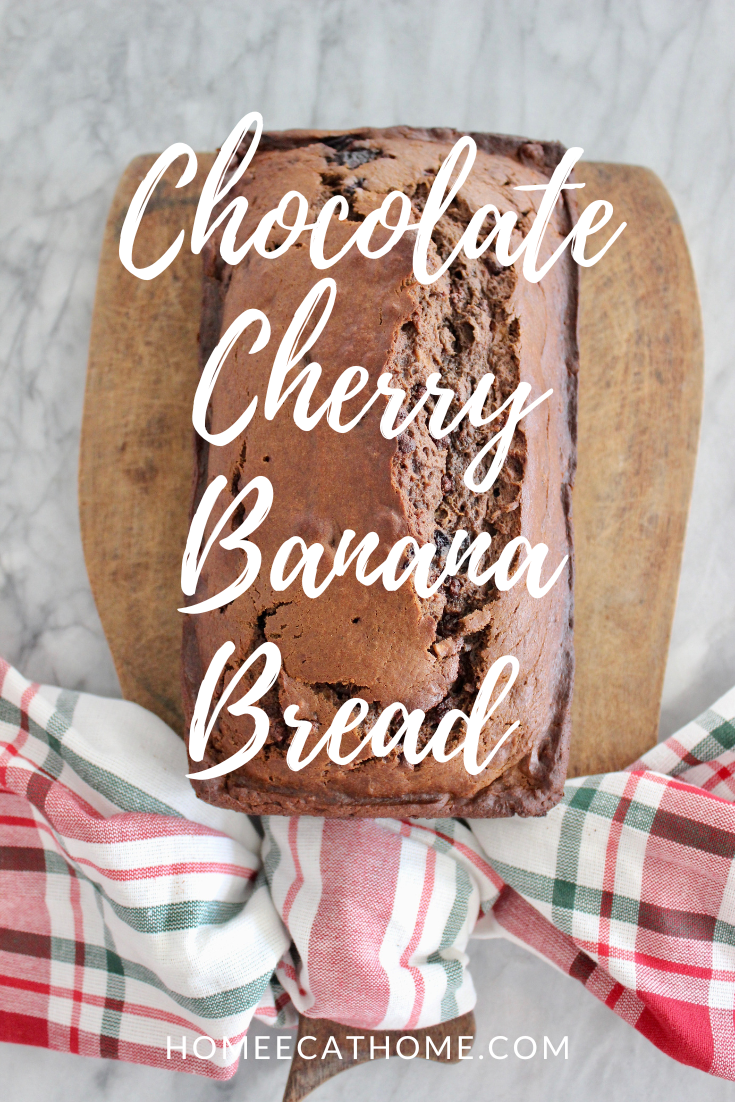
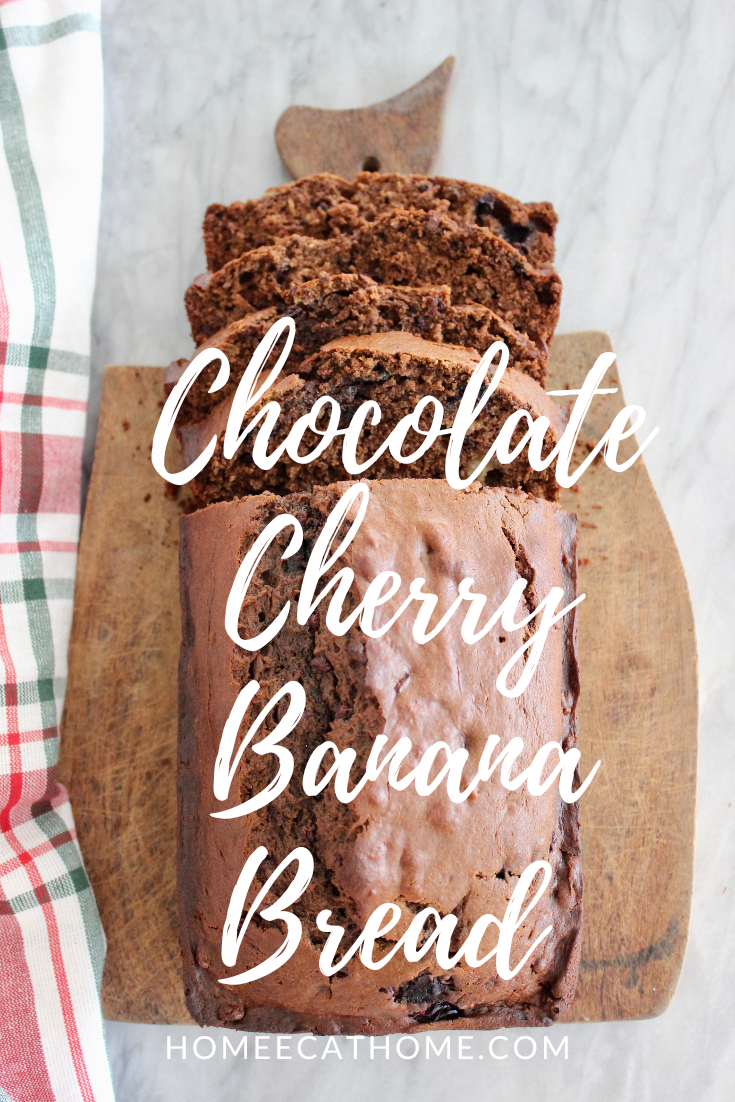
This chocolate cherry banana bread is moist, delicious and filled with sweet juicy cherries. I know it's technically banana bread, but it tastes more like chocolate cherry cake. Perfect for holiday brunch and gift giving.
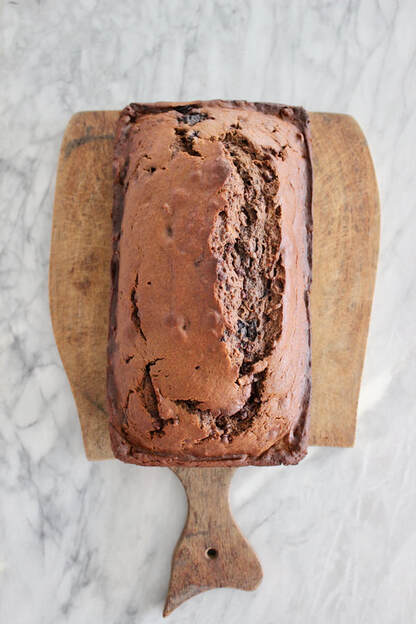
Delicious as is or with a little slice of butter.
We are a participant in the Amazon Services LLC Associates Program, an affiliate advertising program designed to provide a means for us to earn fees by linking to Amazon and affiliated sites.
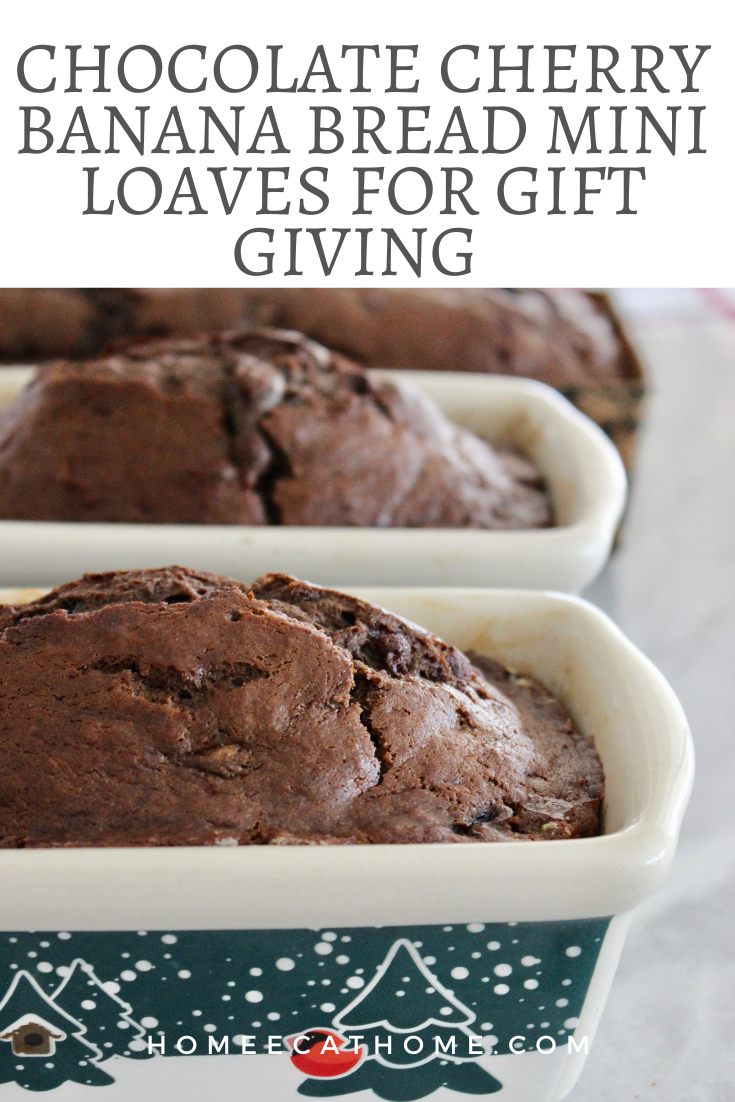
How do you make mini loaves for gift giving?
If baking in smaller loaf pans, batter will fill approximately three to four small pans depending on size. Bake for 30-40 minutes, checking every 5 minutes to see if done after 30 minutes. You can check bread with a toothpick to see if done. Bread is done when toothpick comes out clean and top springs back when lightly pressed.
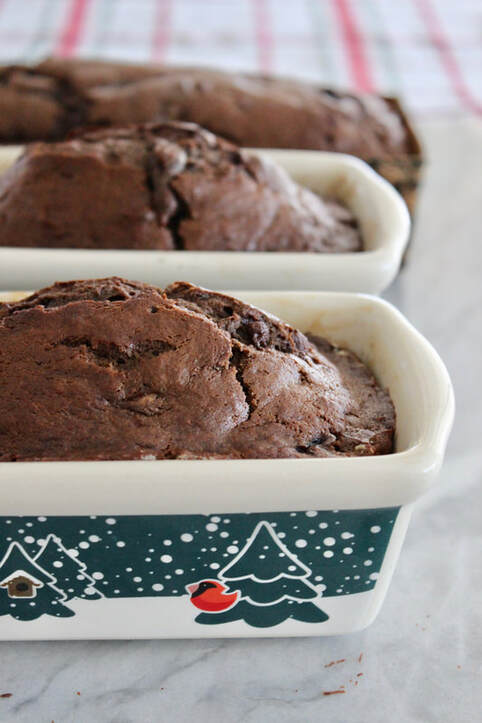
You can use small loaf pans, foil pans, or paper bakeware (bottom loaf pictured is baked in paper bakeware). Paper bakeware is easy to use and can go in the oven up to 400 degrees F. It is also freezer friendly and does not require greasing of the pan.
Can you freeze chocolate cherry banana bread?
Yes, you can bake this bread ahead of time and freeze for later. This is a great strategy for gift giving. Stash some mini loaves in the freezer so you are prepared for the holiday rush. Banana bread will keep fresh in the freezer for up to 4 months.
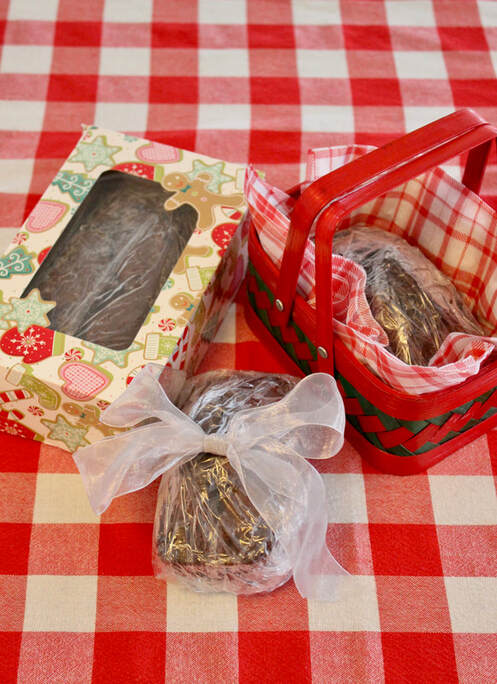
Here are some simple ideas for packaging mini loaves of bread for gifts.
*Cookie box (Dollar Tree affiliate link) I bought this cookie box at Dollar Tree and it is the perfect size for my larger mini loaf that was baked in paper bakeware. *Small gift bags *Simple ribbon or bow *For the farmhouse rustic look, tie up with twine and a gift tag *Small thrift store baskets. I love thrift store and antique store baskets. They are great for gift giving and you can usually find them very reasonably priced. You might like this post I wrote about making homestead gift baskets. 
Chocolate Cherry Banana Bread and Mini Loaves for Gift Giving
Ingredients: 1 1/2 C. (about 3) bananas, mashed 2 eggs 1/2 C. butter, melted 1 tsp. vanilla 1/2 tsp. almond extract 1/4 C. granulated sugar or coconut sugar 1/4 C. brown sugar or coconut sugar 1/4 C. honey 1 3/4 C. all-purpose flour 1/4 tsp. salt 1/2 tsp. baking powder 1 tsp. baking soda 1/4 C. cocoa powder 1/4 C. mini semi-sweet chocolate chips 1 C. frozen sweet cherries, coarsely chopped 1. Pre-heat oven to 350 degrees F. Butter a loaf pan. 2. With a wooden spoon mix bananas, eggs, butter, vanilla, and almond extract in a mixing bowl. 3. Next stir in the sugars and honey. 4. Next, stir in the dry ingredients, stirring until combined. (I always put the dry ingredients right on top of the batter and mix them together a bit before mixing the dry ingredients into the batter.) 5. Then stir in the chocolate chips and cherries. Batter will be thick. 5. Pour batter into prepared pan and bake for 55-65 minutes until a toothpick inserted in the center comes out clean and top springs back when lightly pressed. After 55 minutes, check every 5 minutes until done. 6. Cool on a wire rack, then remove from pan. Let bread cool completely before slicing. Mini Loaf instructions If baking in smaller loaf pans, batter will fill approximately three small pans depending on size. Bake for 30-40 minutes, checking every 5 minutes to see if done after 30 minutes. You can check bread with a toothpick to see if done. Bread is done when toothpick comes out clean and top springs back when lightly pressed.
Pin on Pinterest

Have you heard of Frosch cleaning products? I had not until I received the opportunity to try them for review. I like using more and more natural products in my home so I was eager to try Frosch cleaning products.
Disclosure: I received this product for free from the sponsor of the Moms Meet program, May Media Group LLC, who received it directly from the manufacturer. As a Moms Meet blogger, I agree to use this product and post my opinion on my blog. My opinions do not necessarily reflect the opinions of May Media Group LLC or the manufacturer of this product.
The Frosch brand was launched in 1986 by Werner & Mertz, with the intention of offering environmentally friendly cleaning products that were able to compete with traditional cleaning brands without compromise. Environmental considerations permeate every aspect of Frosch, from ingredients to packaging. Frosch’s state-of- the-art research facility is constantly working to improve upon its formulations, and production takes place under the strict EMAS scheme of the European Union. Voted Germany’s Most Trusted Brand by Reader’s Digest for 15 years running, Frosch has a loyal following in many export countries around the world, but has not been available in the U.S.A. until now.
We are a participant in the Amazon Services LLC Associates Program, an affiliate advertising program designed to provide a means for us to earn fees by linking to Amazon and affiliated sites
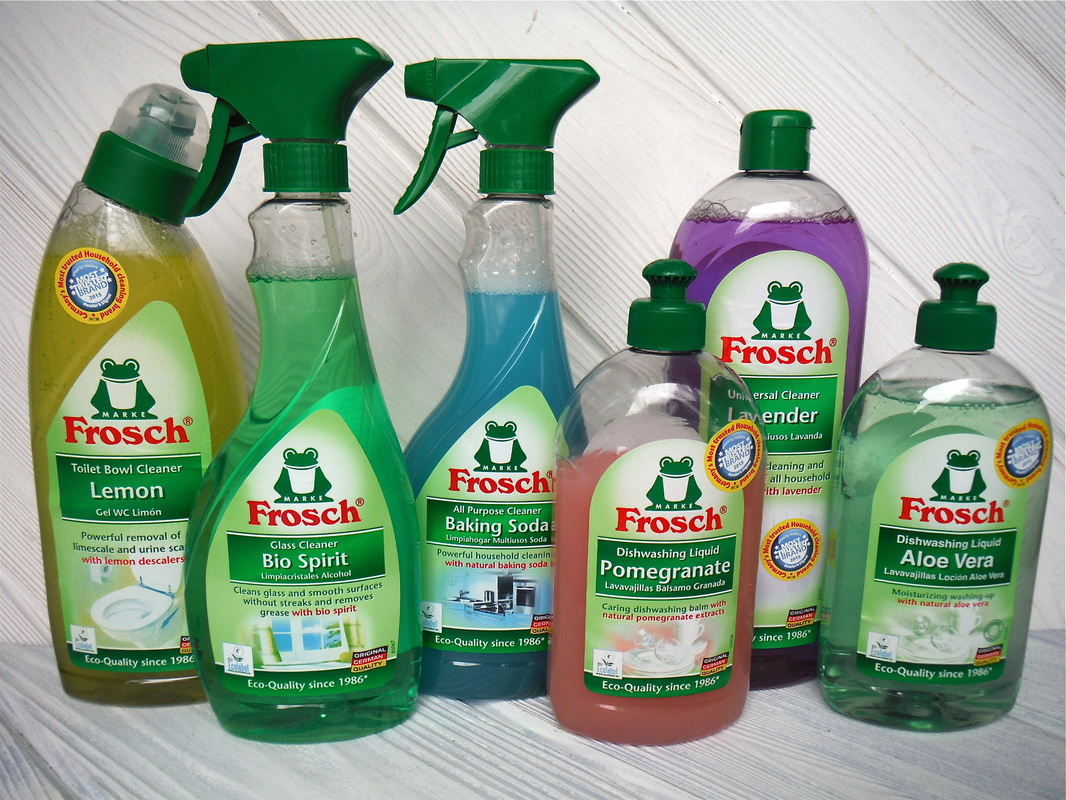
After trying the cleaning products pictured, my verdict is that they all work well and smell pleasant. I hate using cleaning products that smell like I should be wearing a gas mask when using them because of the harmful chemical fumes. You can feel safe using Frosch products around your family (no harmful fumes). In fact your kids can even help clean with these products.
• Frosch Pomegranate Dishwashing Liquid contains pomegranate extracts that soothe and moisturize skin and provide an effective clean with its optimal grease and dirt dissolving power.
After trying these products, I have to share my favorites. I love the baking soda all purpose cleaner because it smells so clean. Confession, I love baking soda products pretty much always because I love the clean smell and feeling they leave behind. So if you want a really fresh and clean smelling house use the baking soda all purpose cleaner.
My other favorite new Frosch product is the dishwashing liquid. I tried both the pomegranate and aloe vera dishwashing liquids and liked them both, but love the aloe vera scent. My skin is very sensitive to soaps and frequent washing can lead to dry cracked skin, especially in the winter. When I taught Family and Consumer Science and was in the food lab all day, my hands looked terrible from frequent washing. I wish I would have had this dish soap then, I would have used it for hand washing soap. The aloe vera dishwashing liquid is so gentle on my hands. I always use natural dishwashing soap because I figure since we are eating off of the dishes, I want the soap used to be as natural and free of unnecessary chemicals as possible. One thing I have noticed about natural dishwashing liquids though is that they usually don't form as many suds as conventional soaps. Frosch dishwashing liquid is no exception, you won't see as many suds as with conventional dish soaps, but your dishes will be clean and you can feel good knowing that you are not introducing unnecessary chemicals into your home. • Frosch Diswashing Liquid is a vegan moisturizing hand dishwashing liquid that works efficiently and is gentle on your skin.
Pin on Pinterest
Feeling a little ghoulishly festive this Halloween? These mummy dogs are super easy and everyone will love them. They are really just dogs in a sweater with a festive name. Plus the kids can join in the fun and help make them.

These mummy dogs are so easy and fun to make and they only take two ingredients!
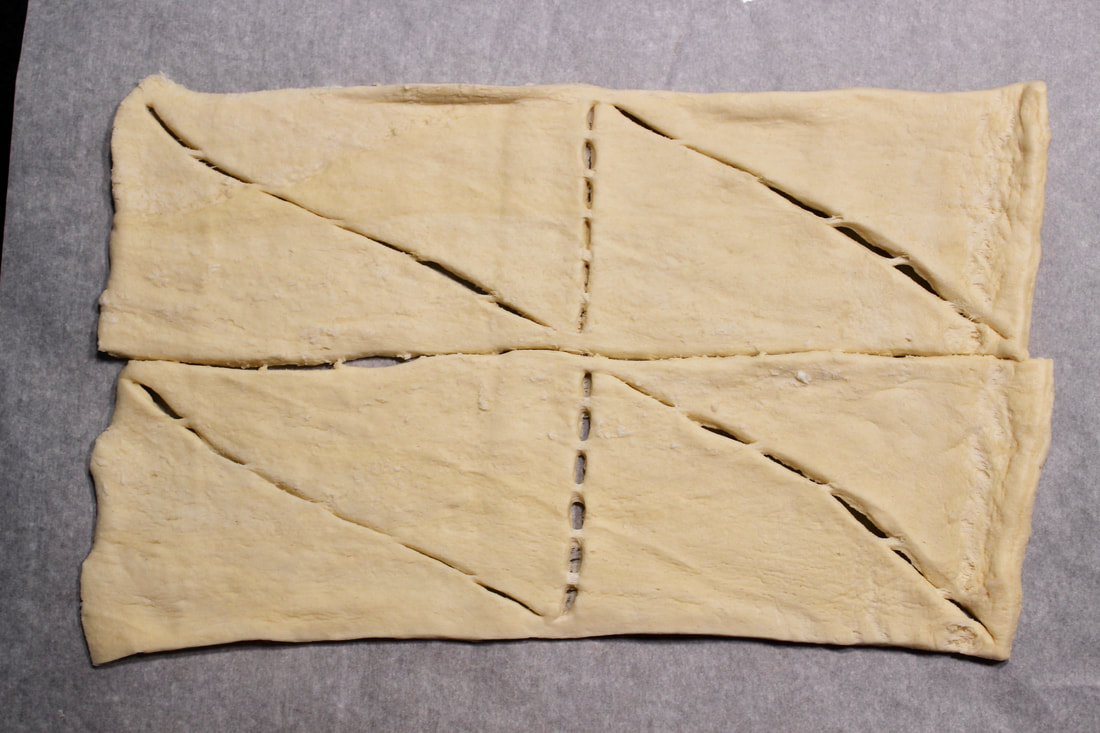
First, roll out some crescent dough on a parchment lined baking sheet.
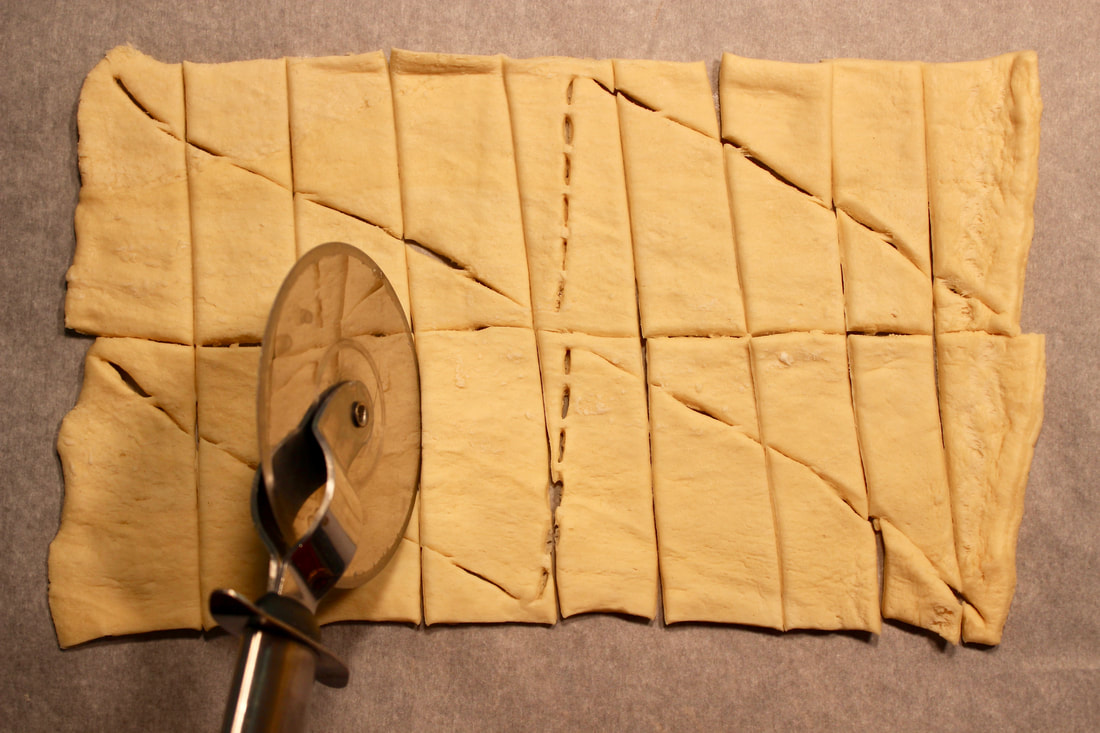
Then cut the dough into strips.

Press the dough in the dough strips together and kind of roll them to form ropes. You can then flatten them down more if you like. Wrap the dough ropes around each hot dog. Then take a toothpick and form mummy "eyes" on one end of each mummy dog.

Bake at 375 degrees F for about 15 minutes or until dough is cooked and golden brown.


These are always a fun treat for the kids. We have had these many times before running out the door to go trick-or-treating. If you want to make them look even more mummyish, criss-cross the dough strips. Or you can even add ketchup dots for the eyes.
Mummy Dogs
Serves 8 Ingredients: 8 Hot dogs 1 can crescent rolls or breadstick dough Condiments for dipping 1. Roll out crescent dough and cut into strips (pizza wheel works great for this) or separate breadstick dough. Roll or pull and stretch breadstick dough into long ropes. 2. Wrap dough strips around hot dog trying to get a mummyish look. You can use a toothpick to shape the eyes. 3. Place about an inch apart on a baking sheet lined with parchment paper or coated with non-stick cooking spray. Bake at 375 degrees F for about 15 minutes or until golden brown.
Pin on Pinterest

To save the most money on your groceries, come up with a basic meal plan or have several meals you can always rely on, check your store's add for the best deals and upload your digital coupons for the products you will use/need. Here are my favorite deals from my Kroger shopping trip this week. Some background into these posts... I am a regular Kroger and Aldi shopper. I usually go to both stores weekly with some stops in my local Walmart as needed. I drive 25 minutes to get to Kroger and Aldi so I plan my shopping trips to stock up on the things we need and save our family money. Kroger prices do vary by region so make sure to check your local ad before heading to the store. I live in southern IL so the prices I post are accurate for my area. (This is not a sponsored post, I am just sharing because I am happy with my experience of shopping at Kroger.) With the increasing costs of groceries, I decided to start sharing what I think are the best deals at Kroger each week. I do most of my grocery shopping at Kroger. I probably buy more groceries than most families since I am feeding four growing boys (I have a high-schooler with a bottomless stomach, lol) and you may not need the things that I purchase, but hopefully you will find something useful. 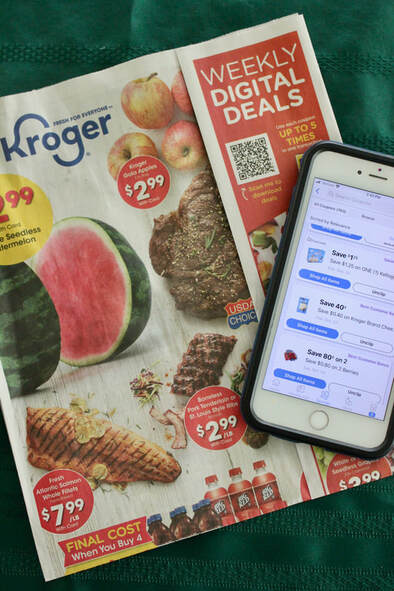 To learn more about how to use the Kroger card and digital coupons follow the link below. How to Save Money at Kroger with the Kroger Card and Digital Coupons
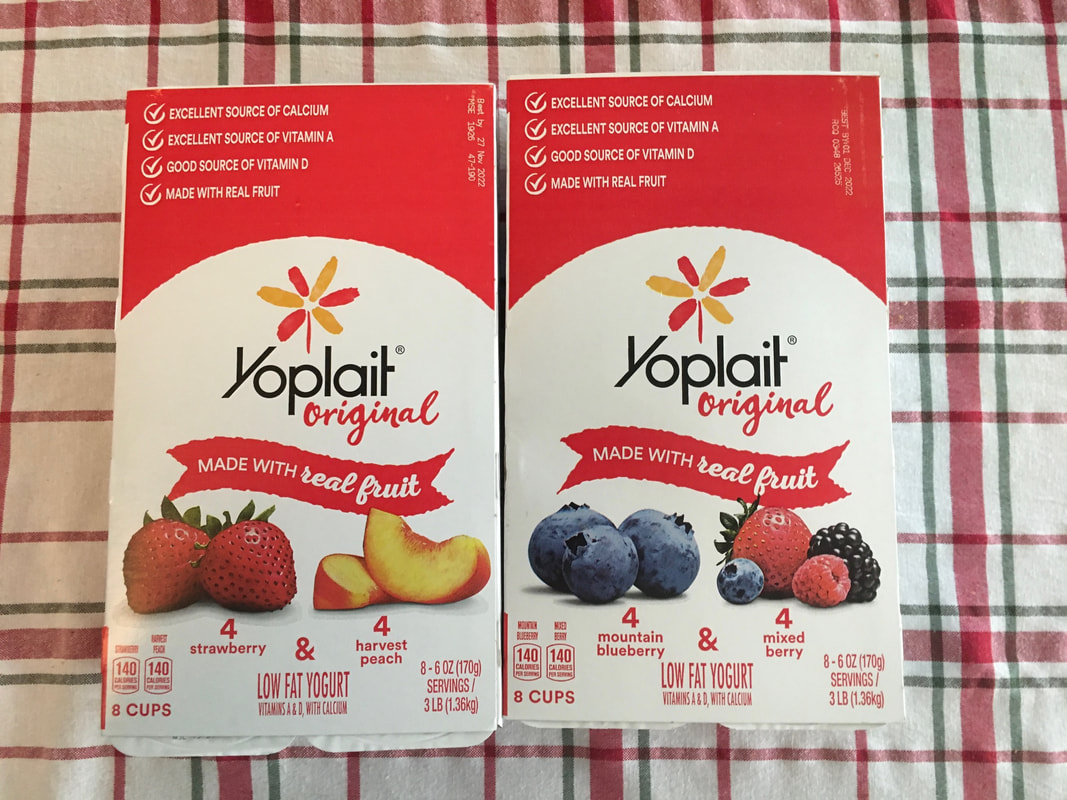
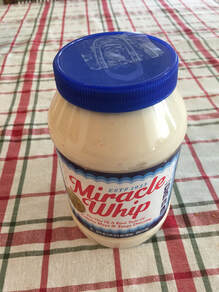
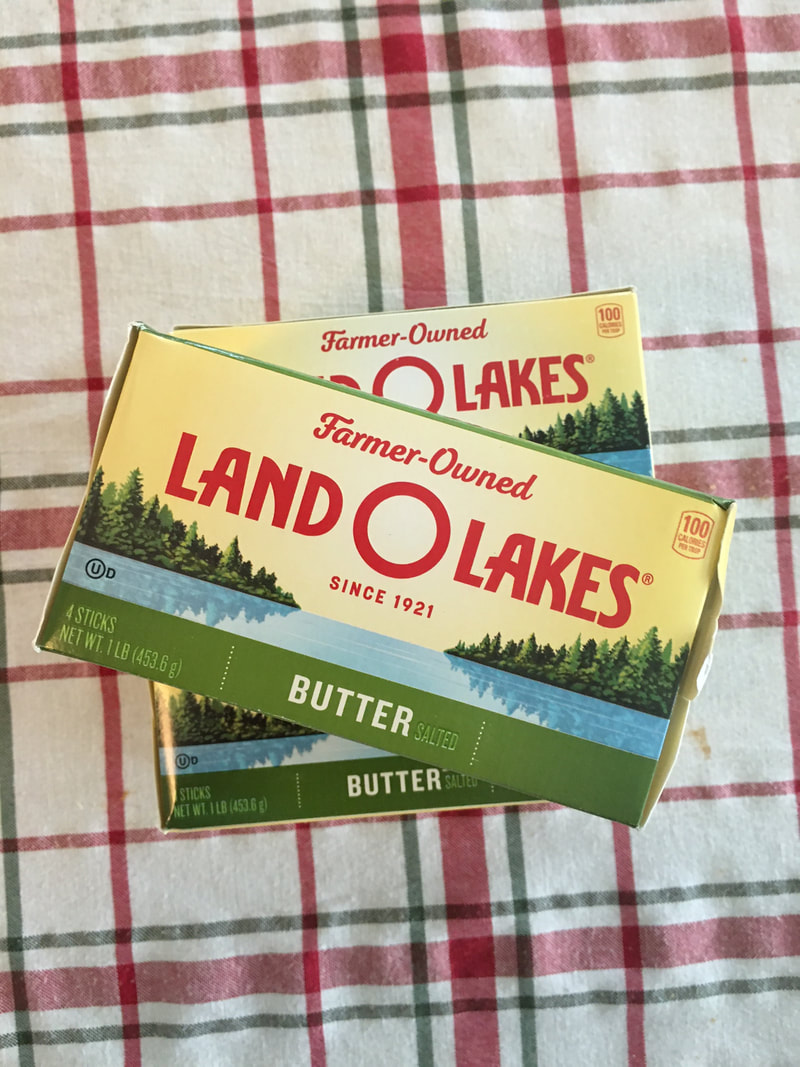
There are lots and lots of things in the Save $2 each when you buy three or more sale. I bought 2 boxes of Yoplait yogurt (8 packs) for $2.99 each (the kids love these) and a jar of Miracle Whip for $3.49 as part of this sale. There was a bonus $1 off coupon on the Miracle Whip lid so I actually paid $2.49. Land O Lakes butter is also part of the Save $2 each when you buy three or more sale making them $3.49 each for a 1 lb. box. I bought 3 since butter has been really expensive lately. I try to stock up when butter is on sale and always keep some in the freezer so we never run out.
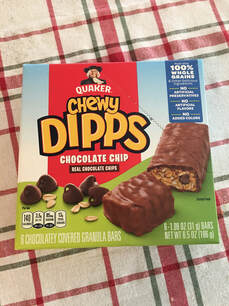
There was a big display of marked down (to $1.99) Oscar Mayer fully cooked bacon so I picked some up for busy mornings. Quaker chewy granola bars are only $1.29 this week with card and digital coupon. You can use this coupon up to 5 times.
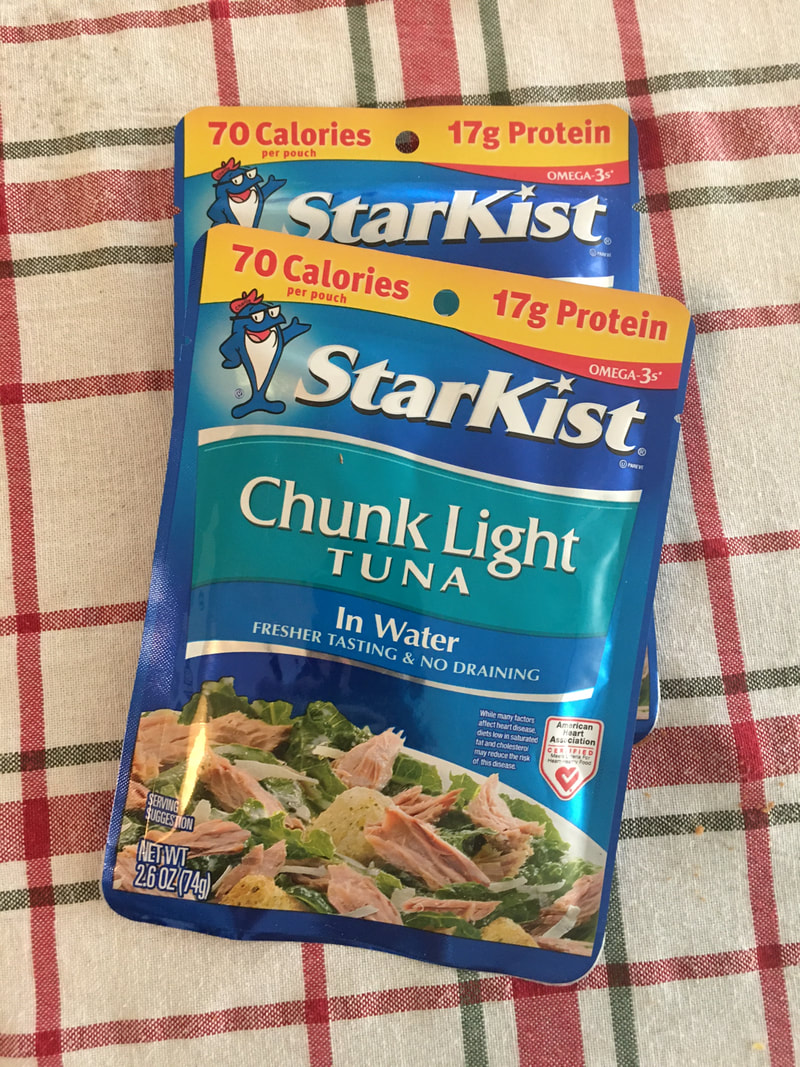
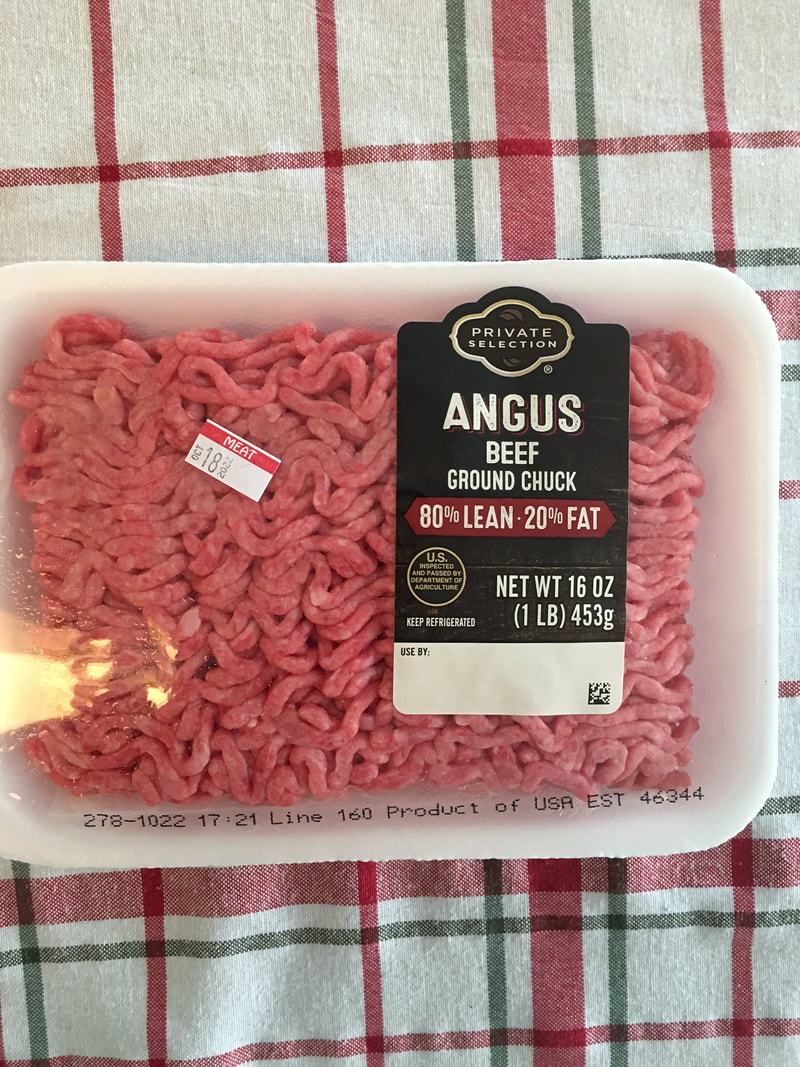
These chunk light Tuna pouches were on sale for $1 each. My husband keeps some of these in his office for lunch/snacks so I picked up a couple. Beef ground chuck is on sale for $2.99 a lb. I already have some ground beef in the freezer, so I just bought one. When I checked my receipt, there was $2 off for a digital coupon (for $2 off roast) that I had loaded to my card so I only paid $0.99 for a pound of ground chuck! Check your digital coupons for the $2 off roast coupon. Maybe you can get $0.99 lb. ground chuck too. Plus roast is on sale for $4.99 a lb. this week. Favorite ground beef recipes: Ground Beef and Vegetable Soup Asian Inspired Brothy Beef and Cabbage Bowls Greek Skillet Supper Fancy Sautéed Mushroom and Onion Hamburgers Egg Roll In a Bowl (Low Carb Egg Roll Stir Fry) Stuffed Pepper Casserole Quick and Easy Taco Pie
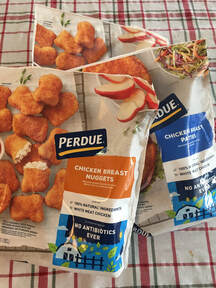
There are several novelty ice cream varieties that are in the save $2 each when you buy three or more sale. I bought 1 blue bunny ice cream sandwiches for $2.49 and 2 Jonny Pops for $1.99 each. I had a $2 off 2 Jonny Pops checkout coupon from a previous Kroger shopping trip so I only paid $0.99 each for the Jonny Pops. Perdue Chicken breast nuggets and patties are $5.99 a bag this week with the digital coupon which you can use up to 5 times.
There is a good deal on breakfast sausage patties or links this week...Buy 2, Get 1 free. My store was sold out, but if your store has this, it's worth stocking the freezer.
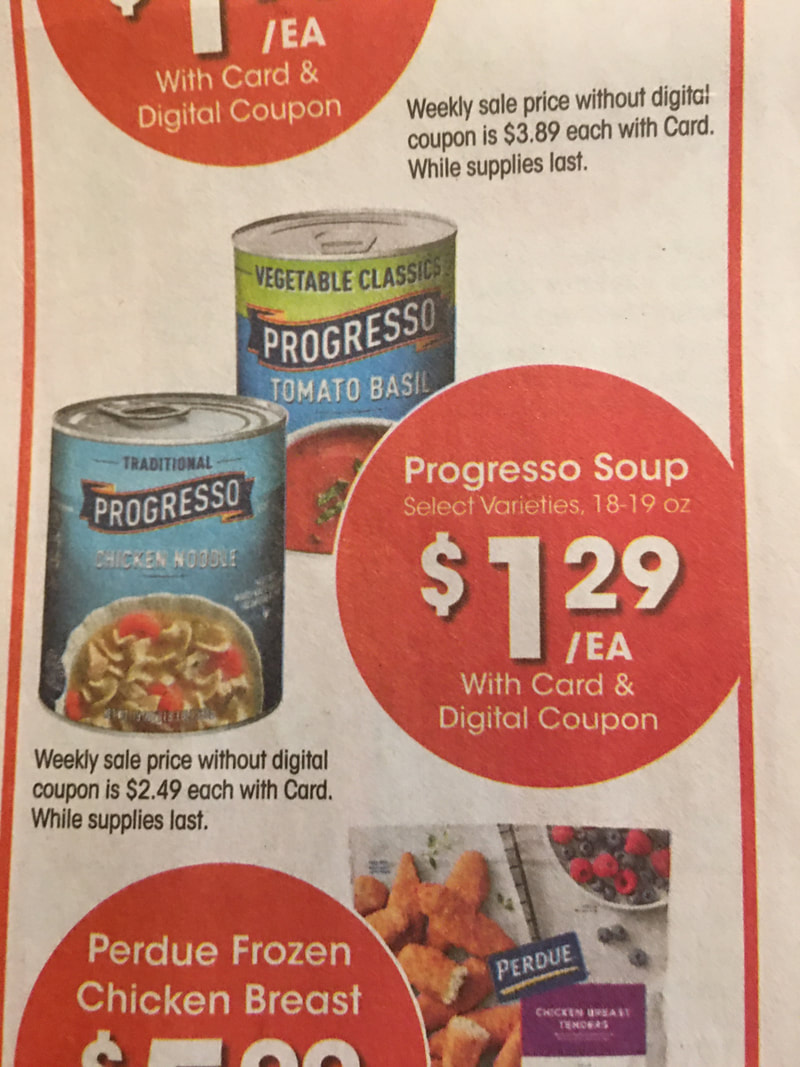
If you are a soda drinker or you just like to have some on hand for a special treat, there is a weekly deal digital coupon for select 6-pack bottles for $2.79 which you can use up to 5 times! There is also a weekly deal Progresso soup digital coupon. $1.29 each which you can use up to 5 times. This is a stock-up deal if you like Progresso soup. |

Welcome to Home Ec @ HomeHi, I'm Faith, a former Family and Consumer Science teacher turned food blogger. I love God, my family, and food. You can usually find me in the kitchen preparing family friendly, homemade recipes and taking lots of pictures. 
Still Goldens, Southern, IL
 Fan Favorites
The Best Dry Brined Turkey with Citris and Fresh Herbs

 Dehydrating Pears and Apples in the Instant Pot Duo Crisp Dehydrating Pears and Apples in the Instant Pot Duo Crisp
 
 |


 RSS Feed