|
Disclosure: I received complimentary products for review, but all opinions are honest and are my own. #ad. We are a participant in the Amazon Services LLC Associates Program, an affiliate advertising program designed to provide a means for us to earn fees by linking to Amazon and affiliated sites.
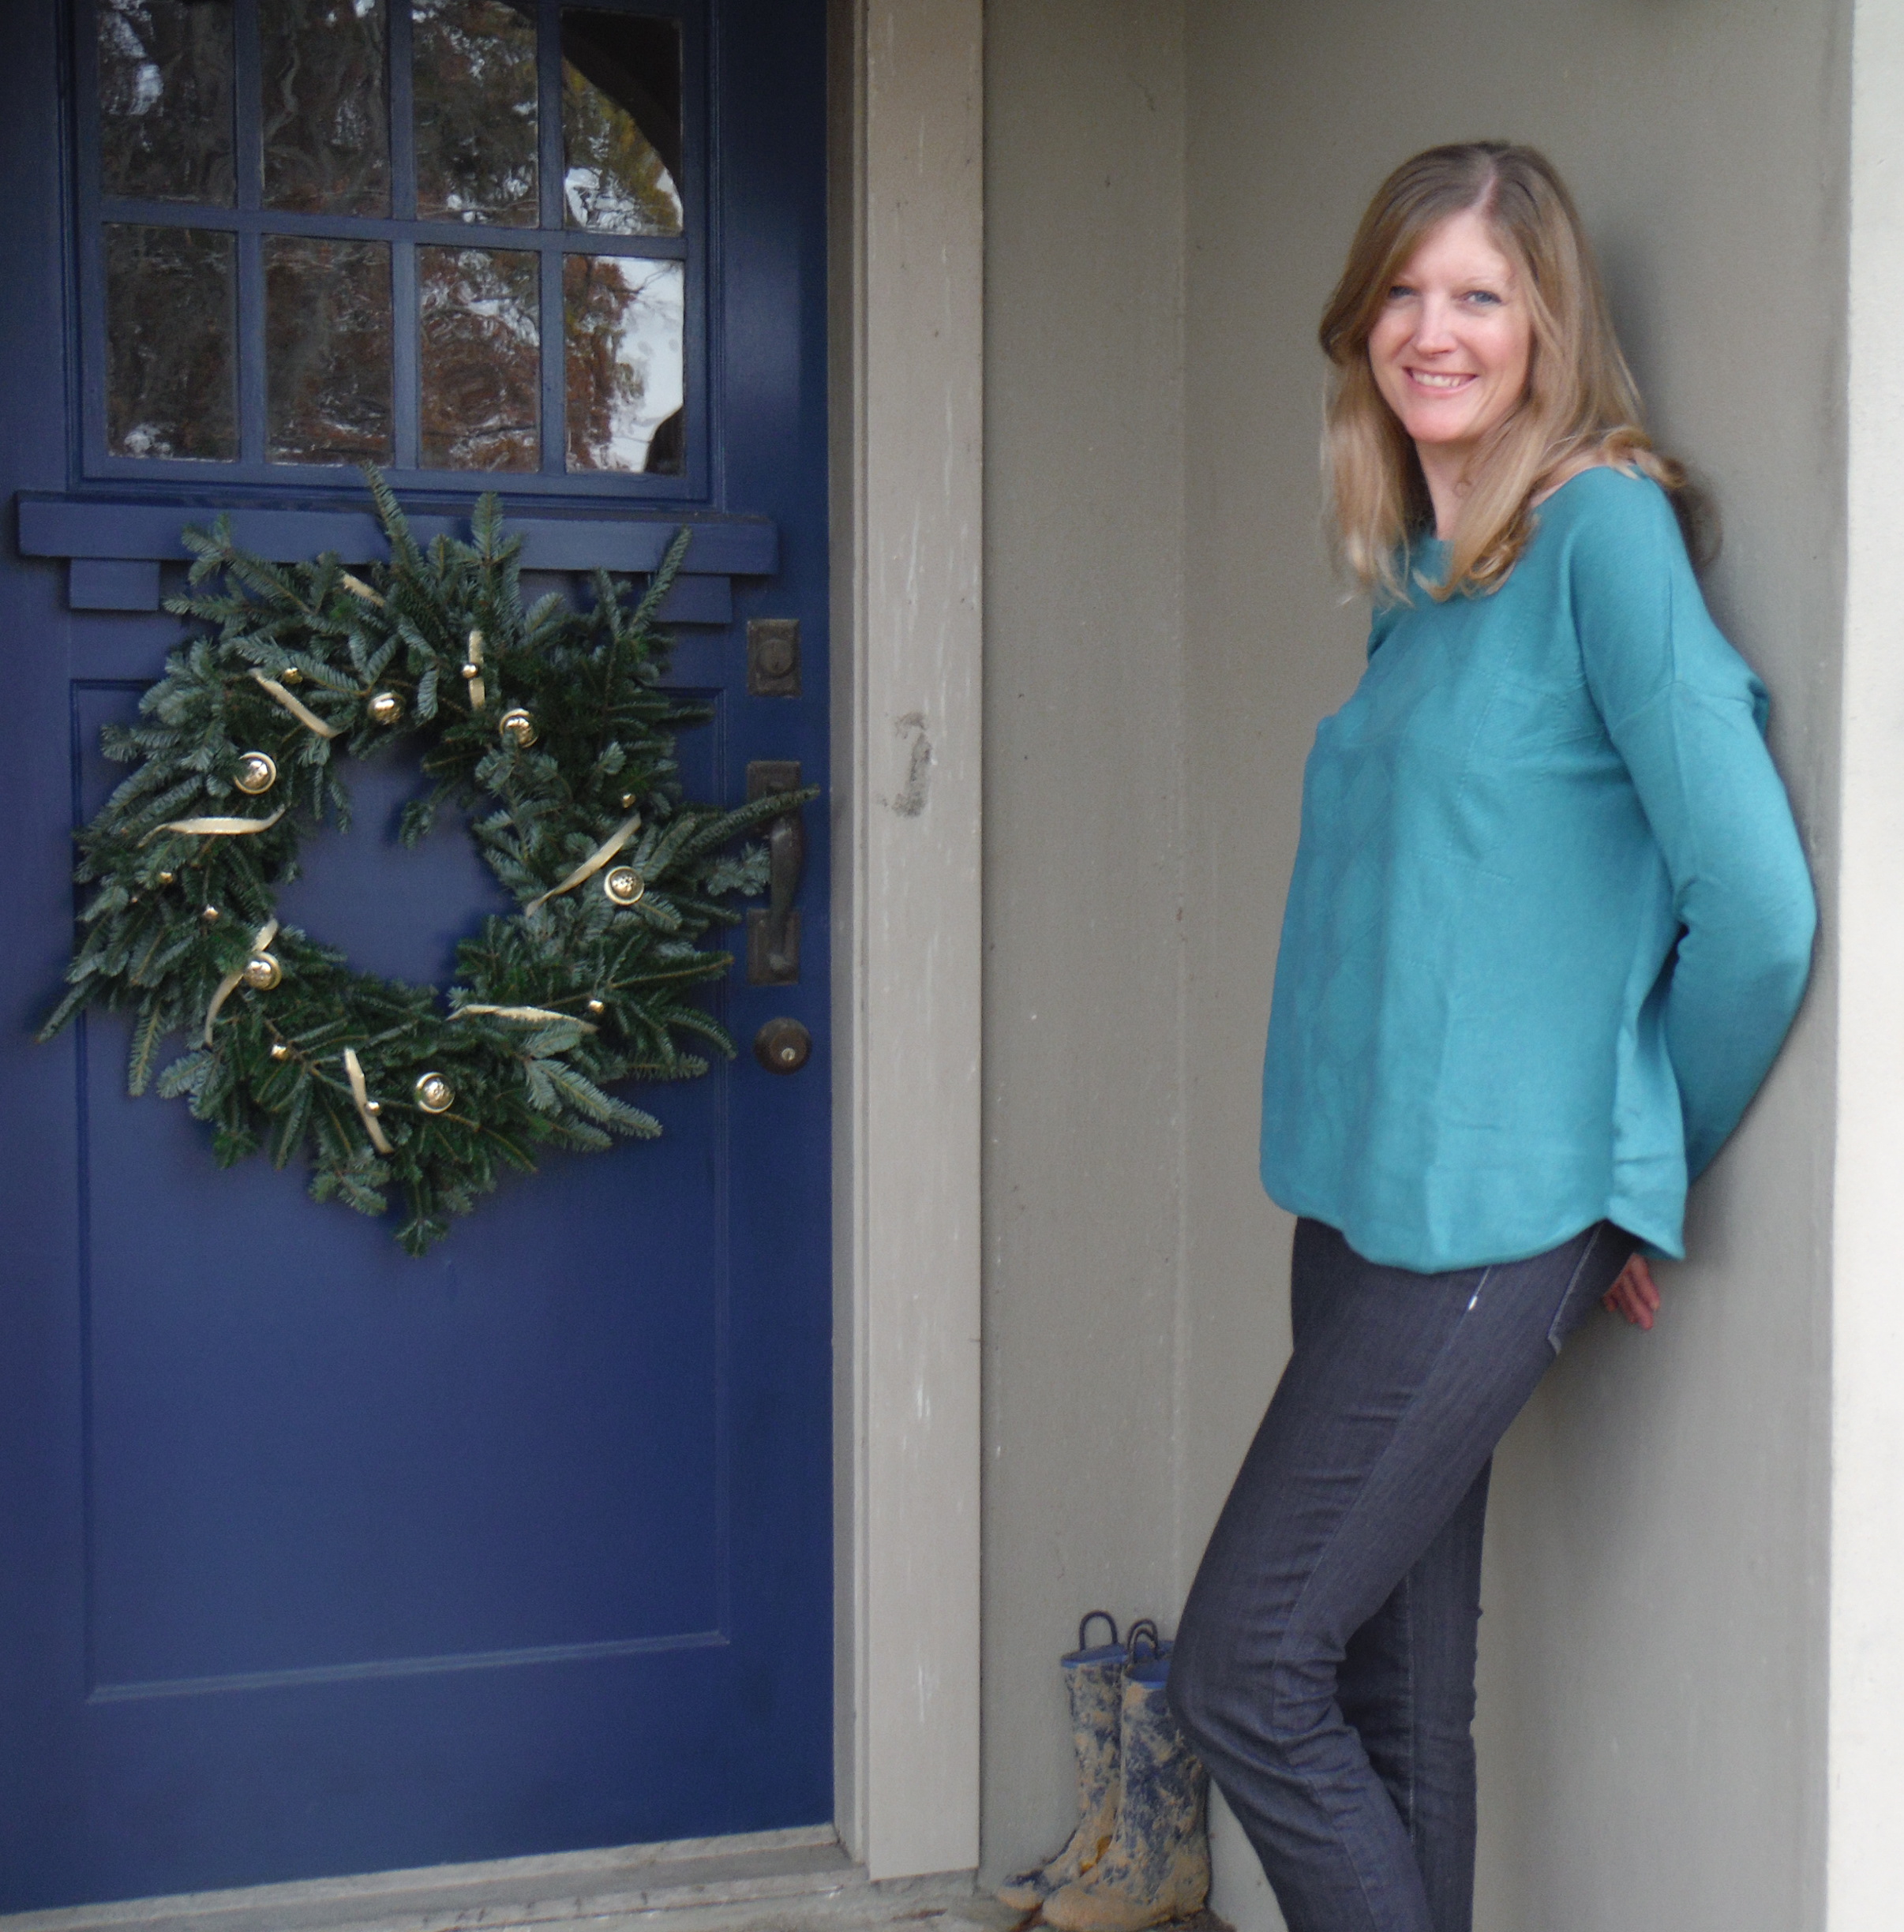
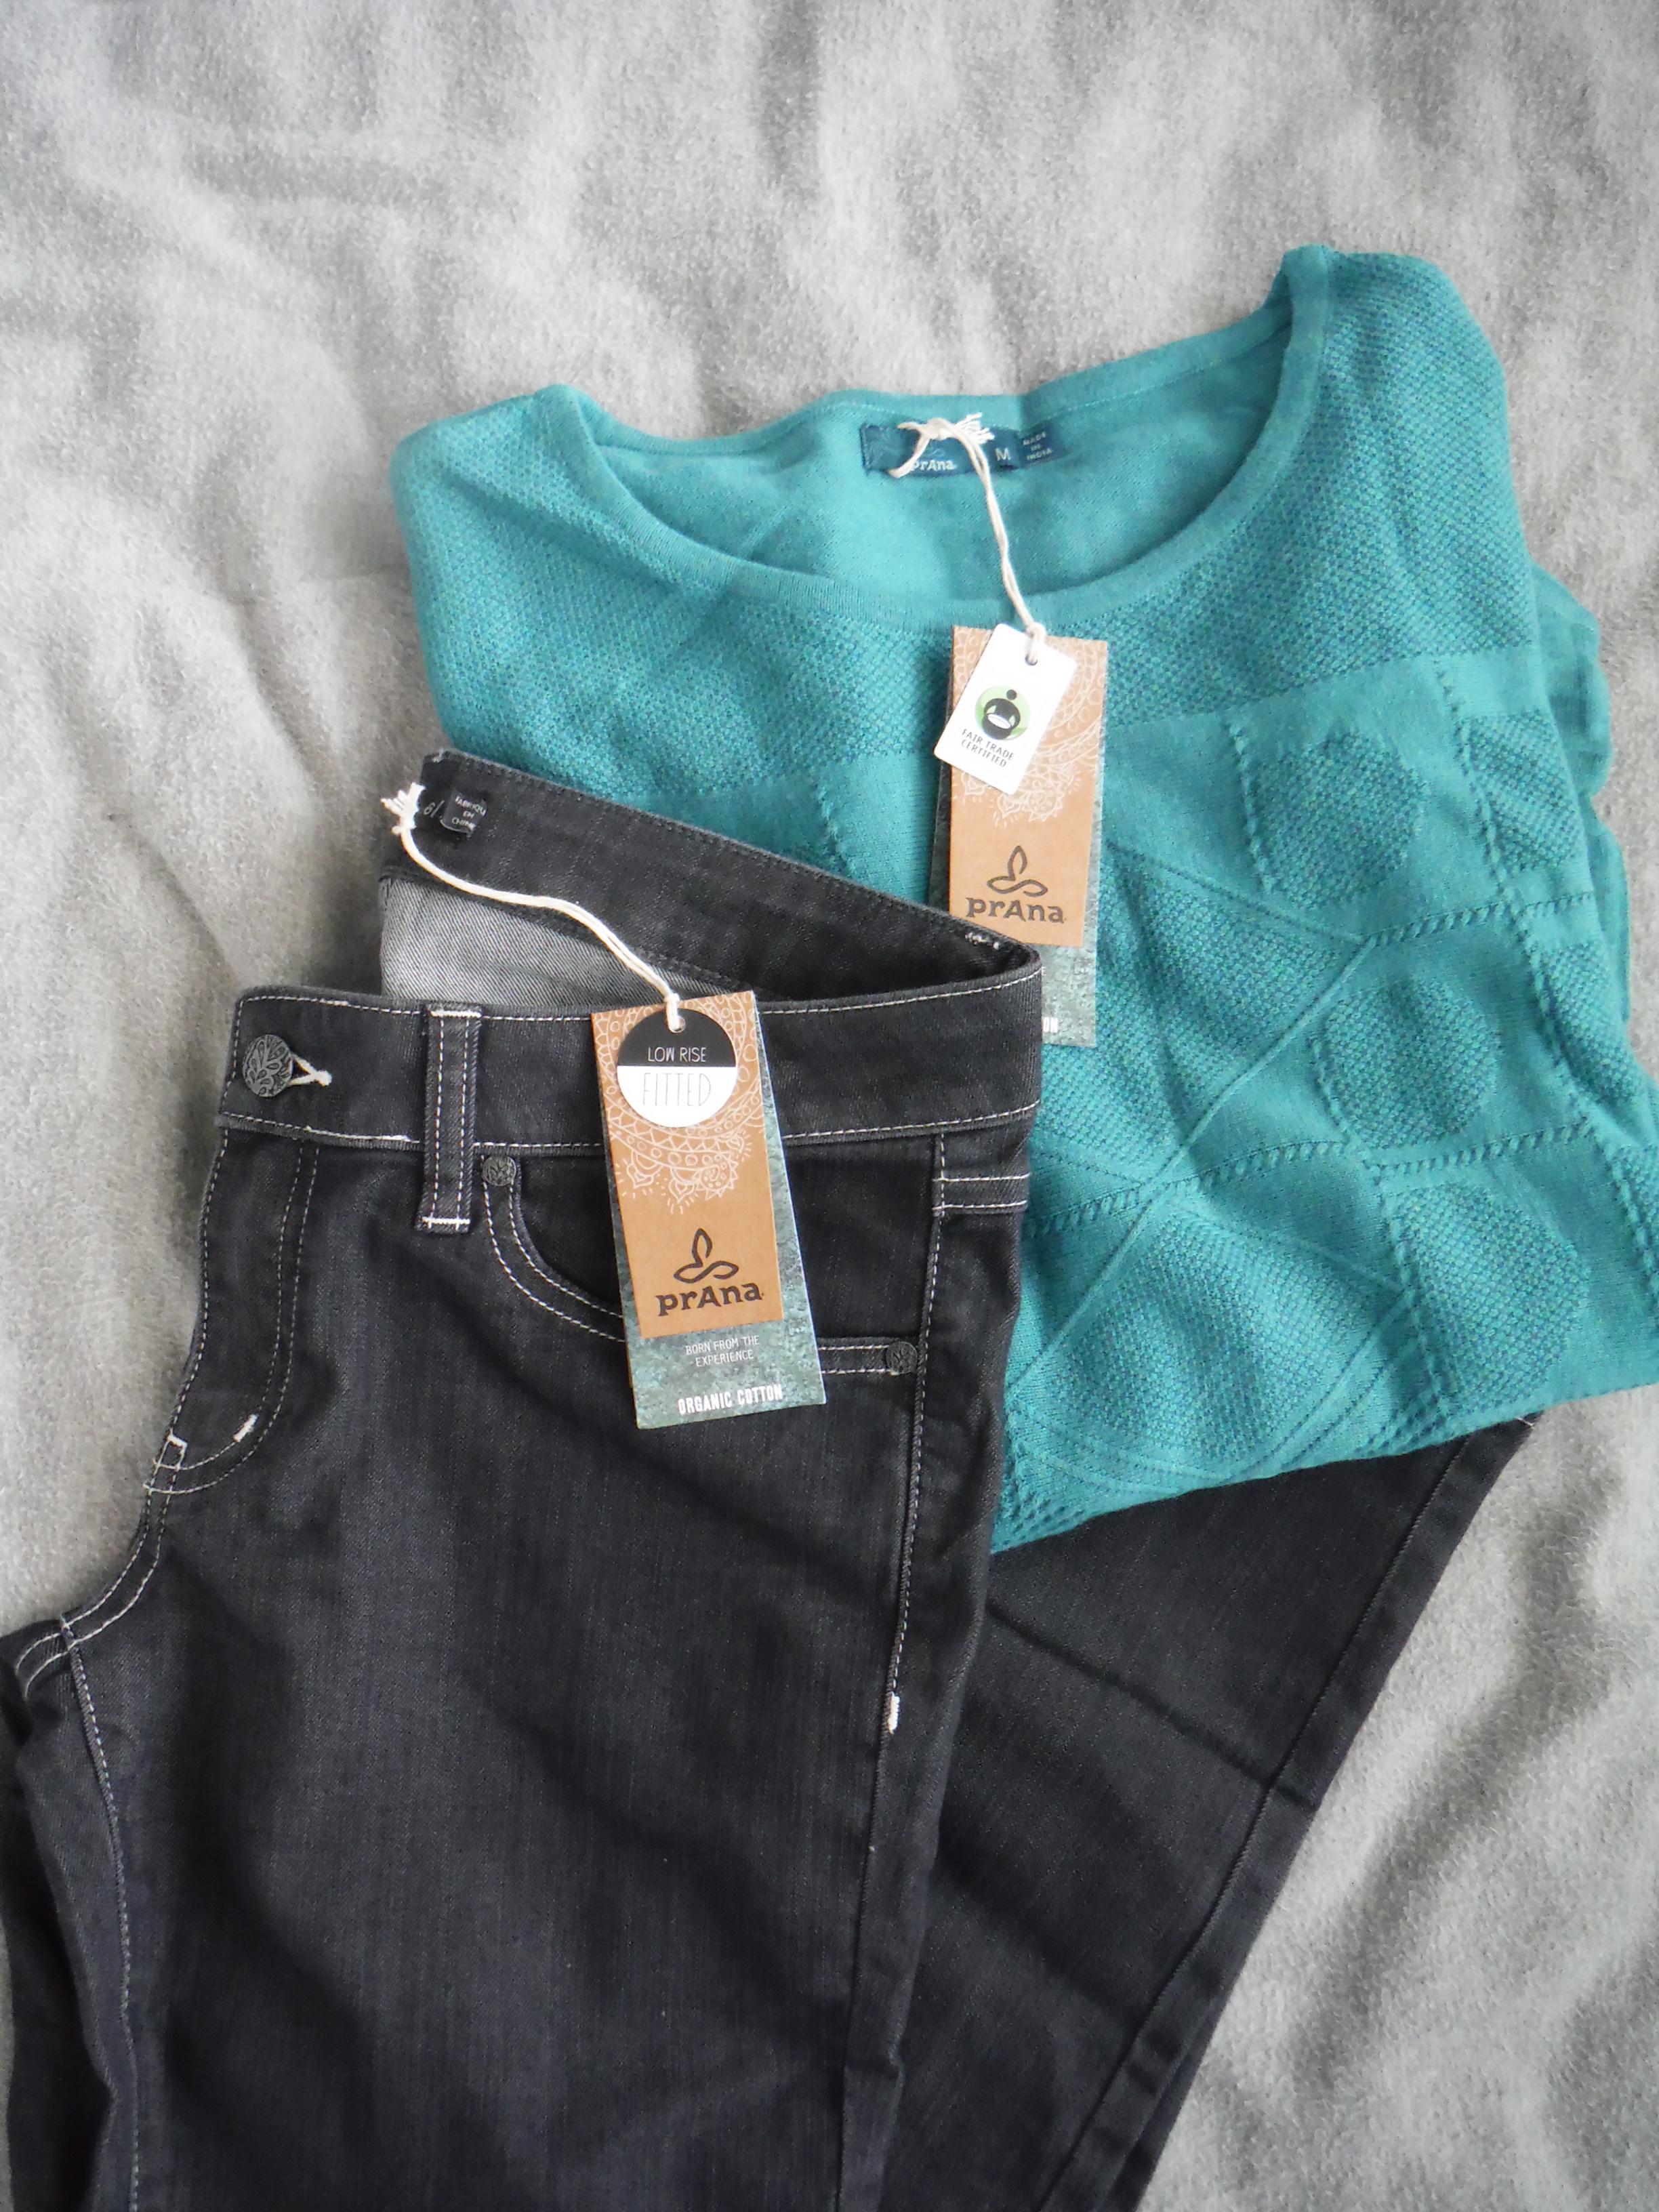
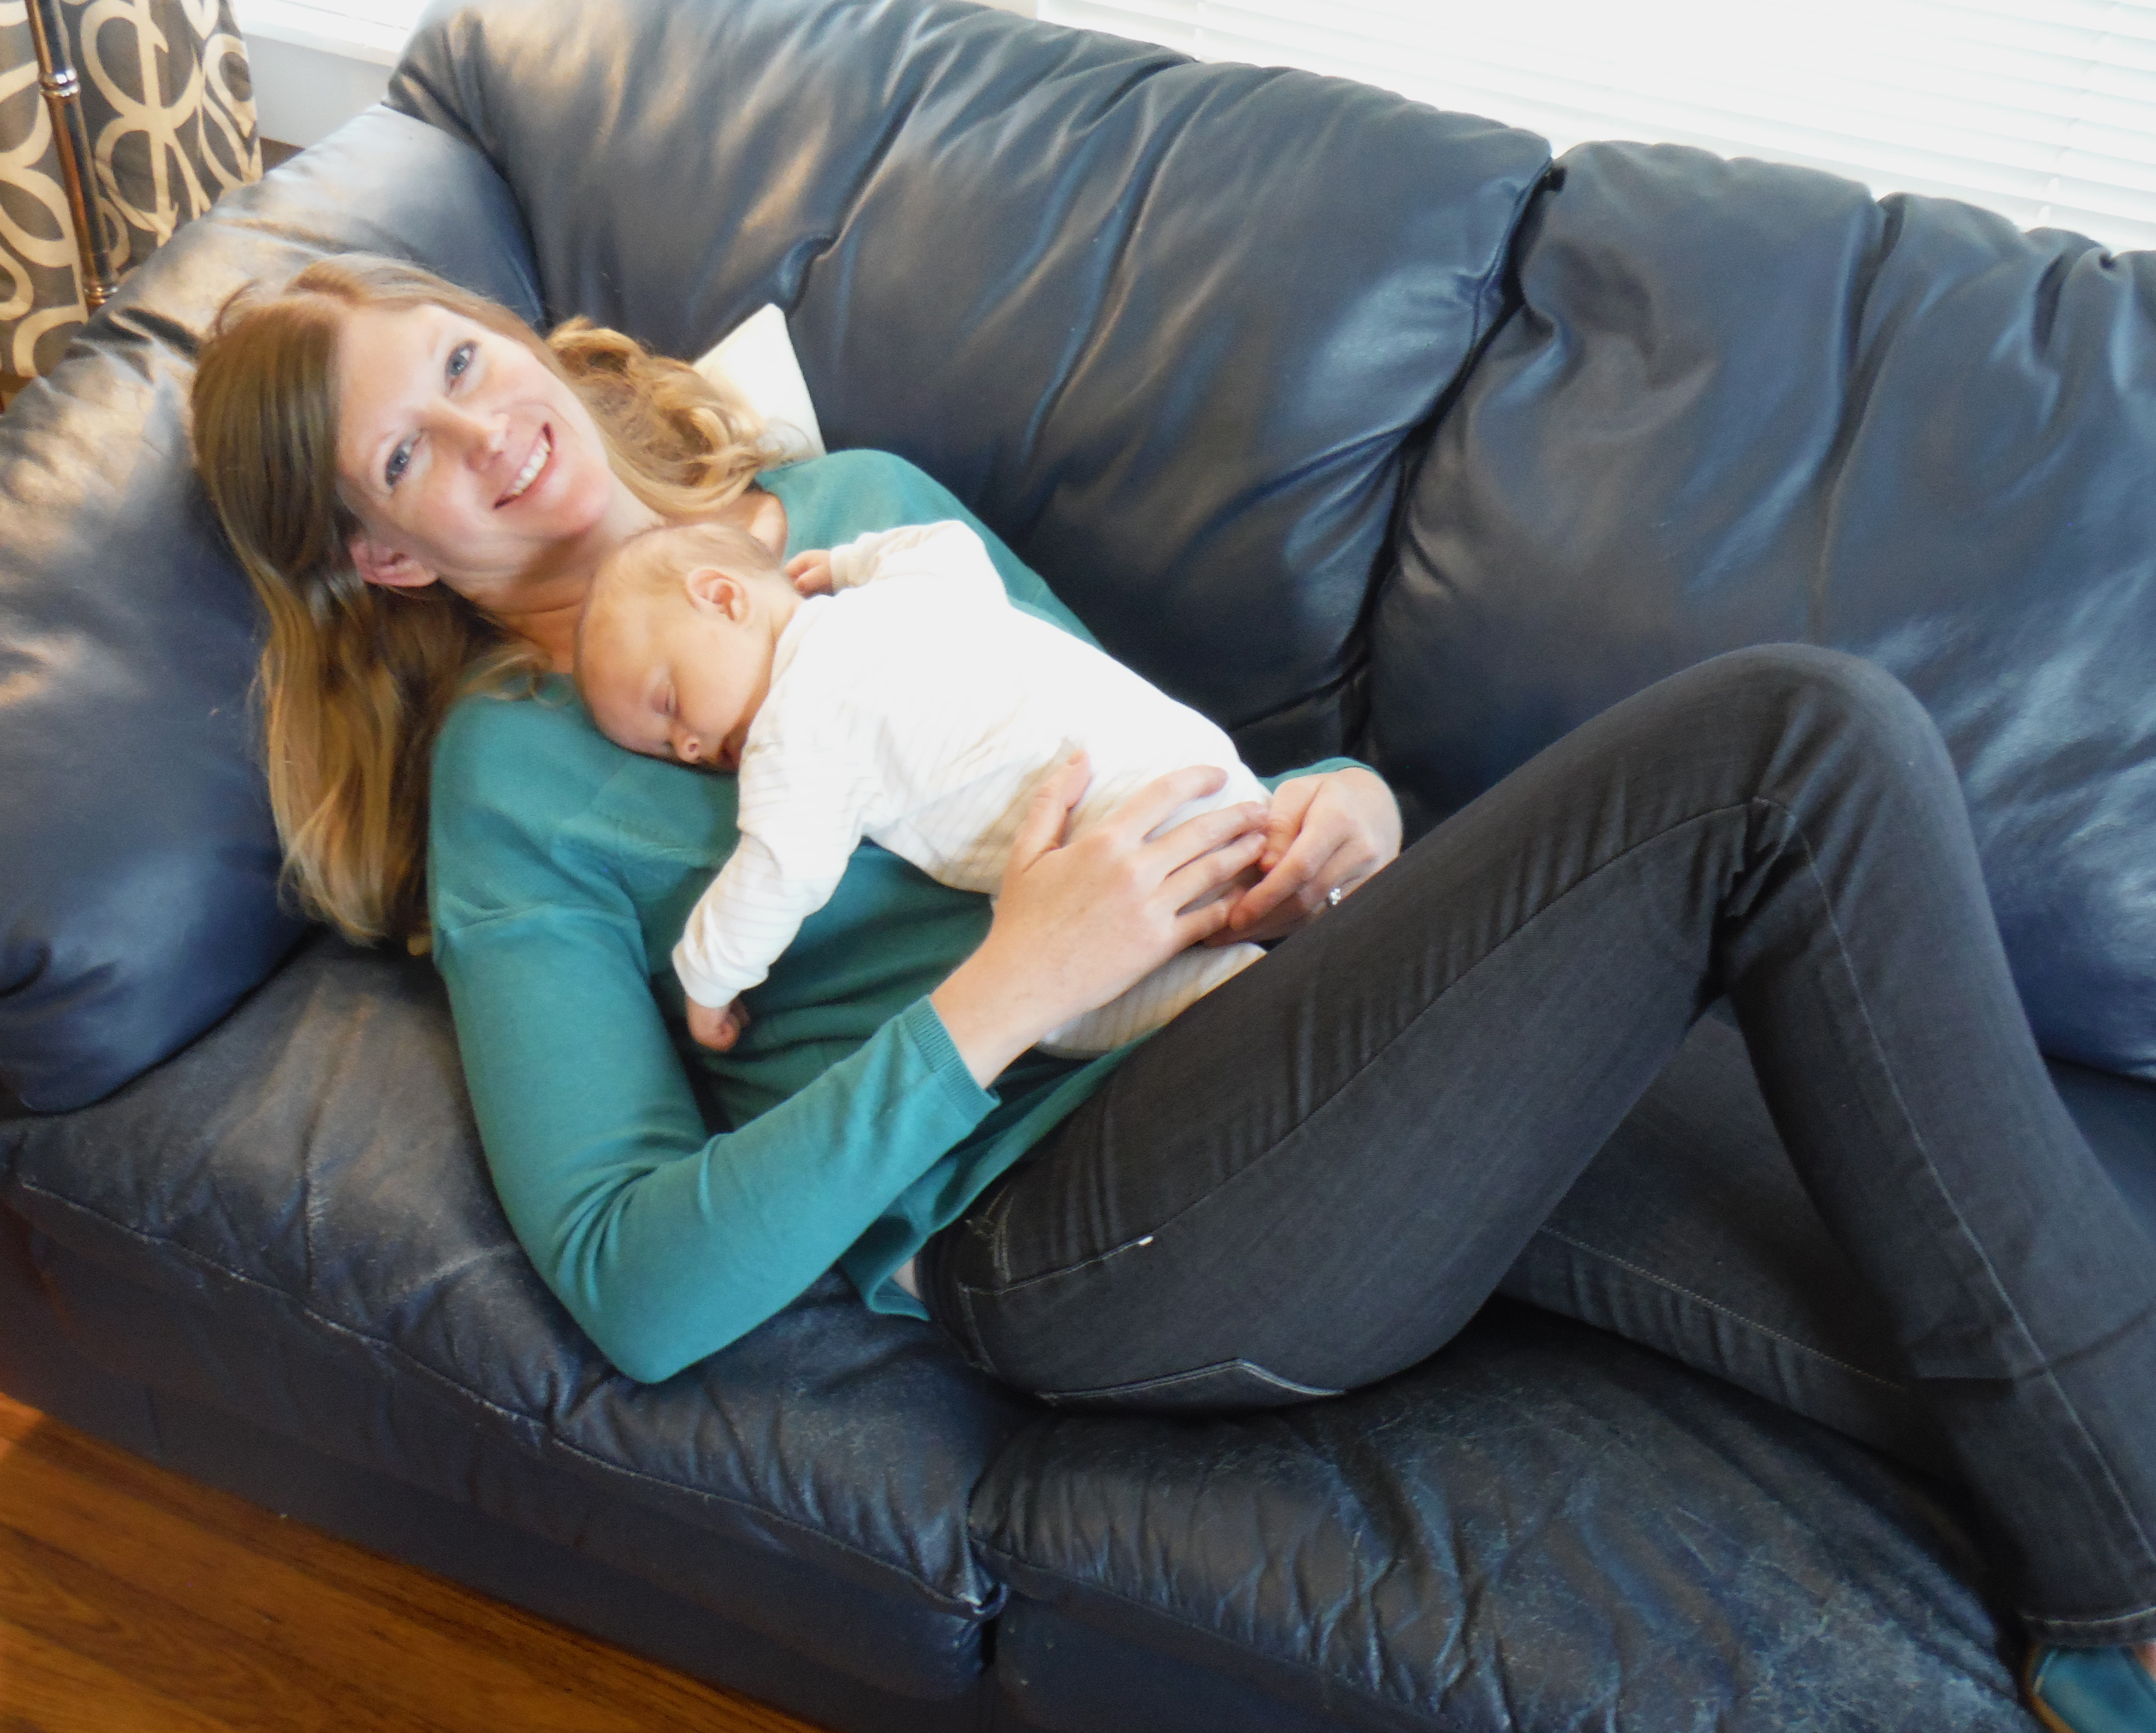
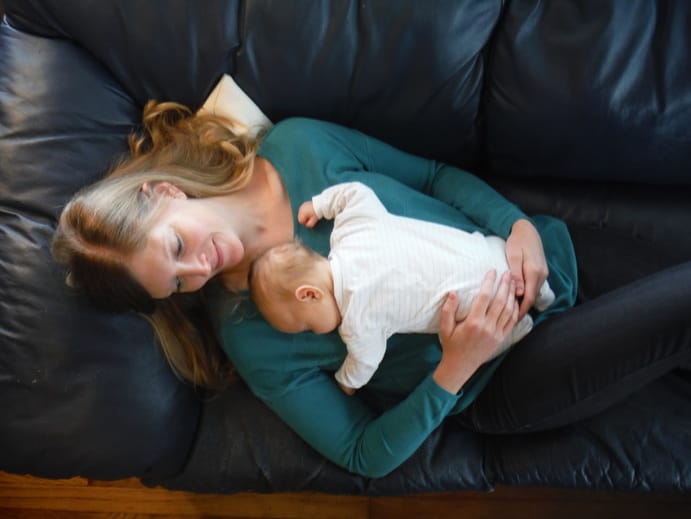
Welcome to my review of prAna clothing (affiliate link). I have seen prAna online through blog reviews, but had never tried the clothes before this review. I was excited to try out some new things, but a little apprehensive about how I would look in them since I am on the tall side at 5'10" and I have a 2 month old and am carrying a little extra weight around the middle. I was very careful when ordering and took my measurements since I have never worn prAna clothes before and my post baby body isn't back to normal yet. I even read reviews online to get a feel for the sizing. I chose the Kara jean (affiliate link) which is their most popular style in denim size 6 and the Stacia sweater in harbor blue size M. They are both made of organic cotton which I don't think I have ever worn before and have to admit is super soft. The sweater is fair trade certified which makes me feel good as a consumer knowing that the workers who made it are working under fair working conditions.
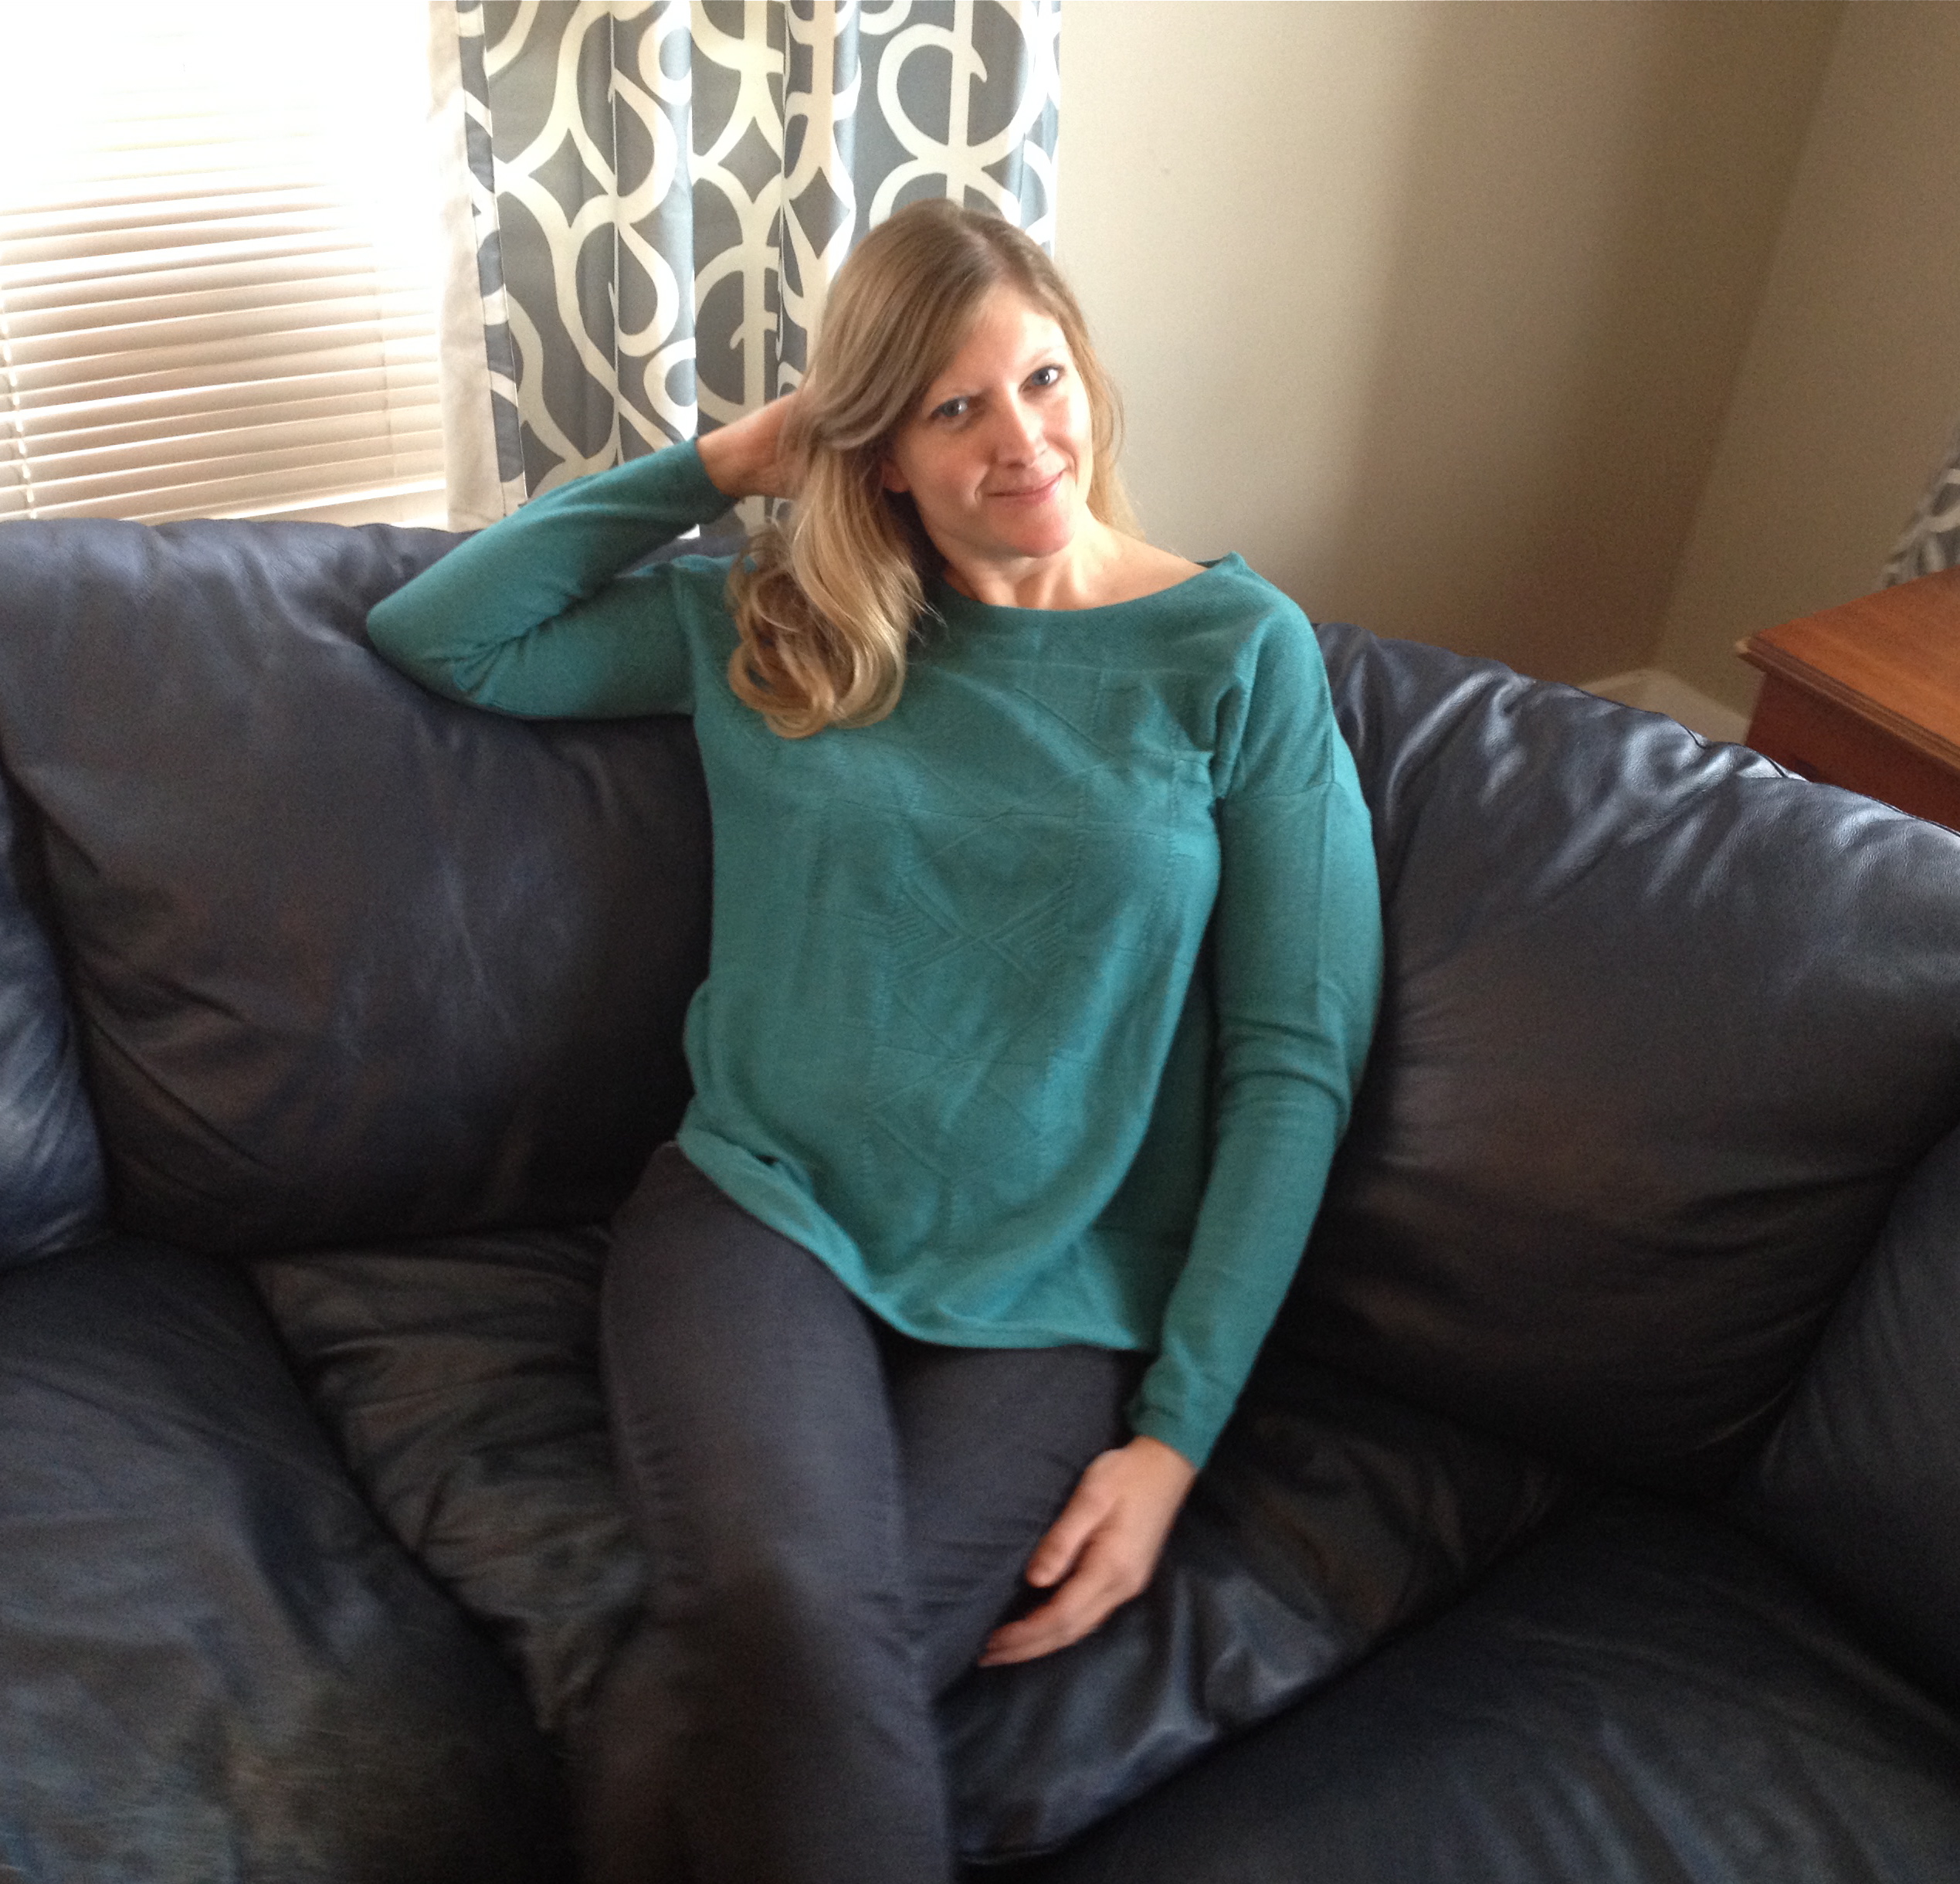
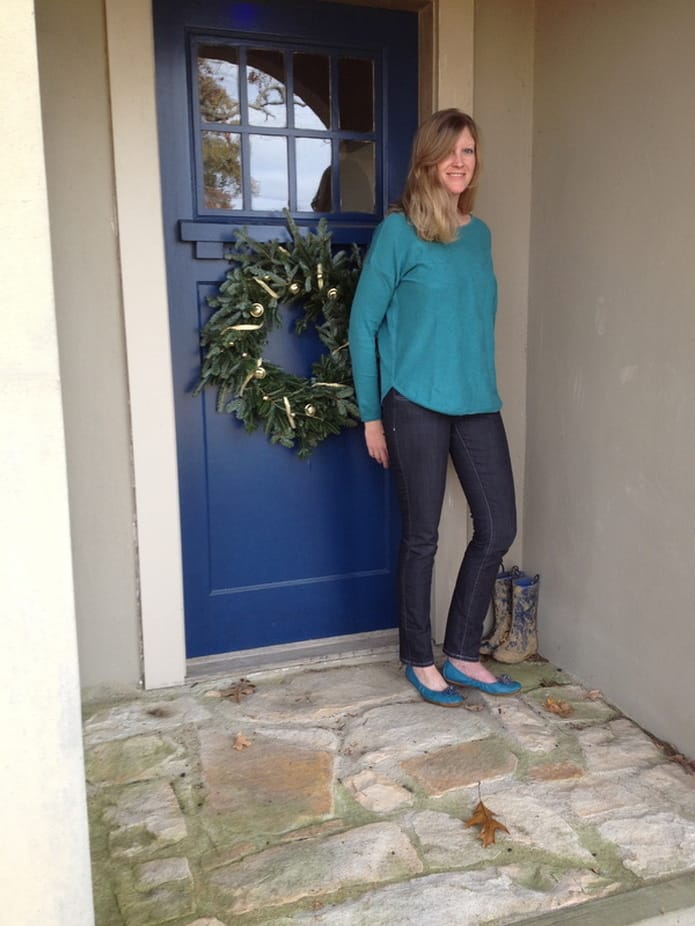
You are probably wondering how I really feel about my new prAna clothes after wearing them. First let's talk about the Kara jeans. They can be worn cuffed or uncuffed. Since I am so tall, I wear them uncuffed. In the summer, I may wear them cuffed as capri pants. You can see them cuffed at prAna.com. They are cute either way and if you are tall like me, you can still wear them. As far as fit goes, my Kara jeans fit really well except that they are in my opinion too low at the waist. I don't like having to worry about my backside showing when I sit down or bend over. I remedy this by wearing long tops with these jeans. Most of my tops are longer anyway, but I wouln't wear a short top with the Kara jeans.
As far as comfort goes, the Kara jeans are sooooooooo comfortable! The first day I wore them, I commented to my husband that night that I felt like I had worn yoga pants or sweats all day. You get the look of jeans with the comfort of sweats. They are so soft and flexible you could proably do yoga in them if you wanted. The Kara jeans are pricier as far as jeans go, but a good pair of jeans is a wardrobe staple. I have probably worn them at least 10 times since I received them for review. They are my new go-to jeans that I wear all the time. Now let's talk about the Stacia sweater. Based on my measurements and the fact that I just had a baby, I ordered a medium. This sweater is not fitted at the waist and is a little larger than I realized it would be. If I would have known, I would have ordered a small. So my sweater is bigger on me than I would like, but I still wear it because it is super comfy and I love the color. It is a beautiful blue green color. One thing I love about this sweater is that the sleeves are long enough for my arms. I almost always have to order tall size tops and can't just walk into a store and buy one. This is not a tall size sweater and the sleeves are long enough for me. There is one flaw in my sweater and that is that it is not perfectly symetrical across the front. The left side is slightly longer than the right and I find myself tugging on the right side to make it longer. Good news is I don't think anyone else notices. Overall, I recommend the Stacia sweater as a fashionable and comfortable piece of clothing, however, if I had purchased the sweater I would have sent it back for a smaller size that was symetrical across the front. I have had a good experience reviewing my new prAna clothing. I have worn both the sweater and jeans multiple times in the short time I have owned them and know that if I had purchased them myself I would get my money's worth. My new prAna clothes are fashionable and functional which is important to this busy mother of four.
2021 Update: I now have four pairs of prAna jeans that are wardrobe staples in my regular clothing rotation. They are still my favorite jeans I own! You can read a more recent update on my favorite jeans in this gift guide post.
8 Comments
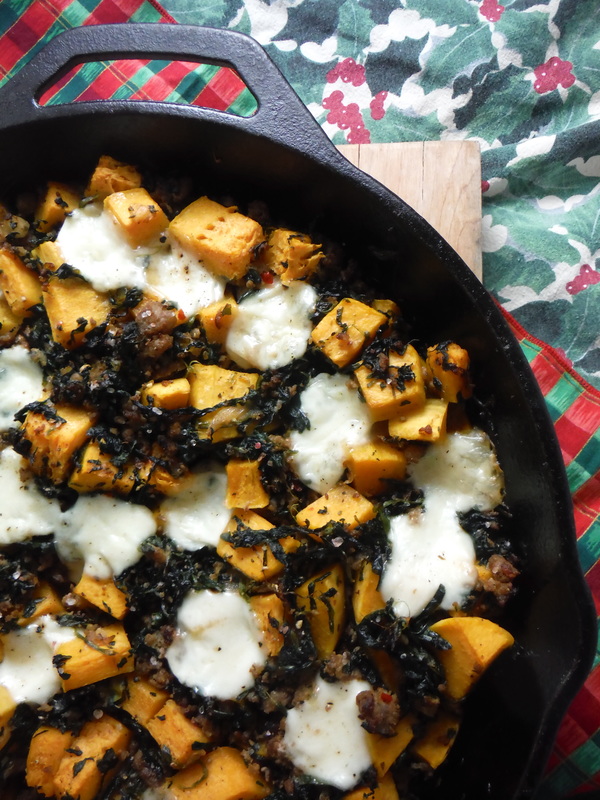
Maybe it's the weather...it is literally freezing here in Southern Kentucky and has been below freezing all week or maybe it's because I am nursing and always feel famished, either way I have been craving hearty and filling meals like this savory slightly sweet Butternut Squash and Sausage Casserole.
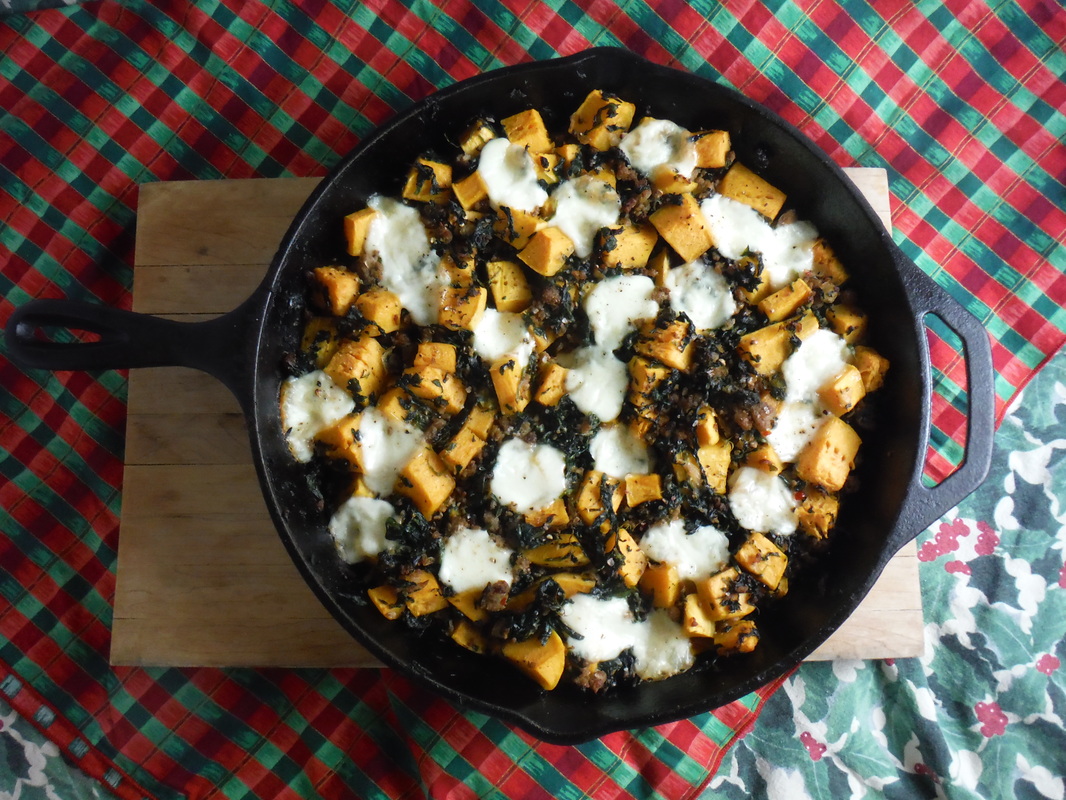
A friend of ours gave us a huge butternut squash last week so I have been coming up with creative ways to use it and this butternut squash and sausage casserole has been our favorite so far.
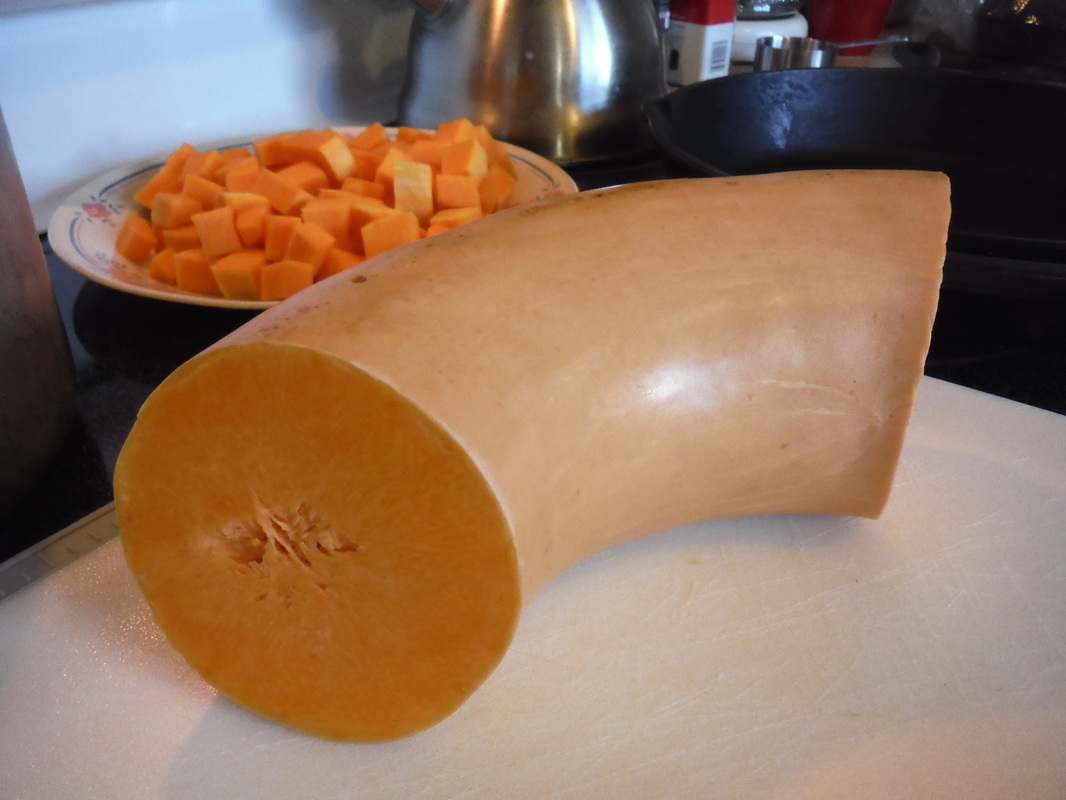
This is about a quarter section of our butternut squash. It was amazingly huge! I peeled, sliced and then cubed about 2 pounds squash for this dish.
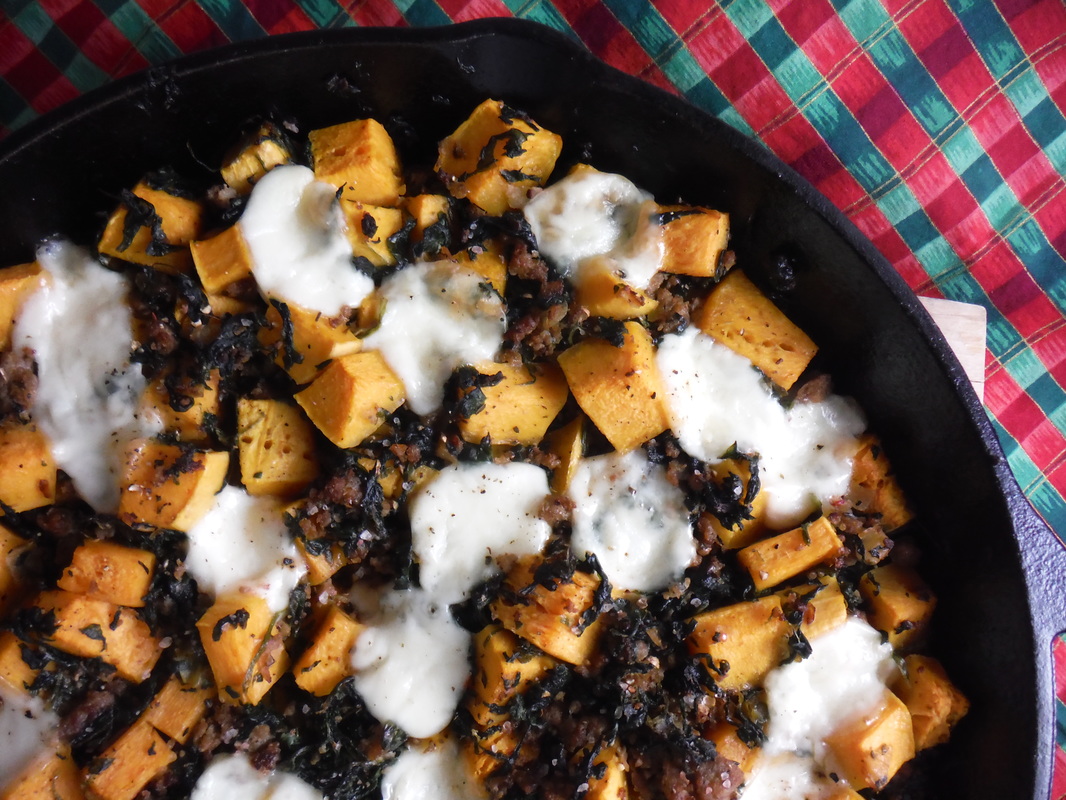
I love the combination of butternut squash, sausage, sweet onion, garlic, and spinach. This casserole is hearty, fresh and delicious. Our whole family loved it including our boys.
Butternut Squash and Sausage Casserole Ingredients: 1 lb. mild ground sausage 2 lb. butternut squash, peeled and cubed 1 sweet onion, diced 2 garlic cloves, minced 1/2 tsp. thyme 10 oz. box frozen chopped spinach, thawed and drained or several handfuls fresh spinach 1/4 cup cooking sherry salt pepper 8 oz. fresh mozzarella, cocktail size balls Directions: 1. Preheat oven to 350 degrees F. 2. Microwave peeled and cubed butternut squash for 3 to 4 minutes to partially tenderize. 3. Cook sausage, onion, garlic, and thyme over medium high heat until sausage is browned. 4. Add cooking sherry to skillet and scrape up any browned bits (which add more flavor). (Sausage mixture should still be in skillet.) 5. Stir in spinach and butternut squash. 6. Salt and pepper to taste. 7. Top with fresh mozzarella balls. 8. Bake uncovered for about 30 minutes until squash is fork tender and cheese has melted. Use an ovenproof skillet like a 12" iron skillet. If you don't have an ovenproof skillet, simply transfer to a large greased casserole dish or a 9 X 13 inch pan before baking.
I used frozen chopped spinach because I had it on hand, but you could easily use a few handfuls of fresh spinach instead. We loved the fresh mozzarella topping which melted beautifully and gave a rich yet balanced flavor, but you could use shredded swiss or another favorite cheese.
We are a participant in the Amazon Services LLC Associates Program, an affiliate advertising program designed to provide a means for us to earn fees by linking to Amazon and affiliated sites.
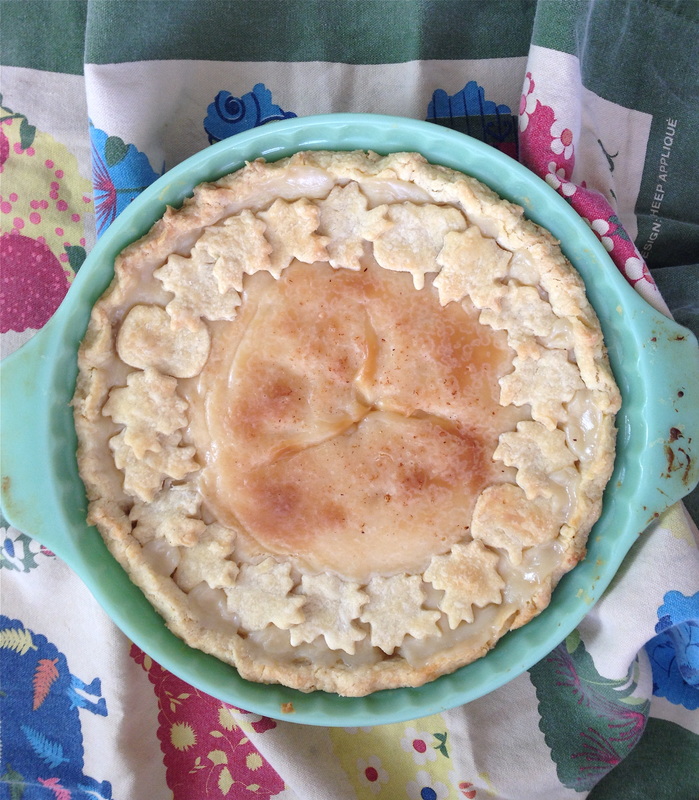
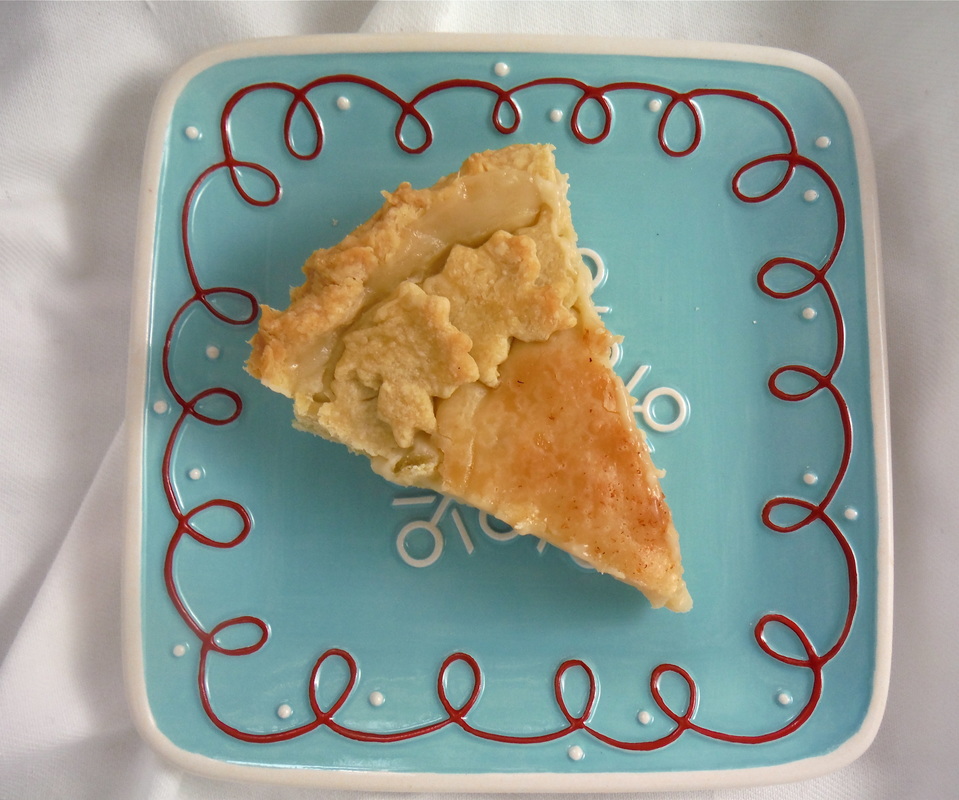
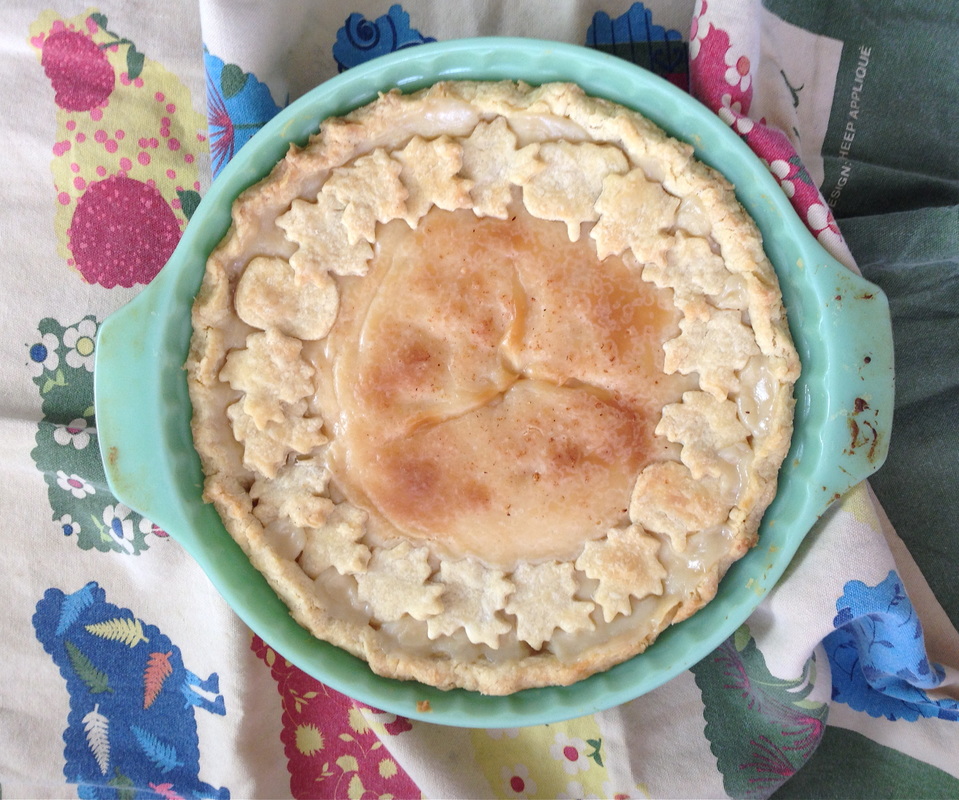
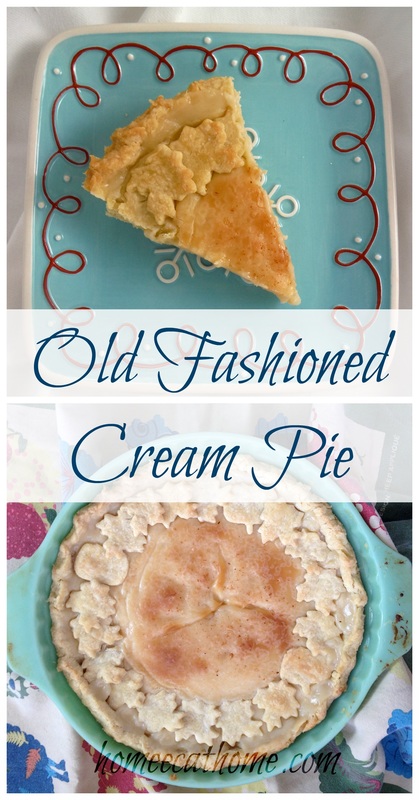
Old Fashioned Cream Pie is one of the first recipes I posted on Home Ec @ Home a little over six years ago. It is one of the most popular recipes on the site so when I made it at Thanksgiving this year, I decided it was high time to update this post with new photos.
I found this recipe several years ago in a Harvest Holiday Cookbook my Mom gave me from The Sidney Daily News in Sidney, OH. It was submitted by Mary Morrison. There is a restaurant in Sidney called The Spot to Eat which serves an amazing Old Fashion Cream Pie. I don't know if it is the same recipe or not, but it sure is good. When President Bush came through Sidney during his campaign, he made sure to stop at The Spot.
This is one of my favorite recipes for cream pie because it is both delicious and pretty simple. You make the pie filling on the stove and then pour it into an unbaked pie shell and bake in the oven. If you want to make a pretty trim like the leaf trim in these pictures, cut any extra dough with small cookie cutters and layer around the edges .
Old Fashioned Cream Pie would make a lovely addition to your Christmas dessert menu!
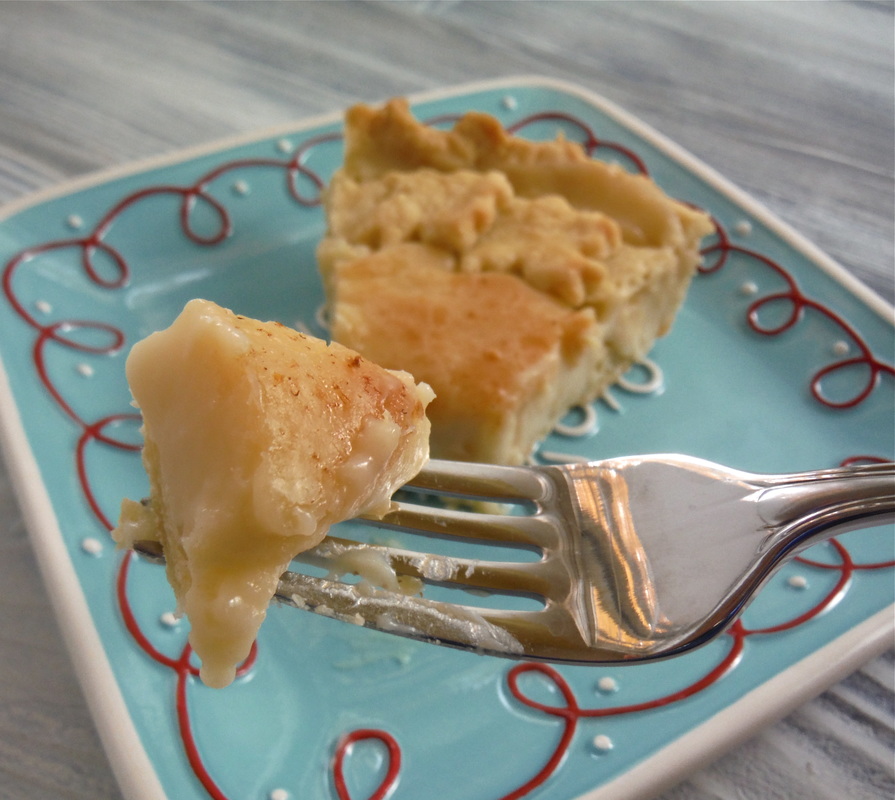
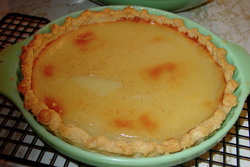
Look at that creamy rich delicious pie filling with just a touch of nutmeg sprinkled on top.
I usually make this recipe with my Aunt Carol's Never Fail Pie Crust. This recipe makes two pies so it is great for a crowd. It is really sweet and is especially good with some whipped cream. You can easily halve the recipe to make a single pie if two pies would be too much for your group. Aunt Carol's Never Fail Pie Crust I now use real butter instead of shortening in this pie crust recipe because butter is a healthier fat. All Butter Never Fail Pie Crust I haven't tried it with lard yet, but plan on it, since lard should give a nice flaky crust. Let me know if you try it. 3 cups flour 1 1/4 cup shortening 1 tsp. salt 1 egg, well beaten 5 Tbsp. water 1 Tbsp. vinegar 1. Cut shortening, flour, and salt to coarse crumbs. 2. Combine egg, vinegar, and water. Pour liquid into flour mixture all at one time. 3. Blend with a spoon just until all the flour is moistened. 4. Roll 1/2 of the dough out on a lightly floured surface. Fold flattened dough in half and then in half again so that it can be easily lifted into the pie pan. Lift the dough into the pan and unfold so that it covers the pie pan. 5. Press the dough into the pan and trim and shape the edges. Repeat with the extra ball of dough or freeze for future use. You will need two pie crusts for Old Fashioned Cream Pie (unless you halve the recipe). Old Fashioned Cream Pie 2 cups sugar 1 stick butter (1/2 cup) 5 Tbsp. cornstarch 1 pint heavy whipping cream 1 pint 1/2 and 1/2 1/2 tsp. vanilla 2 unbaked pie crusts (recipe above) Nutmeg (affiliate link) (I grate whole nutmeg directly onto the pie) 1. In a large pot, warm cream and 1/2 & 1/2. 2. Add butter and let melt. 3. Premix sugar and cornstarch. Add to warm mixture. 4. Cook until thick, stirring constantly (This will take a few minutes. It will thicken, but will be thinner than pudding-it will still be pourable). 5. Add 1/2 teaspoon vanilla. Pour filling into pie crusts and sprinkle with nutmeg. 6. Bake at 350 degrees for 45 minutes. Makes 2 pies. Cool to room temperature then refrigerate. This is perfect with whipped cream.
If you are an aspiring food photographer, you should check out Tasty food Photography (affiliate link below). Reading this ebook helped transform the way I photograph food. Below is the original photo I used in this post six years ago. As you can see, this book really helped me with my food photography skills.
|
Welcome to Home Ec @ HomeHi, I'm Faith, a former Family and Consumer Science teacher turned food blogger. I love God, my family, and food. You can usually find me in the kitchen preparing family friendly, homemade recipes and taking lots of pictures. This website uses marketing and tracking technologies. Opting out of this will opt you out of all cookies, except for those needed to run the website. Note that some products may not work as well without tracking cookies. Opt Out of CookiesFan Favorites
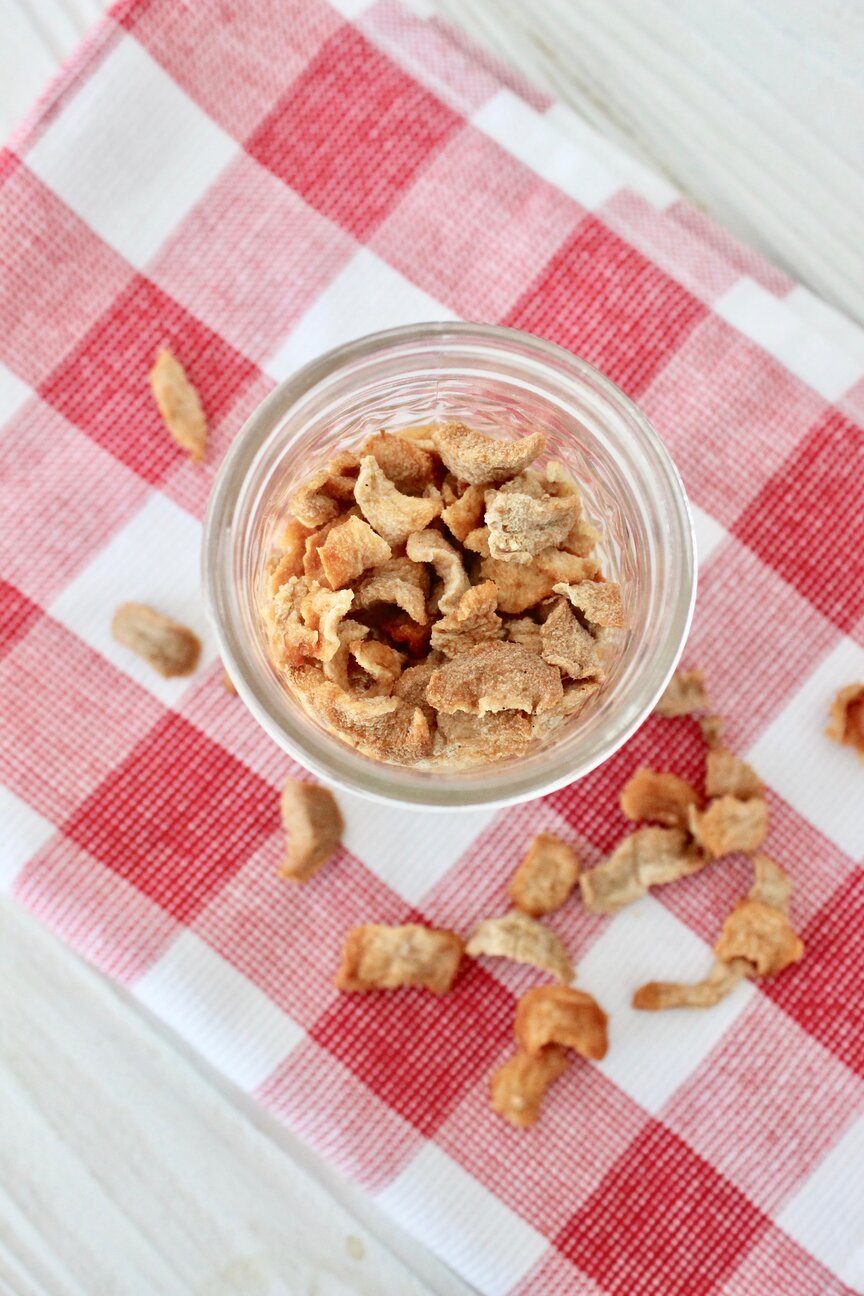 Dehydrating Pears and Apples in the Instant Pot Duo Crisp Dehydrating Pears and Apples in the Instant Pot Duo Crisp
|





 RSS Feed


