|
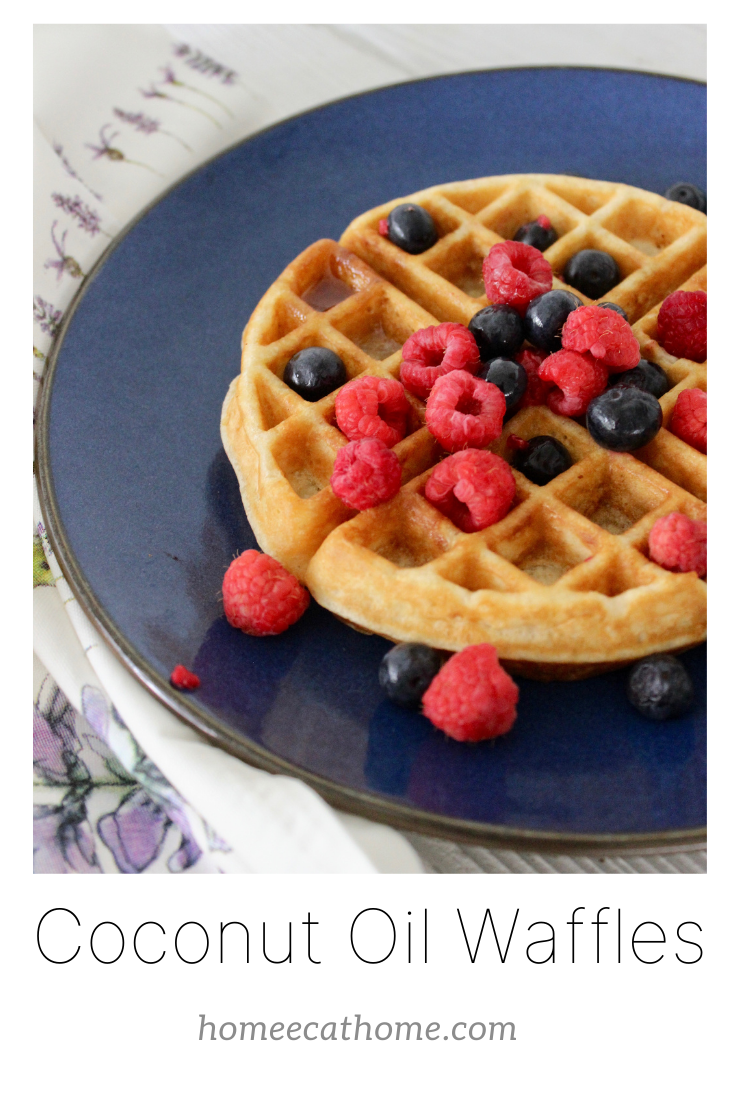
I have been making these waffles for years and now my oldest is helping with the measuring, mixing, and breaking of eggs. It's nice to carry on the tradition and I am glad to see my son showing interest. As a former Family and Consumer Science teacher and as a parent, I see great value in teaching my children basic home economics skills.
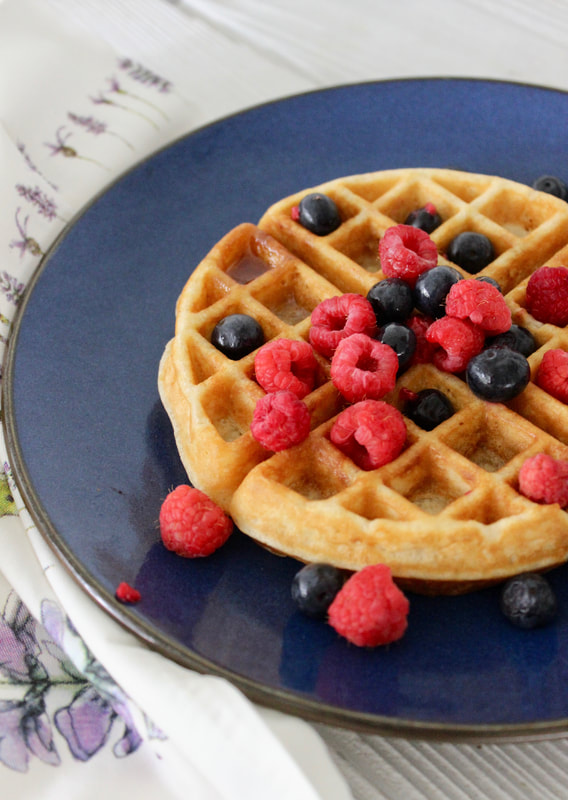
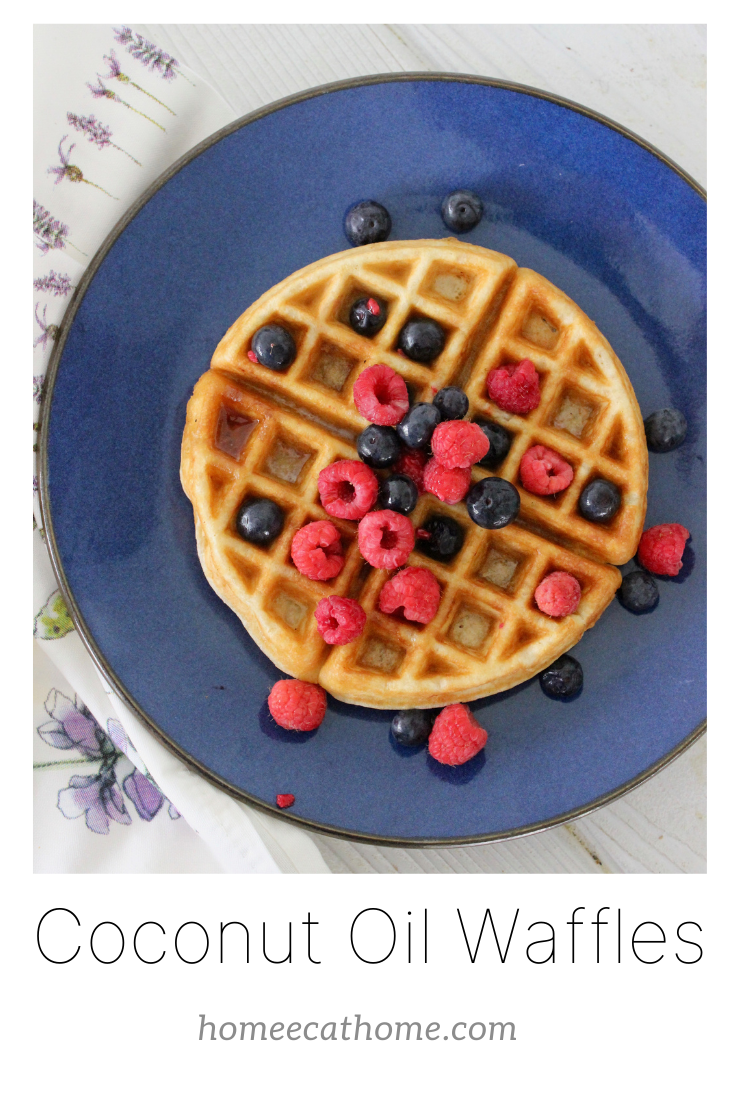
Coconut oil waffles are super easy to make. I can quickly make the batter and have waffles in no time. I always make a double batch. It's just as easy to double it and have extras on hand as it is to make a single batch. I freeze any extras for busy mornings and easy snacks. They go in the toaster just like eggos, only a section at a time because they are bigger. I sometimes refrigerate extra batter overnight in a covered container and use it the next day for quick waffles.
I like using coconut oil in these waffles for the health benefits, but you could use canola or vegetable oil instead. 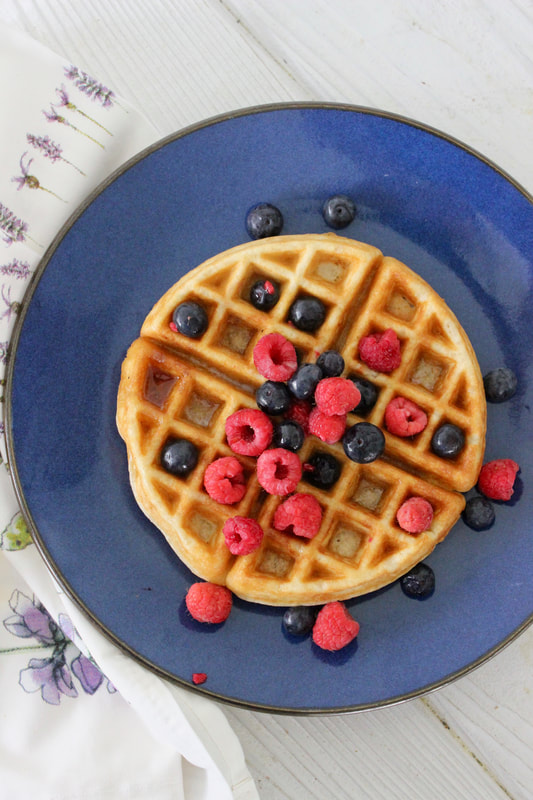
Ingredients:
1. Heat waffle iron. 2. Mix dry ingredients. 3. Whisk eggs then add remaining wet ingredients. 4. Make a well in center of dry ingredients and add wet ingredients. Stir until combined. Batter will be thick. 5. Spray waffle iron with cooking oil spray and add about 3/4 cup batter. 6. Cook until done, a few minutes or until steaming stops. Makes 4 waffles in my round waffle maker. You can easily double this recipe so that you can freeze leftovers. Layer waffles between sheets of wax paper and freeze in a ziploc bag. 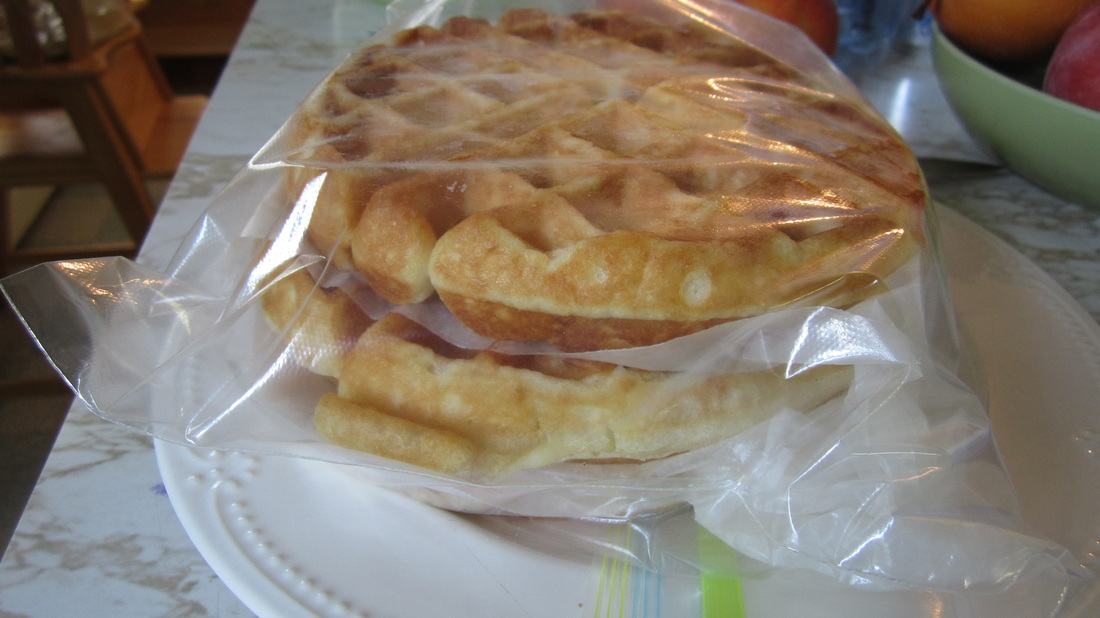
Pin on Pinterest

7 Comments
So what do you make when you husband brings home bowls of fresh blueberries? I found myself pondering this question last weekend. You may have seen my updates on instagram as I made this very important decision, finally deciding on a blueberry galette. Galette is a french word referring to a flat round "cake" made of flaky pastry.
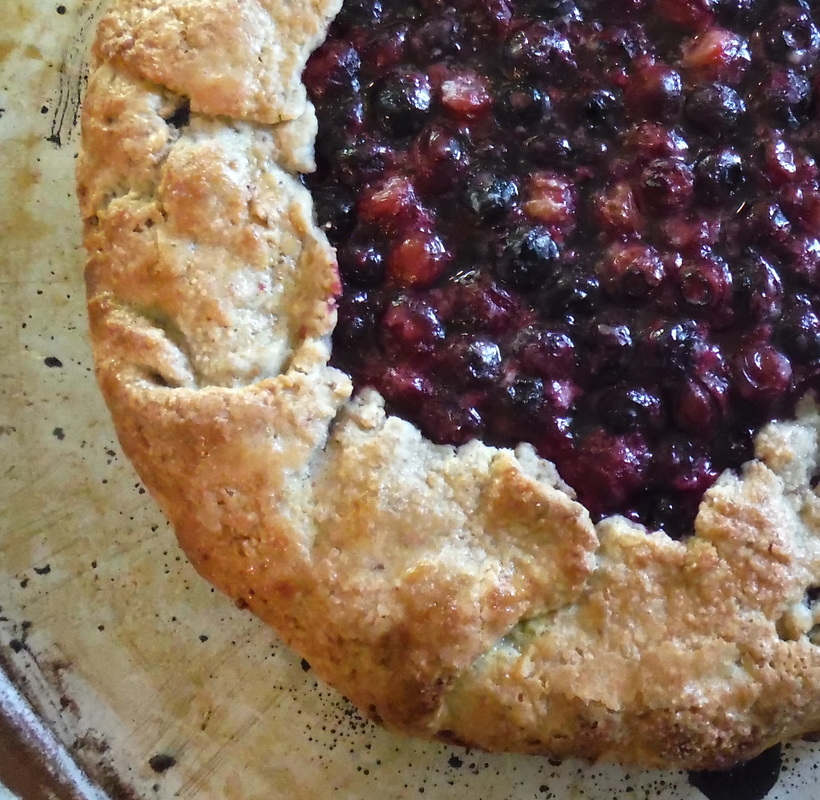
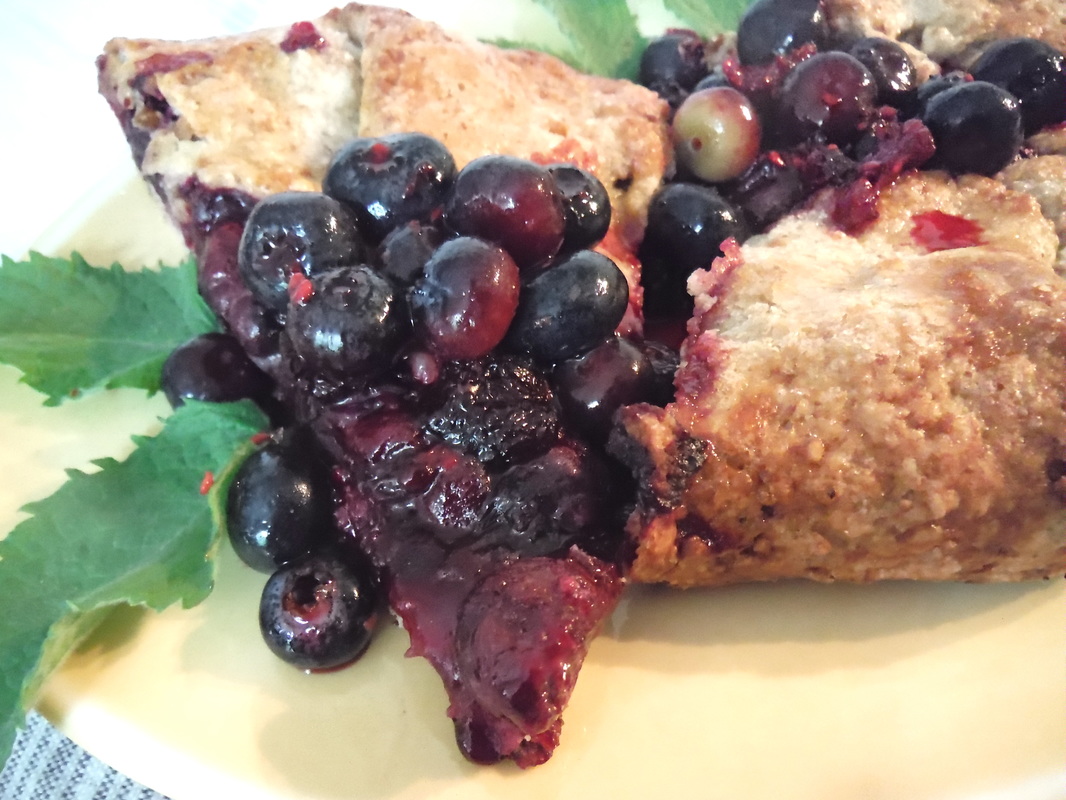
It was a very good decision. Make that a delicious crispy crust with soft juicy blueberries decision. This is a very crispy crust and there is a little secret to this crispy crust...vodka. If you are completely against adding liquor to your recipes, you will be fine to use water in place of the vodka. If you don't mind a few spirits in your food and drink, I would go with the vodka.
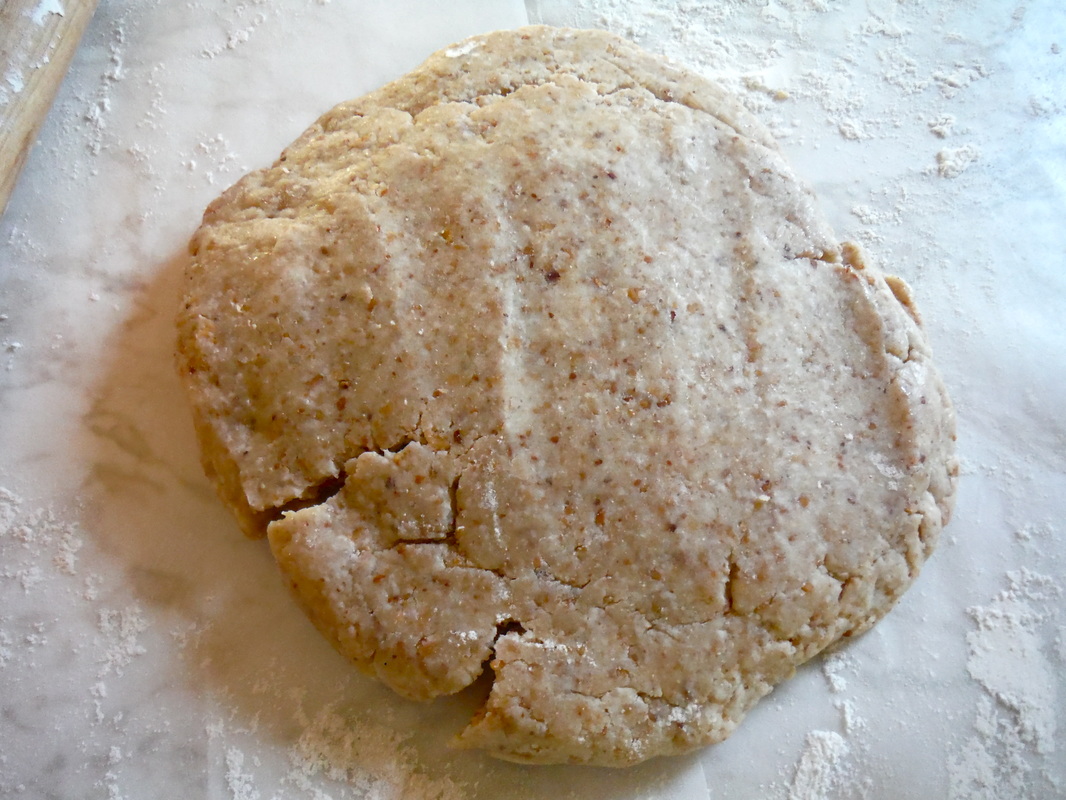
After making the dough, form a round and refrigerate it for several hours or overnight.
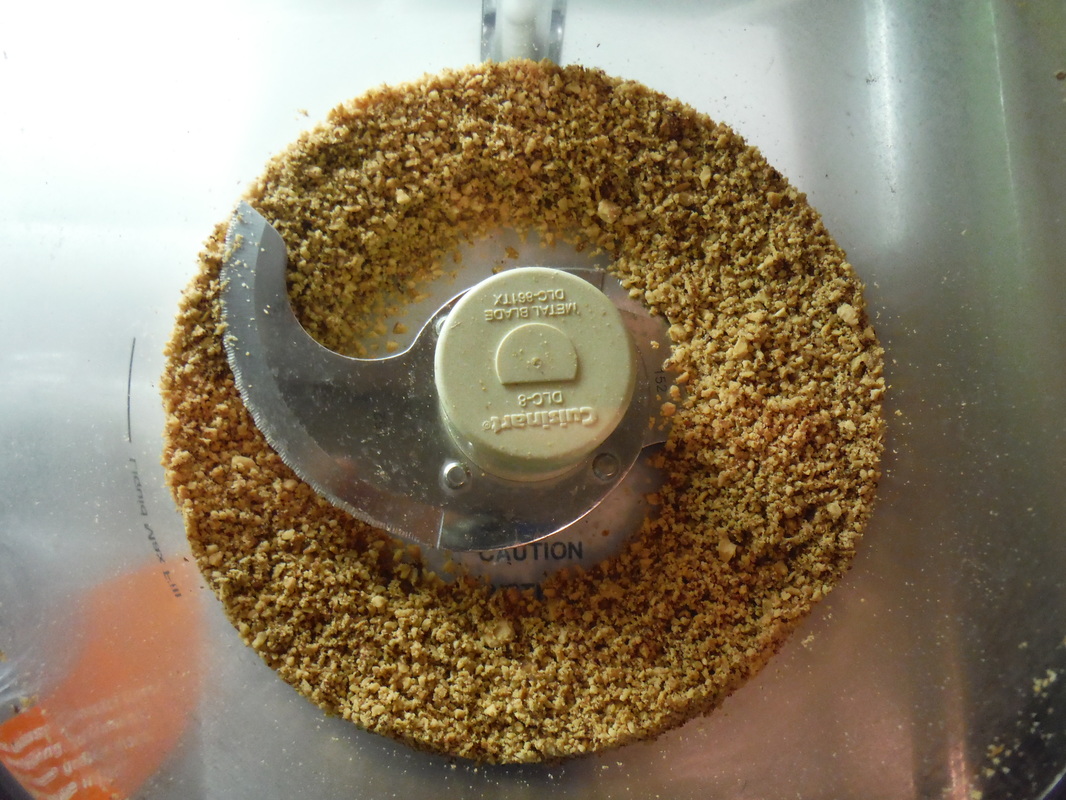
Almonds are a main ingredient in this crust. Pulse them in your food processor to get small crumbs. Almonds in any form will do since you are chopping them up... sliced, slivered, or whole.
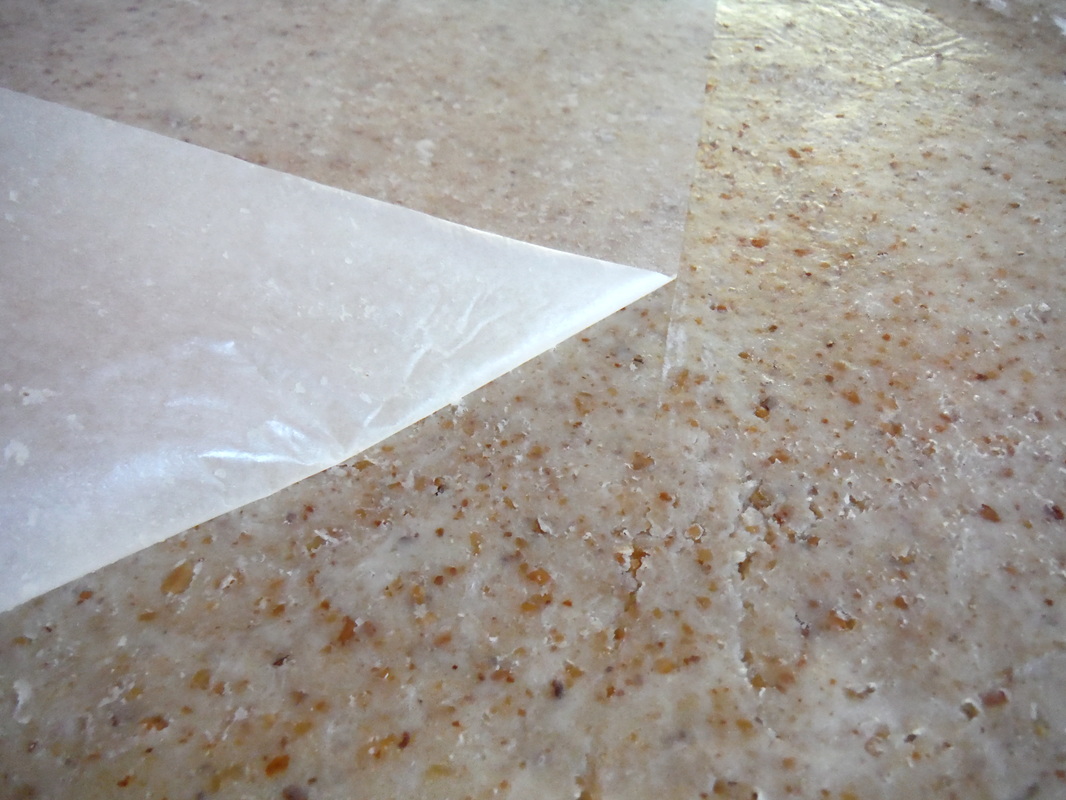
Roll the dough (it will take some effort) onto a wax paper lined counter. Then invert a buttered pizza pan over the dough and lift the dough sheet onto the pizza pan so that the wax paper side is up. Then gently lift the wax paper off the dough and discard.
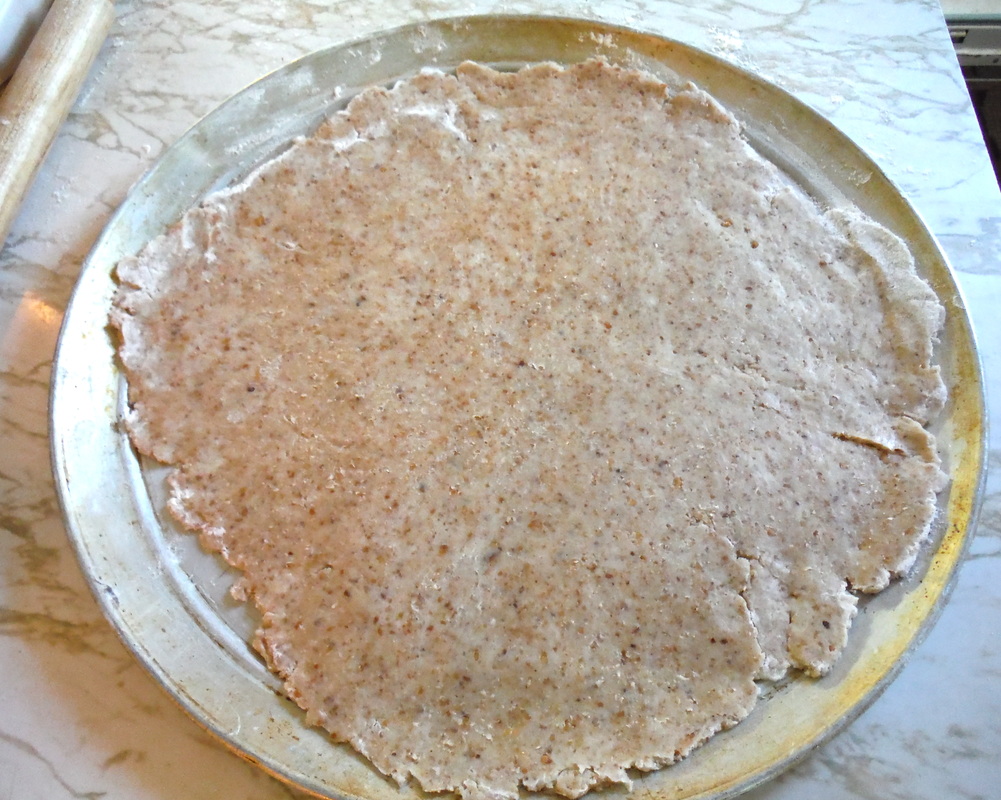
Now you have a dough lined pan.
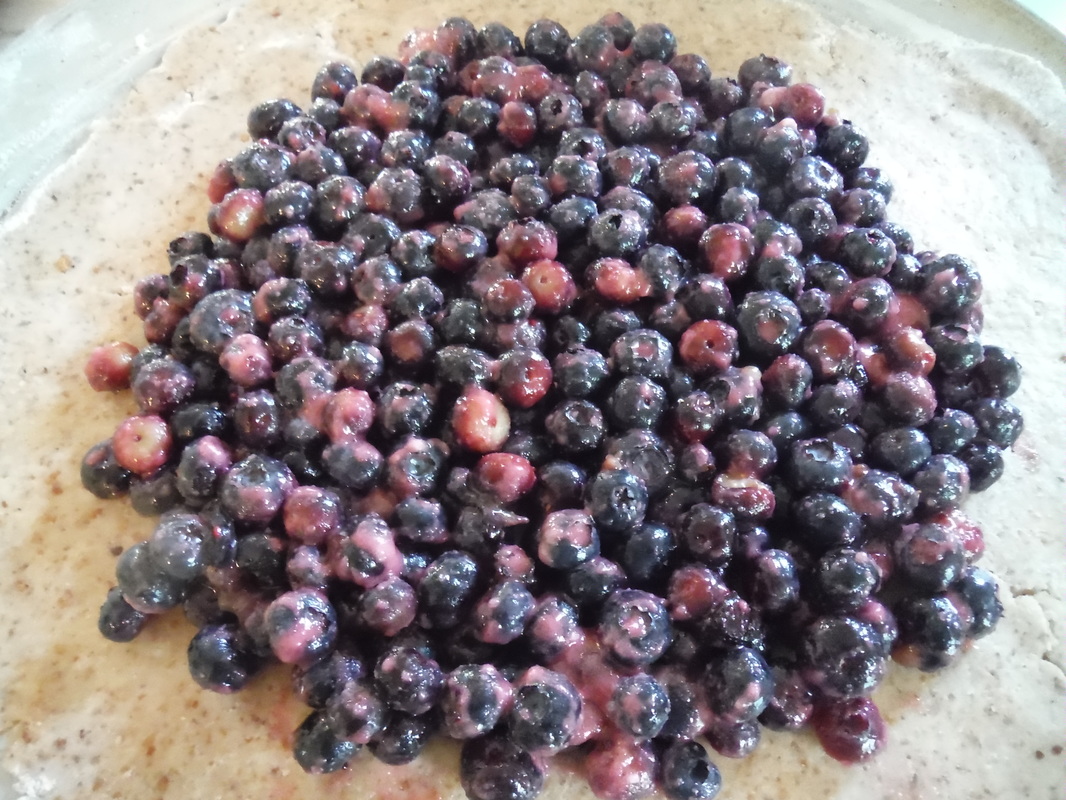
Next, make the filling and place it in the center of the dough.
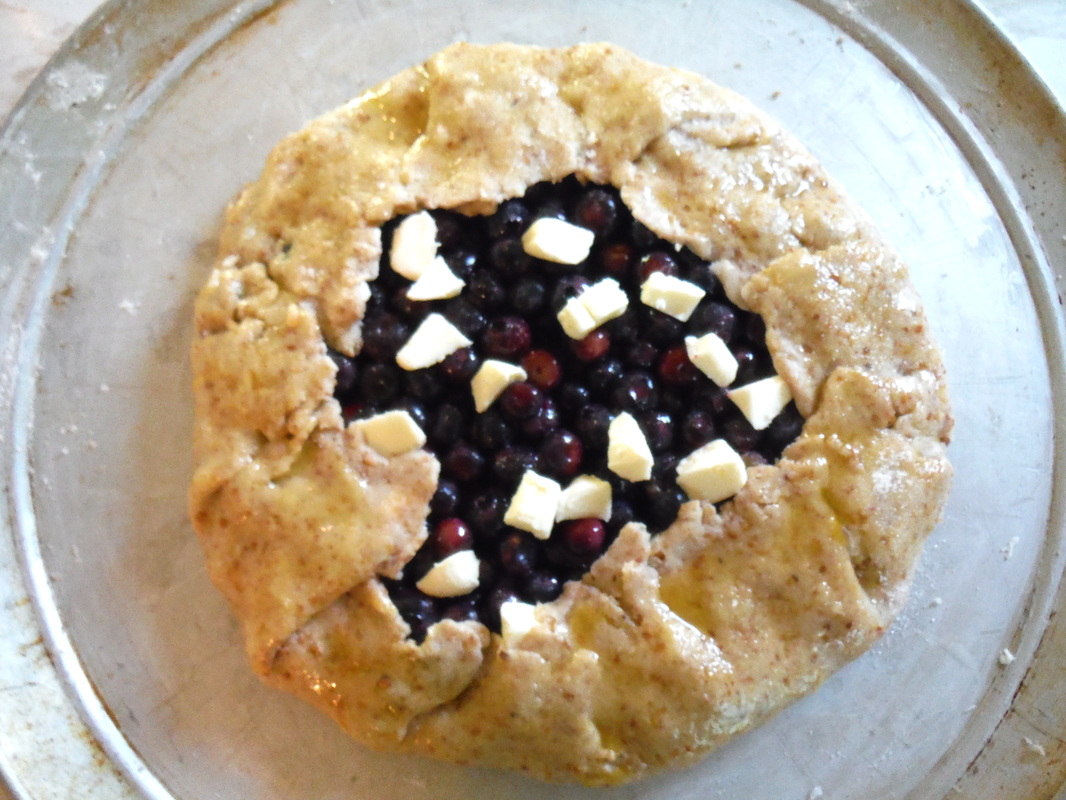
Place small pats of butter over the filling. Then fold up the edges of the dough around the filling. Lastly, brush the dough with egg and sprinkle with sugar. Ready for the oven!
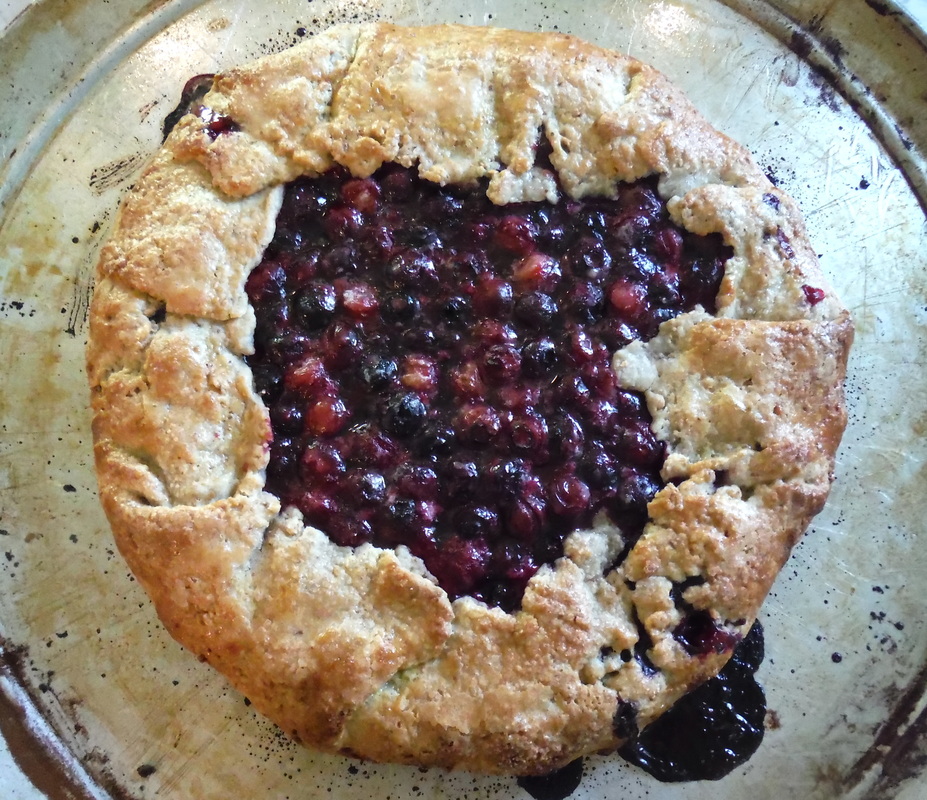
Beautiful, a rustic masterpiece of flaky pastry and sweet juicy berries. Serve with berry topping and whipped cream or ice cream.
For a printable recipe, copy and paste this into a word document and print.
Linking up at Share the Wealth, Create with Joy, Do Tell Tuesday, The Mommy Club, Dream Create Inspire
Disclosure: I am NOT being paid to share this info with you, but I am sharing because I have received tons of blog traffic from Yummly and thought others could benefit too. Plus, I want you to Yum my recipes because more yums = more traffic.

Once you have written your out of this world fantastic food blog post and edited your award worthy photos that you know everyone would love if they just knew about it ... the tricky part comes. How do you get it in front of an audience, preferably a food loving audience? Of course you plaster your link all over social media, maybe put it on some blog link ups, but how do you get serious traffic? There are actually lots of places to share your food blog posts, but how do you know which ones will bring the most traffic for a small investment of your time? I have been posting to several food sites for a couple of months and hands down, yummly has brought the most traffic. Plus it is really easy to add your recipe posts to yummly.

It is no secret that bloggers want more blog traffic. After all a blog is a lot of work and it's nice to get paid for all of that work through advertising revenues, affiliate links, and sponsored posts. The tricky part is getting people to come to your site and see your amazing brownie recipe because there are about a gazillion other amazing brownie recipes on the web. How do you compete, especially if you are a newer food blogger?
Of course you have to write interesting and reliable posts. Your recipes must be tried and true recipes and you should include a back story to connect with your readers. You don't just want unique views, you want returning views too. Another important element is great photographs. Study food photos on Foodgawker and Tastespotting. Once your photos are good enough, consider submitting to these sites, but know that they are both really really picky. Don't feel bad if your photos are rejected. Many of them will be. Read the feedback given for each rejected photo and learn from it. Read books and blog posts about improving your food photography. I have to recommend Tasty Food Photography. It is a resource written by a hugely successful food blogger that has helped improve my photography skills by leaps and bounds. (affiliate link) 
So what is yummly anyway?
I created a publisher page on yummly and added a yum button to my blog. It is so easy to yum a recipe using the yum button. Simply click on the yum button at the bottom of my recipe posts and you can yum my recipes too. There is also a yum button in my sidebar, but make sure you are on a recipe page and not the homepage when you hit the yum button. My old recipes don't have the yum button yet and I am very particular with what I yum. I want my publisher page to showcase the best of Home Ec @ Home.
It is easy to create an account and if you are a food blogger, set up a publisher page. I noticed a huge increase in blog traffic within a week of using yummly. It is fun to see the yum number increase for each recipe when others yum them too. It's always nice to see that others appreciate your work and the increased traffic is an added blessing. So if you are looking to bring more traffic to your food blog, remember content is King, work on your food photography skills, and create a yummly publisher page and yum your recipes. And to all of my amazing and wonderful readers, yum my recipes (pretty please) because more yums = more traffic. Yummly puts every recipe in the world in your pocket. The most powerful recipe search, the recipe sites you love, your digital recipe box, recipe recommendations just for you, and a smart shopping list - all with you wherever you go. Yummly has the #1 iPhone, iPad and Android apps in addition to millions of website visitors. As recipes get more Yums, they get exposed more often throughout all of our platforms and features.
Linking up at Friendship Friday, Share the Wealth, Oh My Heartsie Girl, Raising Samuels Homeschool, The Mommy Club, Dream Create Inspire, Family Joy , Create with Joy


This is the easiest pizza to make and so delicious. It only takes 30 to 40 minutes from start to finish (including baking time). This is a regular meal in our house and the kids love helping. We add a little more sugar to the crust since we like a sweet crust. Updating an old post, so you may have seen this recipe before. 
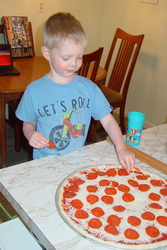
Pizza Crust: 1 Tbsp. active dry yeast 1 cup warm water (105 to 115 degrees F.) 1 to 2 Tbsp. sugar or sucanat (We use 2 Tbsp.) 1 tsp. salt 2 Tbsp. olive oil 2 1/2 cups flour Dissolve the yeast in the water. Add the rest of the ingredients in and mix. Dump onto a floured surface. Knead into a smooth dough (five minutes or so). Roll dough out on a lightly floured surface and then press down onto a greased pizza pan. Next add pizza sauce, then cheese. Follow with toppings. (Have fun and be creative with this! Our favorite is pepperoni, pineapple, onion and cheese.) Bake at 450 degrees F. for around 12-15 minutes until the crust looks crispy and lightly browned. By the way, you can make up a double or triple batch of the pizza crust dough and freeze the extras if you don’t need it. This speeds up the preparation even more as all you have to do is pull out a bag of dough in the morning and then put the pizza together right before you’re ready to eat.
Adapted from Money Saving Mom.
Linking up at Share the Wealth, The Mommy Club
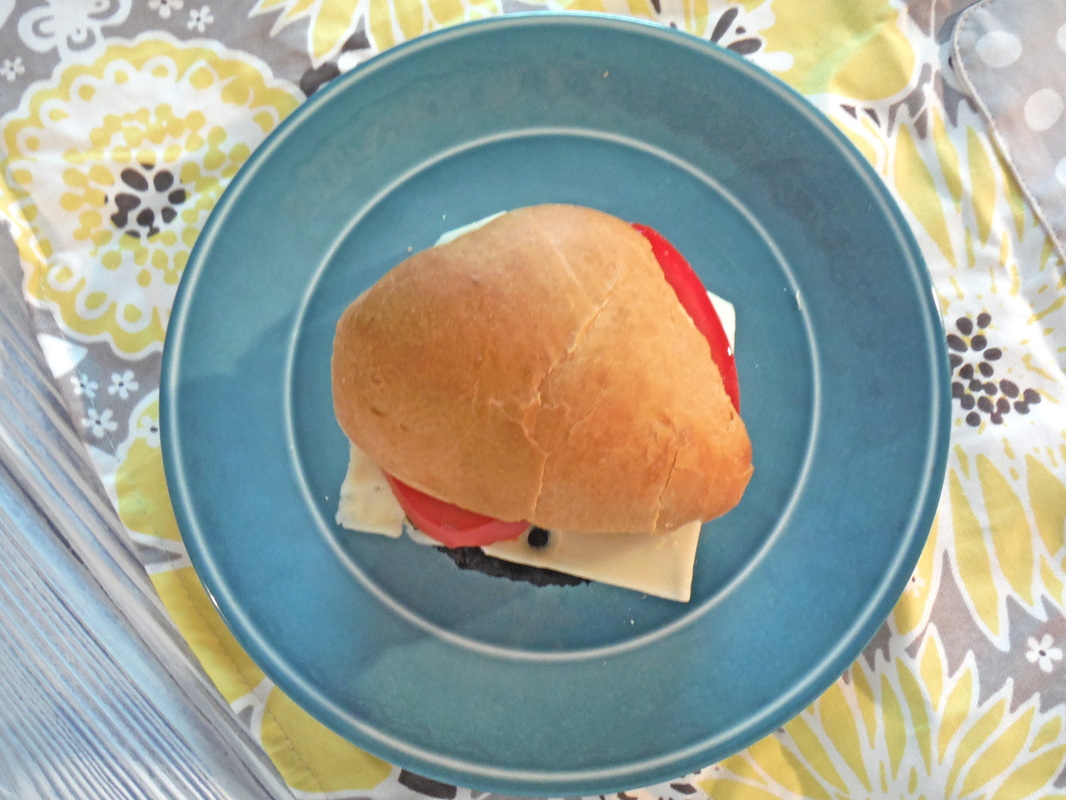
I used this breadstick dough to make hot dog buns this Spring and we loved them so much I decided to make hamburger buns too. I have to send a shout out to Money Saving Mom for sharing my hot dog buns and helping popularize the post. Thanks Crystal:)

There are several ways you can shape hamburger buns.
1. Roll the dough out into a sheet and cut the dough with a large biscuit cutter. 2. Roll the dough out into a sheet and cut quickly into squares with a pizza wheel. This will yield square shaped buns. 3. Form the dough into small balls and roll each ball into a small round of dough. (The kids might enjoy helping roll the dough.) 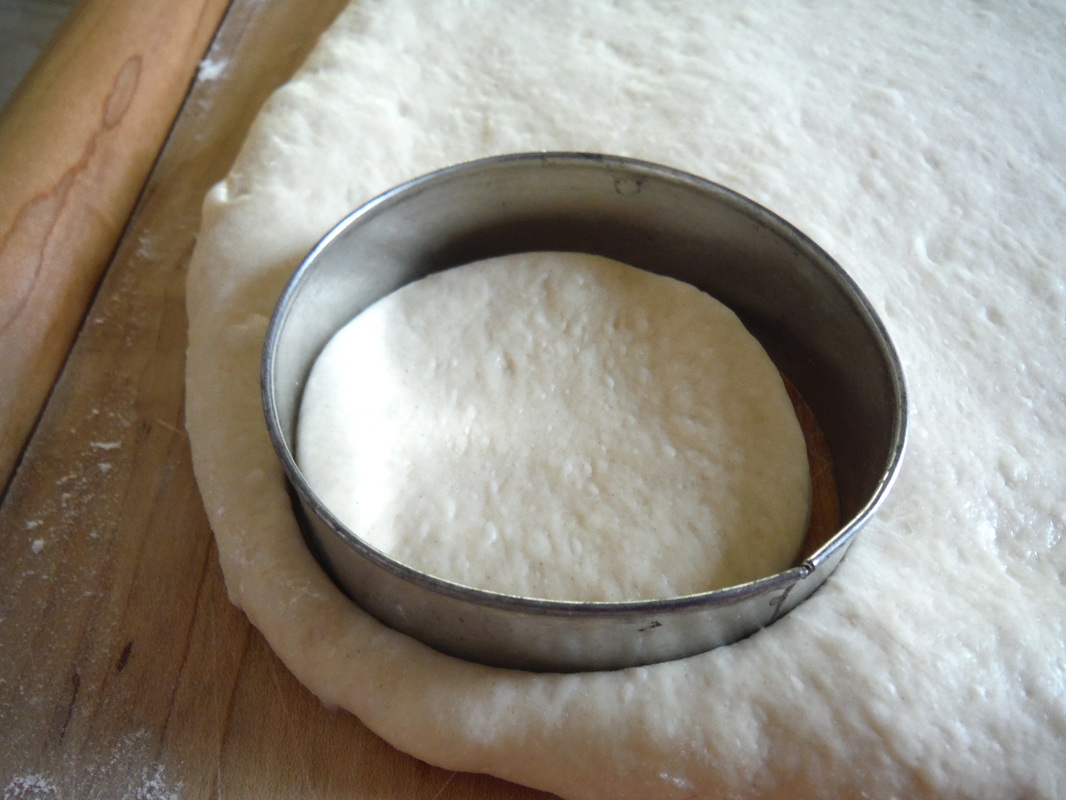
Since you have total control over your dough, you can make them as big or small as you like. Slider buns would be cool...now I'm thinking of bacon wrapped sliders, yum!
Follow these steps to enjoy easy homemade buns at home.
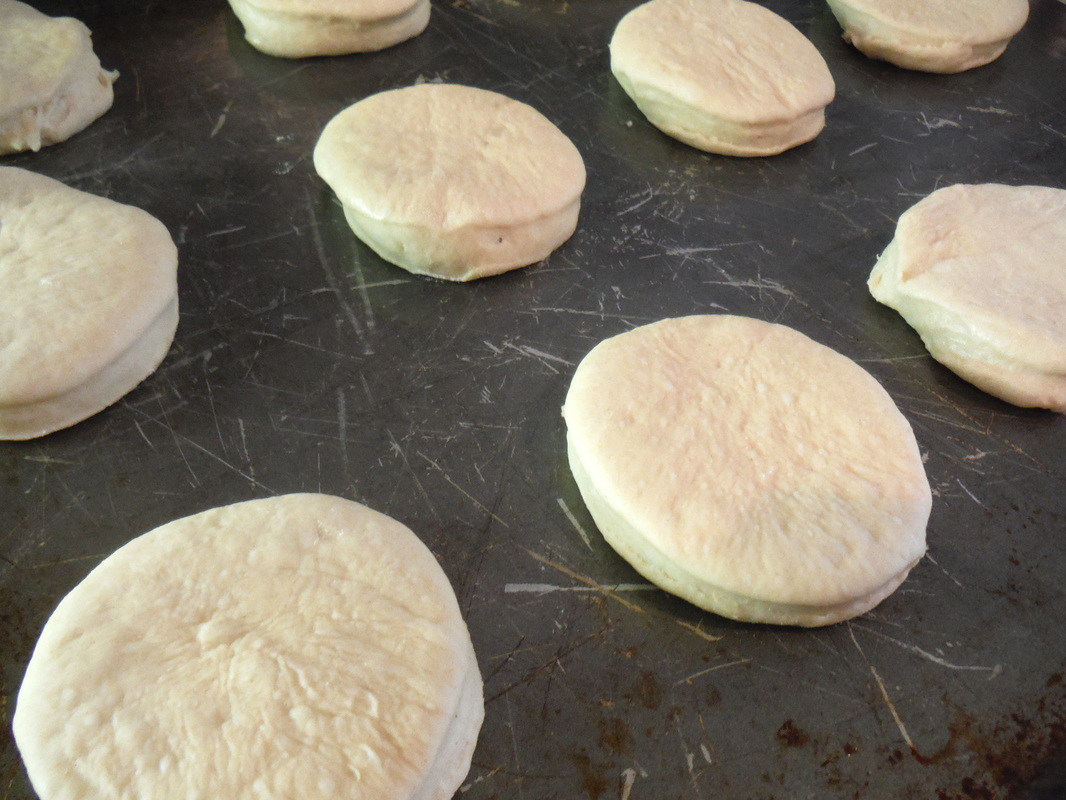
Put these ingredients in your bread maker in the order listed. 1 cup warm water 1/4 cup olive oil 3 cups all purpose flour 1 tsp. salt 3 TBS brown sugar or sucanat 2 1/2 tsp active dry yeast 1. Once the dough cycle is finished, roll the dough to about a 10" X 10" square on a large lightly buttered baking sheet. 2. Use one of these methods to shape the dough.
3. Let rise for about an hour. 4. Bake at 375 degrees F. for 15-18 minutes until golden.
Linking up at Create with Joy, Friendship Friday, Share the Wealth, Oh My Heartsie Girl, Raising Samuels Homeschool, Dream, Create, Inspire, The Mommy Club
If you have paid any attention to the news, you have probably heard that egg prices are expected to go up in the near future due to the avian flu outbreak that has been spreading through the US and really hitting the midwest. Reports are in that 44 million chickens and other birds have already been culled.
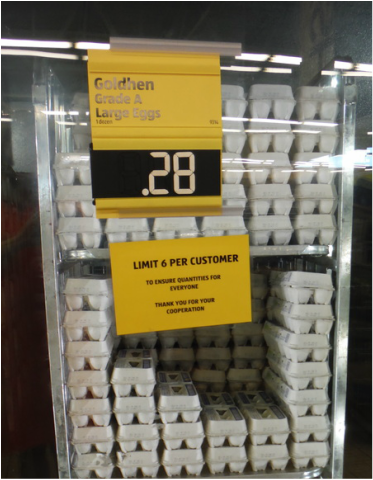
This is starting to impact food companies who buy wholesale "breaker" eggs and whole eggs which could raise prices on anything from mayonnaise to baked goods. I read that some restaurants have even cut the hours they serve breakfast because of the higher egg prices. I expect prices for whole eggs to increase at the retail level too. Eggs are a big part of our diet, but they have been so inexpensive that they haven't taken a very big chunk of our grocery budget. With the news of prices going up in the near future, I decided to take advantage of the current low prices and stock up and freeze eggs for future use. I stopped in ALDI today and was pleased to see that eggs are still just $0.28 a dozen. You read that correctly, $0.28 a dozen!!! There is a limit of 6 dozen, so I bought 6. 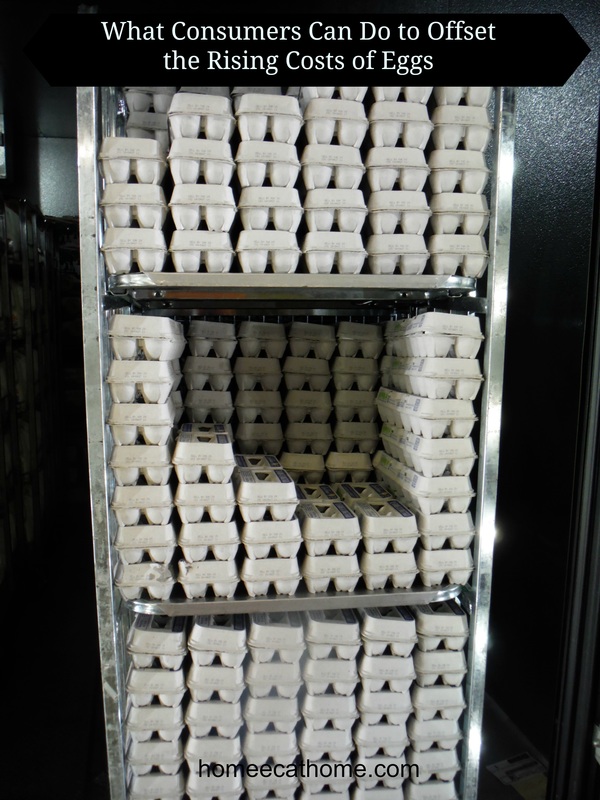
What can consumers do to offset the increasing costs of eggs?
I hope egg prices don't sky rocket in the near future, but if they do, I'll be prepared (at least for a short term price hike). Have you seen increases yet?
Linking up at Friendship Friday, Share the Wealth
Thank you for supporting Home Ec @ Home. The links in this post are my affiliate links.
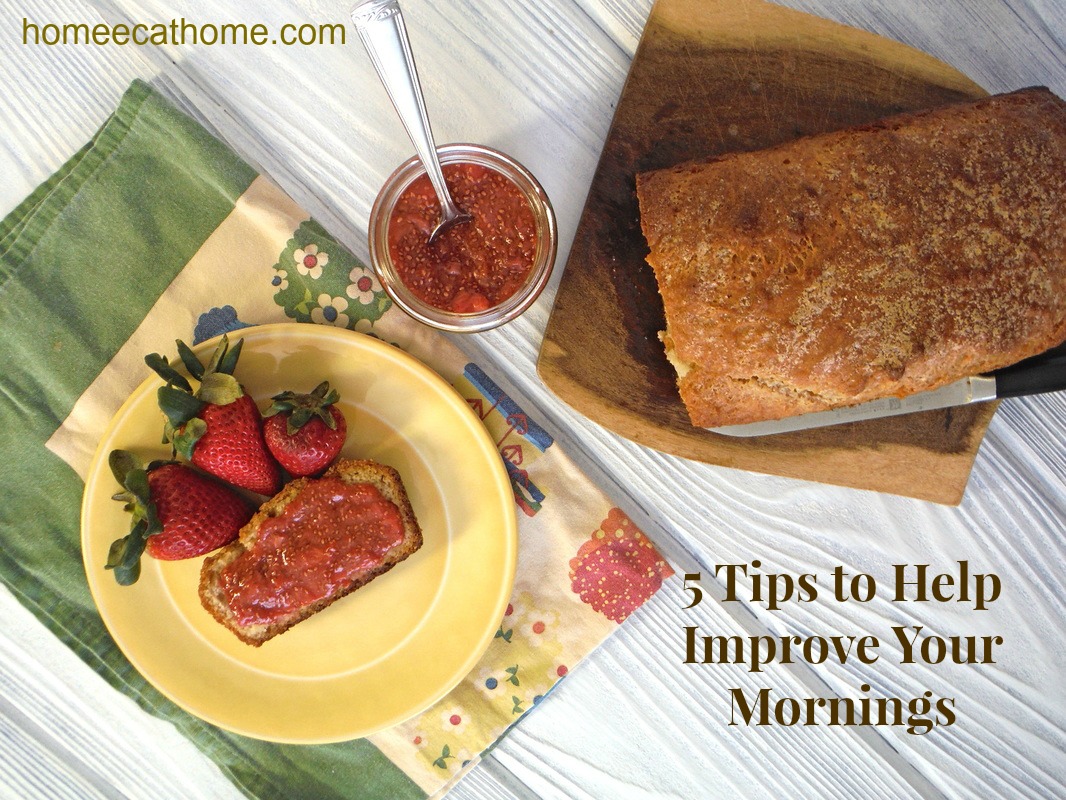
I hate being rushed in the morning and having to rush the kids out the door so I try to prepare and get some things done the night before. If I have less to do in the morning, I feel less stressed and things run much more smoothly for our family. There are some nights I go to bed without completing everything I need to do in anticipation of the next day and it creates more work for my morning so I generally try to stick with a nightly routine.
Here are some tips to help you improve your morning routine and hopefully your entire day. 1. Evaluate which tasks eat up your morning time and could be done the night before to help your morning run more smoothly. I like to take a relaxing bath every other day, but this really cut into my morning time and I found myself rushing out the door. I started giving myself half an hour at night to relax in the tub and I love it. No rushing in the morning, kids are in bed and I have much needed alone time. 2. Clean the kitchen every night. I have been doing this for years so it is a habit for me. I love coming down to a clean kitchen every morning. It is easy to start breakfast and the kids can sit right down at the table. 3. Rotate the laundry and fold a load each night. I have to do about 2 loads a day to keep up with our laundry so I make sure to fold a load each night and then I put it away the next day. It is easy to watch a favorite show after the kids have gone to bed and fold a load of laundry. Actually, it's kind of relaxing and I get to catch up on Downtown Abbey, Call the Midwife, or another Masterpiece favorite. 4. Get ideas for lunches and breakfast the night before. Every night during the school year I make sure icepacks go in the freezer at night then I pack non-perishable foods in my son's lunchbox. Anything that I can make ahead and pre-package I put in the fridge the night before. Then all I have to do in the morning is add an ice pack and fresh food (sandwich, fruit, etc.) Our breakfast are pretty simple, usually cereal, fruit, cheese, toast, etc., but I try to get an idea the night before and if we are low on our usual supplies I'll make a loaf of bread, some muffins or boil some eggs so that I am prepared for the morning. 5. Give yourself a bedtime. This is totally new to me. I have been a night owl for as long as I can remember. I always thought I could handle staying up late, but it does interfere with productivity and general mood the next day. After completing Make Over Your Mornings, I decided to try going to bed earlier and see if it really made a difference. I think it makes a huge difference for me and so I plan to continue giving myself a bedtime. I notice my energy levels are higher and I feel like a better, more patient Mom when I get a good night's rest. I took Crystal Paine's (Money Saving Mom) Make Over Your Mornings online course and I loved it. If you are ready to experience more productivity and enjoyment in your life, I highly recommend Make Over Your Mornings. And while you're there, read my testimonial on the Make Over Your Mornings site.
Thank you for supporting Home Ec @ Home. The links in this post are my affiliate links.
Linking up at Do Tell Tuesday, The Mommy Club, Friendship Friday, Create with Joy, Share the Wealth, Raising Samuels Homeschool, Dream Create Inspire

|

Welcome to Home Ec @ HomeHi, I'm Faith, a former Family and Consumer Science teacher turned food blogger. I love God, my family, and food. You can usually find me in the kitchen preparing family friendly, homemade recipes and taking lots of pictures. 
Still Goldens, Southern, IL
 Fan Favorites

The Best Dry Brined Turkey with Citris and Fresh Herbs

 Dehydrating Pears and Apples in the Instant Pot Duo Crisp Dehydrating Pears and Apples in the Instant Pot Duo Crisp

 |
 RSS Feed