|
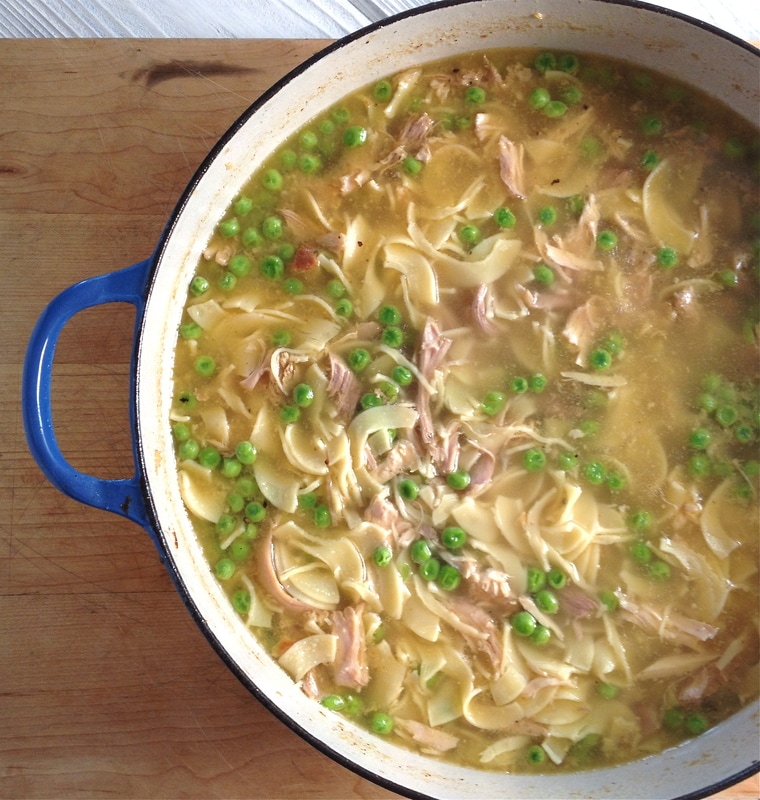
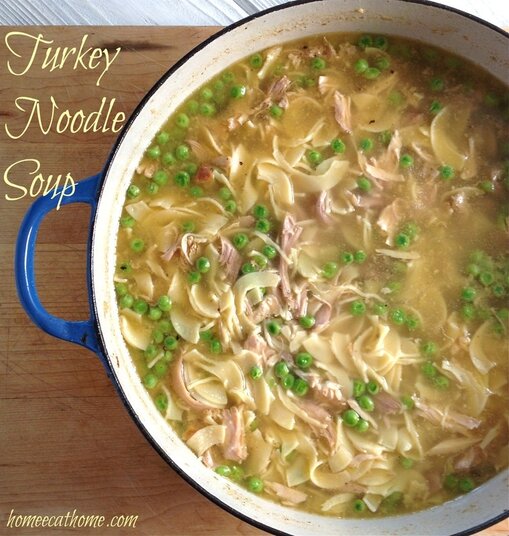
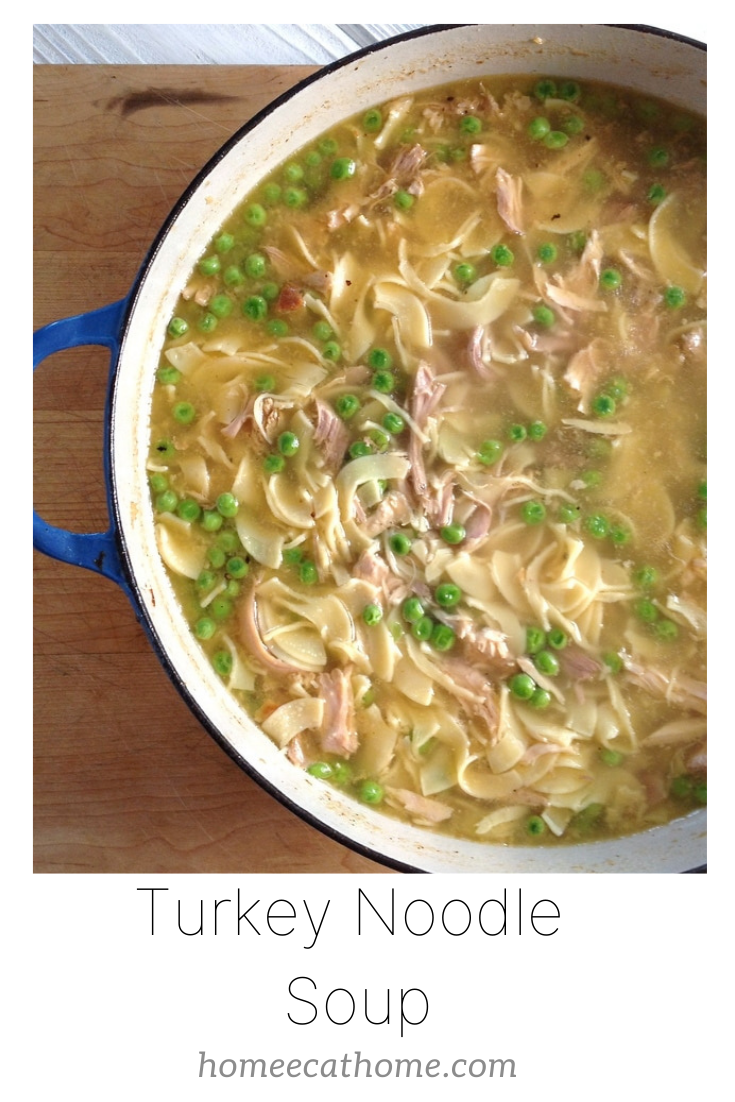
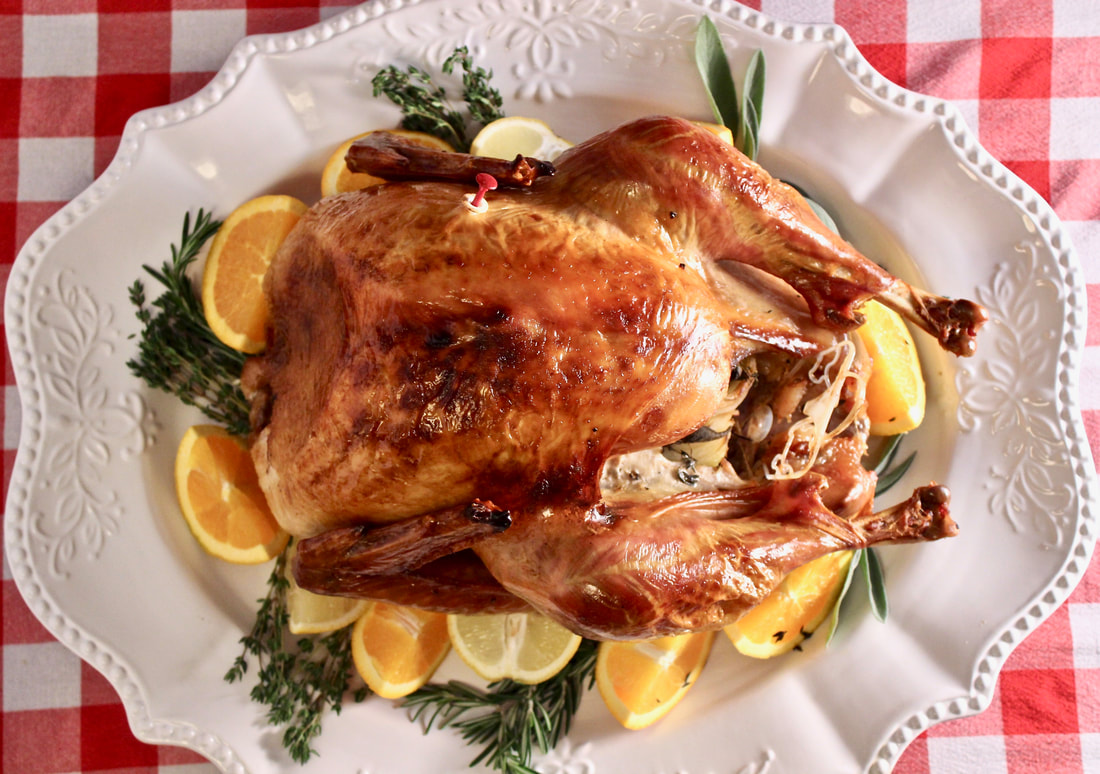
So thanksgiving turkey is pretty awesome, but so is turkey noodle soup from the leftover turkey. It really hits the spot when the weather turns cold and the whole family loves it!
Don't throw out the turkey carcass after Thanksgiving dinner is over. Save it to make a delicious, hearty soup. Plus the homemade bone broth will be full of healthy nutrients. I love homemade turkey noodle soup and look forward to it even more than the turkey dinner.
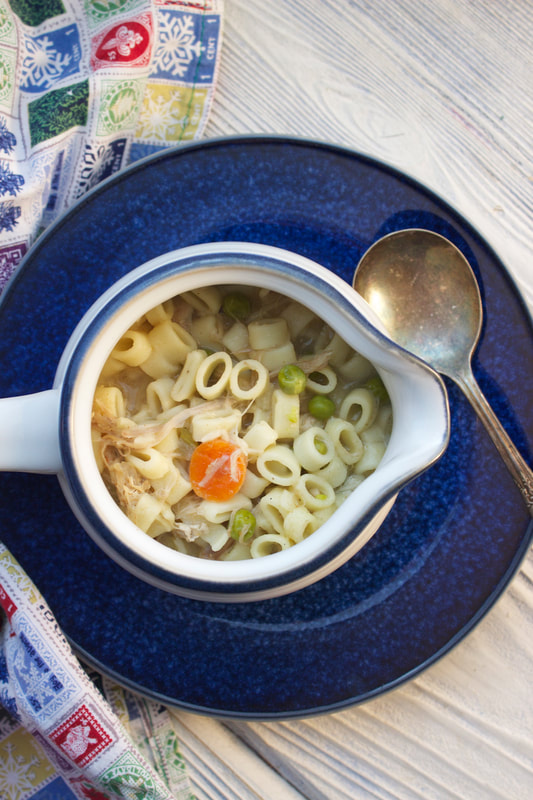
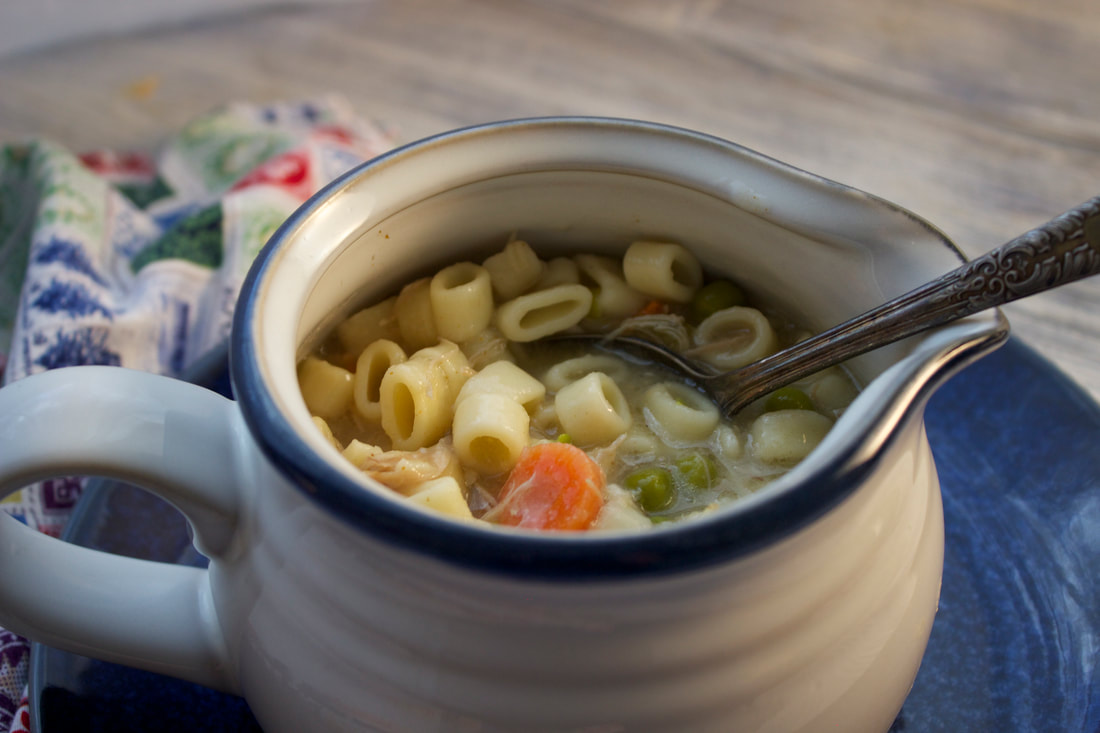
This is a lot like making chicken noodle soup, just bigger. Get out your biggest pot for this one. Soup is very forgiving too. You can change things up a bit with seasonings, vegetable variations, or even the amount of liquid. So have fun with it and customize it to your family's liking. The kids struggled with egg noodles in the past so I now make chicken or turkey noodle soup with small ditalini pasta instead. No more tears and frustration from noodles slipping off the spoon:)
Another bonus...LEFTOVERS!!!!! Turkey noodle soup leftovers are the best!
Ingredients:
1 onion diced 3 cloves garlic minced 1 stalk celery diced 2 T. butter 14 C. water 6 t. chicken base or bouillon 1 turkey carcass 1/2 t. salt 1 t. Creole seasoning (affiliate link to the one I use) 1 C. sliced carrots 1 C. frozen peas (You can also just use a bag of frozen peas & carrots) 12 oz. Amish home-style egg noodles or small (kid-friendly) ditalini noodles 1. In a large pot, sauté onion, garlic and celery in butter until tender and slightly caramelized. 2. Add water, chicken base, and turkey carcass (I break it into 2 pieces to fit it in the pot or rotate it while cooking so that each part of the turkey simmers in the broth). Then add salt and Cajun seasoning. Cook on low for 1 to 1 1/2 hours. 3. Remove turkey carcass from the pot and pull meat off the carcass with a knife and a fork. Cut up the meat and return it to the pot. Add sliced carrots and peas and bring pot to a boil. 4. Add noodles and continue to boil uncovered until noodles are tender. (Check noodle package for cooking time.) Here are a few of my favorites:
Pin on Pinterest
0 Comments
We are a participant in the Amazon Services LLC Associates Program, an affiliate advertising program designed to provide a means for us to earn fees by linking to Amazon.com and affiliated sites. This page may contain affiliate links.
Since I am a foodie mom blogger, I thought I would share my favorite gifts for foodies, moms, and bloggers just in time for the Christmas season. I actually wrote this post last year, but thought I would update with a few new favorites.
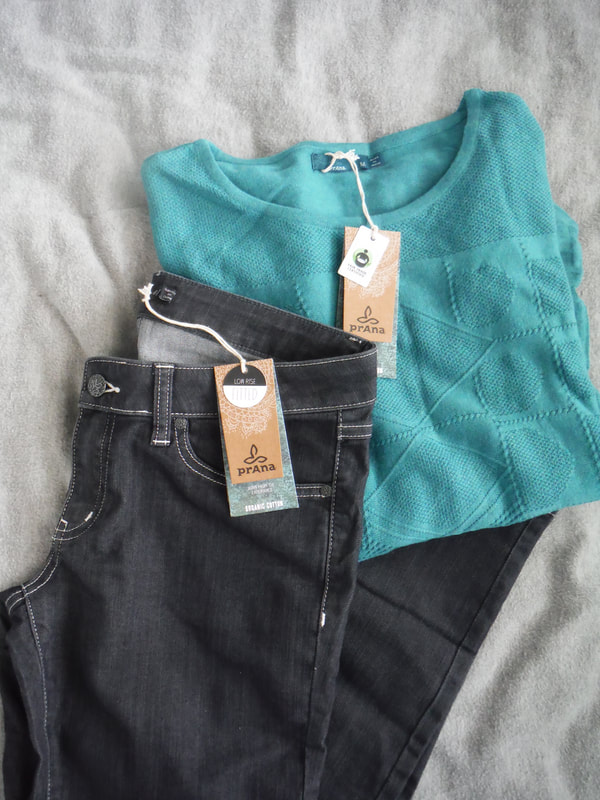
First, let me tell you about my favorite jeans. Every mom needs a great pair of comfy and fashionable jeans that she can dress up or down and wear almost anywhere. Last year I wrote a review for prAna Kara jeans and they are still my favorite jeans. In fact, I am wearing them now. In addition to these jeans being super comfortable and cute, they are also made with organic cotton and they are fair trade. My only complaint about these jeans is that I have to wear longer shirts because they are lower waisted. A reader commented on my post that I should try the Kayla jean which is the same jean, but with a higher rise. I think my next pair will be the Kayla jean.
(2018 Update) I got the Kayla jeans for Christmas last year and LOVE them! I wear them all the time and they have replaced the Kara jean as my favorite. I prefer the higher waist of the Kayla jeans. I got them in tall and wear them with a small roll up at the ankle since they are so long. My next pair will probably be Kayla jeans in regular length to wear for a cropped summer look. These are the most comfortable and stylish jeans I own.
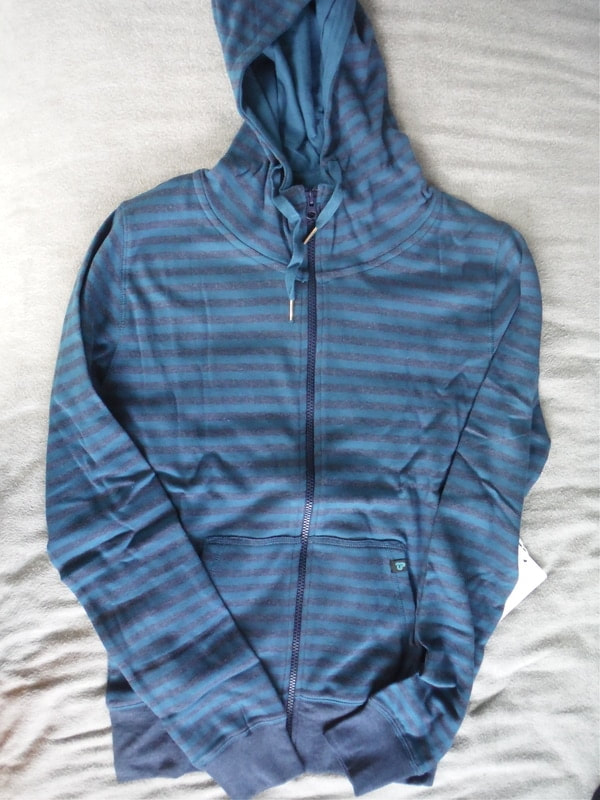
Since we are still talking clothes, I'll share another favorite. I love love love my Pact Organic hoodie. I wear it all the time. This was also a blog review favorite from the past year. Soooooo comfy and cute! They actually have a really good sale going on at their website today. Use code MONDAY to save 20%. (today only) My husband reviewed their underwear for my post and he now calls them his favorite underwear. This would be a great stocking stuffer idea as they are a really good deal right now. I have Pact organic underwear and socks too and have to say they are so incredibly soft and comfy.
I don't actually have any of these yet, but see everyone wearing these cute little boots and think I am finally ready for this fashion trend. I know they have been around awhile and I am slow to adopt trends, but I am a practical mom so that's how it goes. Anyway, I think the practical, but fashionable woman in your life would love a great pair of booties. Update: So I still haven't taken this fashion trend on, but think it is time (as long as my ankles don't get too cold LOL).
I've got one more fashion related item and it's actually makeup. Three years ago, I had my 20 year high school reunion. I decided it was time for a great under-eye concealer. I walked into a Sephora store and asked for help. I came out with the most amazing concealer I have ever used. It is Nars Radiant Creamy Concealer in light vanilla. It is on the pricier side, but lasts a long time. I am only on my second tube in 3 years. I asked for this one for Christmas last year and this tube will probably last me another year with almost daily use. I do use a small brush to apply it which was recommended by the Sephora lady. My sister did a blind test with my concealer and her own and my mom, my other sister, and myself all thought she looked younger using my Nars concealer.
Update: I am just about ready to replace my concealer as it is about time, but I am planning on trying the same concealer in a slightly more concentrated formula. My sister tried it and loves it and since these old eyes really need their concealer, I am going to try it. It's the same brand, but a thicker formula. I'll ask her which one and add the link below.
Now for some foodie gifts.
We'll start with the instant pot craze that is all over the blogesphere. I don't actually have one of these yet, but will probably get one at some point. As much as I love my slow cooker, an instant pot would be nice for the time factor. I asked a fellow food blogger, Lindsay from pinch of yum, who uses an instant pot a lot, which one she would recommend and this is it. You can check out pinch of yum for lots of great instant pot recipes too.
Since this post is starting to get long, here are some more of my favorite foodie gifts. My husband gave me my 12" Lodge cast iron skillet our first Christmas that we were married 16 years ago. It must be my most used gift ever. One year I got a Nordic Ware cookie scoop in my stocking and I use it every time I make drop cookies of any kind. For the baker in your life, you can't go wrong with parchment baking sheets. We just discovered at Thanksgiving that we don't have a small gravy ladle so this will go on my list.
Some gifts for the blogger.
How to blog for Profit by Ruth Soukup is a must read for every blogger. I learned so much from reading her book. I use my Lowell EGO light for almost all of my indoor food photography. It is really easy to set up and works well for close-up still photos. I photograph in front of a window in our kitchen nook, but find I usually need more light than just natural window light. This is also be a great tool for anyone taking photos for ebay or Etsy sales.
As far as blogging resources go, the most beneficial book I have ever read was actually an ebook Tasty Food Photography written by the highly successful food blogger Lindsay of Pinch of Yum. Most of what I know about food photography I owe to her. In fact, many of my photos have been accepted on foodgawker since reading Tasty Food Photography and this is after having at least 100 rejections. If you are a food blogger and you want to improve your photography, you have to read this book! (affiliate link below)
Food bloggers are always on the lookout for interesting dishes that would photograph well. You can find absolute treasures in thrift stores. My current favorites are these homemade bowls which I did find in a thrift store. I usually look for rustic looking pieces without a lot of shine. Shine doesn't photograph well.
In addition to dishes, I keep a lookout for interesting and attractive kitchen towels. Simple patterns in lightweight cotton (no terrycloth) and colors that compliment my dishes are best. I love this striped towel I found at Walmart for a dollar. Another favorite is this towel my sister-in-law brought me from New Zealand. Towels and fabric pieces add dimension and style to food photos and can really make the food pop in the picture. I also use this piece of burlap fabric a lot. I found it in the remnants section in the fabric department at Walmart.
Some gifts just for fun.
I got The Magnolia Story for my birthday and it's a fun read. If you are as obsessed with Joanna Gaines and Fixer Upper as half of the US is, you'll love this behind the scenes look at their lives. Our family is a board game family, as in serious gamers who go to board game conventions and own hundreds of games (more my husband and the boys than me). While they often play serious strategy games, I enjoy the more lighthearted family type games. My favorite (which we all love) is Wits and Wagers. It's a great game for get togethers, parties, or just family time that anyone can play. We have the family edition too which is geared towards a younger crowd, but our kids play the original version with us and do just fine. It has always been hard for me to keep up with devotionals, but I have one I always go back to and love. I love my Jesus Calling devotional. I think my sister Rebecca gave it to me years ago and it is always on my nightstand or with me when I travel. Every time I read it, I feel like Jesus is speaking to me. It is such a great way to start or end the day. My husband and I even read it together sometimes and there is always a bible verse or two which gets me reading my bible which is good since I need a little extra motivation. Our kids have the children's Jesus Calling bible story book and LOVE it. They always ask me to read it to them.
Happy gifting. I hope you all find the perfect gifts for your loved ones and still have time to enjoy the Christmas season and celebrate God's greatest gift, Jesus. Blessings to you all.
Linking up at Inspire Me Monday, Friendship Friday
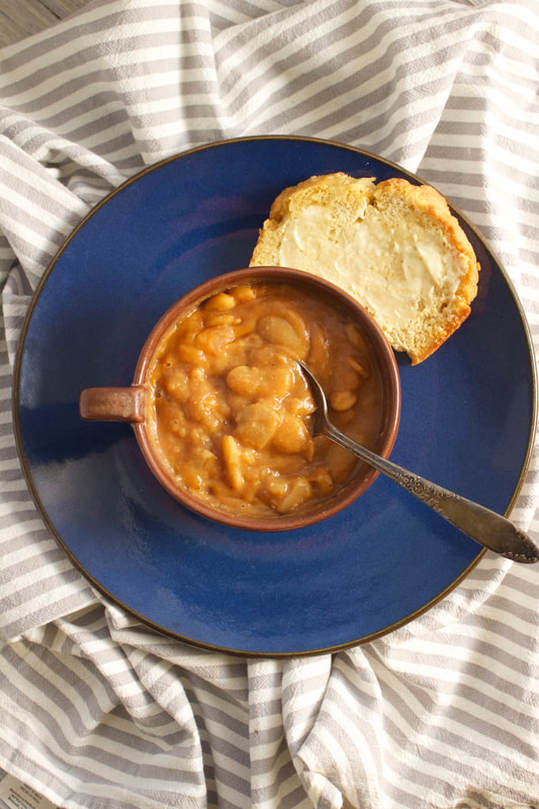
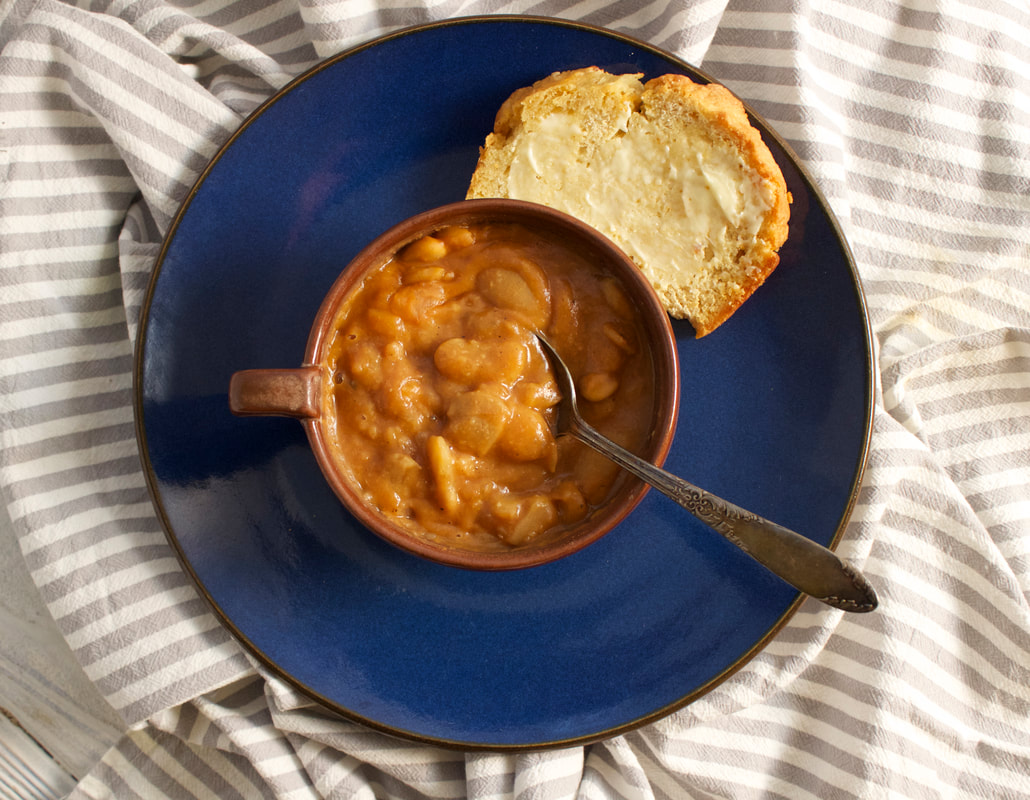
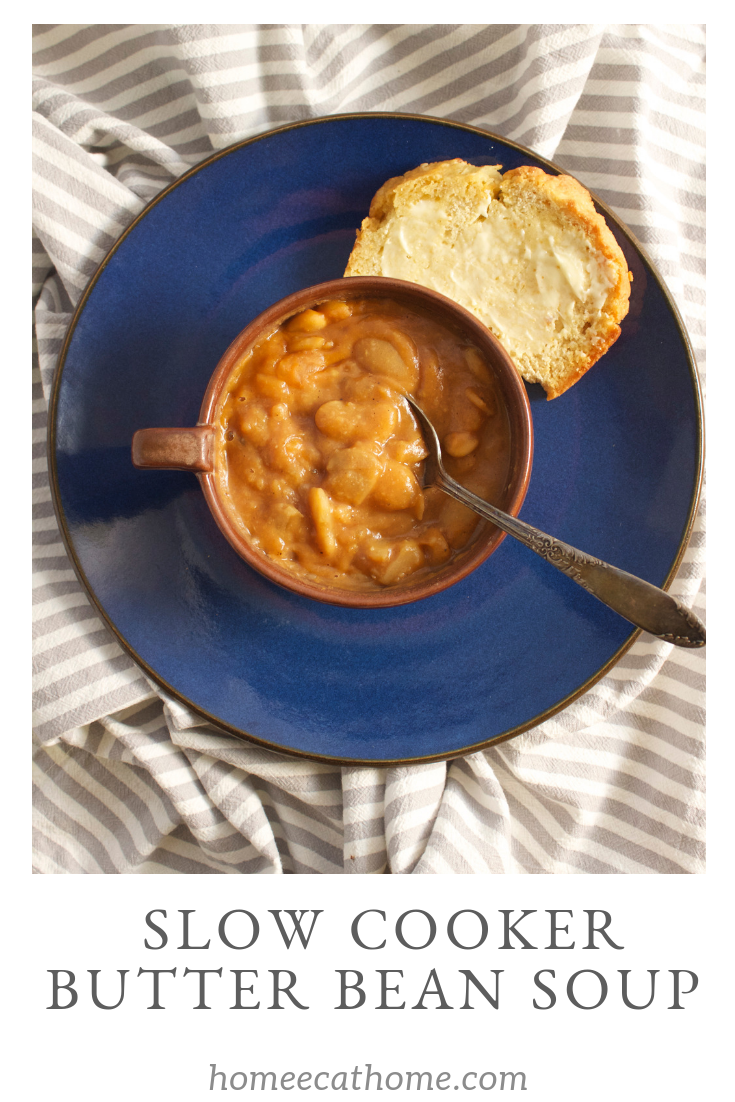
Rich, creamy butter bean soup... I worked on this recipe for months, maybe even a year. Each time I made it, I took notes of how I thought I could improve it the next time. Then one day, when I made it for dinner we decided it was finally right.
This is one of our favorites that has been on the blog for a few years. Since I made this a couple of times recently, I snapped some new pictures to update the post. I even made a video which you can see below.
This recipe is one of my favorites because it is delicious, easy, and budget friendly. The boys love it too. Such an easy meal to throw together in the morning and have a hot cooked meal on a busy weeknight.
This recipe was inspired by our favorite butter bean soup from Taylor's Chili Parlor in Carlinville, IL. I make it less spicy than Taylor's, but still very good. It is more kid friendly with a little less kick. If you want it spicier, just add more pepper. Watch my video and see how easy this is to make. You can even make it with a toddler on your lap:)
1 lb dried lima beans (also known as butter beans)
5 garlic cloves, minced 1 large sweet onion, diced 1/4 tsp. salt 1/2 tsp. or more freshly ground black pepper (I don't measure, just grind some pepper into the soup) 2 tsp. creole or cajun seasoning (you can see which kind I use in the video) 1 tsp. cumin 1 tsp. corriander 1 quart (4 cups) vegetable broth 2 cups water 1 stick real butter 1 (8 oz.) can tomato sauce Directions: 1. Soak the beans overnight. 2. Rinse and drain the beans before placing them in the crock pot. 3. Put the rinsed beans, garlic, onion, salt, pepper, creole seasoning, cumin, and corriander into the crock pot along with the broth and water. 4. Cover crock, and cook on high for around 8-10 hours, or until beans are tender and creamy. You can turn it down to low if you think it needs it, but I have discovered high works well and produces creamier, softer beans. Usually longer is better to get the beans to break down and become soft and creamy giving the soup a slight pureed effect. It is always thicker the next day too so leftovers are amazing. 5. During last hour, add 1 stick butter and tomato sauce. You can turn it down to low now as the beans should be soft. 6. I like to take the lid off and let the soup thicken a bit before serving. Delicious with some homemade beer bread or bread machine bread.
With Thanksgiving in just a couple of days, it's time to start thinking about holiday baking. Time to plan the menu, make a shopping list, and start making anything that can be made ahead of time. One thing I like to make ahead of time is my bread machine rolls. I make the dough and shape it into balls, freeze them on a cookie sheet, then place them in a ziploc bag to keep frozen until Thanksgiving. On Thanksgiving morning, I set them on a parchment lined cookie sheet to thaw and rise all day until time to bake. They go in the oven when the turkey comes out to rest and are nice and warm for Thanksgiving dinner.
I also like to make pie dough ahead of time and freeze it. Simply form into balls of dough and freeze in a ziploc bag. Set out to thaw a few hours before you need it, then roll into a large round shape. If Thanksgiving is only a couple of days away, I would refrigerate the dough until using instead of freezing it.
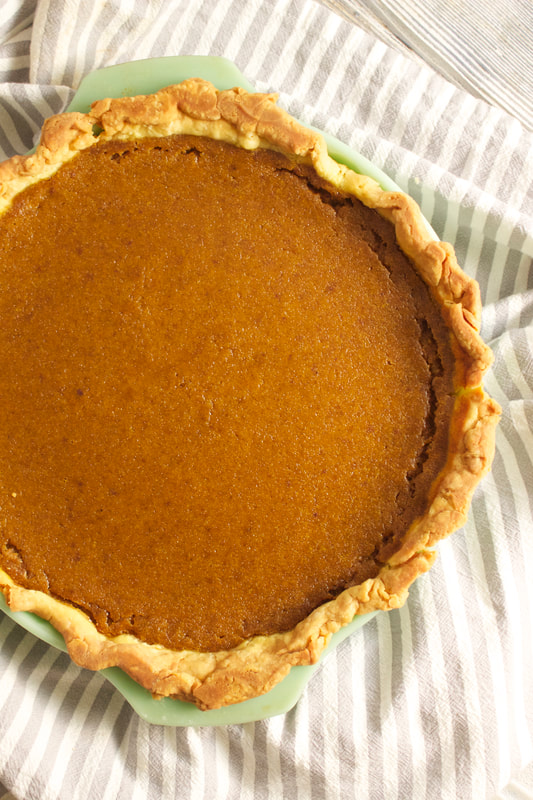
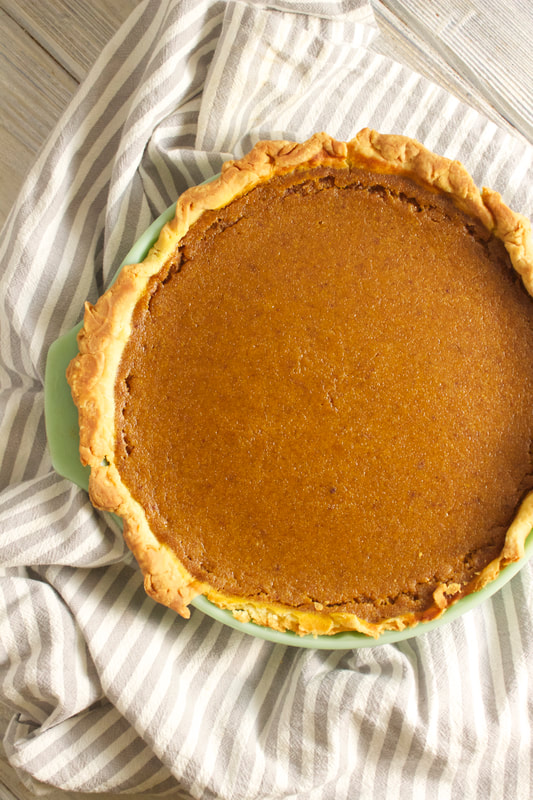
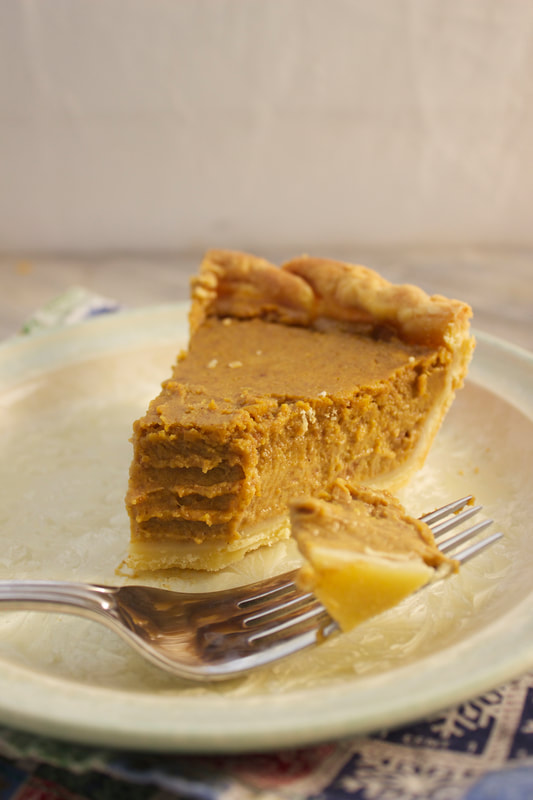
When I think of Thanksgiving dessert, I think of pumpkin pie. Smooth, creamy pumpkin filling in a flaky crust with aromas of fall spices wafting through the house. This pumpkin pie is on a whole new level with buttery slightly nutty browned butter in every delicious bite.
Family memories are made around the table, especially during the holidays. I want my family's memories to include feelings of gratitude, love, friendship, and tradition in the foods we eat and enjoy together each year. One of these traditions is pumpkin pie. Our two year old is already sharing in these family memories. See the missing crust at the bottom of the pie. I forgot that toddler fingers could reach up to the counter and help themselves to a little pie crust. LOL. Maybe he'll be making the pumpkin pies someday.
Serve with some delicious homemade whipped cream. You may also like: Pumpkin Cookies with Browned Butter Glaze Old Fashioned Cream Pie Maple Bourbon Pecan Pie Chocolate Cream Pie Pennsylvania Dutch Apple Pie
Brown Butter Pumpkin Pie
Ingredients: 4 T. butter 1/4 C. brown sugar 1/2 C. granulated sugar 1 (15 oz.) can pumpkin puree 2 eggs 1 1/2 C. half & half 1 tsp. vanilla dash ground pepper 1 1/2 tsp. ground cinnamon 1/2 tsp. ground ginger 1/4 tsp. ground cloves 1/4 tsp. salt 10 inch unbaked pie crust 1. Pre-heat oven to 425 degrees F. 2. Heat butter on stove over medium heat until browned, stirring frequently. You will smell a caramely, slightly nutty scent when it is ready. Stir in the sugars and remove from heat. 3. Transfer the butter/sugar mixture into a large mixing bowl. (I use my kitchen aid stand mixer.) Mix in the pumpkin puree, eggs, half & half, vanilla, pepper, cinnamon, ginger, cloves, and salt. Mix well to combine. 4. Pour the filling into the pie crust. Use a pie shield or foil to prevent the crust from over-browning. Bake for 15 minutes. Then reduce heat to 350 degrees F and bake for another 40-50 minutes until set. Cool on a wire rack then refrigerate for a couple of hours before serving. Serve plain or with whipped cream. Serve chilled or at room temperature. Store in the refrigerator.
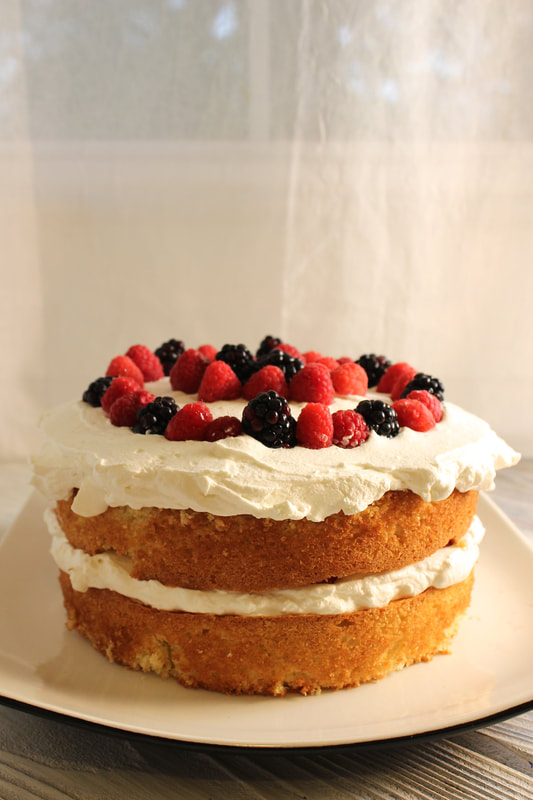
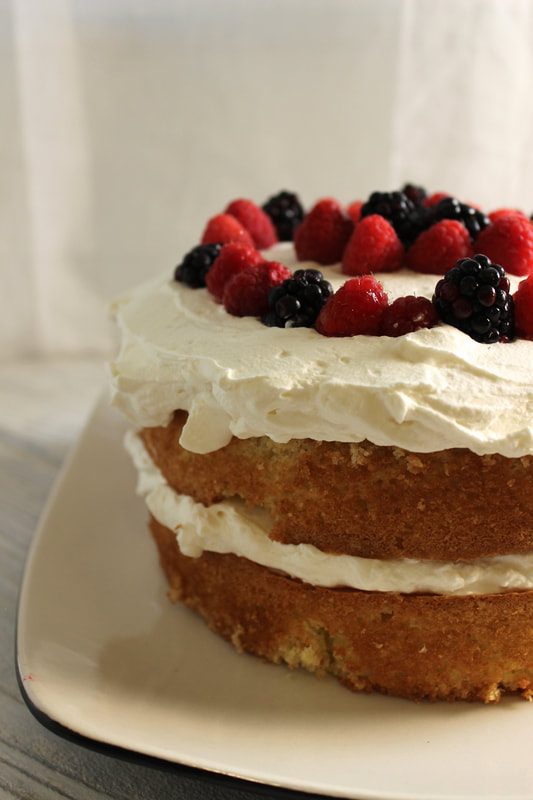
Perfectly moist, tender cake with layers of fresh whipped cream and berries = perfection!
Actually what I love about this cake is that it is so simple and doesn't have to be perfect to taste and look fantastic. See the flaws on the left side of this cake. Who cares? It still tastes and looks great and nobody cares that there are little imperfections here and there.
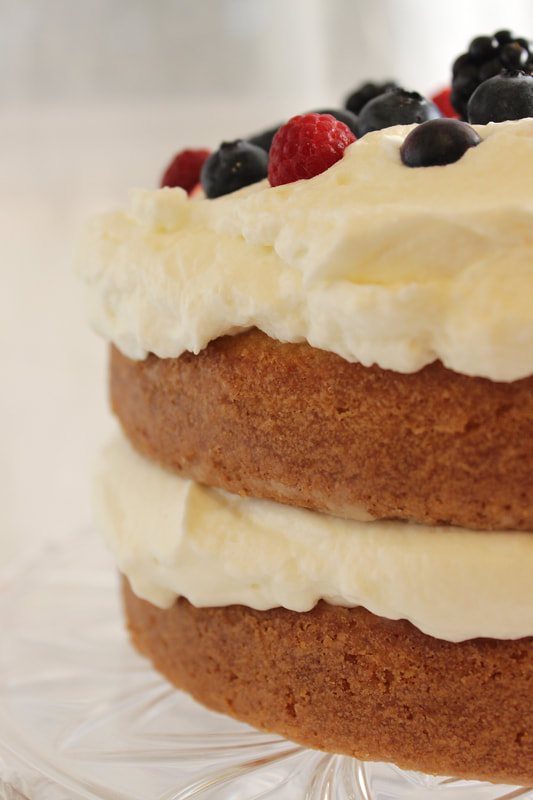
I love how easy it is to frost this cake too. Just spread some whipped cream on each layer and top with berries.
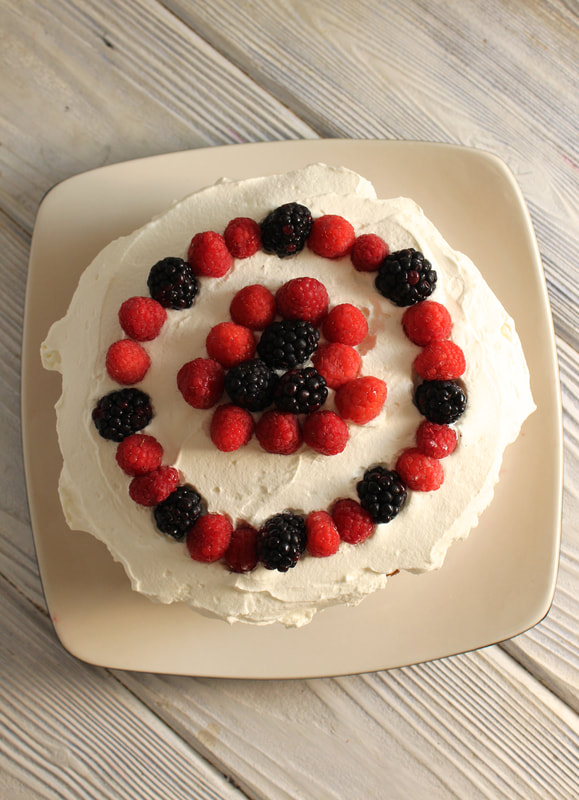
Make a design.
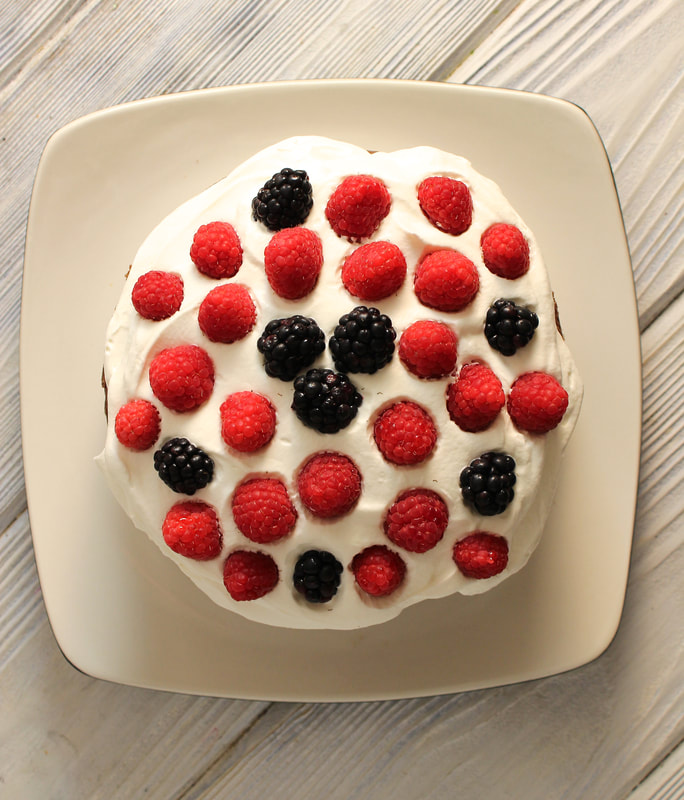
Or dot berries all over the top. You could just pile them on and see where they fall, which would be lovely with a few sprigs of mint.
As you can see I have been making lots of berries and cream cakes. I have actually been working on this recipe for a couple of years, but since I don't make it very often, it has taken a while to get it good enough to publish. A recent really good sale on berries prompted me to work on this recipe again which my family thoroughly enjoyed. The boys are all about dessert! LOL.
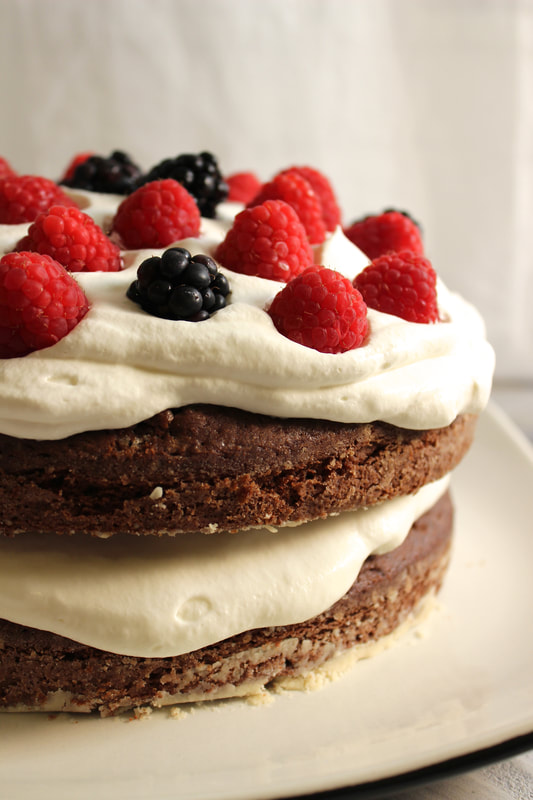
My husband on the other hand is all about chocolate and requested a chocolate cake so I made a chocolate berries and cream cake by adding 1/2 cup cocoa powder in with the cake flour. Yum! Chocolate, berries, and whipped cream! Enjoy this simply delicious, elegant cake that is perfect for any occasion.
Berries and Cream Layer Cake
Ingredients for Cake: 2 sticks butter, softened 1 C. and 2 T. sugar 3 large eggs 2 tsp. vanilla extract 2 1/4 C. sifted cake flour 3 1/2 tsp. baking powder 1/2 C. milk Ingredients for whipped cream: 1 pint heavy whipping cream 1/4 C. sugar 1 tsp. vanilla Fresh berries Parchment paper 1. Preheat oven to 350 degrees F. Cut parchment circles to fit the bottom of two 8" cake pans. Grease pans with butter, then place circles in the bottom of each pan. 2. Cream together butter and sugar. Then beat in eggs and vanilla. 3. Sift cake flour, then measure 2 1/4 cups. Stir baking powder into cake flour. Slowly add the flour mixture to the batter. Then blend the milk into the batter. 4. Spread batter in the pans. Bake for 20-25 minutes or until cakes are golden brown and a toothpick inserted comes out clean. 5. Let cakes cool in the pans on a cooling rack for about 5 minutes. Then remove from the pans, peel off the parchment paper and let cool completely on a cooling rack. 6. Make the whipped cream by whipping cream, sugar, and vanilla with an electric mixer. 7. Layer whipped cream and berries between the cake layers and on top of the cake. Refrigerate and serve cool or warm to room temperature. I like to let it warm to room temperature before serving, but it is good right out of the fridge too.
|
Welcome to Home Ec @ HomeHi, I'm Faith, a former Family and Consumer Science teacher turned food blogger. I love God, my family, and food. You can usually find me in the kitchen preparing family friendly, homemade recipes and taking lots of pictures. This website uses marketing and tracking technologies. Opting out of this will opt you out of all cookies, except for those needed to run the website. Note that some products may not work as well without tracking cookies. Opt Out of CookiesFan Favorites
 Dehydrating Pears and Apples in the Instant Pot Duo Crisp Dehydrating Pears and Apples in the Instant Pot Duo Crisp
|










 RSS Feed


