|
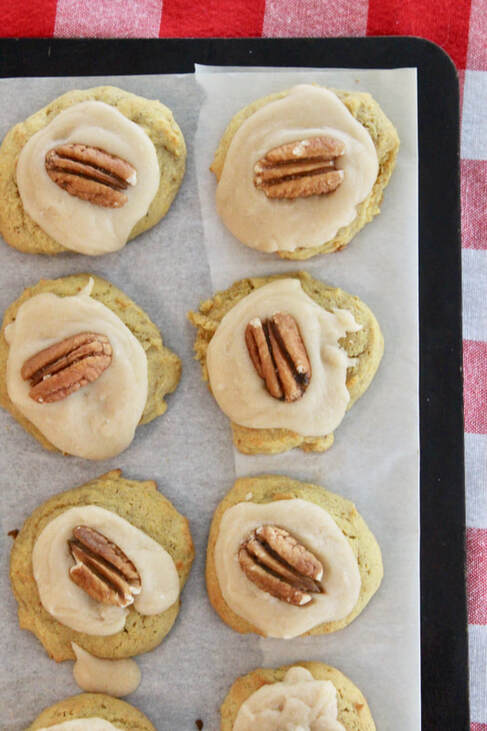
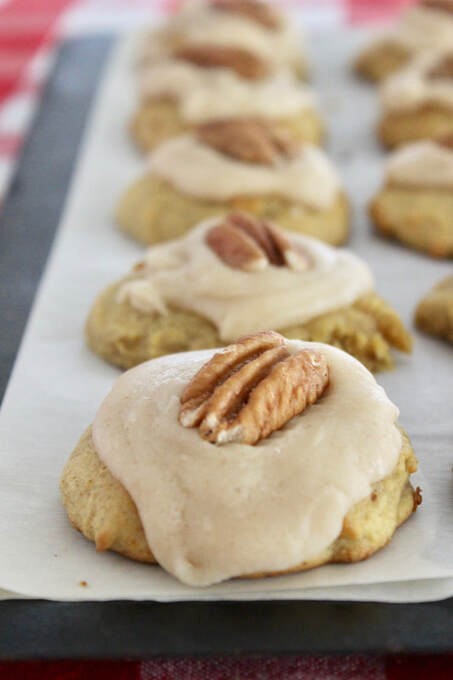
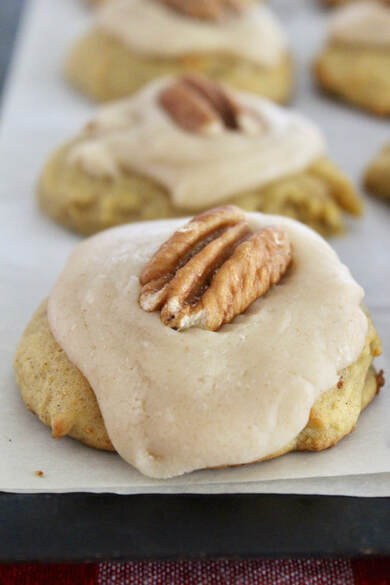
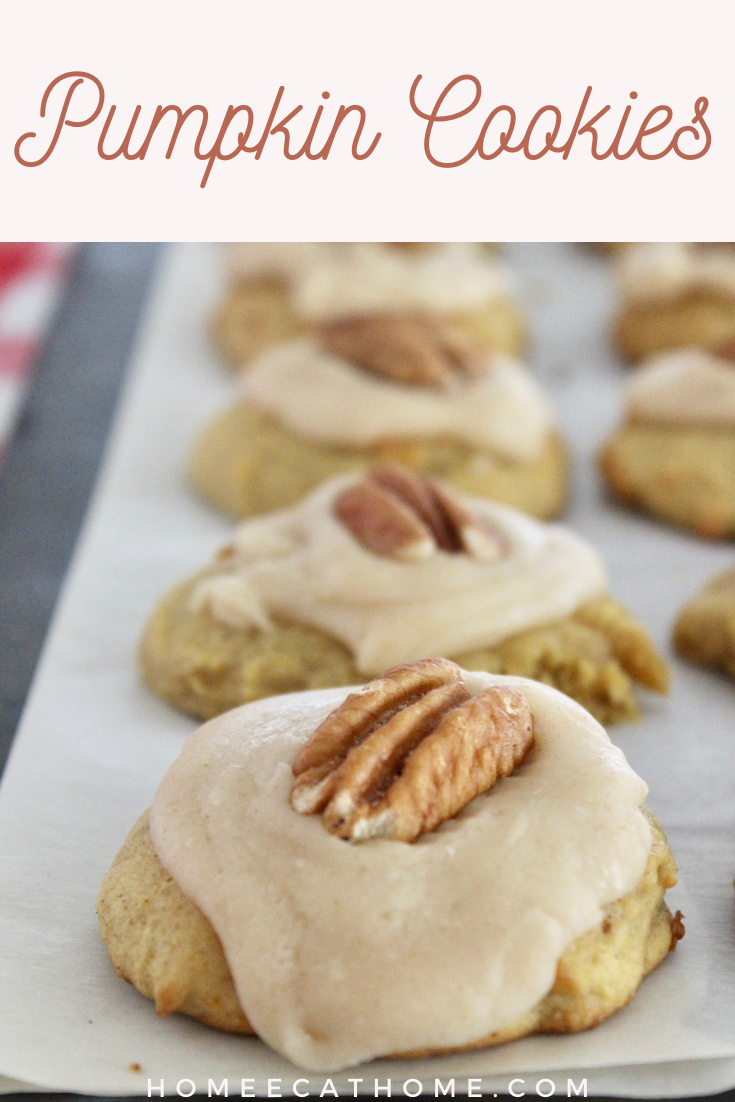
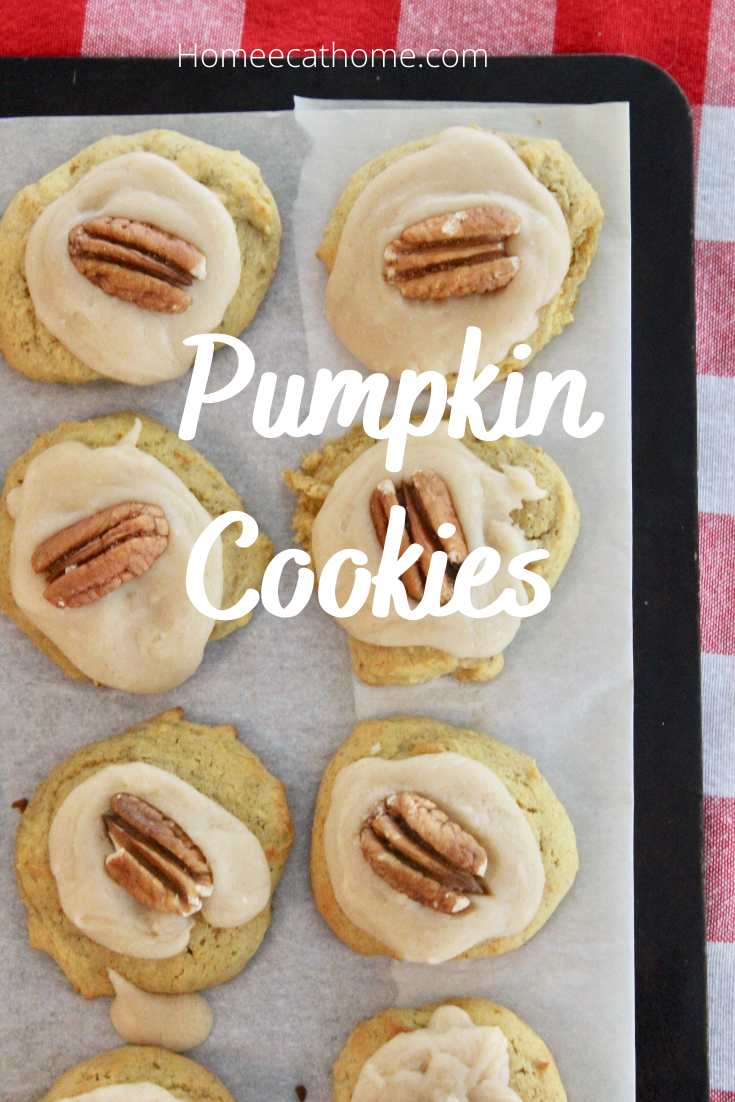
These pumpkin cookies with browned butter glaze are a fall family favorite. Soft pumpkin cookies with a caramelized sweet glaze finished with a pecan on top are simply delicious. Add them to your fall baking lineup and the dessert table this Thanksgiving.
My students used to make these in my foods classes and they always loved them. And that was before I knew about the merits of browned butter icing and how it takes these cookies from really good to rock your world amazing!
To make browned butter, you simply melt the butter on the stovetop until it turns a light brown color and smells fragrant with a caramely slightly nutty scent. The cookies are not that sweet on their own so the sweet caramely buttery icing compliments them well. Enjoy these perfect little fall confectionary gems!
Pumpkin Cookies:
Mix first: 1 cup sugar 1 cup canned pumpkin 1/2 cup (1 stick) butter, softened 1 Tbsp. grated orange peel Mix in next: 2 cups flour 1 tsp. baking powder 1 tsp. baking soda 1 tsp. ground cinnamon 1/4 tsp. salt Drop by rounded tablespoons onto parchment lined cookie sheet. Bake in 375 degree F oven for 8 to 11 minutes. Let cool, then glaze tops of cookies. Browned Butter Glaze: 1/2 cup butter 2 cups powdered sugar 1 tsp. vanilla 1 to 2 Tbsp. milk Heat butter on stove over medium heat until browned. You will smell a caramely, slightly nutty scent when it is ready. Stir in powdered sugar and vanilla, then milk until smooth. Glaze cookies after they have cooled a few minutes. Top each cookie with a pecan. The glaze will harden quickly, so don’t make the glaze until after all of the cookies have baked. Makes about 2 dozen cookies.
Did you know you can make homemade pumpkin puree from pie pumpkins?
homemade pumpkin puree You also might like: Brown Butter Pumpkin Pie
2 Comments
We are a participant in the Amazon Services LLC Associates Program, an affiliate advertising program designed to provide a means for us to earn fees by linking to Amazon and affiliated sites
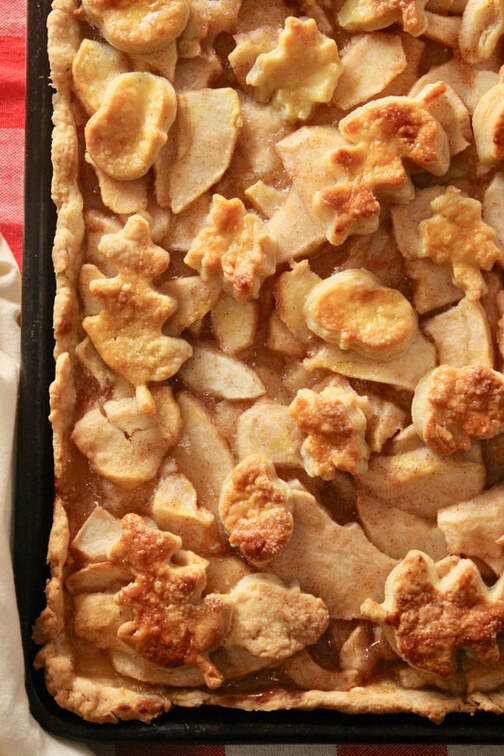
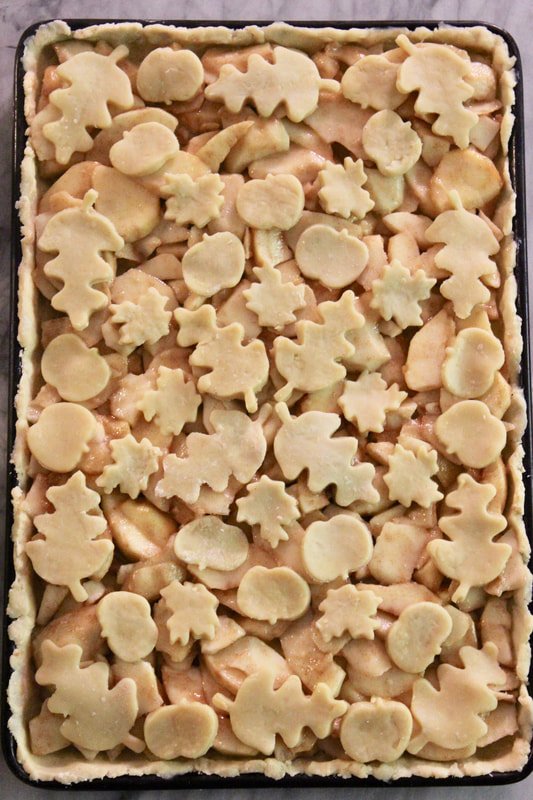
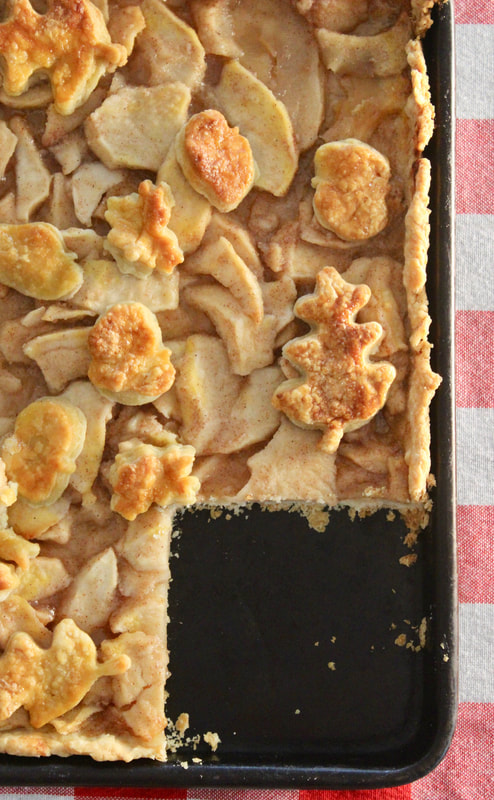
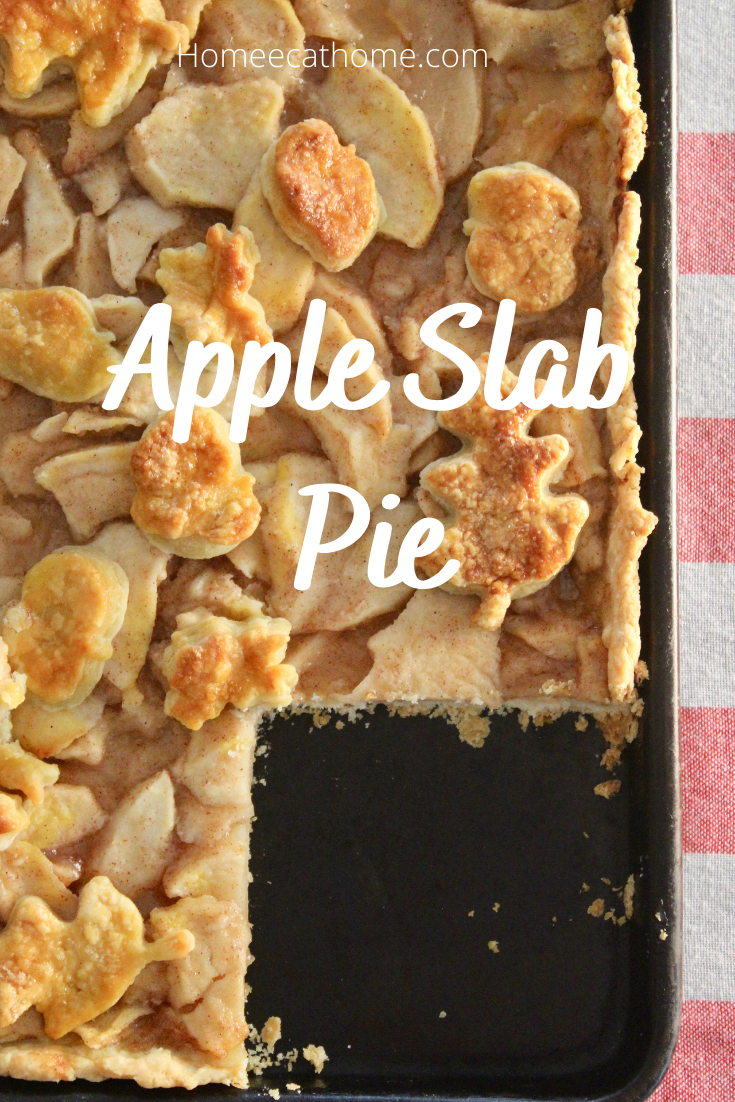
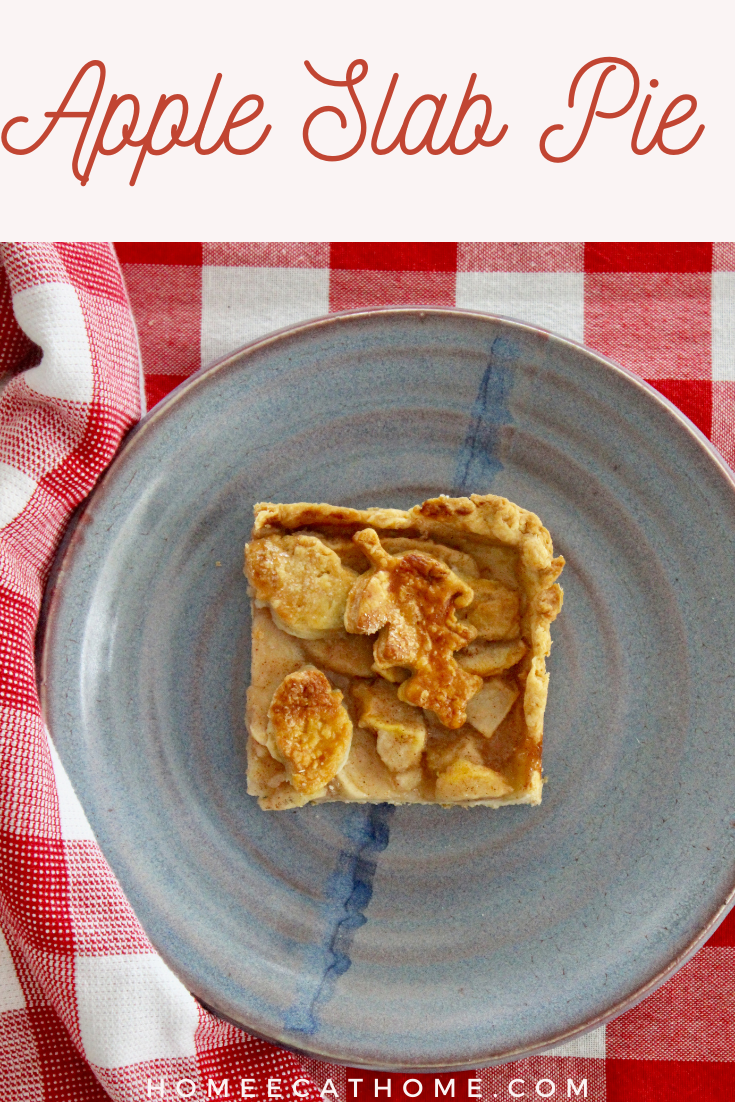
This apple slab pie with crispy, flaky layers of buttery crust filled with warm cinnamon apples is the perfect dessert for fall.
Can you use a store bought crust to make a slab pie?
You start with a good pie crust. You can use your favorite homemade crust or your favorite boxed store bought pie crust. Boxed pie crusts are sold in the refrigerated section of the grocery store where you find canned biscuits. If you use boxed pie crusts, you will need two boxes (4 crusts) to make this apple slab pie. Two crusts for the bottom layer and two crusts for the top since the slab pie covers a larger area than a regular size pie. I use my favorite Never Fail Butter Pie Crust recipe. One batch of this homemade dough makes two pie crusts which is enough for the bottom layer of a slab pie. You will have to make a second batch of dough for the top layer. If you make cookie cutter cut-outs for your top layer, you will probably have leftover pie dough which will be nice for another pie. Maybe a brown butter pumpkin pie or a pecan pie?
Can you freeze leftover pie dough?
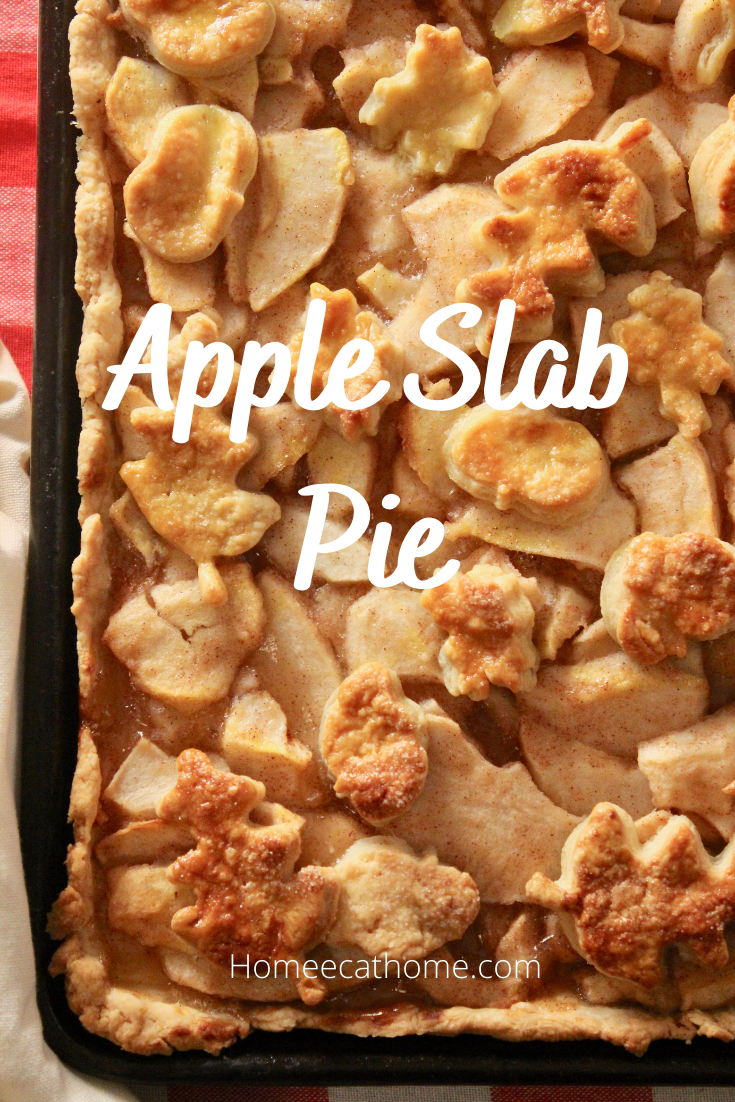
Yes. If you have extra dough leftover, simply press it into a ball and store in a zipper seal bag or container in the freezer. Make sure to label with the date and contents. When ready to use thaw in the fridge for several hours or even overnight. All of the dough cut-outs pictured here are made from leftover dough I had in the freezer.
A really easy way to make an impression when making this apple slab pie is to use cookie cutters to cut out dough shapes and place them as the top layer. I used leaf and apple shapes here for fall. You could use Christmas cookie cutters for Christmas or stars and flags for the 4th of July. You could also make a lattice top or a solid crust top. If you make a solid top, make sure to cut vents to release steam.
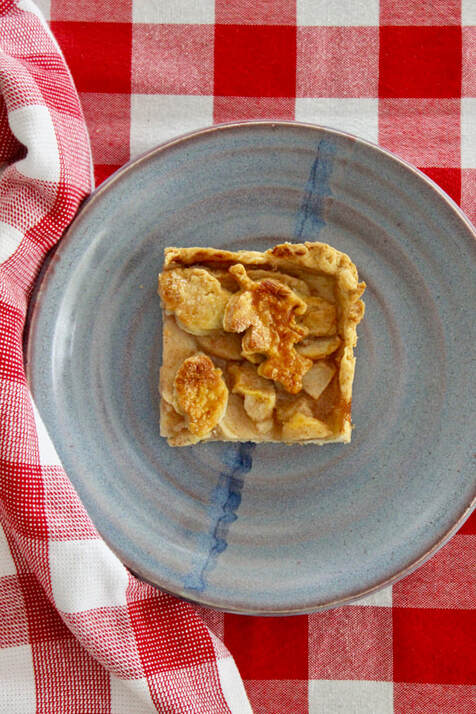
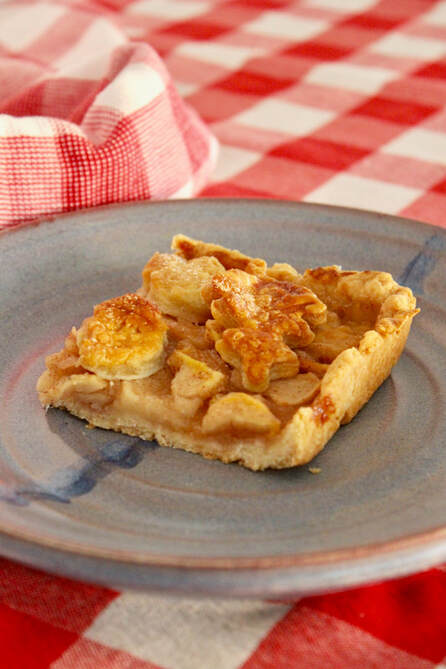
This apple slab pie is perfect for your next pot-luck. It will serve more people than the traditional 8 serving pie and it is so easy to eat. My kids love how they can pick up a piece of pie and eat it like a hand pie.
Enjoy this delicious taste of fall. Make it extra special with a scoop of your favorite vanilla or cinnamon ice cream.
Special supplies:
10 X 15 rimmed jelly roll pan. (affiliate link) If making homemade crust, you will need: Rolling pin (affiliate link) Pastry blender (affiliate link) If you are really into making pastries, you might consider a marble board (affiliate link) to help keep pastry cold when working with it. I received one like this for Christmas last year and love it. Mine is the larger 16 X 20 size so I can roll out large sheets of dough. Ingredients: Enough pie dough to make 3-4 pie crusts or 2 boxes store bought boxed pie dough. I make 2 batches of our favorite Never Fail Butter Pie Crust. Filling Ingredients: 8 apples, peeled, cored, and sliced* 1 T. lemon juice (about 1/2 lemon, fresh squeezed) 3/4 cup plus 2 Tbsp. sugar Dash salt 3/4 tsp. cinnamon 4 Tbsp. flour Optional egg wash to brush on the top layer of dough before baking.
Directions: 1. Preheat the oven to 375 degrees F. 2. Roll out, then press pie dough into jelly roll pan (enough dough for 2 pie crusts). 3. Cover with plastic wrap and refrigerate while preparing filling. 4. Combine apple pie filling ingredients and spread in pastry-lined jelly roll pan. 5. With a second batch of double crust pie dough or another box of pie dough, roll out the dough and make the top layer. You can make cookie cut-outs, lattice style, or a solid top with slits for venting steam. (If you make homemade dough and don't use all of it, freeze the extra for later.) 6. If desired, brush with egg wash and sprinkle with sugar. Then bake until golden brown and filling is bubbling about 45 minutes. Check while baking and if needed tent foil on top to prevent over browning. Serve warm or at room temperature. Store at room temperature covered with a lint free tea towel or plastic wrap. *(I usually buy Gala apples because they are great for baking and eating. Here is a list from Pioneer Woman with the best apples for pie.)
Pin on Pinterest
We are a participant in the Amazon Services LLC Associates Program, an affiliate advertising program designed to provide a means for us to earn fees by linking to Amazon and affiliated sites
Okra is one of the easiest vegetables to freeze. It's so simple that I have been putting up okra every few days as I harvest it in small batches. You can freeze it without blanching it, or simply dry-blanch it in the oven for even longer storage.
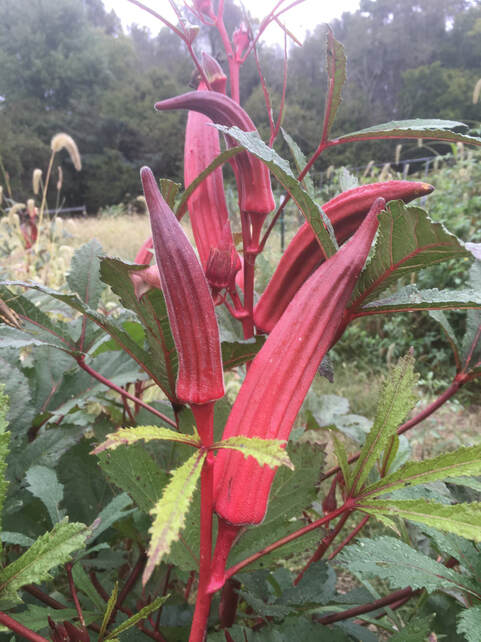
If you have never seen an okra plant, this is what it looks like. This was our first year to grow okra and I think it is a garden crop we will continue. I followed the directions on the seed packets which included soaking the seeds first and planted them. I actually forgot about them and soaked them an extra day or so, and some didn't come up but we still got a nice little crop of okra. The plants seemed to grow pretty quickly and we have had a continuous harvest for weeks.
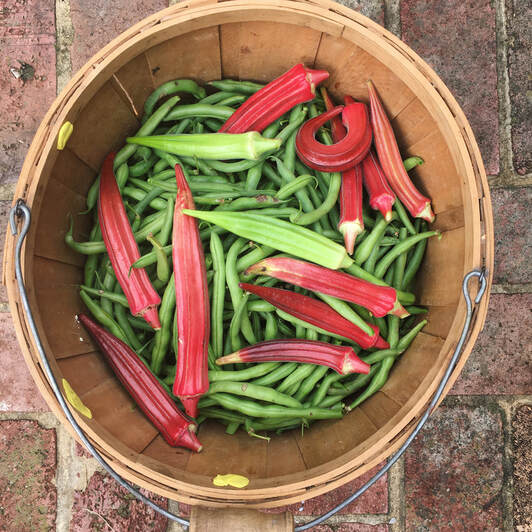
We grew green and red okra which makes a pretty harvest basket. (Basket pictured has green beans and okra.). We cut the okra from the stem with scissors or pruning shears. The stems are really thick and they rip apart if you don't use scissors. The boys love harvesting okra. It's the first thing they want to do when they are in the garden. You want to harvest every couple days because the okra grows really fast and if the pods get too big they become too hard to consume. I like to pick okra around 3-5 inches long for optimal tenderness. Larger pods go in the compost. In the video below, I cut a large okra pod to show how it is too hard and fibrous for consumption. It is so hard, you can hear me cutting into it.
Watch my quick youtube video to see how easy it is to freeze okra.
What you need:
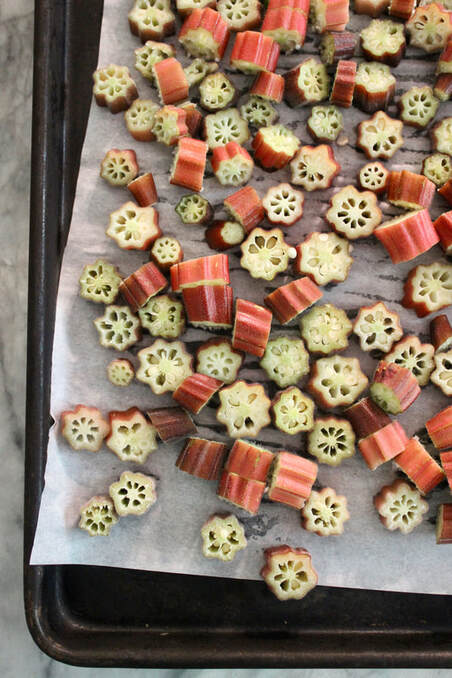
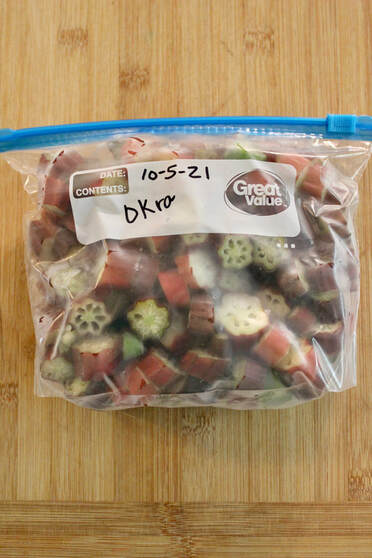
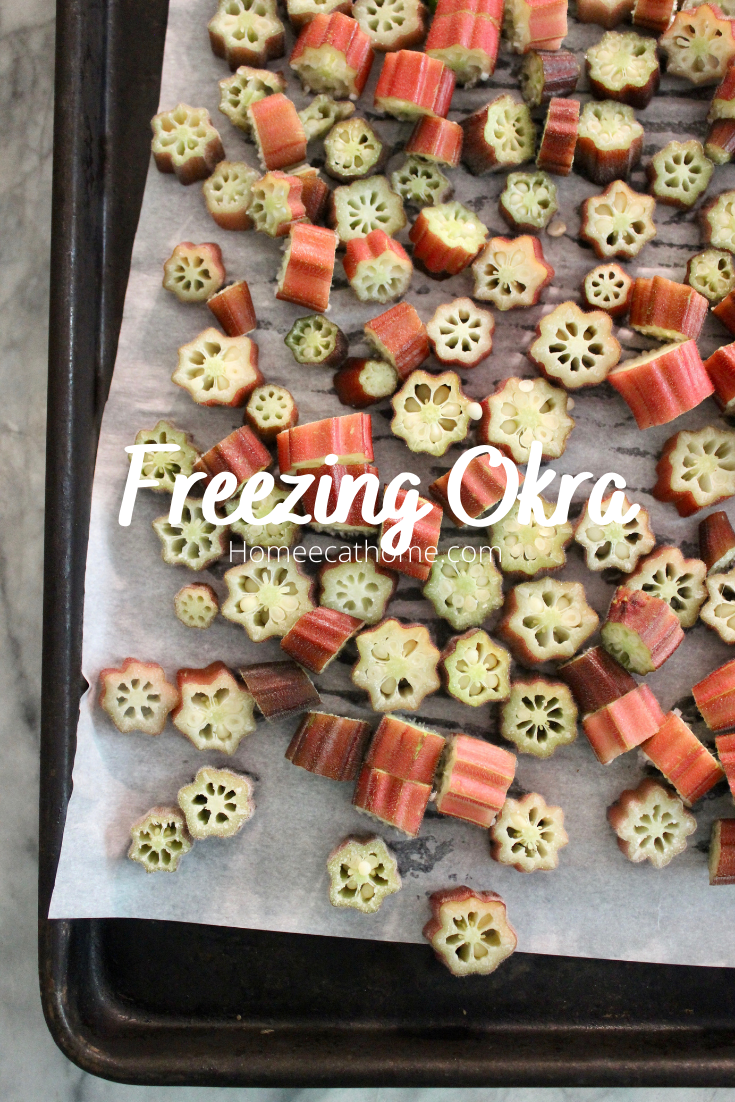
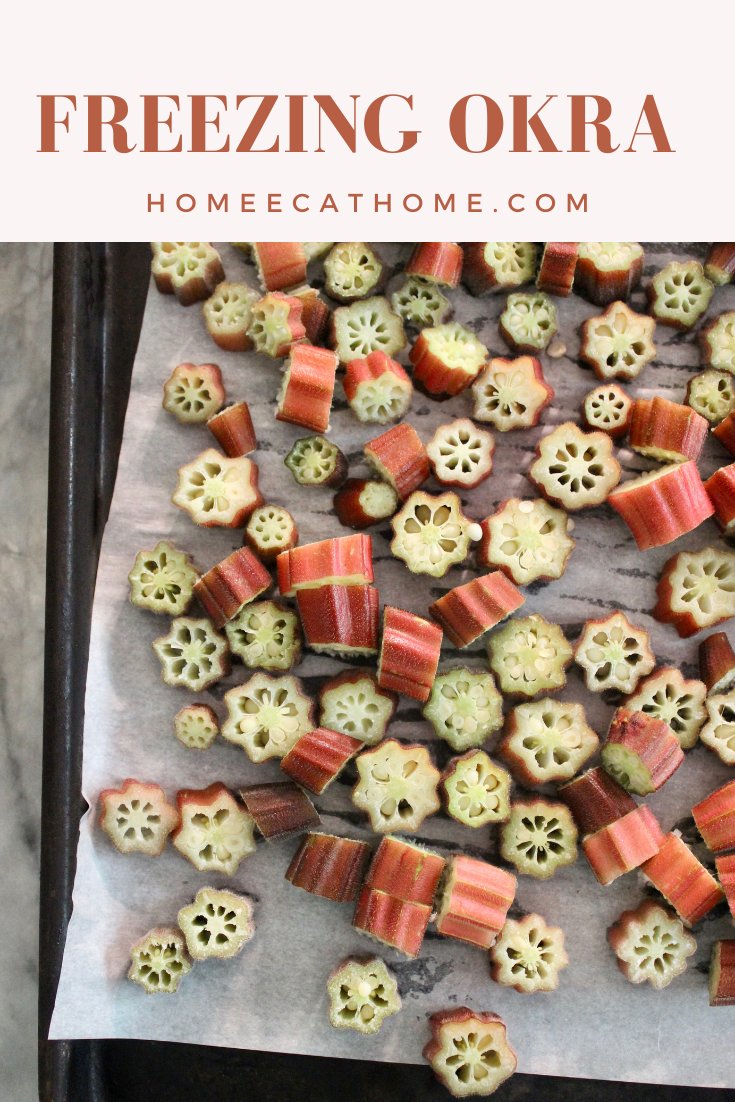
Fresh okra Sided baking sheet or jelly roll pan Parchment paper (affiliate link) Freezer zipper bags (affiliate link) or storage containers Instructions: Simply wash and dry the okra. Slice into rounds. Place on parchment lined sided baking sheet. Freeze for about 4 hours. Place okra in zipper seal bags or storage containers, label, and return to the freezer. This method will keep okra fresh in your freezer for up to 4 months, maybe even longer. For longer storage, (up to 12 months) simply place pan of okra in a 350 degree F. preheated oven for 7-8 minutes then cool pan a few minutes before freezing. This is called dry-blanching and will preserve the texture, flavor and color longer.
Here is our favorite shrimp and sausage gumbo recipe which uses okra.
Pin on Pinterest
|
Welcome to Home Ec @ HomeHi, I'm Faith, a former Family and Consumer Science teacher turned food blogger. I love God, my family, and food. You can usually find me in the kitchen preparing family friendly, homemade recipes and taking lots of pictures. This website uses marketing and tracking technologies. Opting out of this will opt you out of all cookies, except for those needed to run the website. Note that some products may not work as well without tracking cookies. Opt Out of CookiesFan Favorites
 Dehydrating Pears and Apples in the Instant Pot Duo Crisp Dehydrating Pears and Apples in the Instant Pot Duo Crisp
|




 RSS Feed


