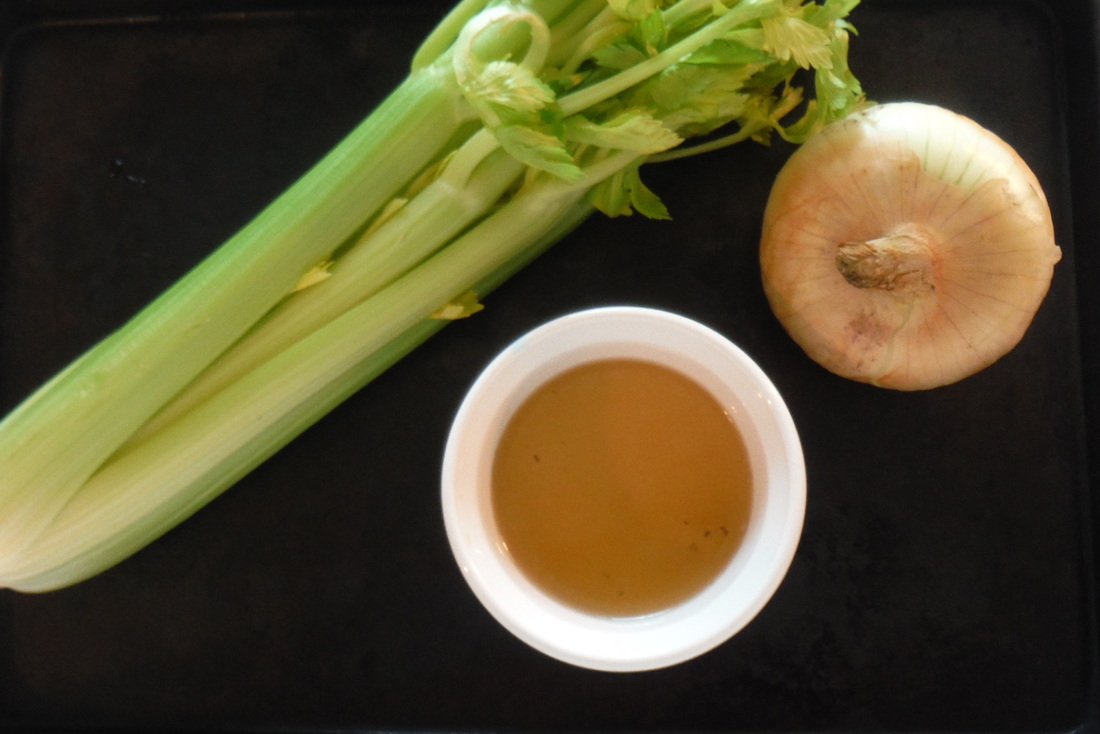
It doesn't get much better than homemade chicken broth. Warning...after it has simmered in your slow cooker for several hours it smells so good, you'll want a bowl of warm chicken noodle soup, pronto.
It is so easy to make homemade chicken broth in your slow cooker, it's not even really a recipe. Simply put a chicken carcass or bones, leftover from cooked chicken, most of the meat removed (here's a great whole chicken recipe) in your slow cooker and cover with water. Add a few vegetables on hand like a stalk of celery broken in half, onion chunks, whole garlic cloves, and carrot pieces. Cook in your slow cooker for 6 or more hours until you have a beautiful, fragrant broth. You can season to taste with salt and pepper and any other seasonings you like. I usually go light on the seasoning since the chicken was seasoned when it was cooked the first time. 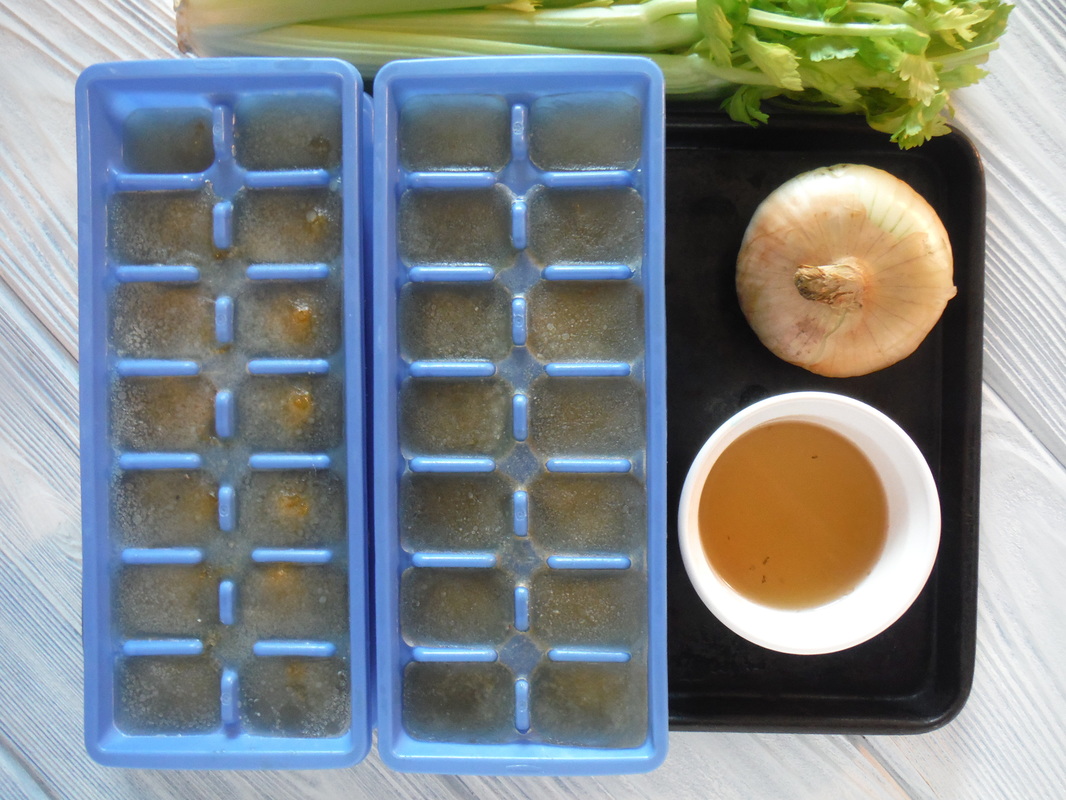
Strain the broth to remove the vegetables and chicken. If you are not using the broth right away let it cool, then pour into ice cube trays and freeze. You can then store zipper seal bags of broth cubes in your freezer. Next time you need chicken broth simply thaw as many broth cubes as you need.

0 Comments
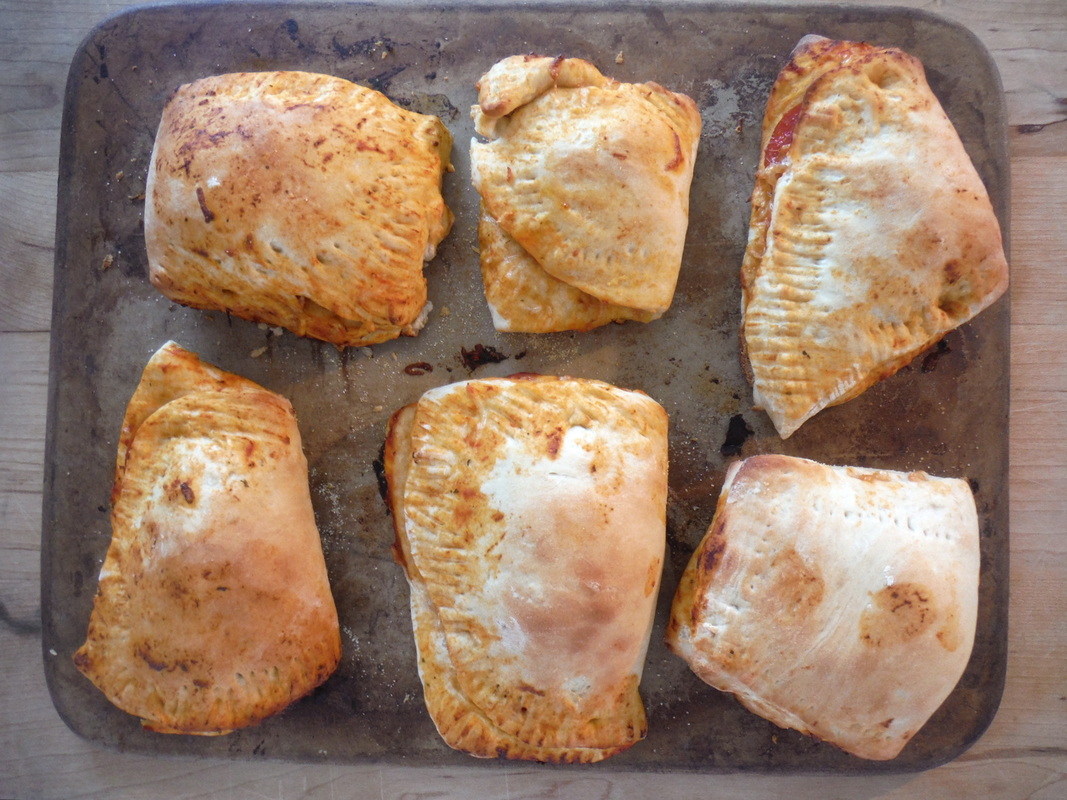
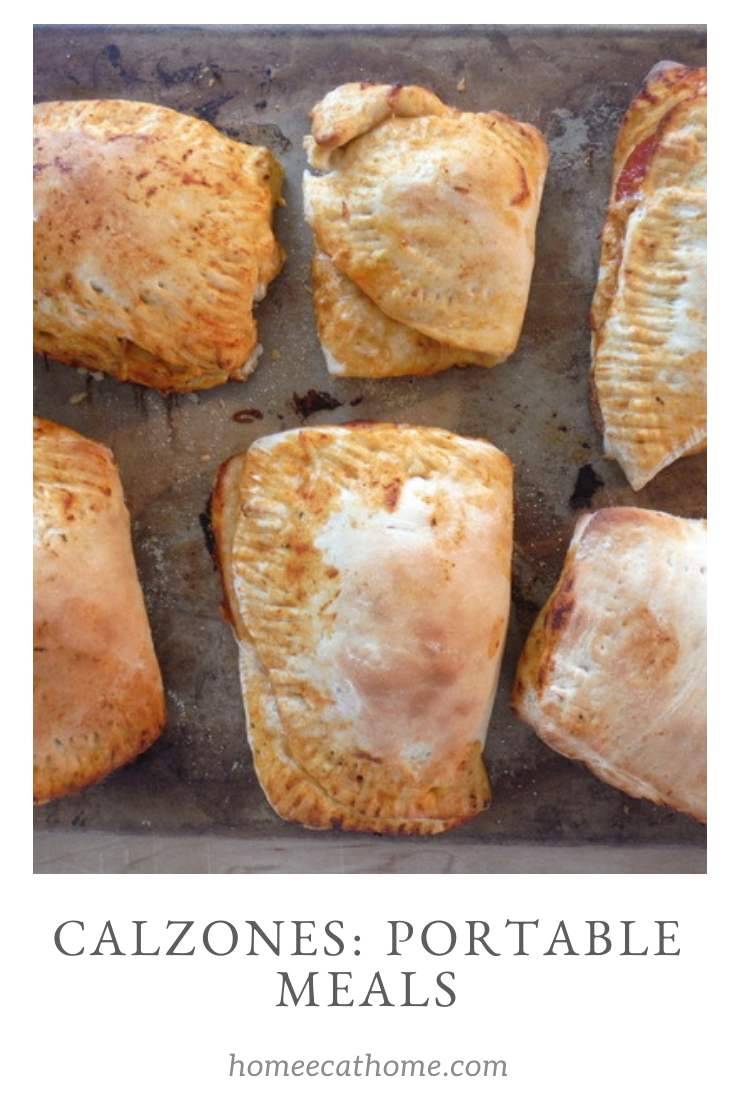
These calzones are simple to make and provide a convenient portable meal for those busy nights full of activities. Bonus: kids love them!

I have mentioned this before, but we are in a really busy season of our lives right now. Two nights a week we have been going to two Kung Fu classes and then baseball games. This has made dinner a bit of a challenge. I have been coming up with portable meals that can be eaten in the car between activities. There is no time between activities for the drive-thru and I don't want the boys eating fast food all the time. The costs would quickly add up and even though this is fast food, at least it is homemade. Plus the boys love them. They each (even my three year old) ate an entire calzone the other night. They loved them so much my two oldest boys ate the extra ones on the way home from the baseball game.
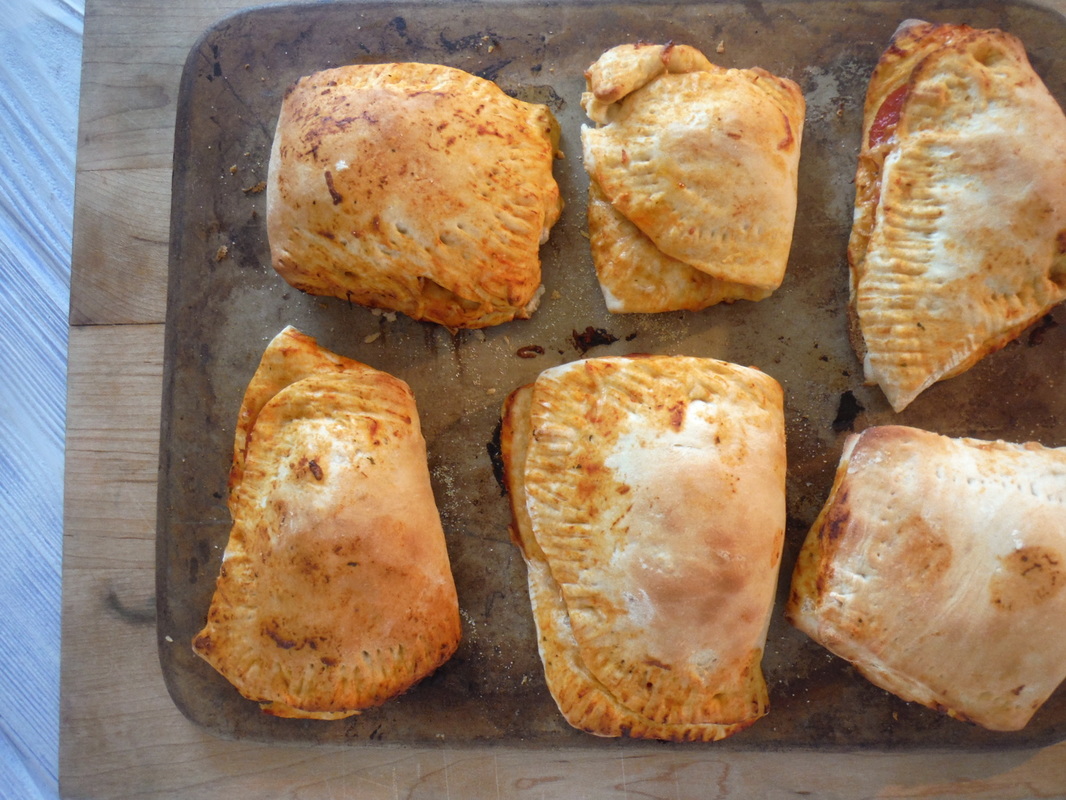
Calzones are pretty easy to make. We love grilled calzones, but I baked these in the oven. I simply filled these with pizza sauce, pepperoni, and mozzarella cheese so they would be quick to make. You can fill them with your favorite pizza toppings...sausage, onions, mushrooms, peppers, whatever your heart desires. I start with pizza dough kneading in a little extra flour to make it easy to handle.
Pizza Crust:
1 Tbsp. active dry yeast 1 cup warm water 1 to 2 Tbsp. sugar or sucanat 1 tsp. salt 2 Tbsp. olive oil 2 1/2 cups flour Dissolve the yeast in the water. Add the rest of the ingredients in and mix. Dump onto a floured surface. Knead into a smooth dough (five minutes or so). Knead in extra flour as needed to make it easy to handle. Roll out the dough onto a lightly floured surface, then cut into six pieces or roll half of the dough at a time and cut each half into three pieces. 
Sprinkle some corn meal (optional) on a large pizza pan, baking sheet, or baking stone. Place the dough pieces on the pan. Spread some pizza sauce on each piece of dough.

Put pizza toppings on half of your dough slices.
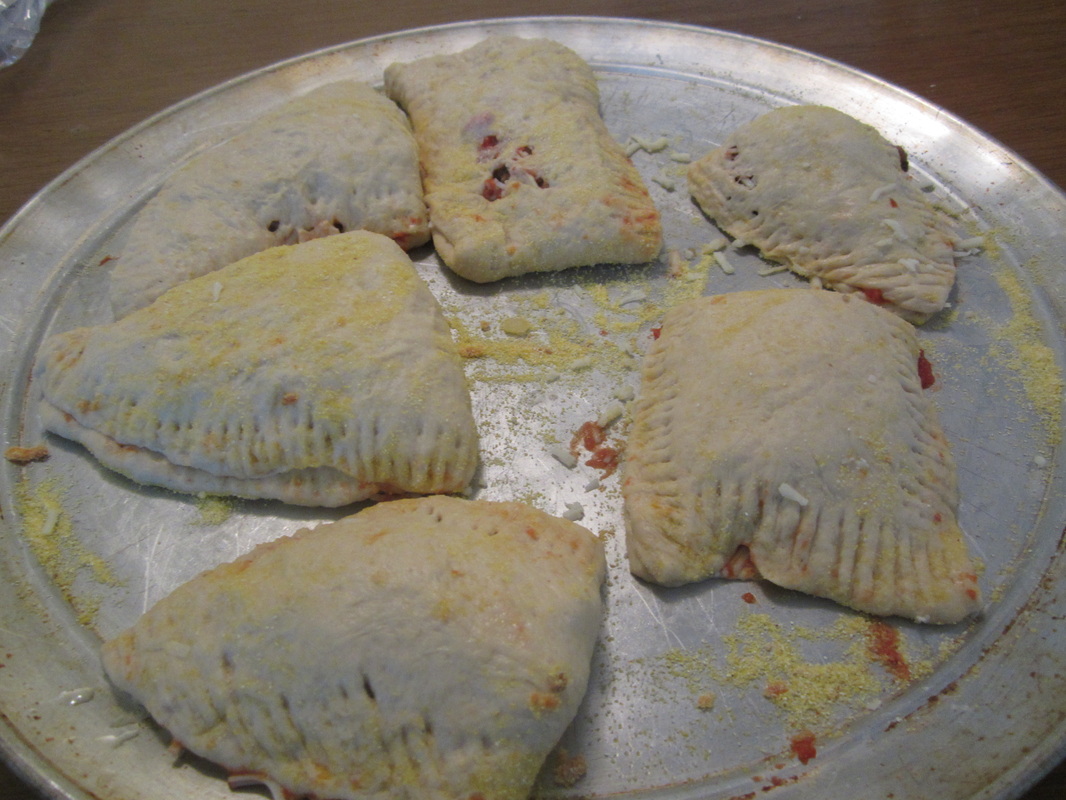
Fold over each piece of dough to seal it around the fillings. Press edges together and crimp them with a fork.
Bake at 450 F for 12 to 15 minutes, turning over half-way to brown on both sides. ​
For easy printing, copy and paste this into word.
Pizza Crust for Calzones:
Yum on Yummly to easily save this recipe.

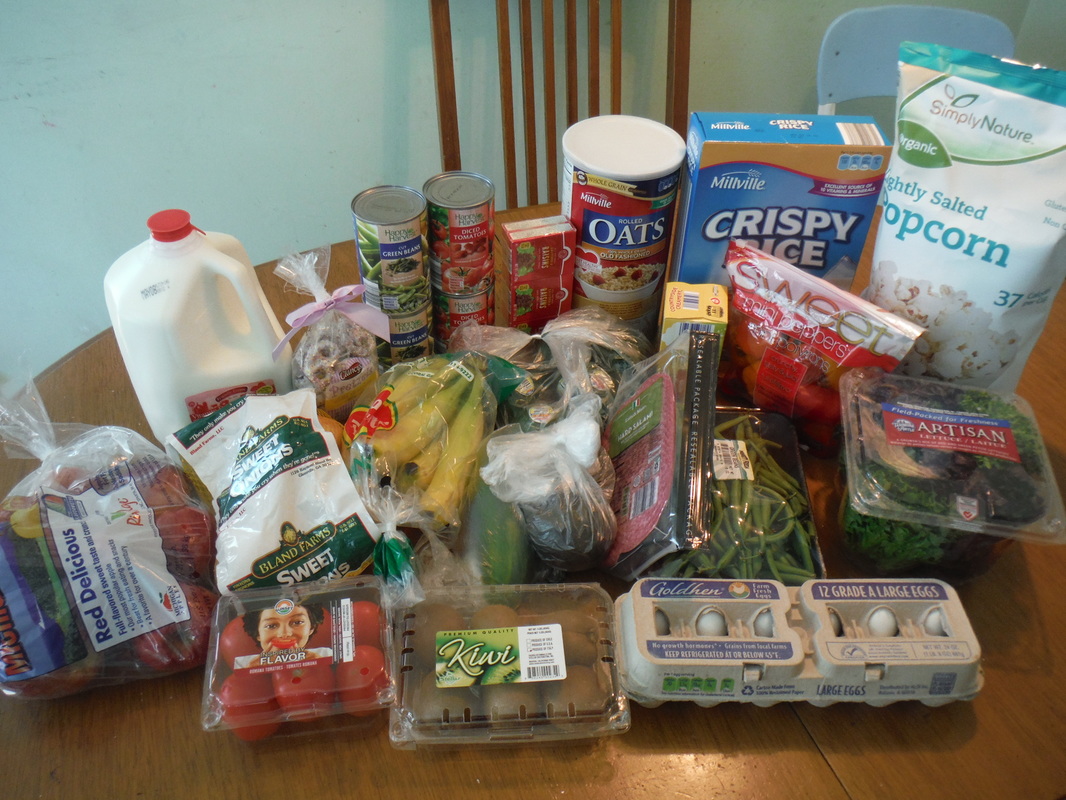
Look at what you can get at ALDI for $36
If you have never shopped at ALDI, you should give it a try. There are a couple of things you should know before you go. Bring a quarter to rent your cart and bring your own bags. They do have bags for sale, but it is so easy to bring your own. So you may be thinking...Ugh, I don't want to bag my own groceries. They have bagging counters and it only takes a few minutes, but saves you money on your groceries because it keeps costs down. ALDI does not take credit cards, but they take debit cards, EBT and of course they take cash. I always pay with cash. This is another way they keep costs down by not paying credit card fees.
Now that you are through ALDI 101, let's talk savings. I compare prices everywhere I shop and most of the time ALDI prices can't be beat. They carry mostly their own store brands, so you won't be using manufacturers coupons. I have shopped ALDI for years and have found most of their products comparable to national brands. I love their produce as you can see in the picture above. Admittedly, I don't buy much meat at the grocery store because I buy meat at our local University meat lab and my parents give us a lot of deer meat. But when I have bought meat at ALDI, I thought it was good quality. I will sometimes stock up on marked down meat at ALDI and freeze it. To show you how good their prices are, here is a breakdown of this week's ALDI shopping trip. All of this for only $36! Bananas, 1.96 lb. X $0.40 lb. = $0.78 Fresh green beans = $1.39 Old fashioned oats = $2.29 Butter, 1 lb. = $1.79 24 bottles purified water (not pictured) = $2.29 Bag organic popped popcorn = $1.79 Avocados 7 X $0.49 = $3.43 Artisan lettuce = $1.29 Mini Sweet Peppers = $1.99 Crisp rice cereal = $1.79 Eggs = $0.59 Diced tomatoes 2 X $0.55 = $1.10 3 lb. bag red delicious apples = $2.69 Canned green beans 2 X $0.34 = $0.68 Kiwi 6 pack = $1.69 Gallon milk = $1.49 Hard salami 1/2 lb. = $2.99 Cucumber = $0.29 6 pack raisin boxes = $1.29 2 lb. Sweet onions = $2.29 1 lb. Roma tomatoes = $0.99 White chocolate covered pretzels marked down to $0.99 Subtotal =$35.91 Tax = $0.36 Total = $36.27
Linking up at Friendship Friday
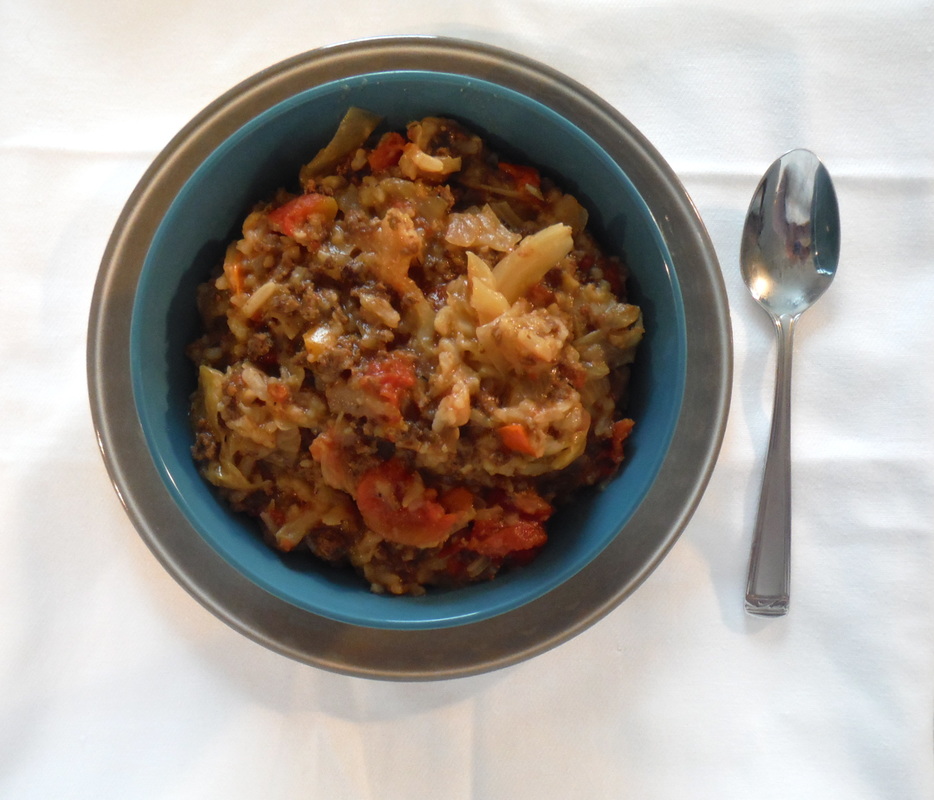
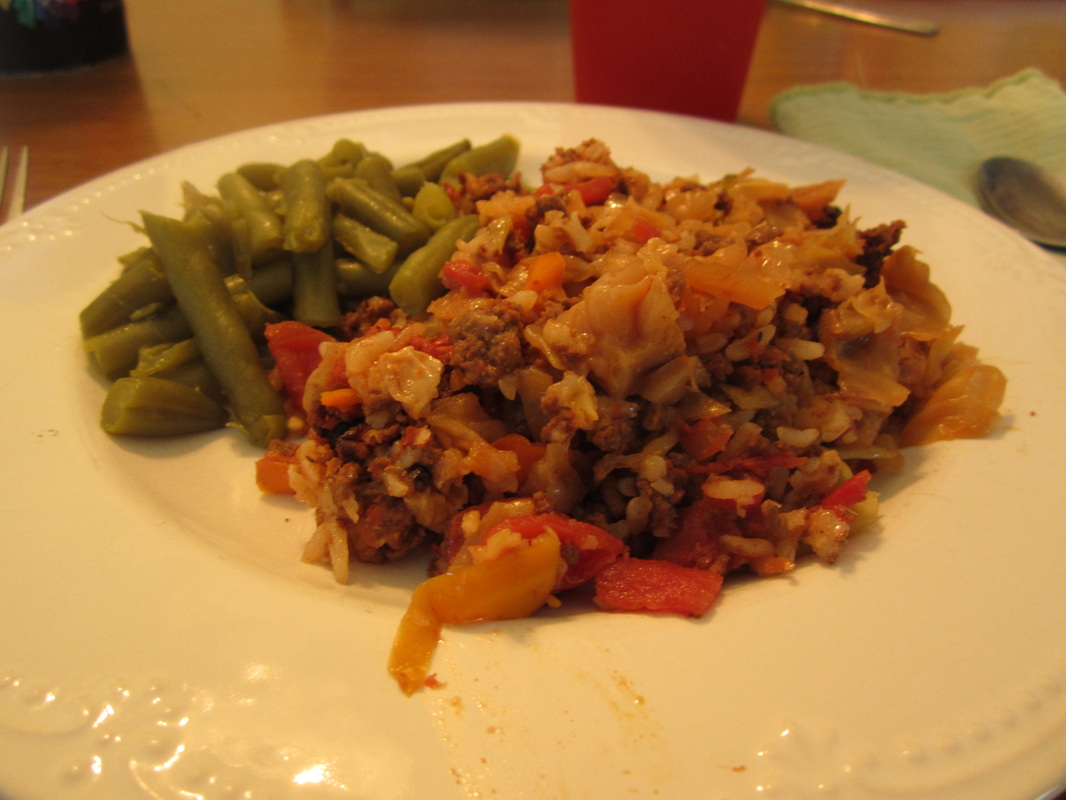
This is an old favorite that has been on the blog for almost two years and since we enjoyed it for dinner tonight, I thought it was time to update this post. We love Lazy Cabbage Roll Casserole. It is easy to throw together early in the day and it is delicious. All three of my boys love it and to prove it, they cleaned their plates again tonight. Over the past two years, this recipe has been one of my top pinned recipes on pinterest. Even with this old orange photo. Although, admittedly the casserole looks delicious in spite of my bad photography skills.
Ingredients:
1 lb. lean ground beef or deer 1 onion, chopped 1 red, yellow, or green bell pepper, diced 2 T Worcestershire sauce 2 tsp dried thyme 2 tsp garlic powder 2 tsp salt 28 oz can diced or crushed tomatoes 6 cups coarsly shredded cabbage, (1 small head) 1/2 cup uncooked rice Instructions: 1. Brown beef, onion, green pepper, worcestershire, thyme, garlic, and salt in skillet over medium heat. 2. Stir in tomatoes and uncooked rice and heat until bubbling. 3. Place cabbage in slow cooker and pour meat mixture on top. Cook on low 6-8 hours or high 4-6 hours. Adapted from Spark Recipes. 
Linking up at Create with Joy
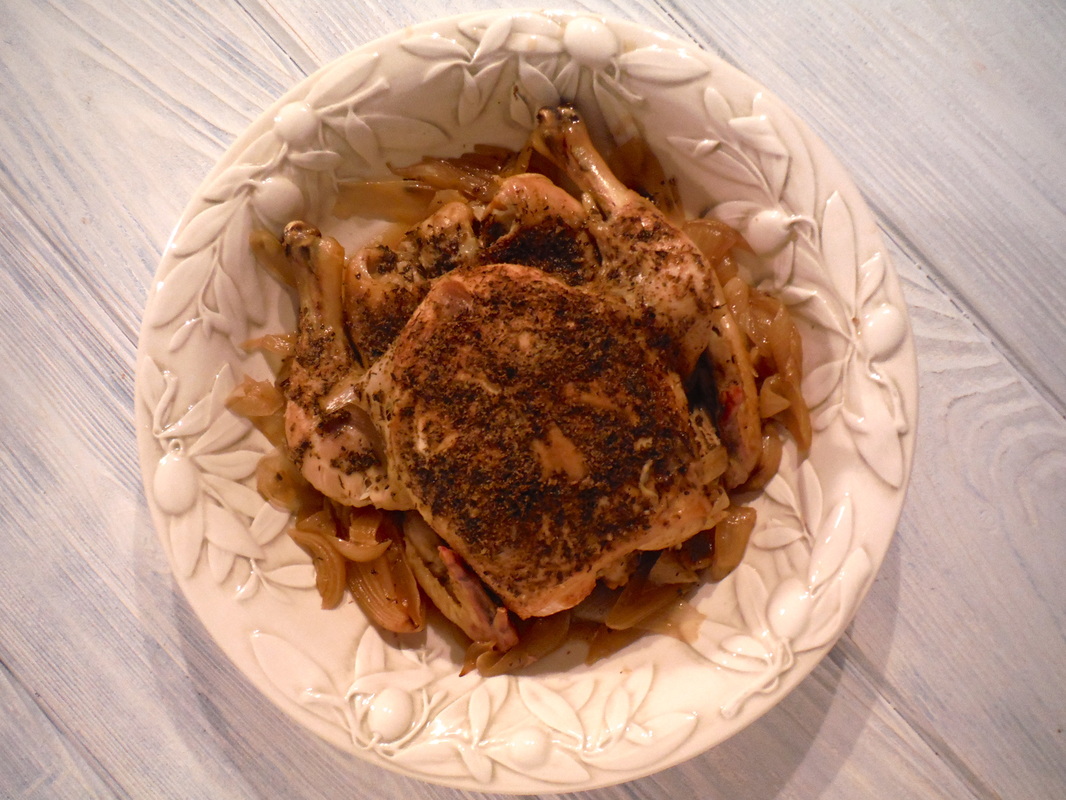
I love my slow cooker, but I think chicken in the slow cooker can be tricky. It is easy to end up with dry meat and who wants to eat dry chicken? This chicken is moist and full of juicy flavor. When you remove the chicken from the slow cooker to serve it, pour some of the flavorful juices left in the crock pot over the chicken and let it soak in the flavor while it rests a few minutes.
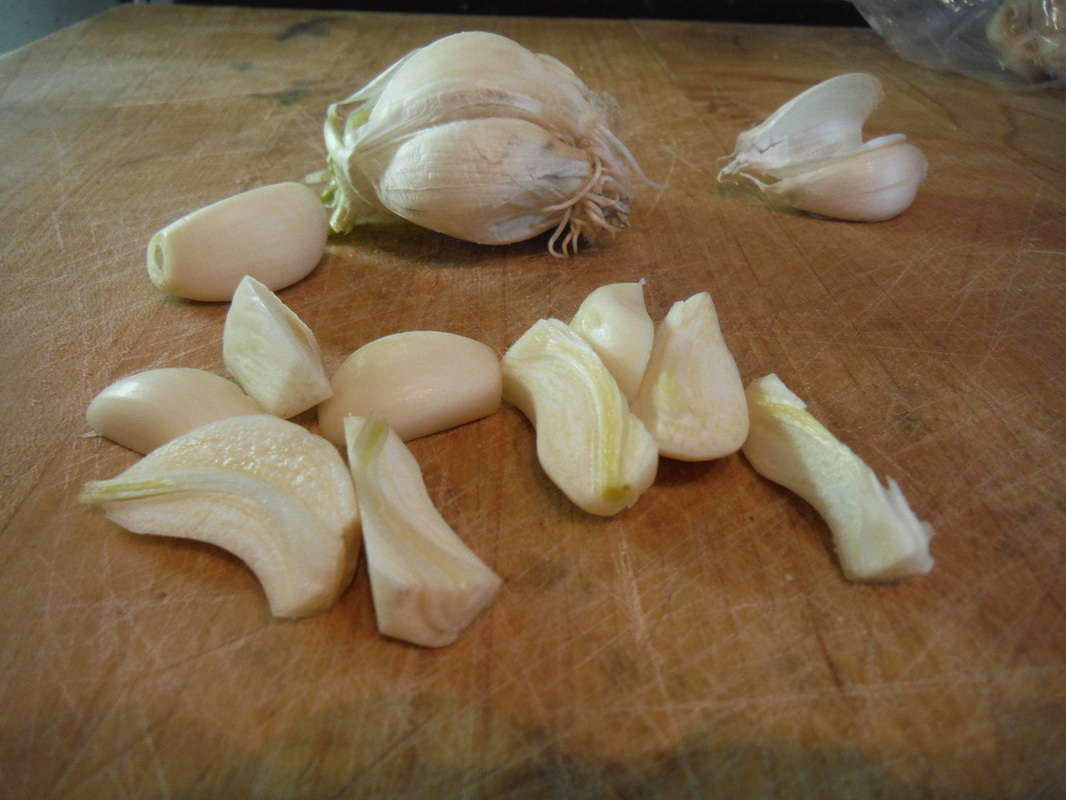
After preparing the chicken, slice garlic cloves and place them under the skin and in the cavity of the bird.

Make a dry herb rub and rub on the chicken, under the skin and place some in the cavity. Use your favorite seasonings or my recipe. This is a fun way to use any fancy salts you may have. I like this salt that was a gift from relatives after a trip to Hawaii.

Easy and Delicious Whole Chicken in a Slow Cooker
1 tsp. salt 1 tsp. marjoram ¼ to ½ tsp. fresh ground black pepper (I don’t measure, I just grind it into the bowl.) ½ tsp. Cajun or creole seasoning ½ tsp. onion powder ½ tsp. garlic powder 1 tsp. thyme 1 to 2 onions 8 to 10 garlic cloves 1 whole chicken (about 4 lbs.) 1. Cut onion into large chunks to cover the bottom of the slow cooker. 2. Next add the chicken on top of the onions. (Don’t forget to remove the giblets first.) 3. Peel the garlic cloves and slice them once or twice lengthwise. Then put cloves under the skin and in the chicken cavity. 4. Mix the herb rub ingredients together then rub all over the chicken, putting some inside the chicken and under the skin. Do not add any liquid to the slow cooker, the meat will cook in it’s own juices. 5. Cook on high for 4 to 5 hours until the meat starts to fall off the bones.
Linking up at Do Tell Tuesday

We are in crazy busy activity mode with several nights a week spent going from one activity to another. Between baseball, Kung Fu, garden club, cub scouts, and soon to be added to this list t-ball, I am having to come up with portable meals that can be eaten on the run.
On one of our busy nights, I decided we would have grilled smoked sausages. Since I didn't plan ahead as I should have, we did not have any buns in the house. The last thing I wanted to do during our precious time at home was drag the little boys to the store for one package of hot dog buns. I decided to try and make my own. I started thinking about all of the bread dough recipes I have made and thought that my bread machine bread stick recipe might work if I adapted it slightly. The bread sticks are always soft and kind of fluffy like hot dog buns. I would have to make them larger and wouldn't pour melted butter over them, but I thought it would work. 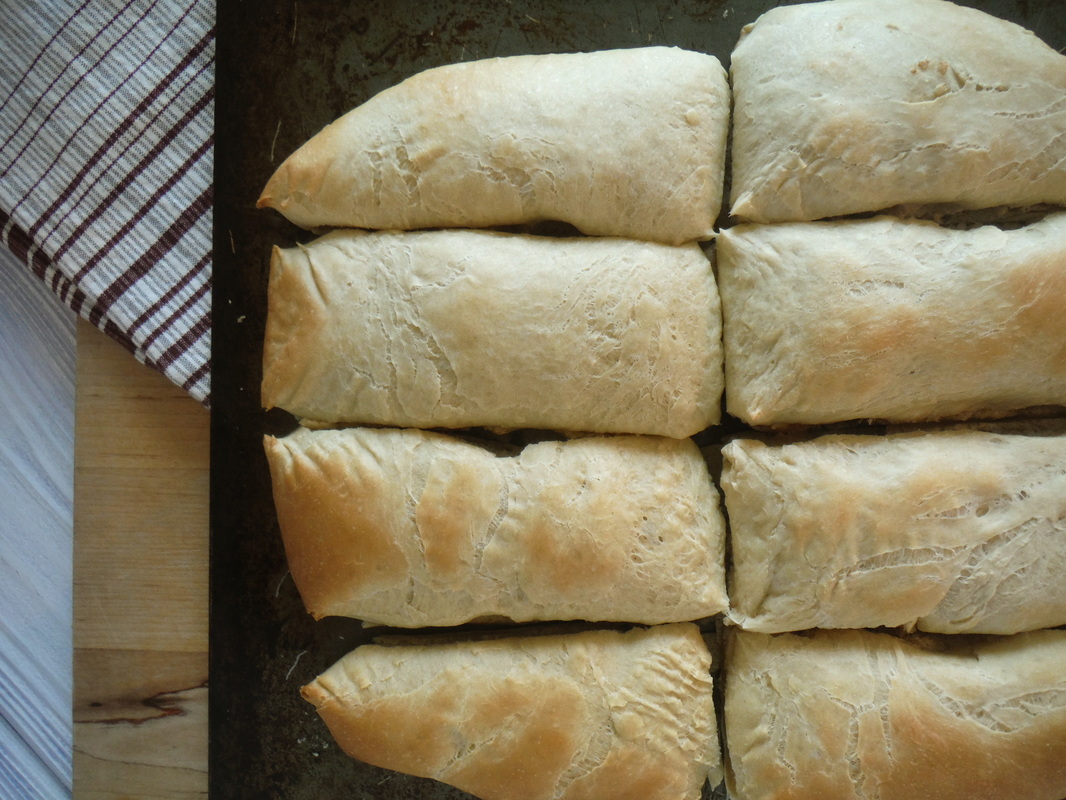
And it did. I cut them quickly with a pizza wheel and did not reshape the buns, but next time I may try to shape the buns in a more rounded shape if I have time. Either way, they are delicious.
Put these ingredients in your bread maker in the order listed.
1 cup warm water 1/4 cup olive oil 3 cups all purpose flour 1 tsp. salt 3 TBS brown sugar or sucanat 2 1/2 tsp active dry yeast 1. Once the dough cycle is finished, roll the dough to about a 10" X 10" square on a large lightly buttered baking sheet. 2. Using a pizza cutter, cut the dough into 8 pieces. Round edges to make hot dog bun shapes if desired. 3. Let rise for about an hour. 4. Bake at 375 degrees F. for 15-18 minutes until golden.
Linking up at Create with Joy and Do Tell Tuesday and a big Thanks to Money Saving Mom for featuring this recipe!

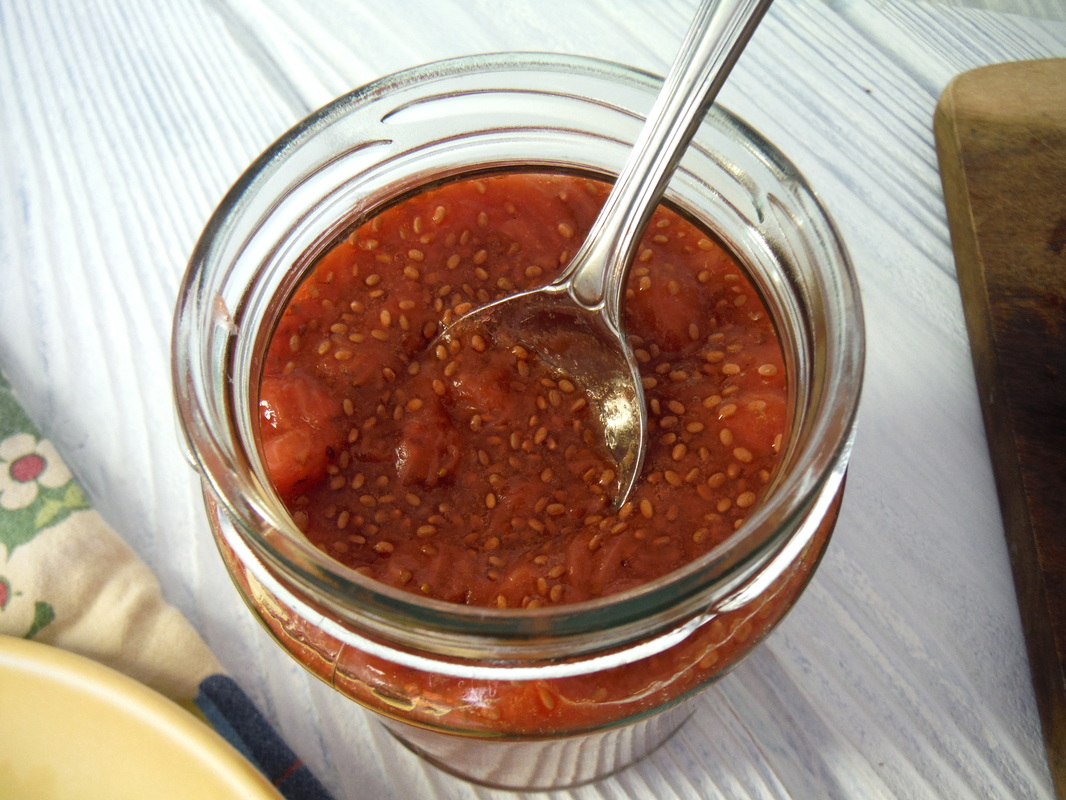
I am fairly new to the growing trend of consuming chia seeds for their nutritional benefits. So far, I have put them in smoothies and made this amazing strawberry chia seed jam.
I mean literally amazing! The flavor is fresh and perfectly sweet and it is sweetened with honey. That's it. It only takes three ingredients to make this super easy jam, strawberries, honey, and chia seeds.
Chia seeds absorb liquid and naturally thicken creating a perfect texture for jam. The nutritional benefits of chia seeds are quite impressive too. Chia seeds contain fiber, protein, calcium, magnesium, phosphorus, antioxidants and more. They pack a powerful punch considering how little you need to consume to get the nutritional benefits.
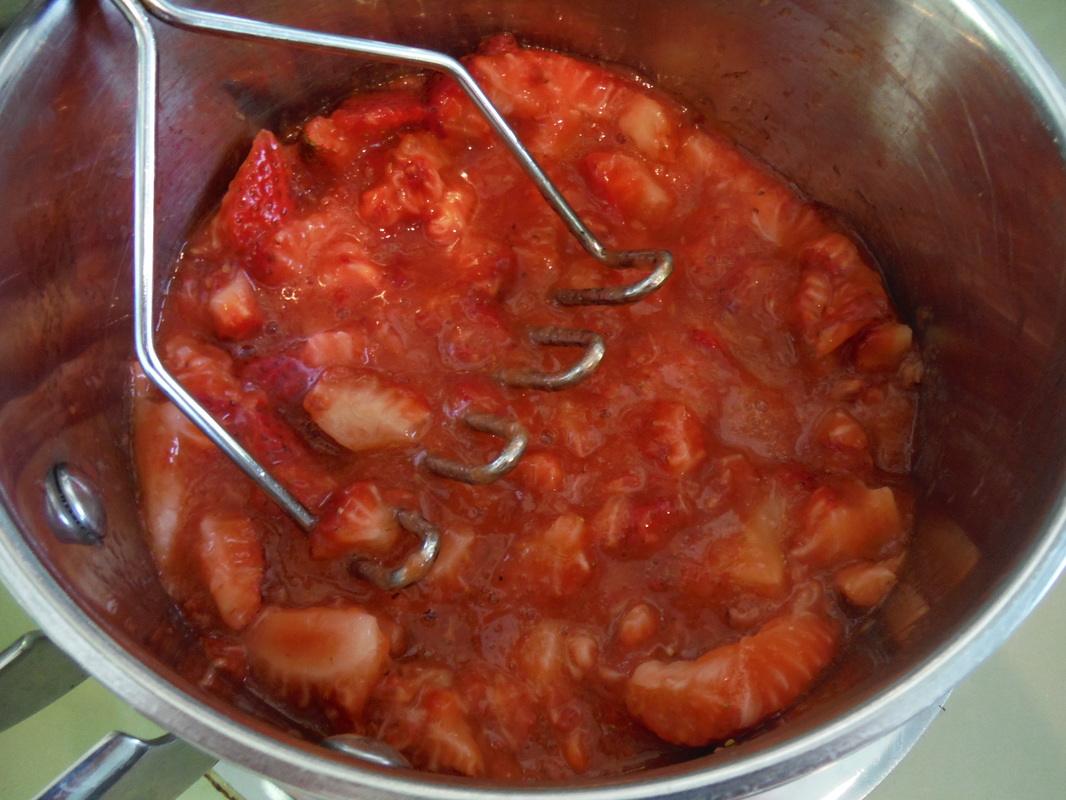
After you chop the strawberries, mash and heat them at a medium heat for a few minutes.
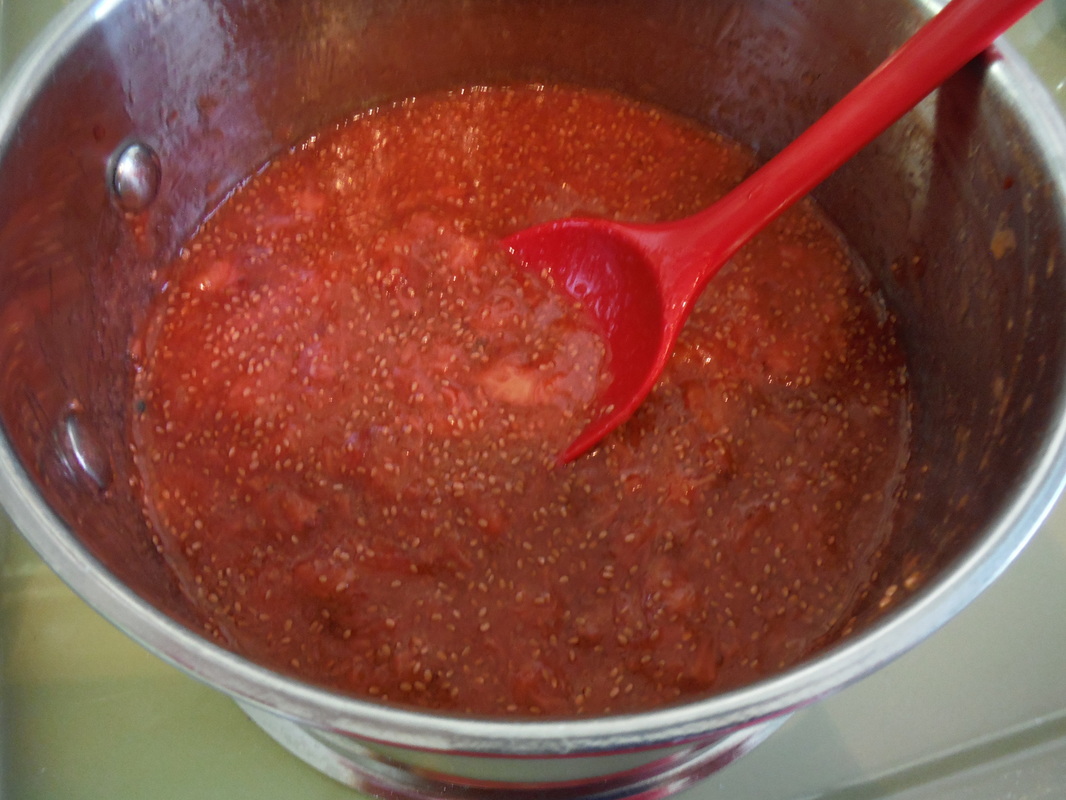
Then add the chia seeds and continue to heat for about another minute. I got a really good deal on a pound of white chia seeds at Abe's Market. They were on sale so I don't know if they still have this particular type or not. See my sidebar add to shop for chia seeds at Abe's Market.
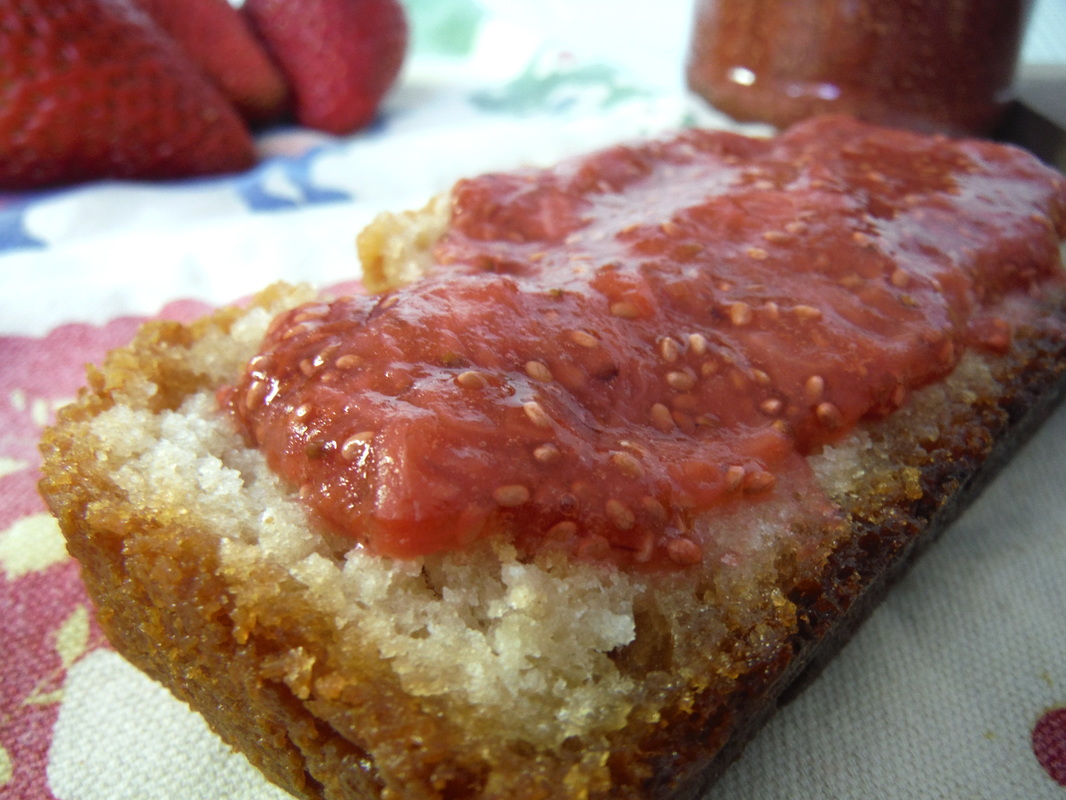
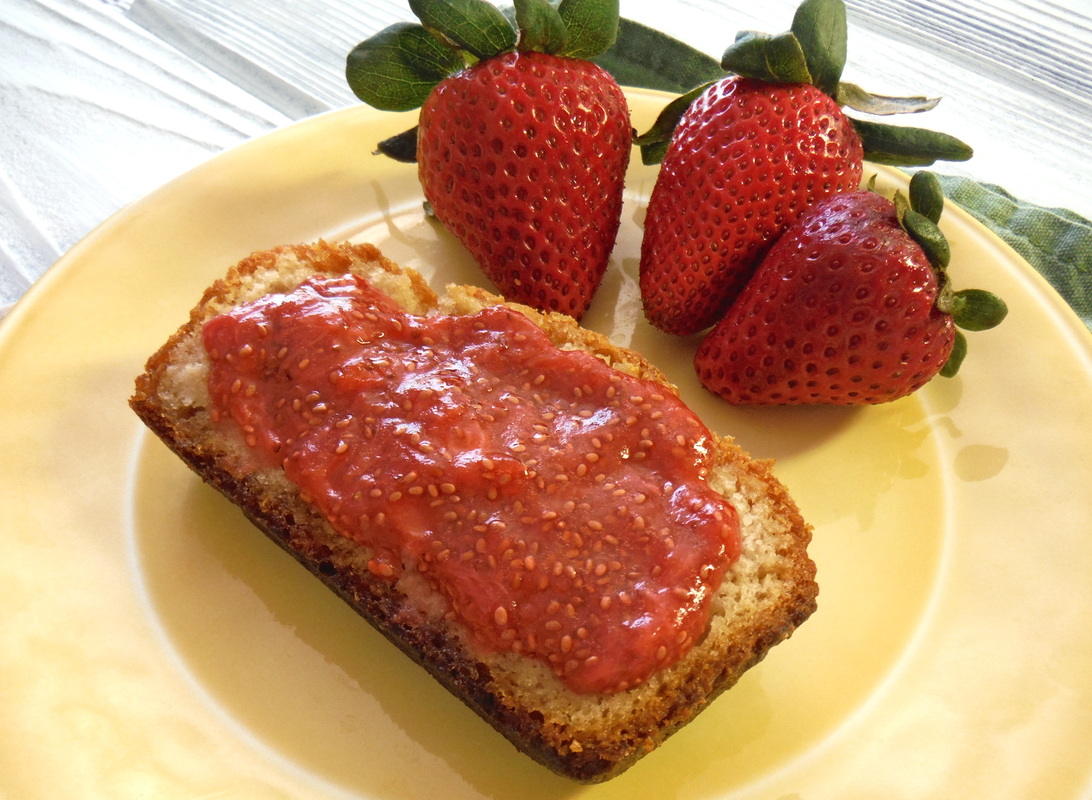
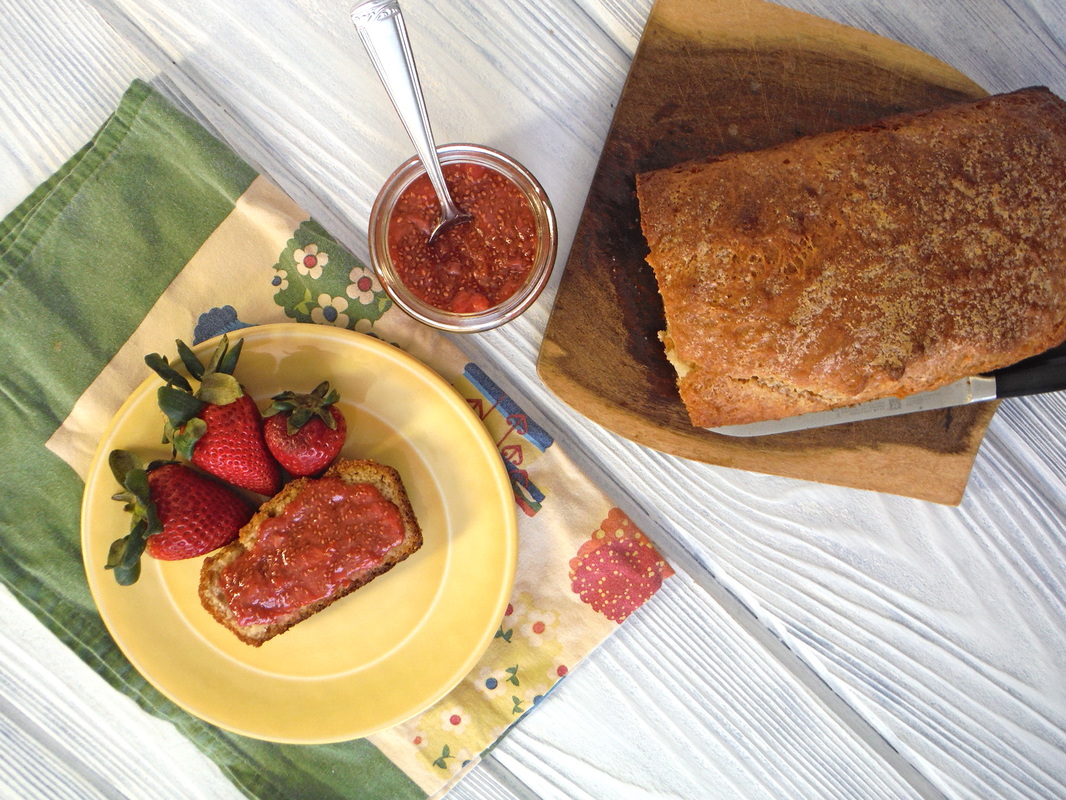
See how easy that was. Enjoy some super healthy and delicious strawberry chia seed jam. And if you want to bake some of this delectable, but not so healthy beer bread, here is the recipe.
Ingredients:
1 lb. strawberries 1/4 C. honey (more or less to taste depending on the sweetness of your berries) 2 T. chia seeds 1. Clean and chop strawberries. 2. Cook strawberries and honey over medium heat while mashing the berries with a potato masher until the mixture starts to bubble and the berries break down releasing juice. 3. Add the chia seeds and continue to cook for another minute. 4. Remove from the heat and let cool to thicken at least 10 minutes. 5. Refrigerate any leftovers in a sealed container for up to two weeks.
Linking up at Create with Joy
|

Welcome to Home Ec @ HomeHi, I'm Faith, a former Family and Consumer Science teacher turned food blogger. I love God, my family, and food. You can usually find me in the kitchen preparing family friendly, homemade recipes and taking lots of pictures. 
Still Goldens, Southern, IL
 Fan Favorites

The Best Dry Brined Turkey with Citris and Fresh Herbs

 Dehydrating Pears and Apples in the Instant Pot Duo Crisp Dehydrating Pears and Apples in the Instant Pot Duo Crisp
 
 |
 RSS Feed