Last summer we gave our oldest a fun backyard birthday party. He picked a Transformers theme and we had a lot of fun with it.
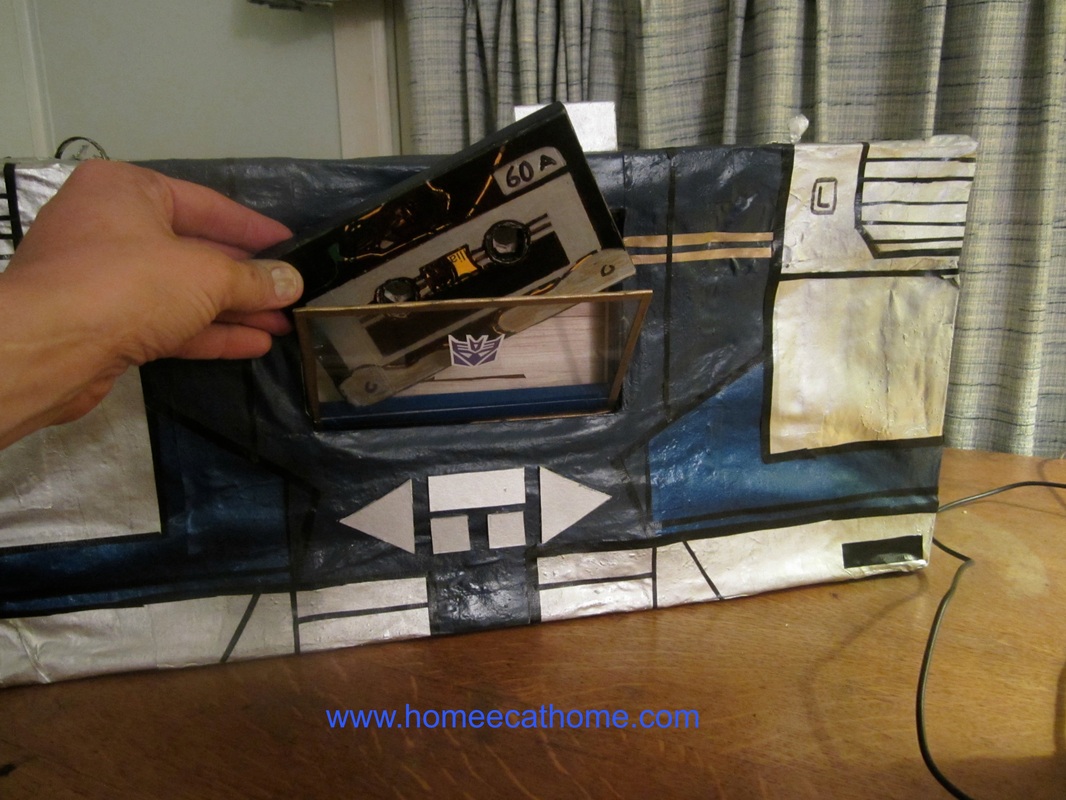
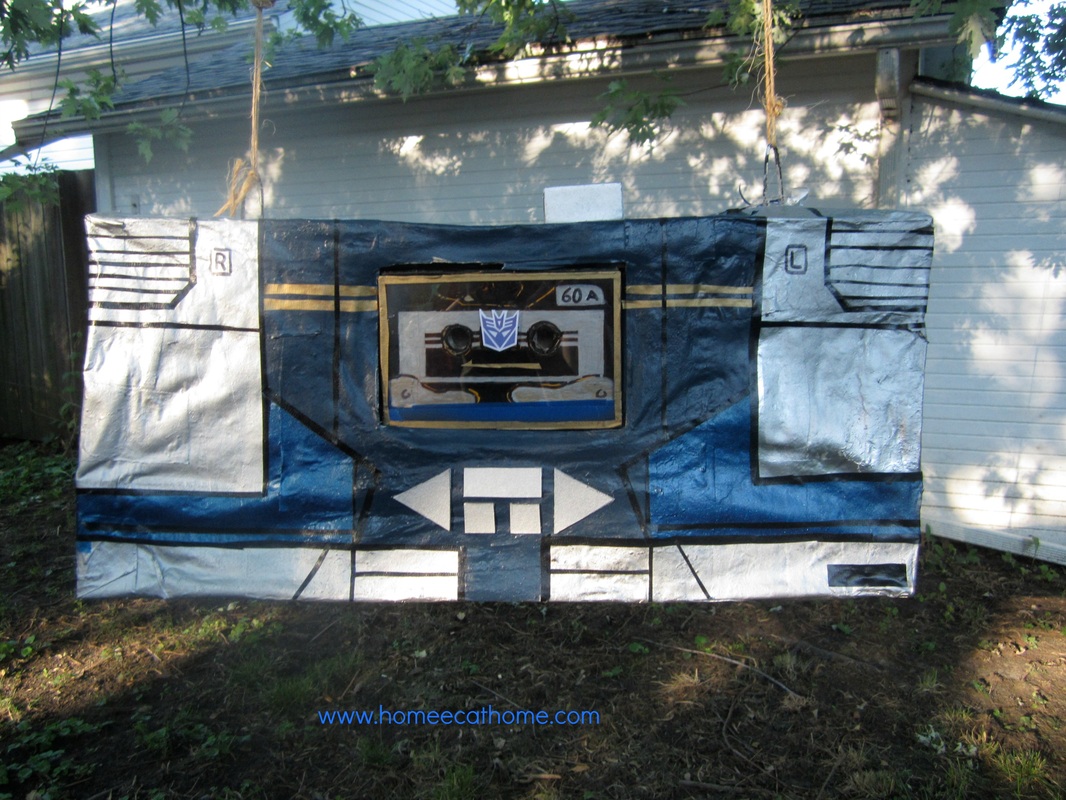
My husband has become quite the pinata maker. The year before, he made a Dr. Octopus pinata for a Spiderman themed birthday party and then he made this amazing Soundwave pinata for the Transformers birthday party. He used balsa wood to construct a frame and covered it in paper mache. He put so much detail into making this pinata. He even made a "cassette tape" and "tape deck" that opened. Finally, he painted the pinata to look like Soundwave. Well done, Honey!

Who's ready for some pinata action? I don't know much about Transformers, but apparently Soundwave is a Deceptacon which means that he is a bad guy so he is a perfect candidate for a pinata (since pinatas get beat up).
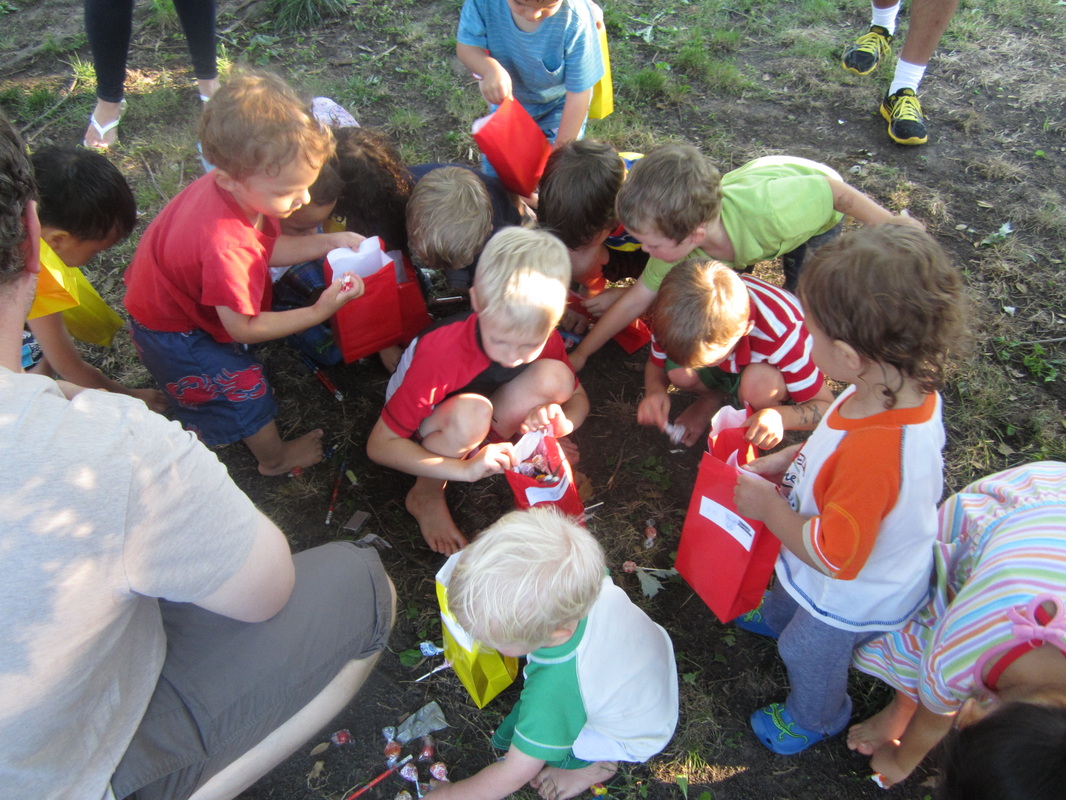
Dive in!
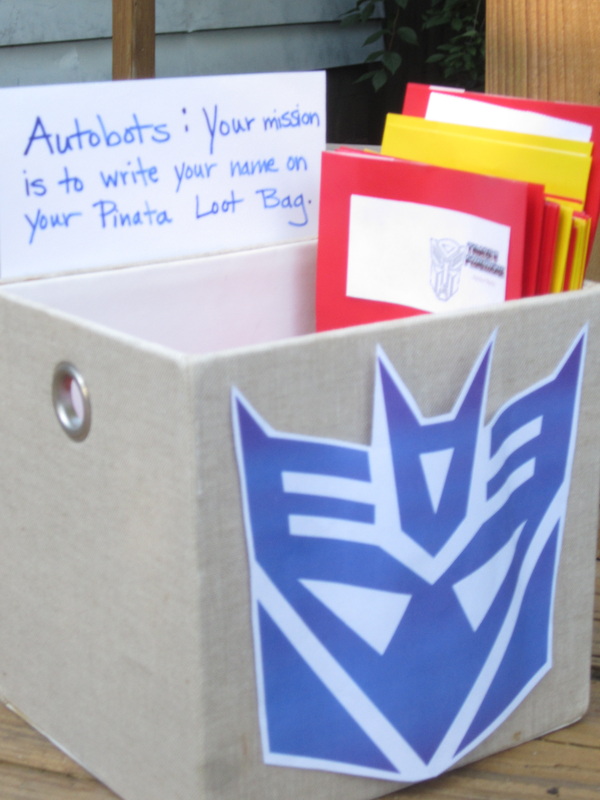
I was trying to be clever here, but I am not educated in the language arts of Transformers. Also, I didn't realize at the time that I put a Deceptacon (bad guy) image on the container. It was however, a nice way to distribute loot bags and make sure that names were on the bags. I bought solid color bags at Dollar Tree and glued on a transformer image that I found online. The bags were sold in 10 packs for $1.
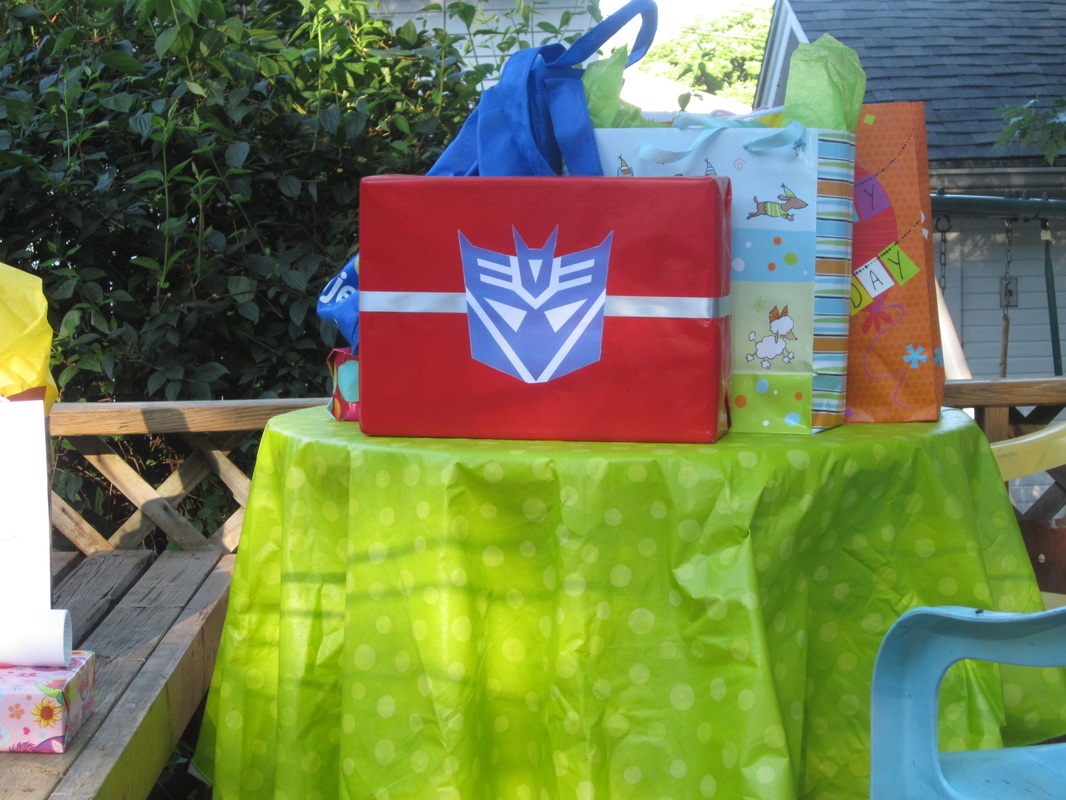
I was really proud of my Transformer wrapping job and then found out that I unknowingly glued a Deceptacon on the package instead of an Autobot. Oh well, the colors are really pretty together.

My cousin loaned us this awesome bounce house for the party. The kids loved it and played for hours.
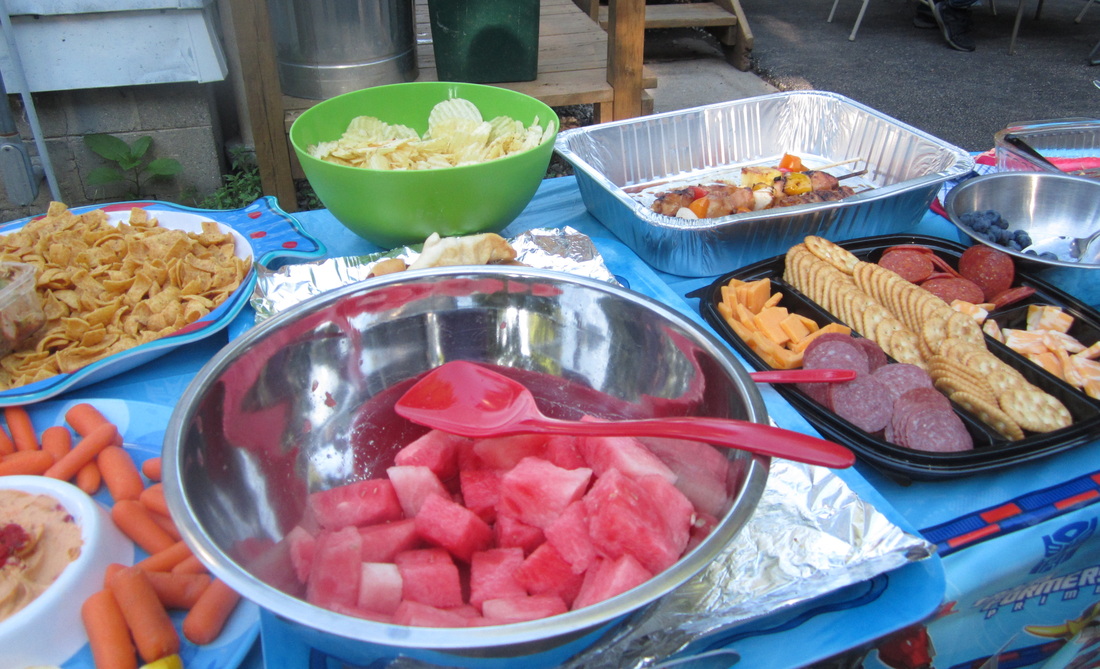
And lastly the menu... I don't have any fabulous food pictures to share. To simplify things, I combined a few homemade dishes with some easy store bought snacks. I used paper products form Oriental Trading Co. Another fun blog post if you haven't read it already. Oriental Trading Co. sent me some great Transformers products to review. They have a nice selection and my son was thrilled.
The menu: Chips and Dip Vegetables and Hummus Watermelon Blueberries Cheese and Cracker tray Honey Chicken Kabobs Pigs in a Blanket Hot Ham Sandwiches Corn and Black Bean Salad 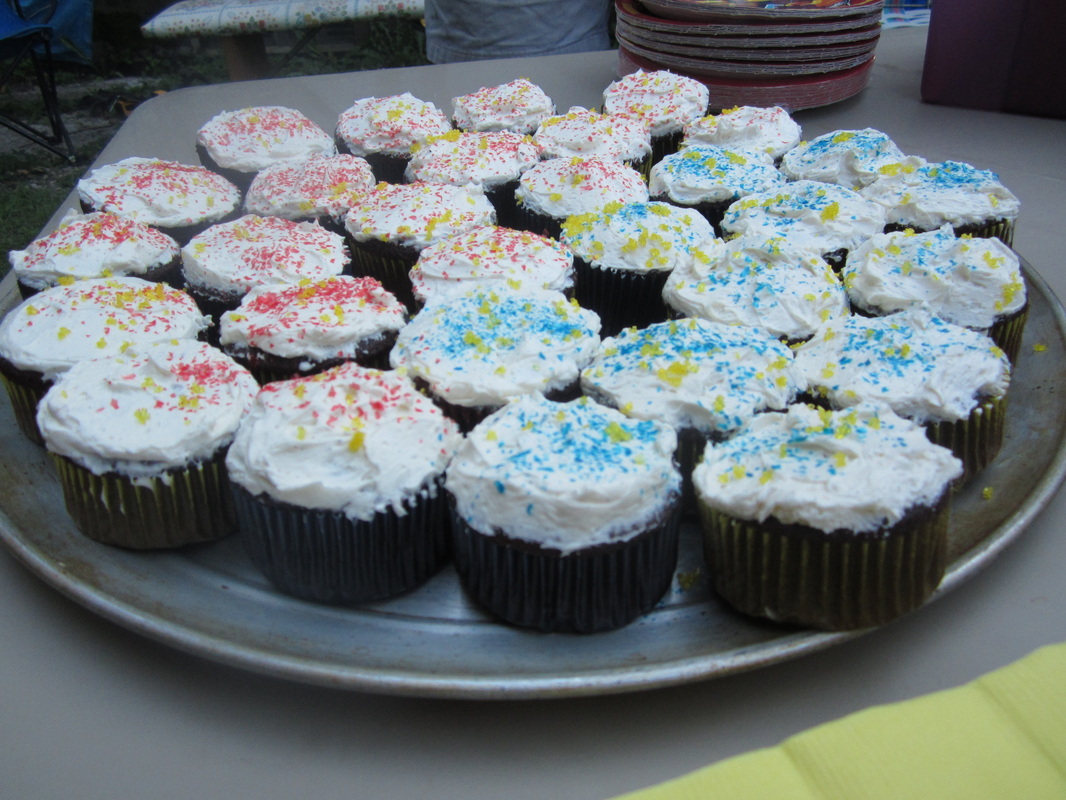
I went really easy with the cake for this party. I made chocolate cupcakes and frosted them with vanilla bean icing and sprinkles in the party theme colors. The link to the recipe is for a chocolate cake, so if you bake the recipe as cupcakes, bake for a lot less time. I think these took around 20 minutes.
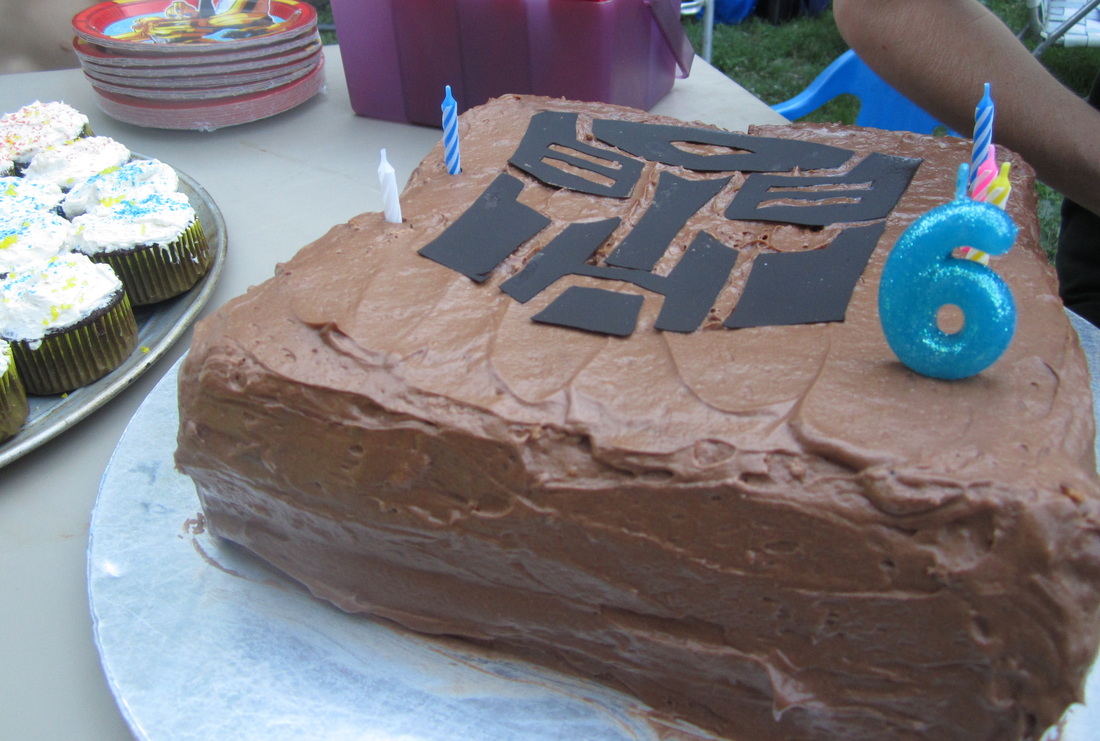
We also made an Angel Food cake in a 10" square pan. This is two Angel Food Cakes stacked together to get the desired height. My sister-in-law actually frosted this for me (It's nice having help on party day.) with chocolate frosting. I cut the autobot symbol out of a black sugar sheet I purchased at Walmart. I used a print-out as a stencil and cut the design out with an exacto knife on a cutting board.
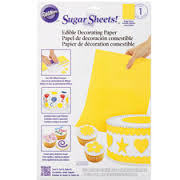
Sugar sheets come in this packaging and are usually sold one sheet to a package. I have seen them in craft stores, Walmart, and Meijer. They are versatile, edible, and come in handy when cake decorating.
Disclosure: I was not compensated for anything in this post. All opinions are honest and are my own. 
44 Comments
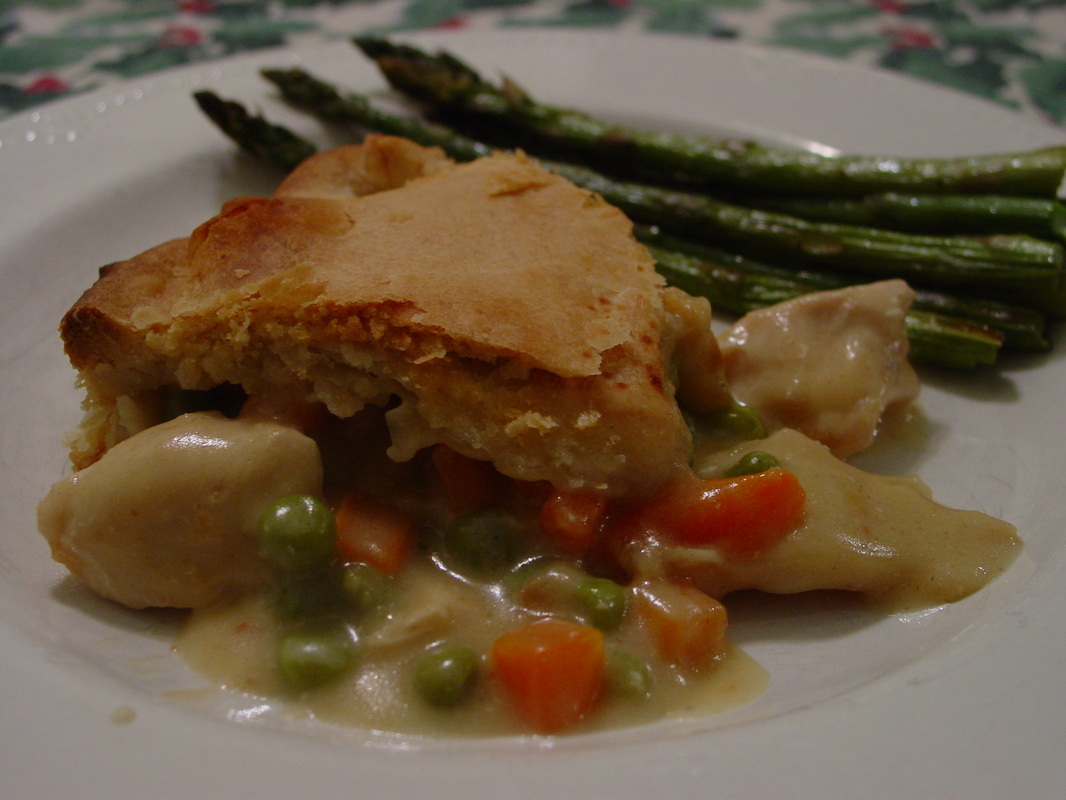 I love chicken pot pie. It is one of my favorite comfort foods. I adapted this recipe from one a friend gave me years ago when she brought us a chicken pot pie after we had our second child. (Thank you Malorie. It was wonderful.) This recipe is great for when you want to take a meal to someone because it is easily portable. This pie crust recipe is my new favorite. The first couple of times I made it, I made it by hand using a pastry blender which worked fine, but it is so much easier to make in a food processor. The picture above was taken right after it came out of the oven. If you let it sit and rest for a few minutes it will set up more. Also, I cut the chicken a little large in the pictured pie. I prefer it cut smaller and more uniform. 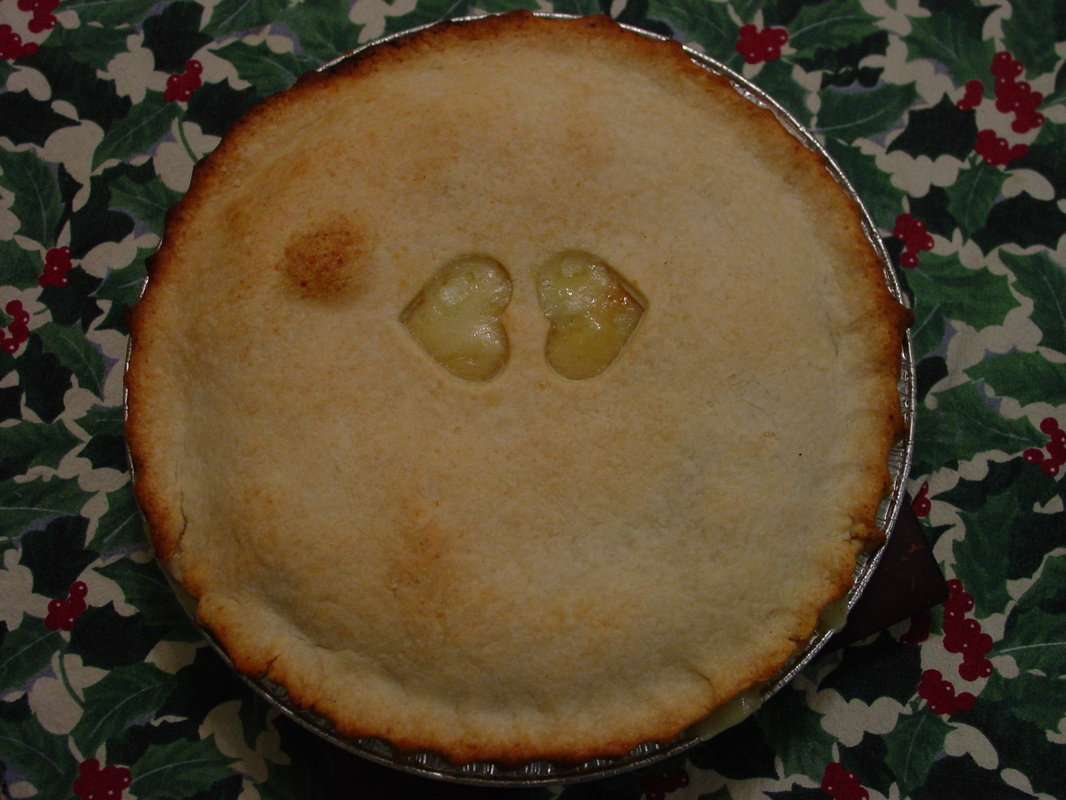 This really is a perfect Pie Crust
All Butter Crust for Sweet and Savory Pies Make the first recipe in the post. Ingredients for filling: 1/3 cup butter (5 1/3 Tbsp.) 1/3 cup diced onion 1/3 cup flour 1/2 tsp. salt 1/4 tsp. pepper 1 3/4 cup chicken broth 1/2 cup milk 2 chicken breasts, cubed 2 cup frozen mixed vegetables or peas and carrots 1. Preheat oven to 425 degrees. 2. Saute chicken in small amount of olive oil or butter until cooked through. Set aside. 3. Saute onion in butter about 2 minutes. 4. Stir in flour, salt and pepper until well blended. 5. Stir in milk and broth. Cook and stir until bubbly and thick. 6. Stir in chicken and vegetables. 7. Spoon filling into crust lined pie pan. 8. Cut slits in top crust. I find this easier to do when the crust is rolled out on the counter. (You can use small cookie cutters like I did or just cut it with a butter knife.) Top pie with second crust. 9. Seal and crimp edges of pie crust. 10. Bake for 35-40 minutes. During last 20 minutes of baking, cover crust edges with strips of foil to prevent burning. 11. Let pie rest for at least 5 minutes after removing from the oven before serving. It will be too hot to eat right away and will thicken up more as it rests. 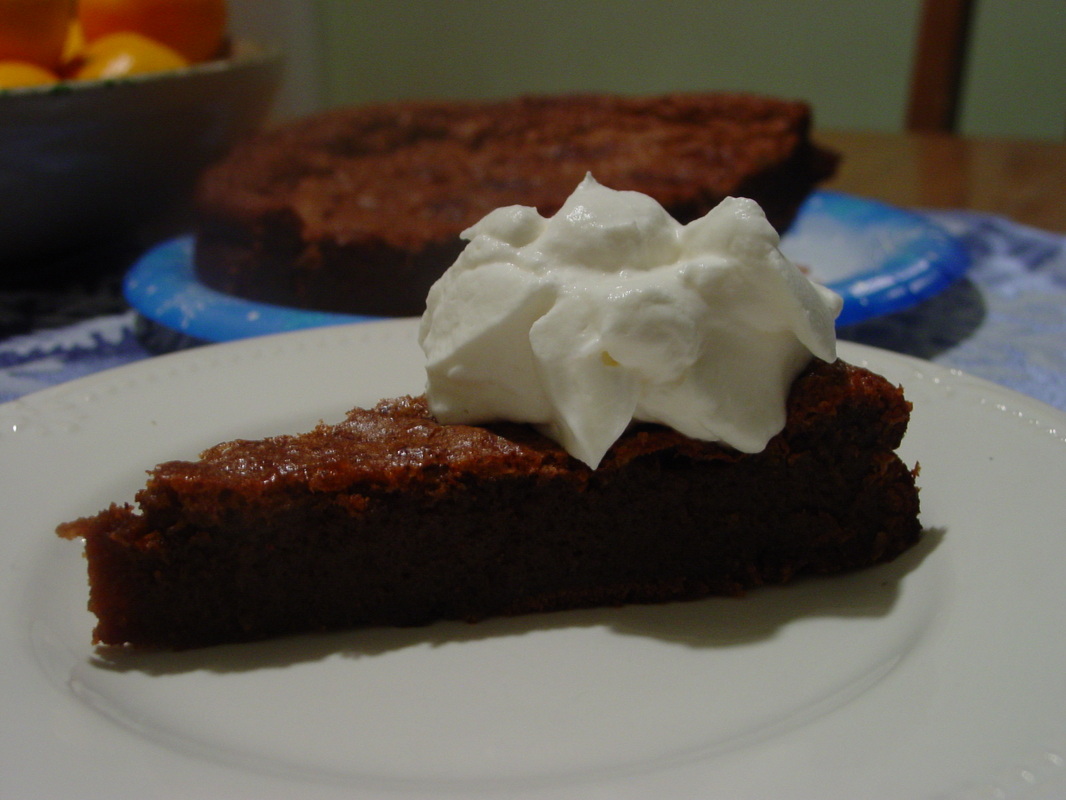 I posted this recipe years ago, but wanted to repost with a few updates including a new photograph. This cake is quick, easy, and delicious with a little homemade whipped cream. 1 3/4 sticks unsalted butter
1 cup milk or semi-sweet chocolate chips* 2/3 cup brown sugar 5 large eggs, cold 3 Tablespoons all purpose flour Pinch of salt 1. Preheat the oven to 400 degrees. Generously butter a 9-inch round cake pan with 2 inch high sides and dust with flour. 2. Melt the butter and chocolate chips in a heavy saucepan over low heat. Off heat, whisk in the sugar and eggs one by one. Stir vigorously two or three times, then gently whisk in the flour and salt. Pour batter into the pan and rap pan once against the counter. 3. Bake about 20 minutes, or until a knife inserted into the center of the cake comes out clean. Run a knife around the edge of the pan, cool 10 minutes, then unmold and cool right side up on a rack. (The cake puffs up when it comes out of the oven, then settles down as it cools.) Notes: *Semi-sweet chocolate chips will give the cake a darker chocolate flavor than milk chocolate chips. This cake is fabulous and so quick and easy. I have made this cake with gluten free flour when serving to someone on a gluten-free diet. No need to frost this cake. It is rich and flavorful on its own, but I do like to whip a little cream to serve with it. |

Welcome to Home Ec @ HomeHi, I'm Faith, a former Family and Consumer Science teacher turned food blogger. I love God, my family, and food. You can usually find me in the kitchen preparing family friendly, homemade recipes and taking lots of pictures. 
Still Goldens, Southern, IL
 Fan Favorites

The Best Dry Brined Turkey with Citris and Fresh Herbs

 Dehydrating Pears and Apples in the Instant Pot Duo Crisp Dehydrating Pears and Apples in the Instant Pot Duo Crisp
 
 |
 RSS Feed