Cleaning and Organizing with #MurchisonHume and a Murchison-Hume Home Starter Kit Giveaway #MomsMeet2/20/2016
I received this product for free from the sponsor of the Moms Meet program, May Media Group LLC, who received it directly from the manufacturer. As a Moms Meet blogger, I agree to use this product and post my opinion on my blog. My opinions do not necessarily reflect the opinions of May Media Group LLC or the manufacturer of this product.
We recently moved into a home that is much larger than any home we have lived in. As much as we enjoy living in a large home, there is a lot of square footage to keep clean so I was thrilled when given the opportunity to review Murchison-Hume cleaning products.
Murchison-Hume was created by former Fashion Editor and mother of two, Max Kater when her son developed allergic sensitivities to common household cleaning products. She made it her mission to create cleaning and personal care products that would be safe, easy to use, beautiful, and effective. All of their ingredients are of the highest quality and their formulations are designed to be highly effective, while maintaining product safety and stability.
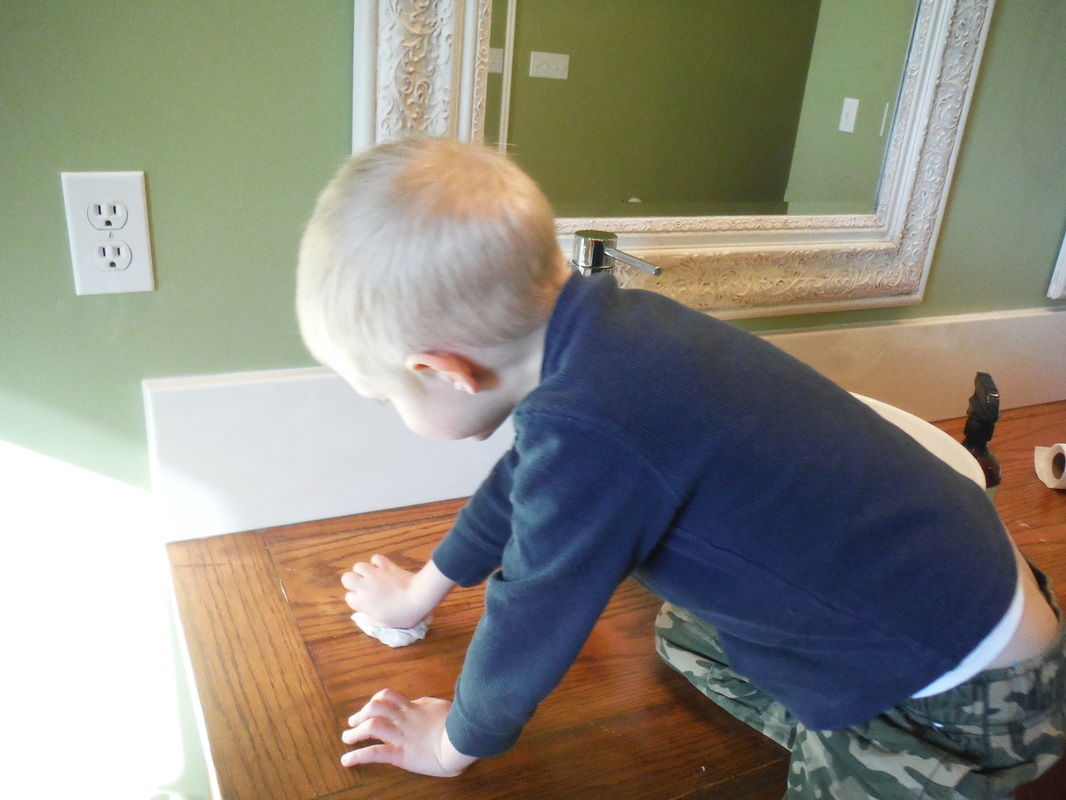
My 4 year old loves to help clean and since he is still home with me, he gets to help a lot. I am very careful about the cleaning products I let my kids use since I don't want them exposed to harmful chemicals. Murchison-Hume products are 99% natural so I feel safe letting the kids help clean with them.
Just the Facts
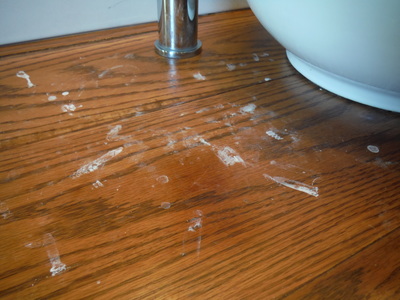
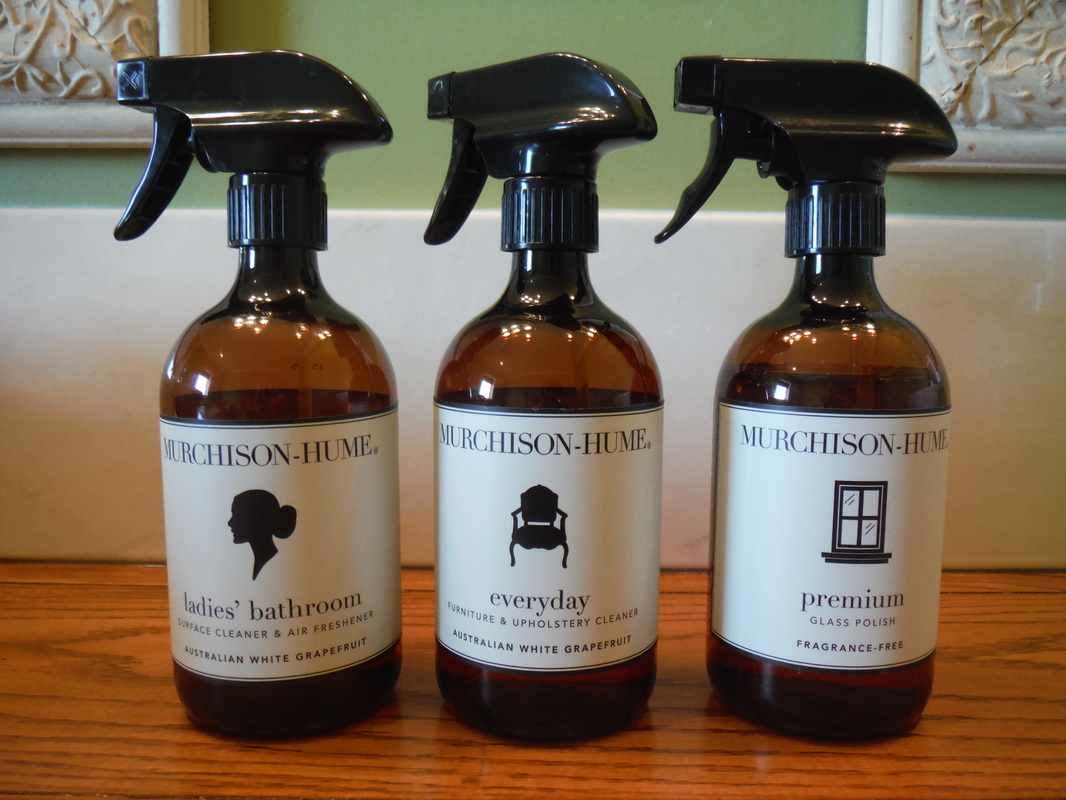
Admittedly, we let the master bathroom get a little out of hand. So with a little organization and the help of Murchison-Hume ladies' bathroom cleaner, everyday furniture and upholstery cleaner, and premium glass polish we have a relaxing and beautiful bathroom again.
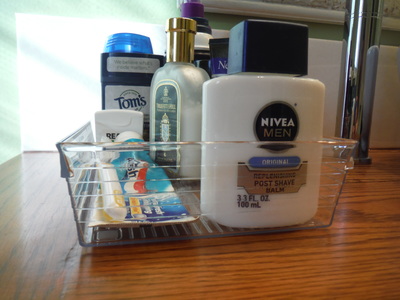
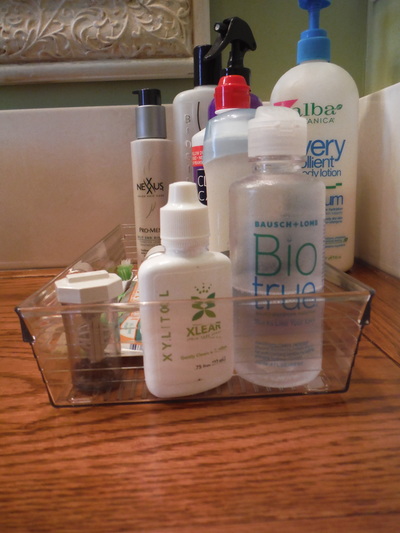
I purchased two plastic (his and hers) utensil trays to hold our toiletries that we keep easily accessible.
My four year old and I tackled the vanity, mirrors, and sinks getting everything sparkling clean. Then I sorted through all of the items cluttering the counter and decided which needed to stay and which could be stored in the cabinet. Lastly, we organized toiletries into the new his and hers organizing trays.
I love the new organized and clean bathroom.
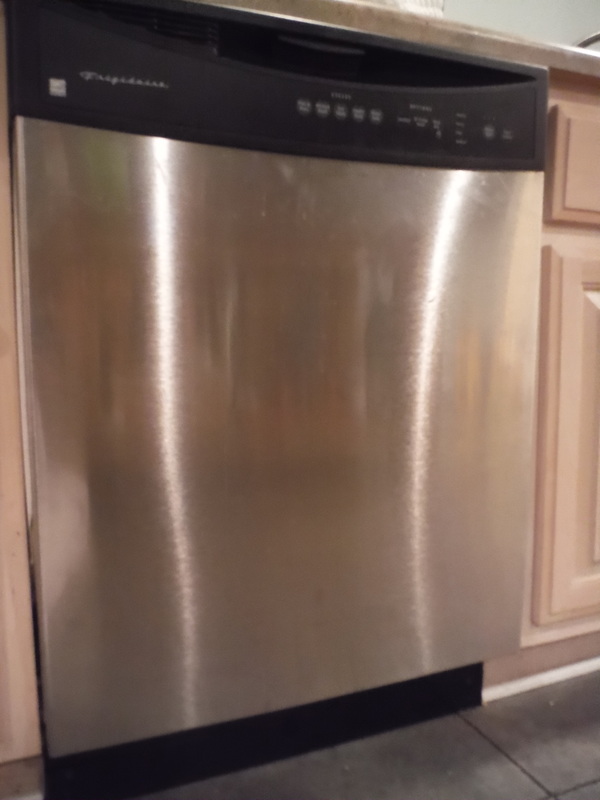
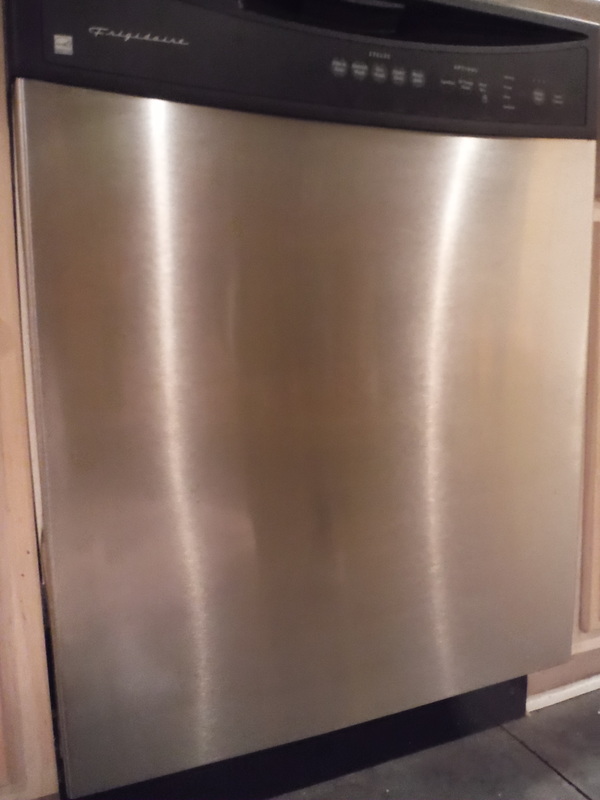
I used Murchison-Hume Spit & Polish Stainless Steel Cleaner on the dishwasher.
It cleaned up beautifully with a smudge free shine.
I love the Effortless Floor Cleaner and the Counter Safe All Purpose Cleaner because they are easy to use for bigger jobs or quick clean-ups and they are safe to use around children. All of these cleaning products leave a pleasant scent which I love since I hate the harsh chemical scent of most cleaning products.
Save 20% on any order at murchison-hume.com! Simply enter the code MomsMeet20 at checkout. (Valid through March 31, 2016)
Enter to win a Murchison-Hume Home Starter Kit which retails for $59.00. It includes Bathroom Cleaner, Glass Cleaner, Everyday Furniture & Upholstery Cleaner, Effortless Floor Cleaner, Spit & Polish Stainless Steel Cleaner, Counter Safe All Purpose Cleaner, and Murchison-Hume Jute Tote.
For more information, visit
Murchison-Hume.com twitter.com/murchisonhume pinterest.com/murchisonhume instagram.com/murchisonhume facebook.com/murchisonhume Interested in trying healthy eco friendly products? Visit Moms Meet for more info.
Linking up at Friendship Friday
16 Comments
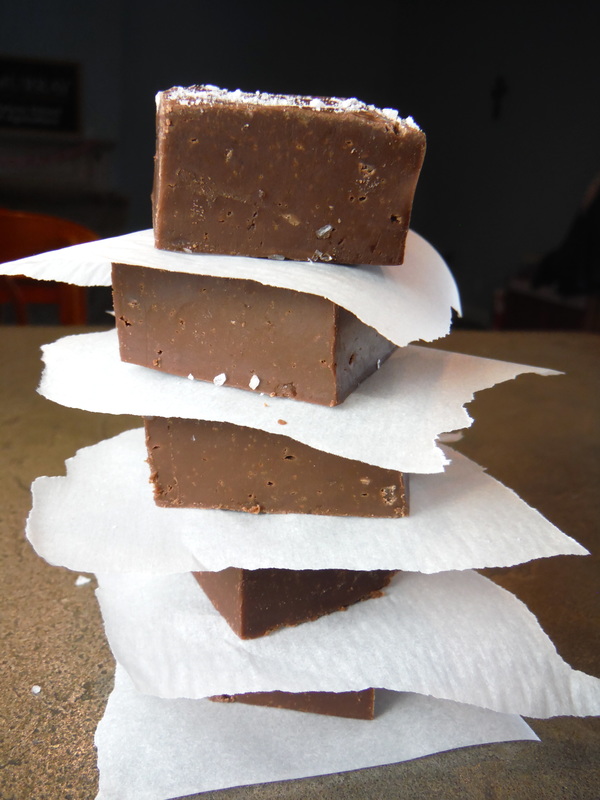
A little chocolate inspiration on Valentine's Day. Well it is still Valentine's Day, if you count 10:30 at night and besides chocolate is just as good on President's Day or any day for that matter. I had really good intentions of posting this earlier in the week, but the Mom part of my "Work at Home Mom" job title took precedence over the work part. That can easily happen when you have three snow days in one week. Forecast for tomorrow = Snow day #9! (President's Day would have been makeup day #1).
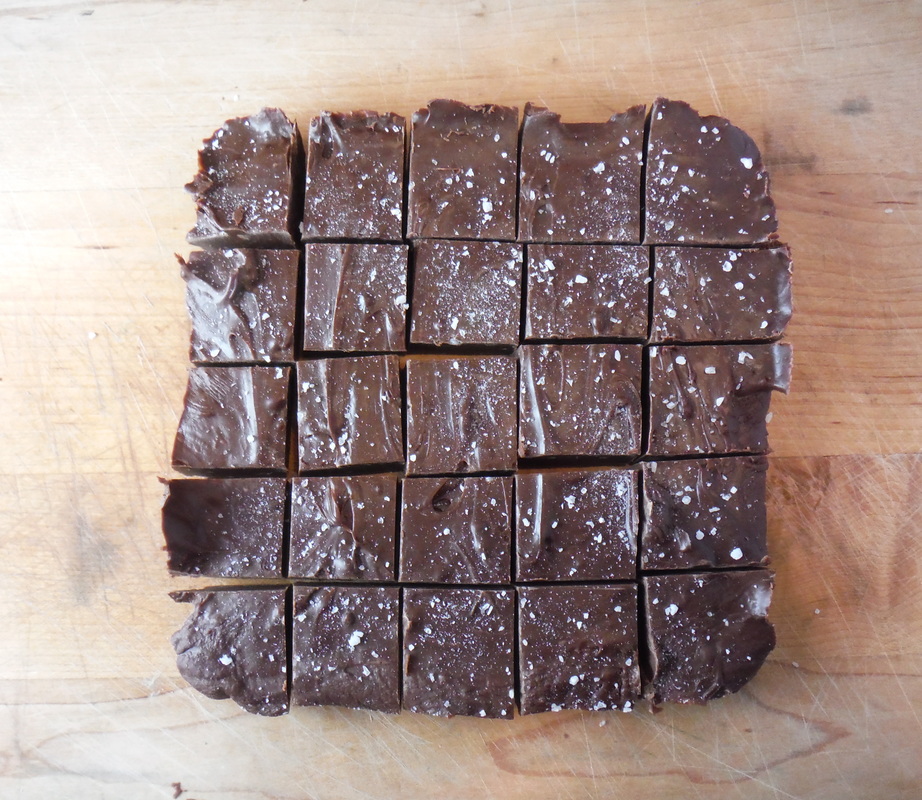
So if you are snowed in tomorrow or just enjoying President's Day at home you can make the easiest fudge in the world from these simple ingredients. You can change it up if you like. Use milk or semi-sweet chocolate chips. Leave out the salt if you want or add nuts or chopped peppermint candy.
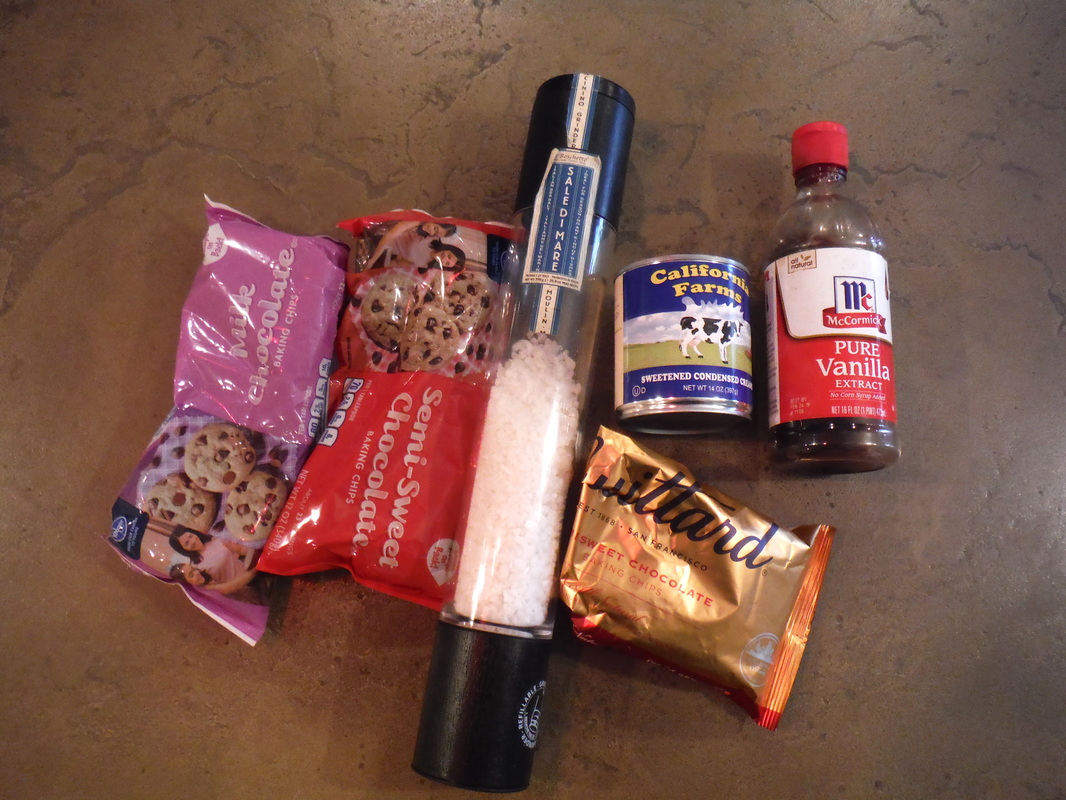
All you need to make this amazing fudge is chocolate chips (I mix semi-sweet and milk chocolate), sweetened condensed milk, vanilla extract, and fresh ground sea salt. You simply heat the chocolate and sweetened condensed milk until melted together, then stir in the vanilla until smooth.
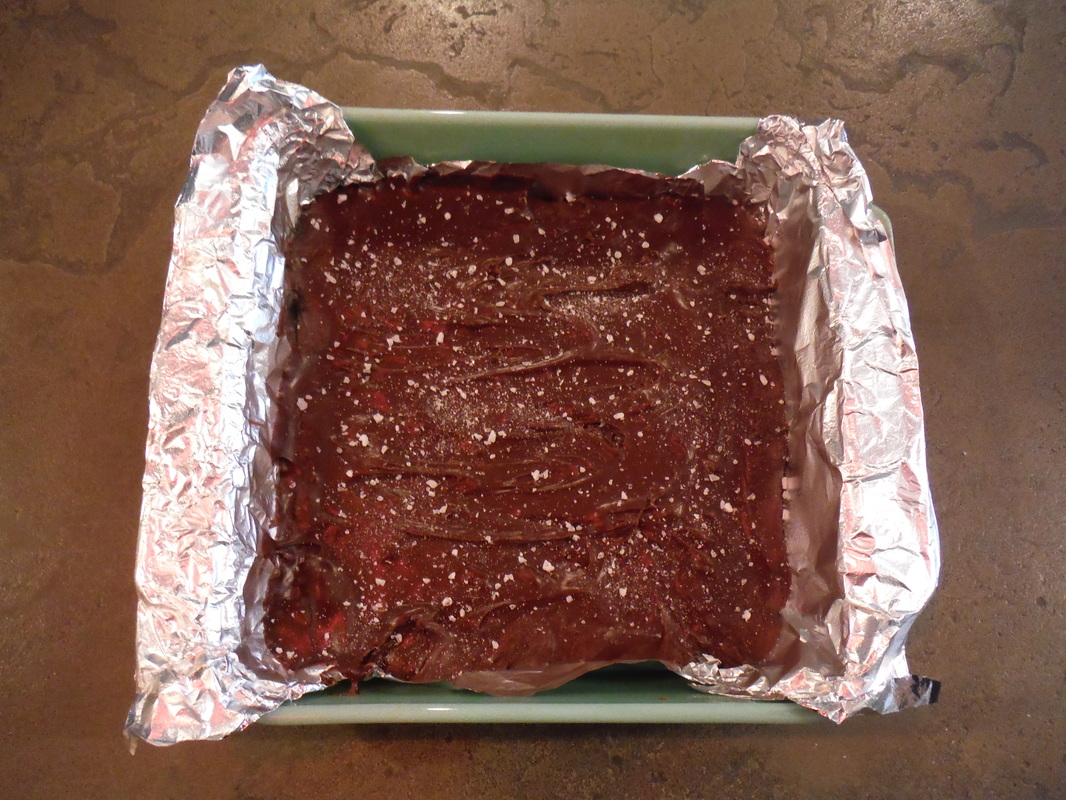
Spread fudge into a foil lined square baking pan, grind sea salt over the top, then refrigerate for a couple of hours until firm.
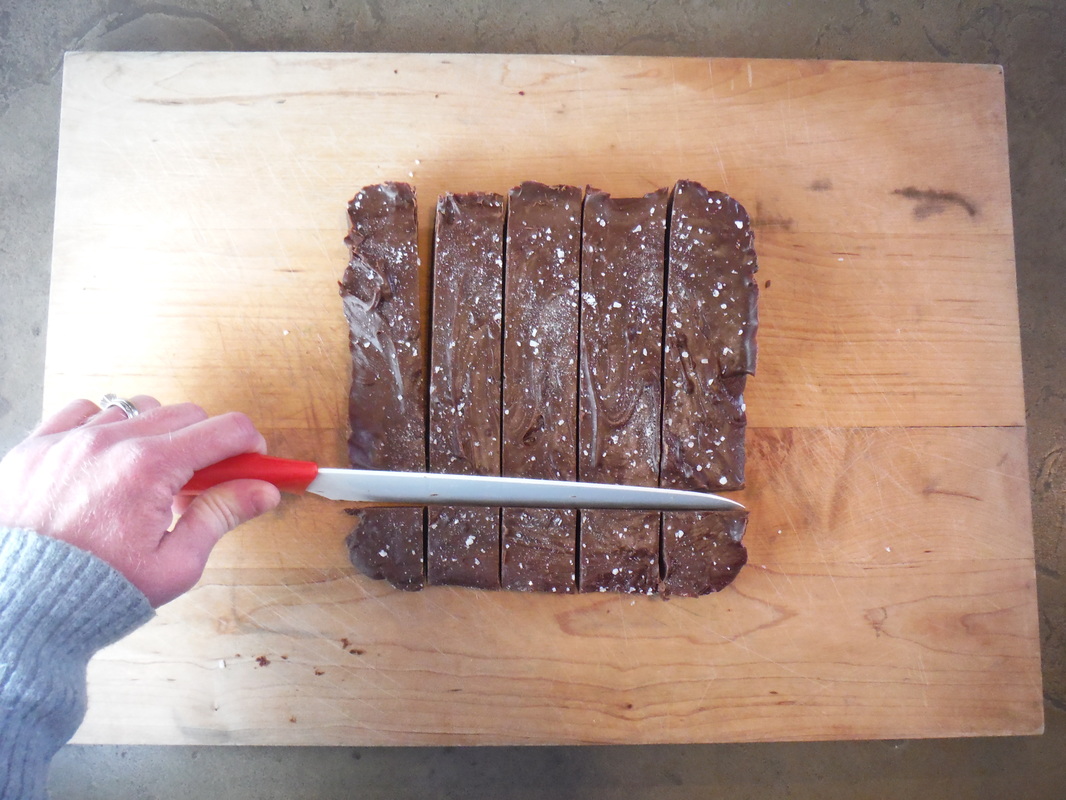
Lift the block of fudge out of the pan with the foil and then peel the foil off. Cut into squares with a large chef's knife.
Now go make some fudge and share it with someone you love. It's still Valentine's Day for another 38 minutes. Or if you are smarter than me, get some sleep and make President's Day fudge tomorrow.
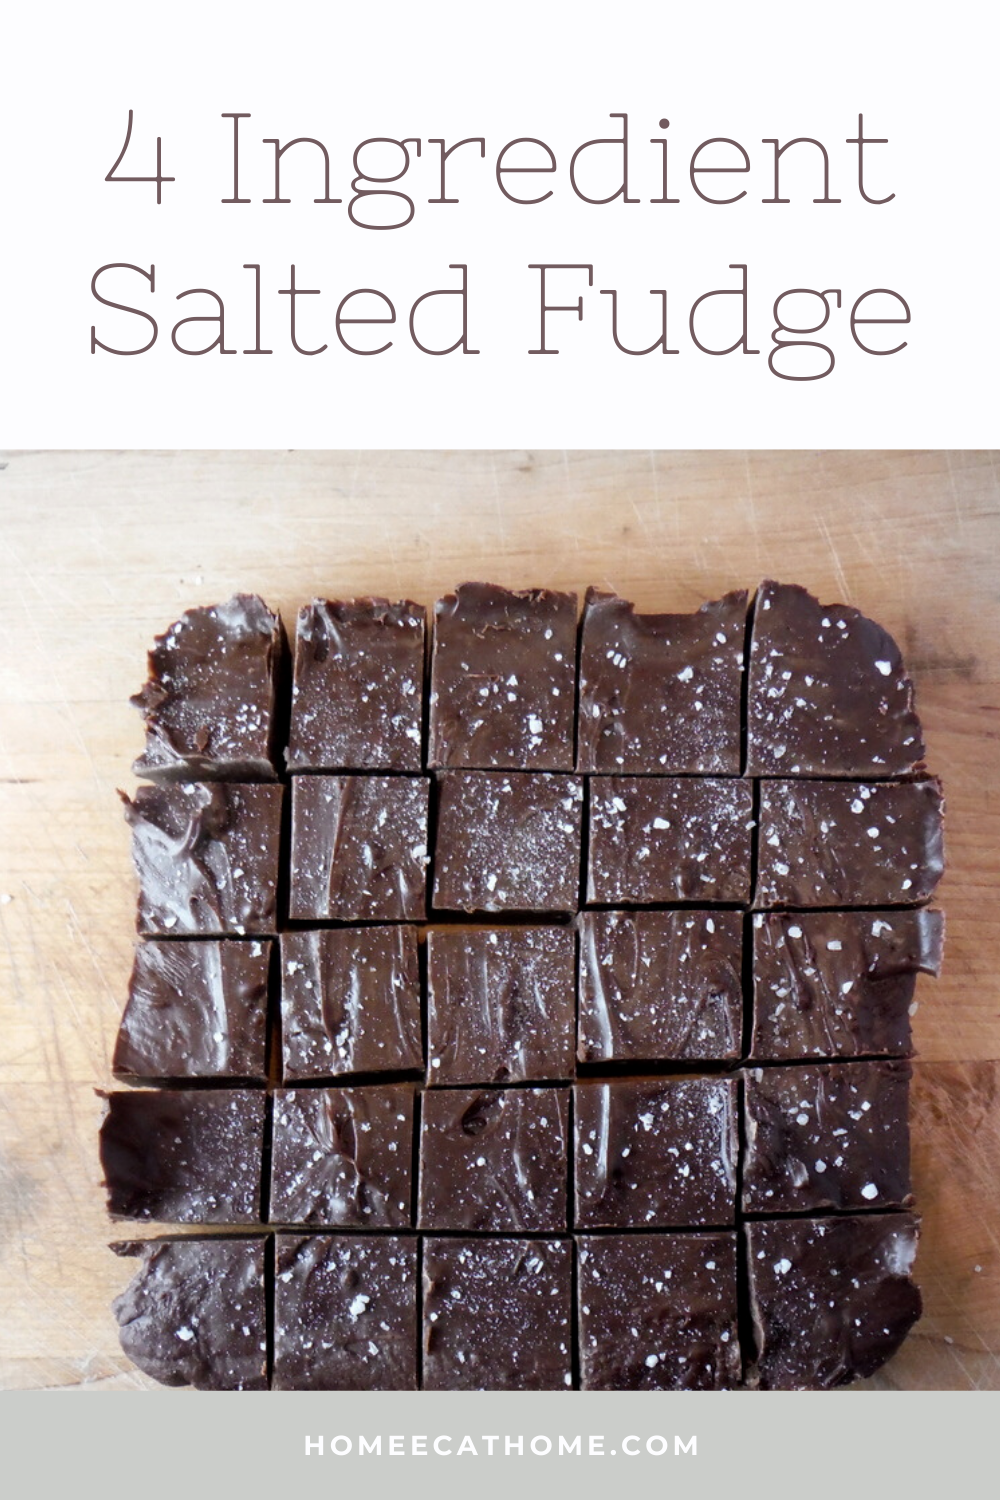
4 Ingredient Salted Fudge
3 cups chocolate chips 1 (14 oz.) can sweetened condensed milk 1 tsp. vanilla Freshly ground sea salt 1. Heat the chocolate and sweetened condensed milk over low to medium heat until melted together, then stir in the vanilla until smooth. 2. Spread fudge into a foil lined square baking pan, grind sea salt over the top, then refrigerate for a couple of hours until firm. 3. Lift the block of fudge out of the pan with the foil and then peel the foil off. Cut into squares with a large chef's knife. Makes about 25 pieces. Store at room temperature.
Pin on Pinterest
I am updating this recipe while my kids are enjoying their third snow day this week. Hard to believe we moved South and are now on (I think) our eighth snow day since we moved here over Christmas break. I am actually starting to loose track. The roads are fine where we live and we are close to town so an adventure this afternoon (like a 4-H meeting I read about in the paper) is not out of the question. There isn't much snow on the ground, although we had a lot, 6-7 inches a couple of weeks ago.
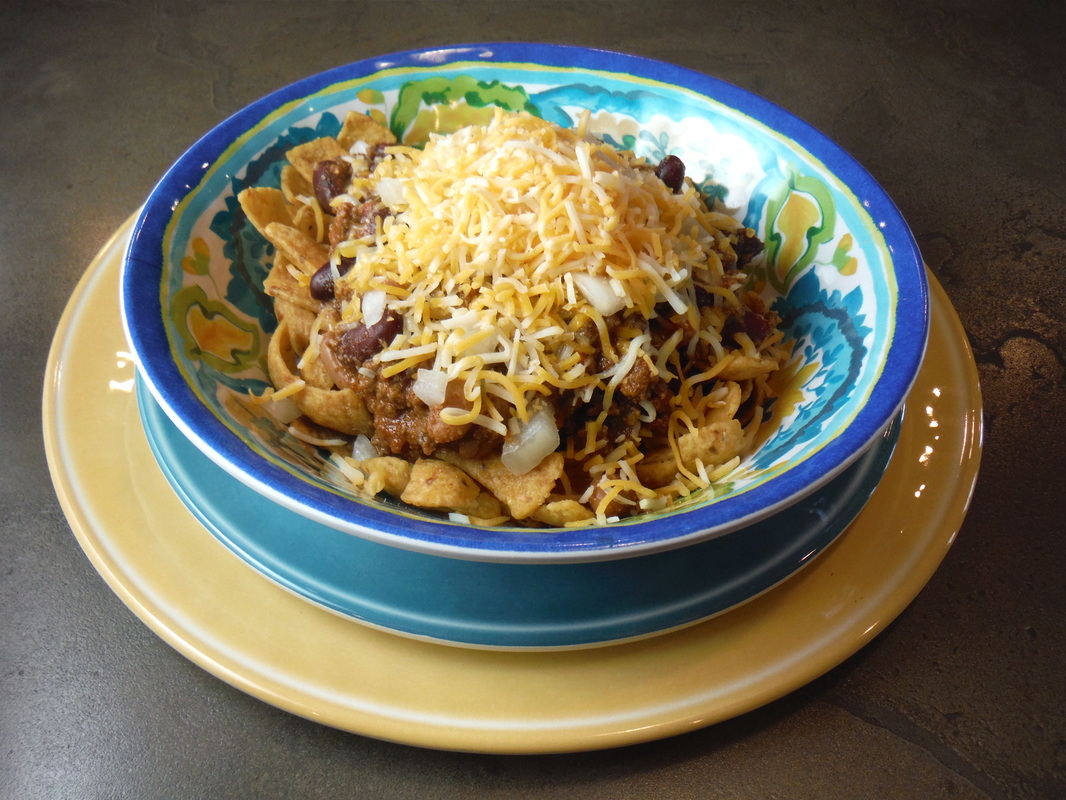
Today we have less than an inch of snow on the patio in the shade and no snow in the yard. The little bit we got last night has already melted in the sun this morning. In my short experience in our new southern home it seems if snow falls, there is no school. I guess they just don't have the resources to deal with snow and slick roads that we were used to in IL. Well at least the boys are enjoying a few days of board games, play time, too much TV (The best way to spend snow days, when there is no snow on the ground to play with, right?), and they were all able to attend Ash Wednesday mass yesterday. Today's play has included playing Leopard and building Leopard dens all over the house after watching a nature show on PBS. Hopefully they will have school tomorrow. They are so excited about their Valentine's Day parties. On with the Frito Chili Pie because that is why you really came here today, not to hear about my snow day saga. My first memory of Frito Chili Pie is from middle school, traveling to an away basketball game and being amazed at how good it was. I had never had anything like it and thought it was the best concession food I had ever tasted. We have been enjoying Frito Chili Pie for years. In fact it is my favorite way to eat chili. I prefer not to serve it in the tiny bags of fritos as some people do because I like Frito Chili Pie a LOT and I want a big bowl of it not a tiny bag. It would also be way too messy for my kids and this is one of their favorite meals so we happily serve up big bowls of Frito Chili Pie in our house. This recipe has evolved somewhat since I first posted it about 5 years ago. We have discovered we like adding more tomatoes and using less meat. I use about 1 1/2 pounds of ground venison, but you could use as little as one pound of meat if you wanted and it would still be amazing.
Ingredients
1 1/2 pounds Ground beef or venison (I usually use venison) 2 to 3 cloves Garlic, Minced (optional) 1 can (12 To 15 oz) Tomato Sauce 1 can (10 oz) Ro-tel (diced Tomatoes And Chilies) 1 can (14.5 oz) diced tomatoes 1/2 teaspoon Salt 1 teaspoon Ground Oregano 1 Tablespoon Ground Cumin 2 Tablespoons Chili Powder or more to taste 1 can (14-15.5 ounce) Kidney Beans, Drained And Rinsed 1 can (14-15.5 ounce) Pinto or Cannellini Beans, Drained And Rinsed 1/4 cup Masa (corn Flour) Or Regular Corn Meal 1/2 cup Warm Water Fritos style corn chips Grated Cheese (Sharp cheddar or a Cheddar or Colby blend works well) Diced Sweet Onion and Sour Cream if you like for serving Preparation Instructions Brown ground beef or venison with garlic in a pot over medium-high heat. Add tomato sauce, Rotel, diced tomatoes, salt, oregano, cumin, and chili powder. Cover and reduce heat to low. Simmer for 30 minutes. Add drained and rinsed beans. Stir to combine, then cover and simmer for another 20 minutes. Mix masa with water, then add to the chili. Stir to combine and simmer for a final 10 to 15 minutes. First layer chips, then chili, then cheese in individual bowls to serve. Top with diced onion and sour cream if you like. Serve immediately. Delicious!
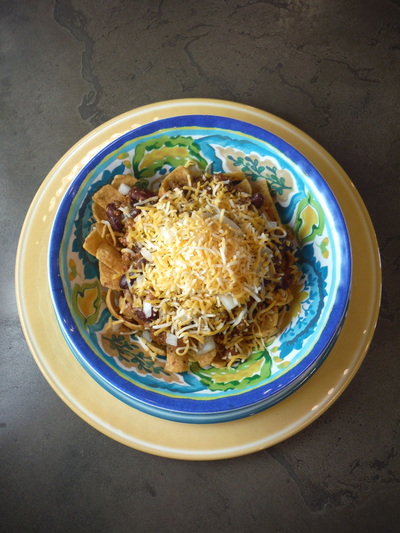
If you are interested in food photography or improving your own food photography skills, you might enjoy the difference in my old post photo circa 2011 compared with my new post photos.
Most of what I have learned about improving my food photography, I learned from reading Tasty Food Photography (affiliate link) which was written by a hugely successful food blogger, Lindsay Olstrom.
Oh how time flies. I can't believe Fat Tuesday is already here and Ash Wednesday is well, the next day. I am really looking forward to Lent this year. In the past, I gave something up for lent except I always gave myself a pass when pregnant. I love being pregnant and maybe I was selfish, but let's face it, your body goes through a LOT when you are pregnant and the last thing you want to do is deny yourself a bowl of ice cream at 2:00 am when you can't sleep because your stomach is growling and your legs are cramping. As far as I know, I am not expecting, but I am doing something different this year.
I went to church with my Dad over the Christmas Holidays and they were giving away copies of Rediscover Jesus by Matthew Kelly. I picked one up thinking I would enjoy it since I love Matthew Kelly and as I started to read it, I realized it was a Lenten study. I put it aside and saved it for Lent and I am really excited to challenge myself and grow spiritually in my walk with God. I have a Gratitude Journal that I haven't even written in and I thought I would spend some time each day both rediscovering Jesus and recognizing all for which I am thankful .
This is from the back cover: "...Matthew Kelly, once again, delivers a powerful book that encourages us in our weariness, challenges us in our comfort, and invites us to rediscover the beautiful possibilities God places before us daily." So instead of giving up chocolate this year, I'm reconnecting with Jesus. There is also a free program called Best Lent Ever that features daily two-minute videos that will take you through Rediscover Jesus chapter by chapter. You can also go to lentreflections.com to sign up for Bishop Robert Barron's free daily lent reflections. (I saw this in the church bulletin this week) Leave a comment if you have any resources to share for Lent or would just like to share what you are doing for Lent. Many blessings.
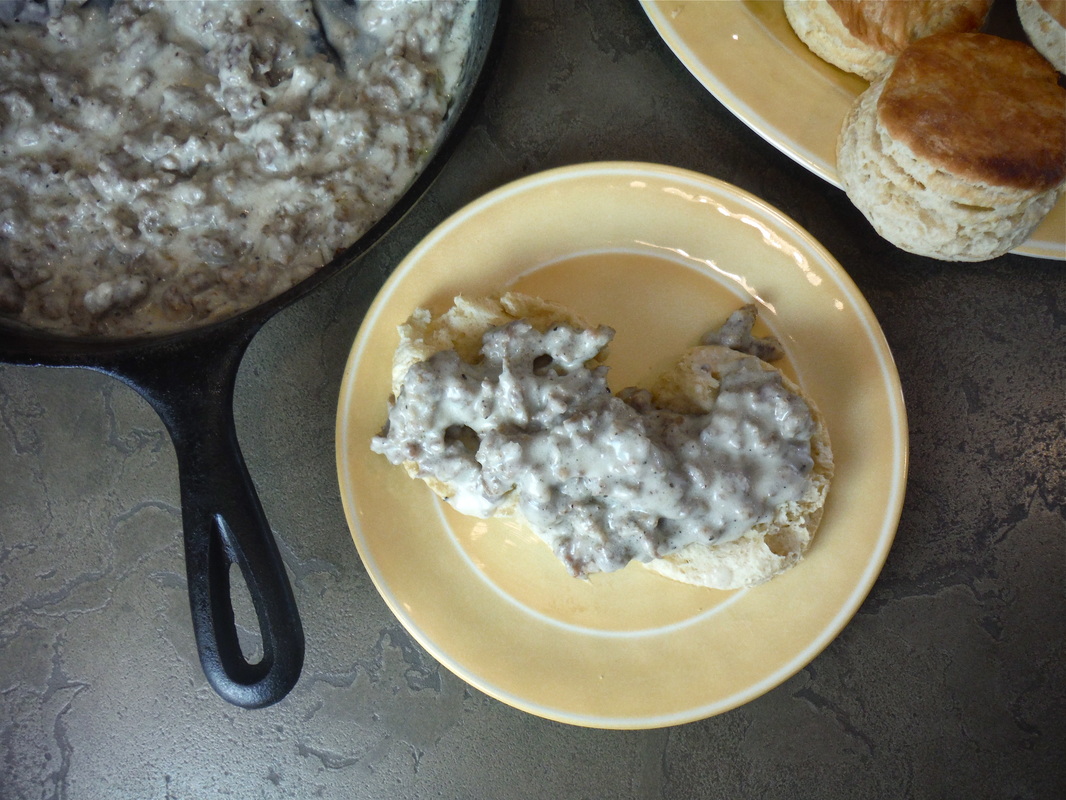
I have been making sausage gravy for the past 16 years. My first year of teaching Family and Consumer Science one of my students shared with me how his Mama made sausage gravy. I have been hooked ever since.
In fact, we made sausage gravy in my food lab for years as part of my thickening unit. Note to Family & Consumer Science teachers: I used a half recipe of sausage gravy for each kitchen in the food lab to cut down on expenses and food waste, although, I don't think much would have been wasted. I let the students make full recipes of biscuits however, since the ingredients were so inexpensive and they enjoyed the extra biscuits with butter and jelly or honey.
This is a great recipe for the classroom that teaches students how to thicken the sausage gravy using flour and it's really hard to mess up. Students gain basic skills and a little confidence in the kitchen. This would be a great recipe for homeschool life skills too.
I was blessed enough to teach on a block schedule for 9 of my 10 years teaching Family and Consumer Science. If making homemade biscuits with students in the classroom, you will need the longer class period. My classes were 1 1/2 hours long and that time is needed for instruction, to prepare the food, sit together and eat, clean the kitchens, and do a lab grade and cleaning inspection at the end of class. If you teach FCS and do not have the luxury of blocked classes, I would suggest making the biscuit dough one day and having each kitchen package and label their dough to refrigerate overnight. The following day they would roll out the dough then cut and bake their biscuits while cooking the sausage gravy.
I hope you enjoy this recipe as much as we do and I hope you weren't too bored with all the FCS teacher suggestions. I know I would have loved the advice when I began my teaching career so I thought I would pass along.
Sausage Gravy
Ingredients: 1 lb. of your favorite sausage 3 Tbsp. flour Milk Salt & pepper to taste Biscuit Recipe 1. Crumble and cook sausage in skillet until browned. 2. Sprinkle 3 Tbsp. flour over the sausage and remaining grease in the skillet. Stir to let the flour absorb the grease. 3. Next, pour milk over the sausage mixture until the sausage is almost covered. Continue to stir and cook at a medium heat until thickened. 4. Salt and pepper to taste. Serve over freshly baked split biscuits. |
Welcome to Home Ec @ HomeHi, I'm Faith, a former Family and Consumer Science teacher turned food blogger. I love God, my family, and food. You can usually find me in the kitchen preparing family friendly, homemade recipes and taking lots of pictures. This website uses marketing and tracking technologies. Opting out of this will opt you out of all cookies, except for those needed to run the website. Note that some products may not work as well without tracking cookies. Opt Out of CookiesFan Favorites
 Dehydrating Pears and Apples in the Instant Pot Duo Crisp Dehydrating Pears and Apples in the Instant Pot Duo Crisp
|
















 RSS Feed


