|
I was compensated for this post. This post also contains affiliate links and I will be compensated if you make a purchase after clicking on my links.
I grew up in the south, but spent almost all of my adult life in the midwest until we moved to southern Kentucky for my husband's work about three years ago. I love. love, love magnolia trees! I remember climbing them as a child and enjoying their beauty when I was old enough to appreciate it. I missed them all those years so now that we are in a more southern climate where I can get magnolia leaves, I am decorating with them.
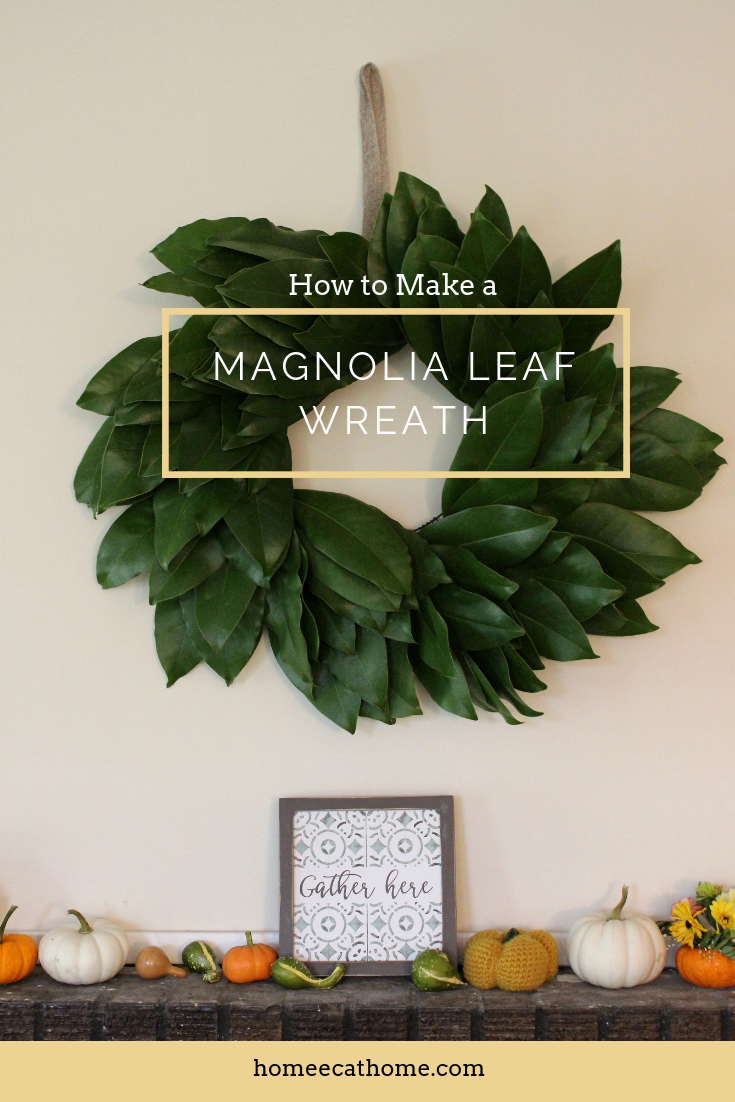
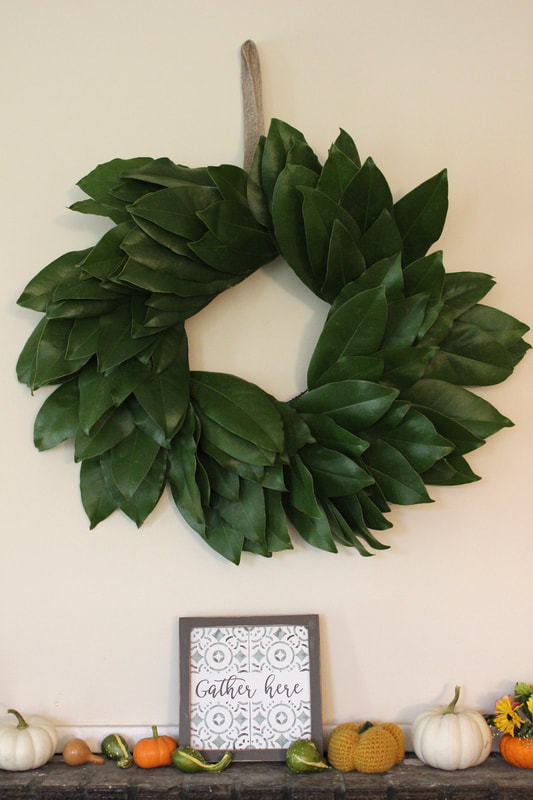
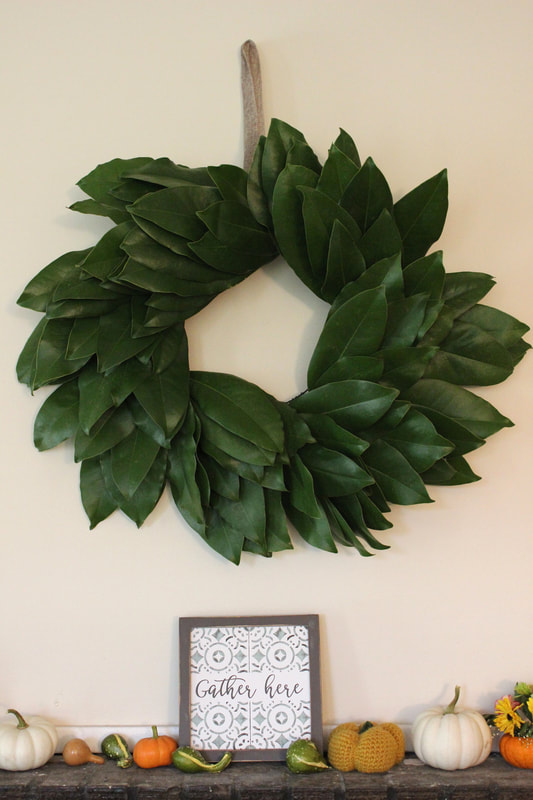
I love this simple magnolia wreath that can flow from fall right into Christmas just by changing up the mantel decorations. Plus this is so budget friendly with most of the supplies coming from Dollar Tree.
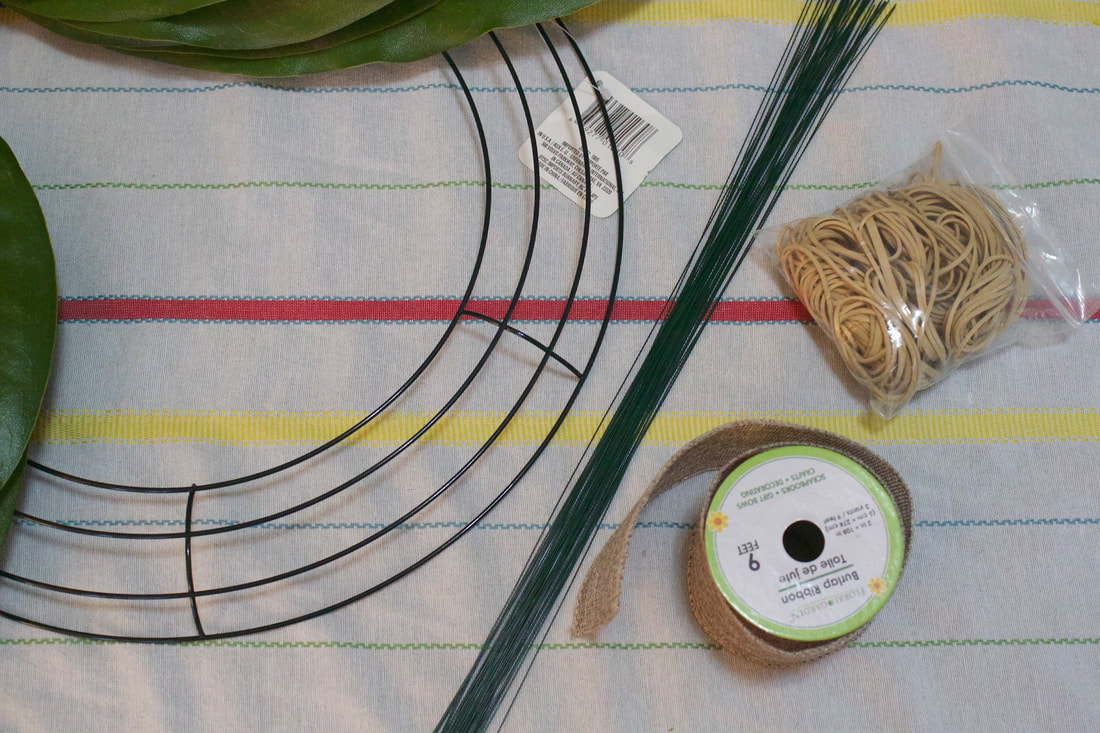
Supplies needed:
Wire wreath frame (from Dollar Tree) Floral wire Rubber bands Ribbon (also from Dollar Tree)
A big thank you to our friends the Mikulcuks for giving us magnolia cuttings!
Watch my video tutorial in which I show you how to make a magnolia leaf wreath.
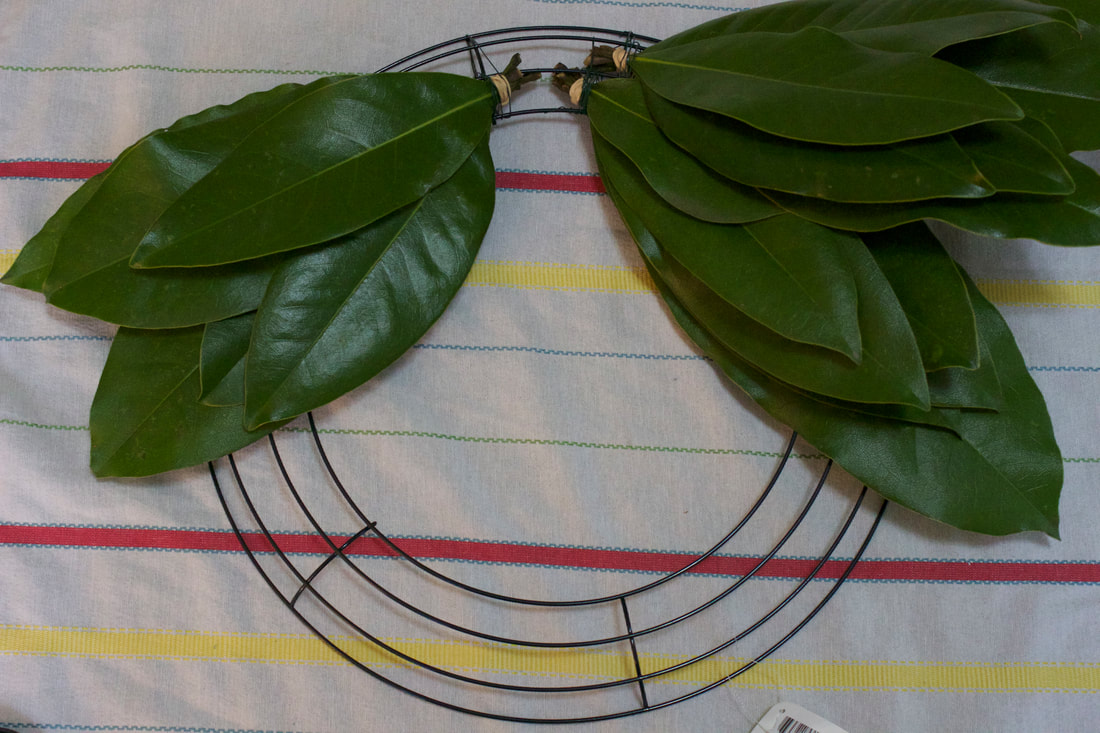
I probably explained this better in the video, but you make small bundles of leaves by grouping them together and wrapping rubber bands around the stems. I used 7 leaves in each bundle. One wreath easily has over 100 leaves in it. Then you tie the stem bundles to the frame and continue until the wreath is filled in. You can always adjust leaves and add more to get the look you want. If you like, add a bow or ribbon to hang the wreath.
Linking up at Inspire Me Monday
0 Comments
I find it amazing that in 11 years of hosting kids birthday parties, this is the first time that we have done a Star Wars party. We have been so busy, that we literally planned this party in less than a week. We decided it would be fun to show a Star Wars movie on the barn and planned the party around that. A quick email invite, late night on pinterest, amazon prime order and of course some effort and we had a party.
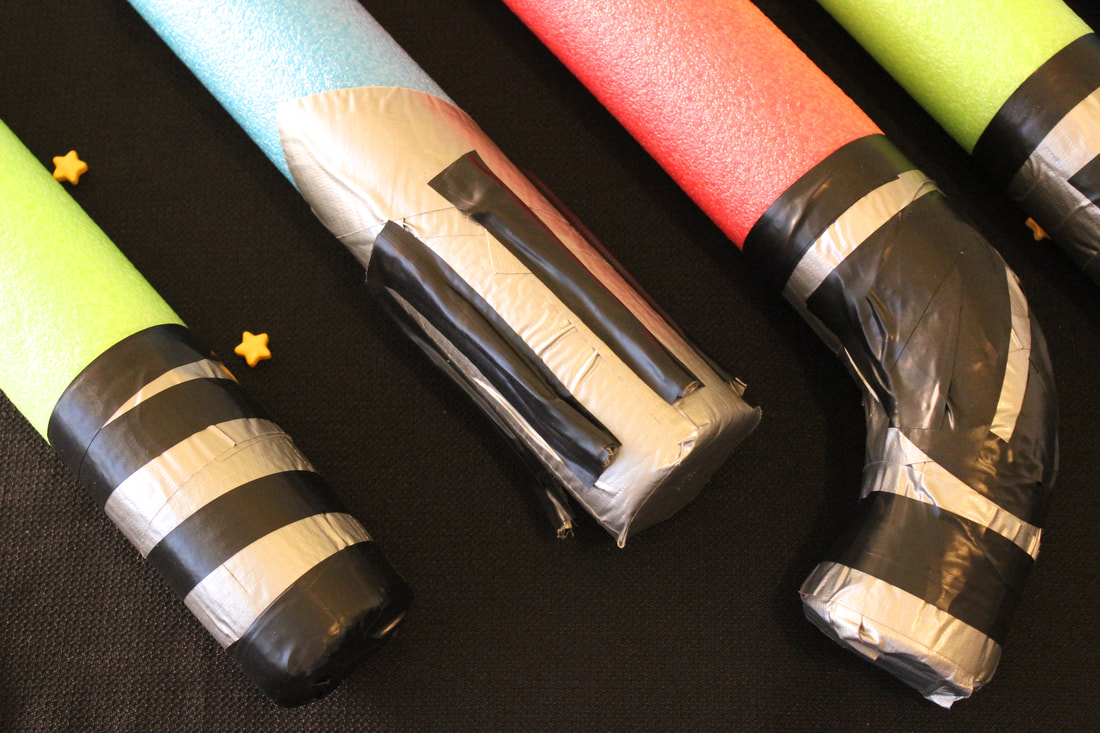
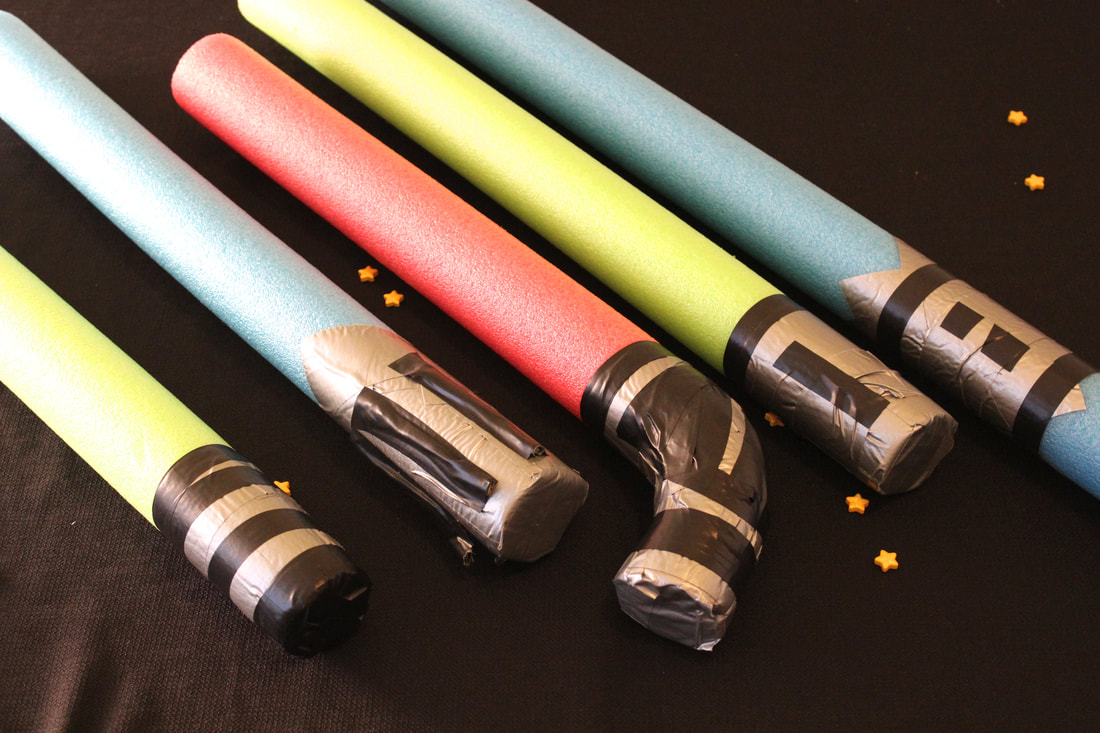
These pool noodle light sabers were a huge hit and made great party favors. In fact, our kids have been playing with them for days. My husband made most of the light sabers for the party, but the kids have been making things all week with the extra supplies. They even made an elaborate shield.
I bought the light saber supplies at Walmart. All you need are pool noodles (which are unfortunately seasonal), duct tape, and electrical tape. My husband got really creative and made all different kinds including a pair of numb chucks. For most of the light sabers, he used a half length of pool noodle, but made some of different lengths too.
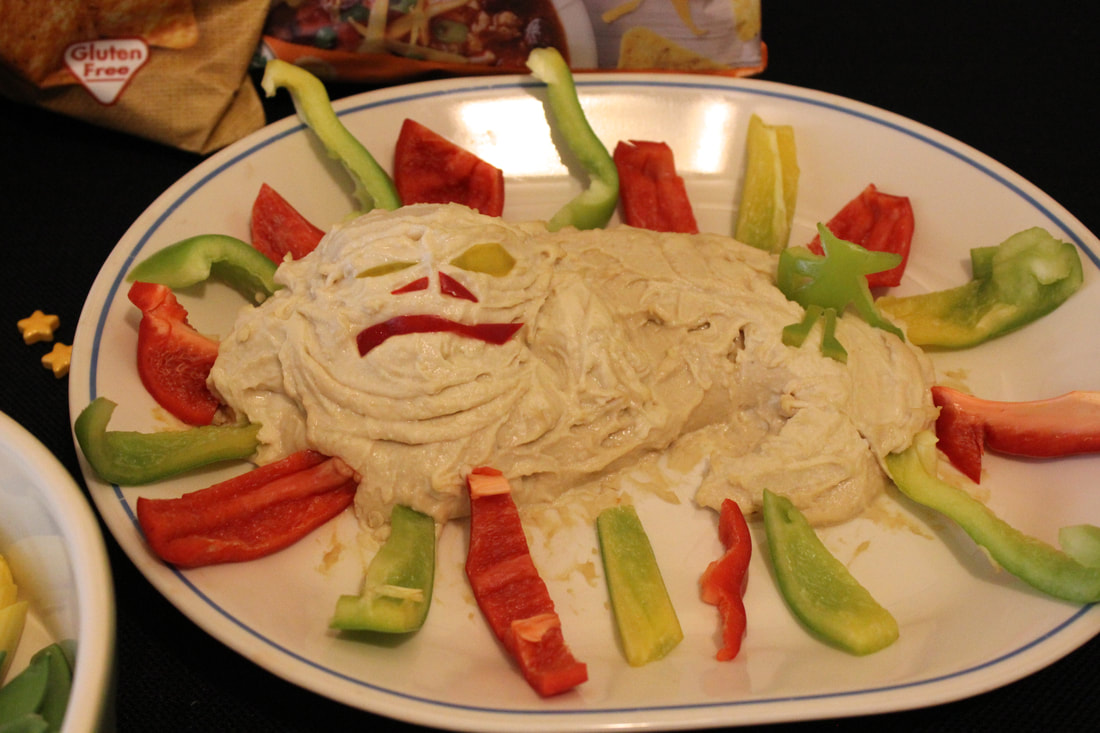
I always make a meal for our parties, but don't usually make theme food. This time I made some things with a Star Wars theme. There were so many great ideas online and it was fun to bring the theme into the kitchen. My husband formed this Jabba the hummus out of some store-bought hummus and peppers. It was adorable and delicious too.
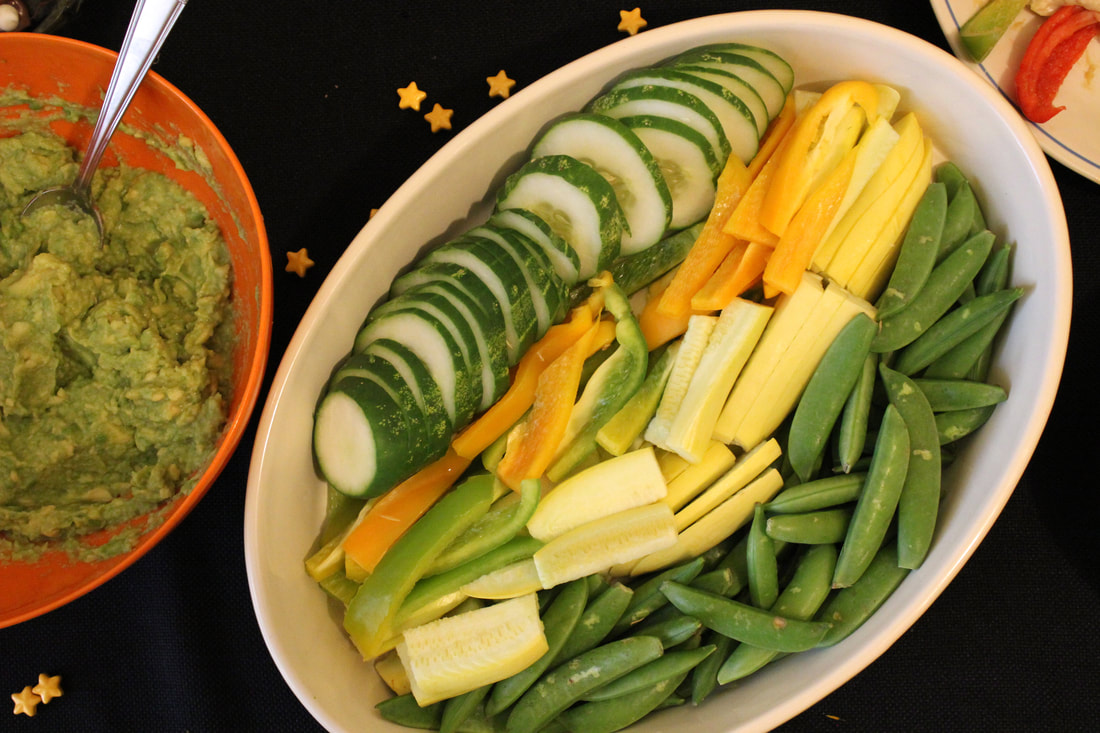
We served with fresh cut vegetables for something healthy since we had sugary cookies and cupcakes. Gotta have some balance or the kids will bounce off the walls, LOL. I always make guacamole so I served some with chips. I saw some creative Yodamoles online, but didn't try to sculpt a Yoda out my guacamole. We can only do so much...
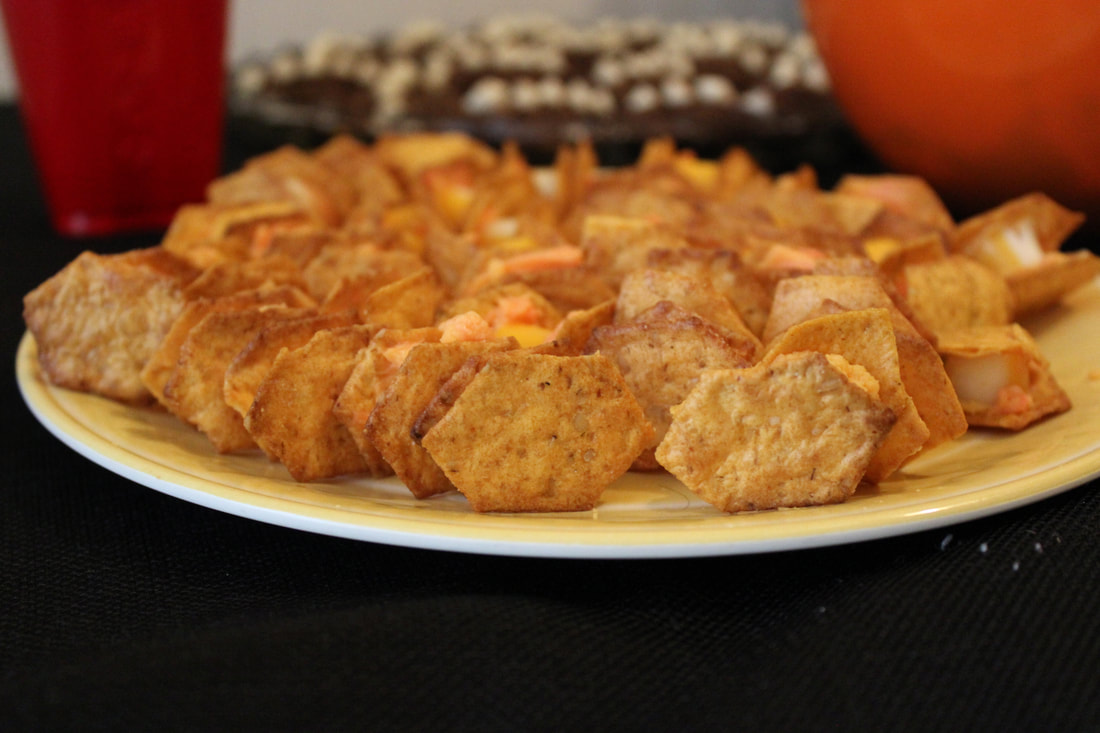
I didn't get the best picture to represent what these are, but these are cheese and cracker tie-fighters. I used some port wine cheese spread to "glue" hexagon shaped crackers to small slices of cheese sticks to make the tie-fighters. The only crackers I could find in this shape, were these small gluten free crackers which broke easily when handling, but they were delicious and a fun food for the party.
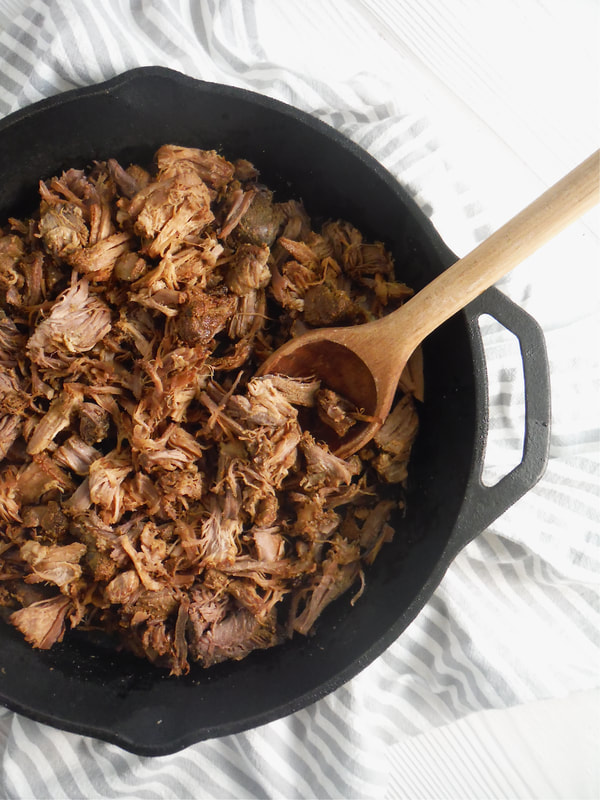
Pork carnitas has nothing to do with Star Wars, but it's one of our favorite meals and has become our party go-to main dish. So we served our favorite pork carnitas.
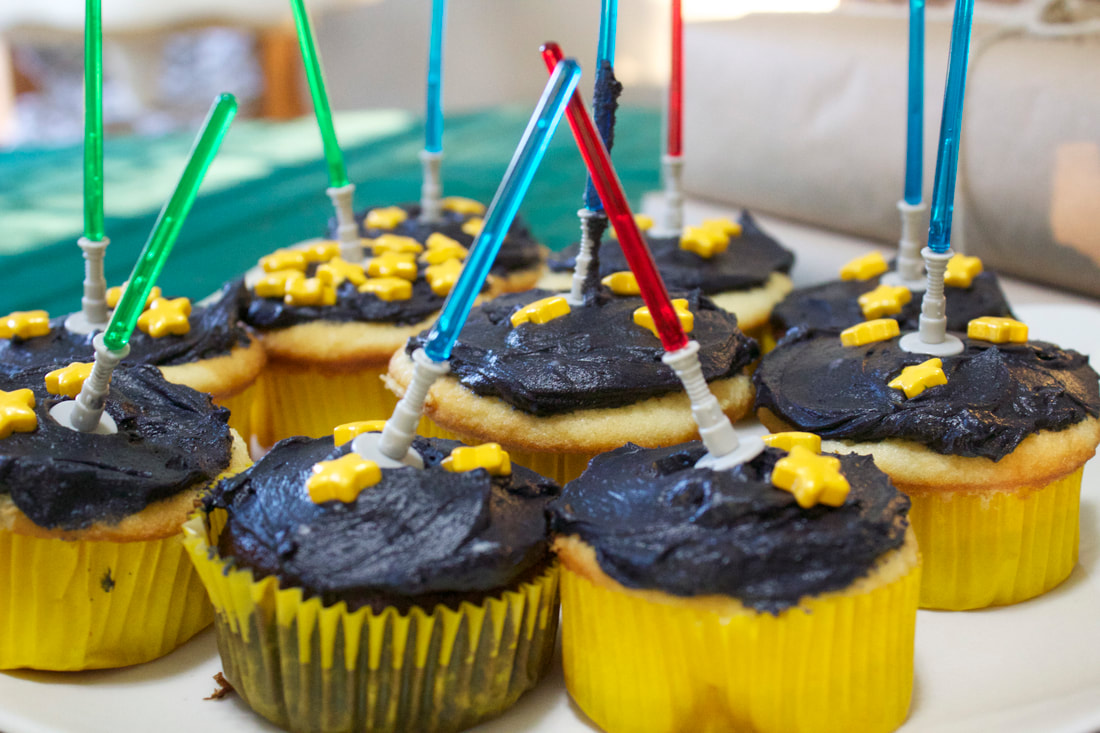
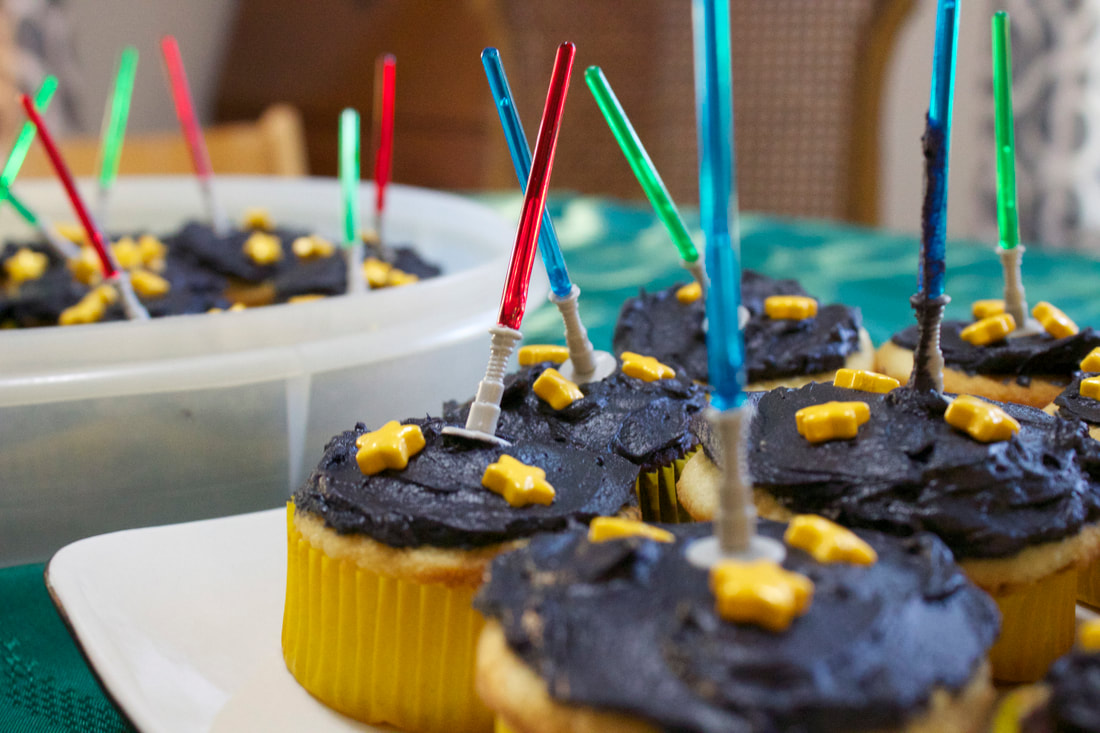
I wanted something really simple for the cake because with four kids I don't have time to do anything elaborate. I bought yellow cupcake liners at Walmart, made simple cupcakes in vanilla, chocolate, and lemon from cake mixes, and frosted them in homemade buttercream frosting tinted black,
I ordered yellow star candies and light saber cupcake toppers on amazon. Also, if using a cake mix, the Betty Crocker Original Recipe is my favorite, although it is getting harder to find in my local stores. It is the old fashioned fewer ingredients version and tastes more like homemade. I may have to order some to have on hand for cake emergencies, ha! Although, from my link it looks like its $15.99 a box! Yikes! I will have to see if I can find a better source. I used extra star candies as a decoration scattered on the black tablecloth on the food table.
Wookie Cookies
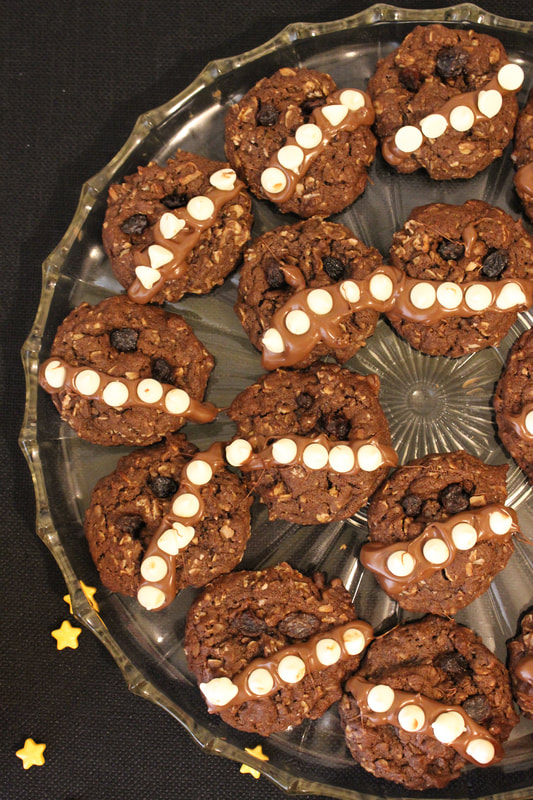
I decided to make Wookie Cookies, but wanted to keep them pretty simple. I used one of my favorite recipes adding cocoa powder to make them brown and eliminating the nuts and chocolate chips in the cookies. I melted chocolate chips to make the bandoliers and used white chocolate chips to finish them. I ran out of brown sugar so I used coconut sugar which works well too. I used this recipe because we love them and because the coconut and oatmeal would give them a bumpy texture like hairy Chewbacca. Wookie Cookies were a big hit at the party.
I doubled this recipe for the party.
Ingredients: 1 ¼ cups flour ½ tsp. baking powder ½ tsp. baking soda ¼ tsp. salt 1/4 cup cocoa powder ¾ cup (1 ½ sticks) butter softened ¾ cup packed brown sugar or coconut sugar 1/3 cup granulated sugar 1 ½ tsp. vanilla extract 1 egg 2 Tbsp. milk ½ cup sweetened coconut flakes 1 cup old fashioned oats Chocolate chips (for melting) Raisins (for the eyes) White chocolate chips for the bandoliers 1. Preheat oven to 375 degrees F. 2. Combine flour, baking powder, baking soda, salt and cocoa powder in a bowl. Set aside. 4. Beat butter, brown sugar, granulated sugar and vanilla extract in large mixer bowl until creamy. Beat in egg. Gradually beat in flour mixture and milk. Stir in, oats, and coconut. 5. Drop by rounded tablespoons on parchment lined baking sheets. 6. Bake for 10 to 12 minutes or until edges are crisp but centers are still soft. Cool on baking sheets for 2 minutes; press raisins onto warm cookies for the eyes. Remove to wire racks to cool completely. 7. Melt chocolate chips in the microwave then pour melted chocolate into a plastic zipper seal bag. Seal the bag and cut one corner so that the chocolate can pour out like from an icing bag. Draw a bandolier in a diagonal line across the cookie with the melted chocolate. Then place white chocolate chips on the melted chocolate to finish the bandolier. Makes 2-3 dozen cookies.
Linking up at Inspire Me Monday
|
Welcome to Home Ec @ HomeHi, I'm Faith, a former Family and Consumer Science teacher turned food blogger. I love God, my family, and food. You can usually find me in the kitchen preparing family friendly, homemade recipes and taking lots of pictures. This website uses marketing and tracking technologies. Opting out of this will opt you out of all cookies, except for those needed to run the website. Note that some products may not work as well without tracking cookies. Opt Out of CookiesFan Favorites
 Dehydrating Pears and Apples in the Instant Pot Duo Crisp Dehydrating Pears and Apples in the Instant Pot Duo Crisp
|








 RSS Feed


