|
Disclosure: This post is sponsored, but all opinions are honest and are my own. #WEGGSDAY
We are a participant in the Amazon Services LLC Associates Program, an affiliate advertising program designed to provide a means for us to earn fees by linking to Amazon and affiliated sites.
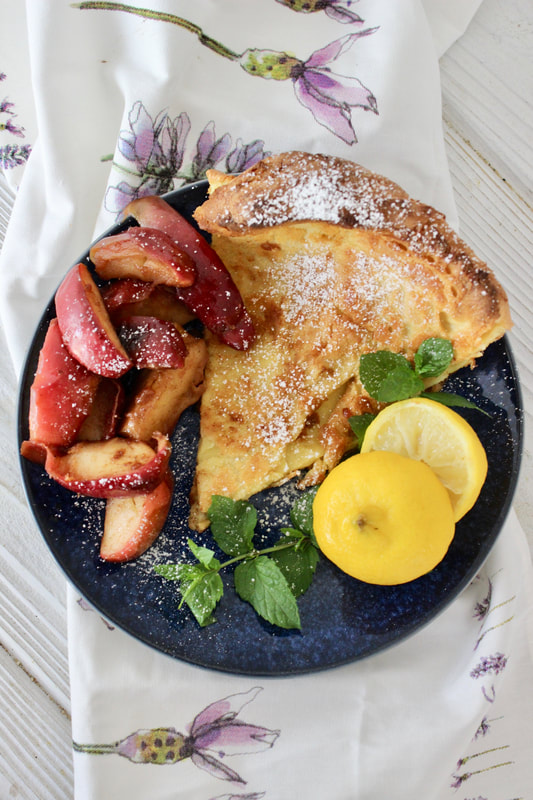
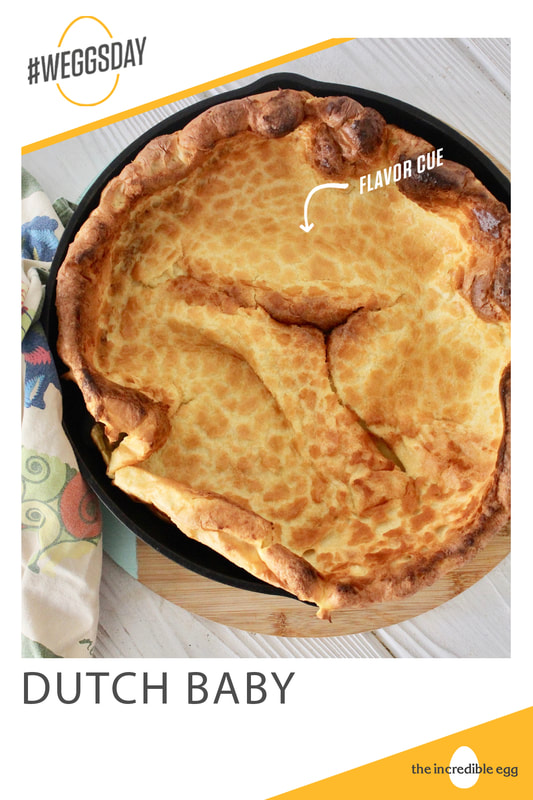
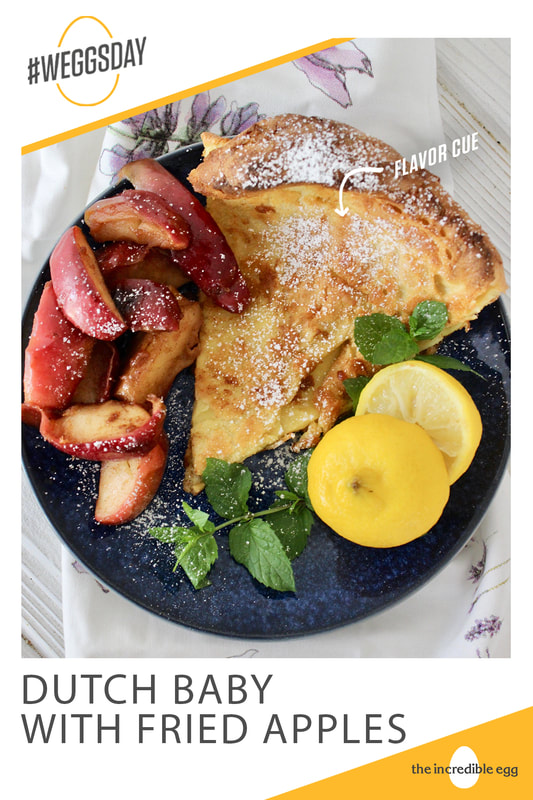
I can't think of a better way to start or wind down a Wednesday than with this delicious Dutch Baby. Easy to make and perfect any time of day. How do you like your eggs on Wednesday? Celebrate #Weggsday with a yummy Dutch Baby made with simple ingredients, blended and poured into a hot iron skillet and baked to perfection.
We love a good Dutch baby and this one is extra good with the nutritional benefits of six eggs. For more inspiring #weggsday recipe ideas visit The Incredible Egg.
Did you know eggs are a nutritional powerhouse, with one egg containing 6 grams of high-quality protein and nine essential amino acids, all for 70 calories? Plus, eggs are one of the few natural food sources of Vitamin D.

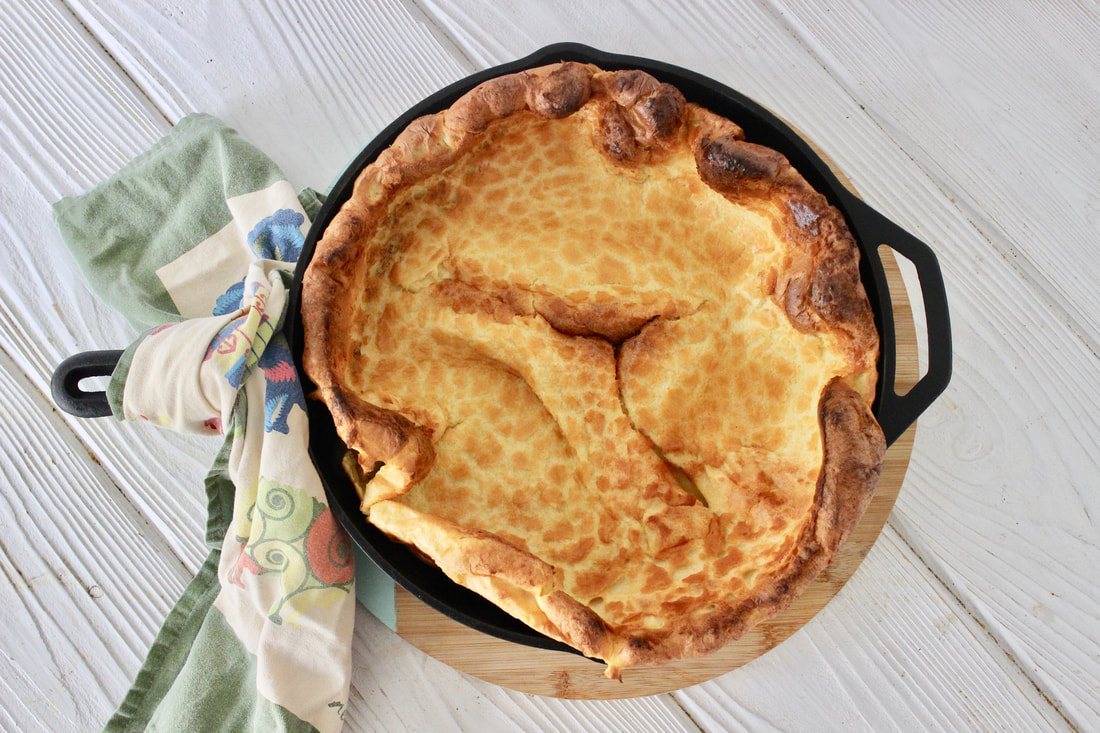
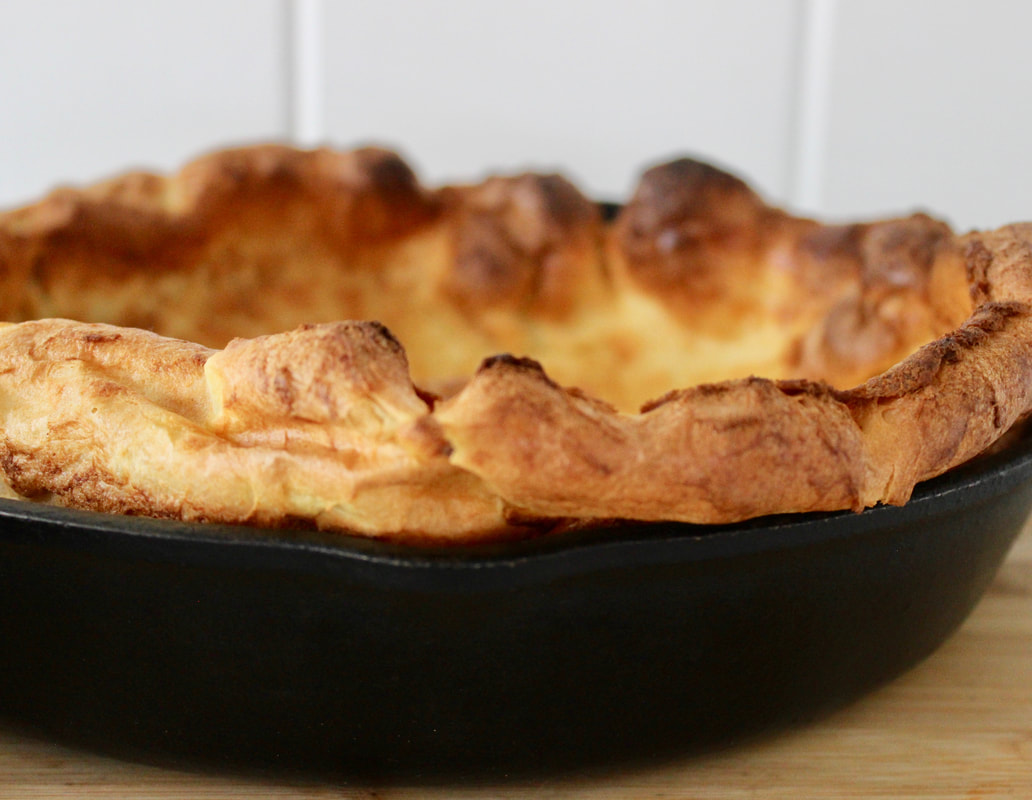
A dutch baby is kind of like a cross between an omelette and a giant popover, although it is more of a pastry than an omelette. It is truly delicious and if you've never made one, you won't believe how easy they are to make. As a mom of four, I love that when a Dutch baby comes out of the oven, everyone's food is ready at the same time, unlike pancakes or waffles. And since it bakes in the oven, I have down time when I can do other things like clean up or prepare fruit for topping.
Enjoy a Dutch baby this Weggsday! It's one of our family's favorites.
Dutch Baby
Serves: 6-8 Prep Time: 5 minutes Baking Time: 20-25 minutes Ingredients: 4 T. butter, separated 6 eggs at room temperature 1 C. whole milk at room temperature 1 C. flour 1 tsp. vanilla 1 T. coconut sugar or granulated sugar 1. Preheat oven to 425 degrees F. Place a large 12" iron skillet (amazon link) in center of the oven. 2. Melt 2 T. butter and combine with rest of the batter ingredients in a blender or use an emersion blender (This is the one I have and use a lot, amazon link) . 3. Add 2 T. butter to the hot skillet in the oven and using oven mitts tilt or rotate skillet to coat the pan with butter. 4. Pour the batter into the hot pan and bake for 20-25 minutes until puffed and golden brown. Resist the urge to open the oven until it has baked for 15-20 minutes so it doesn't fall. 5. When the dutch baby is done, let it cool slightly and settle for a couple of minutes. 6. Serve with fresh squeezed lemon juice and sprinkle powdered sugar on top and/or your favorite fruit. We love it with fresh berries or fried apples. 7. To easily serve, cut into slices with kitchen shears (amazon link). Note: This is a large recipe which serves 6-8. You can cut the recipe size down and use a smaller pan if needed.
You may like to serve with these Easy Fried Apples

Pin on Pinterest

You can also make a Savory Dutch Baby.

11 Comments
Disclosure: We are a participant in the Amazon Services LLC Associates Program, an affiliate advertising program designed to provide a means for us to earn fees by linking to Amazon and affiliated sites.
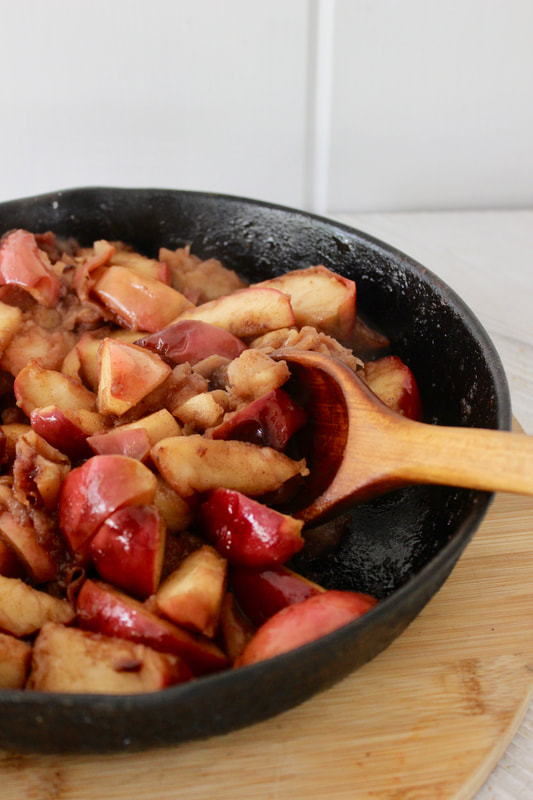
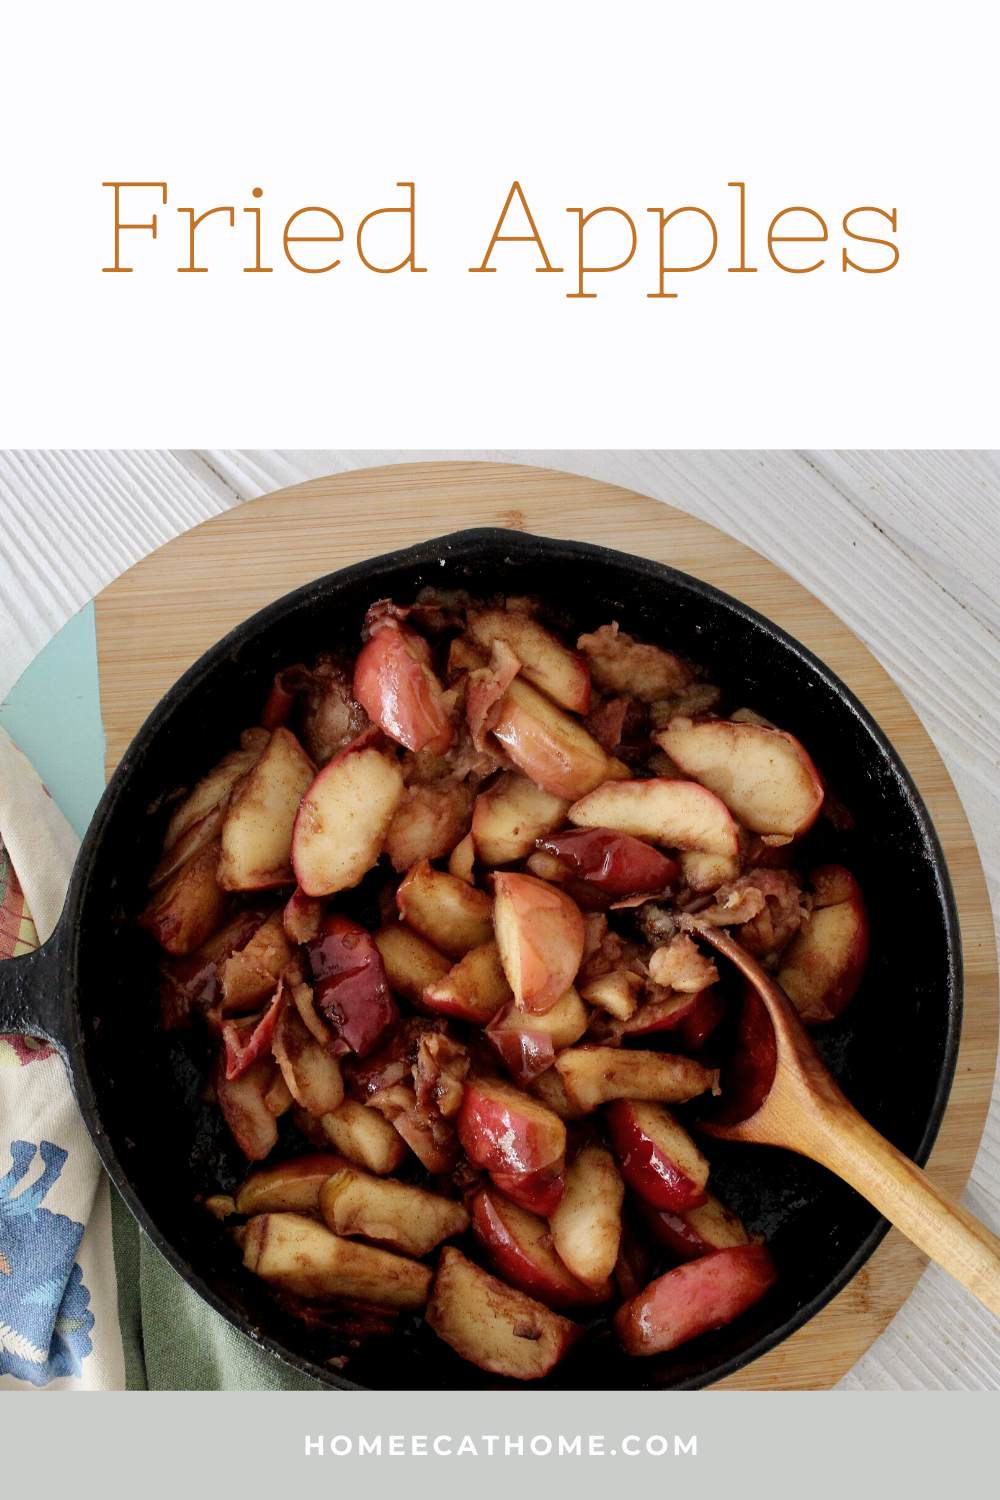
Fall is upon us and with it an abundance of fresh apples. One of our favorite fall treats is fried apples. They are so easy to make and add something special to a slow Saturday morning brunch or a delicious fall pork roast dinner.
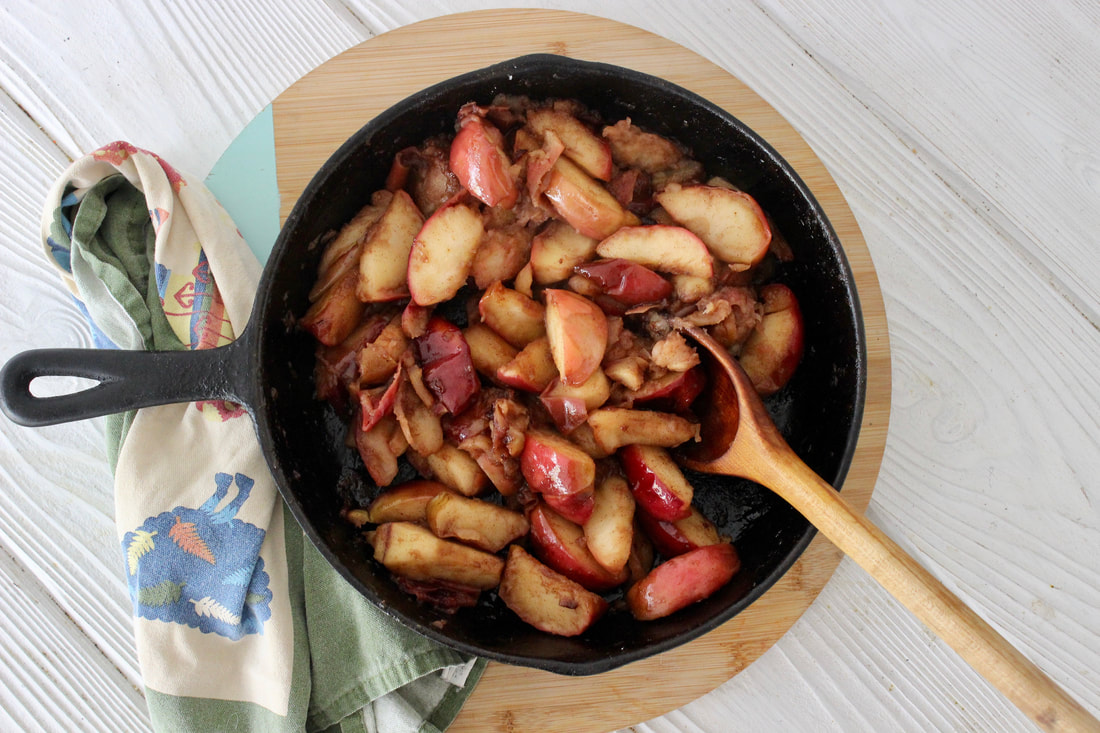
An iron skillet (amazon link) is my favorite for frying apples or pears. It helps to give a nice caramelization and is so easy to clean afterwards with just hot water and a quick scrubbing.
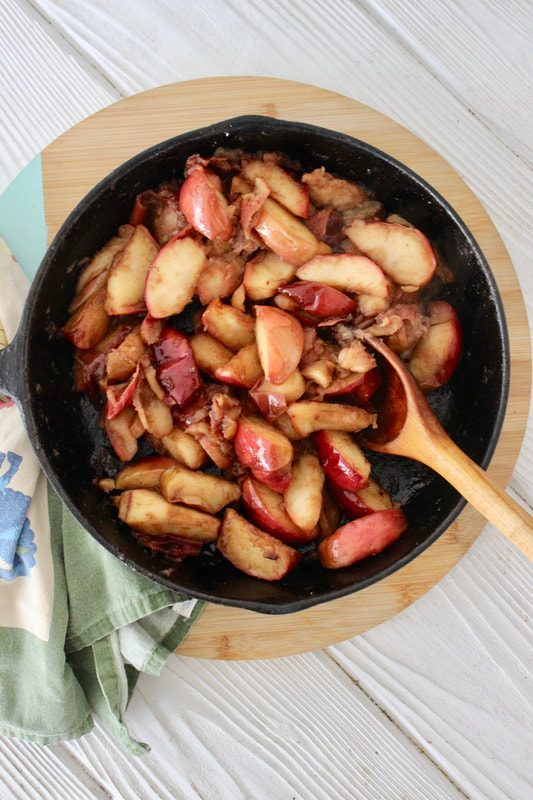
There isn't much to making fried apples. I fill a skillet with sliced apples, add a couple tablespoons butter and start cooking. As I am cooking, I add a light sprinkling of sugar and cinnamon. I have been using coconut sugar and depending on the sweetness of your apples you may not need much sweetener or any at all.
You don't really need a recipe for this, but here is the general idea.
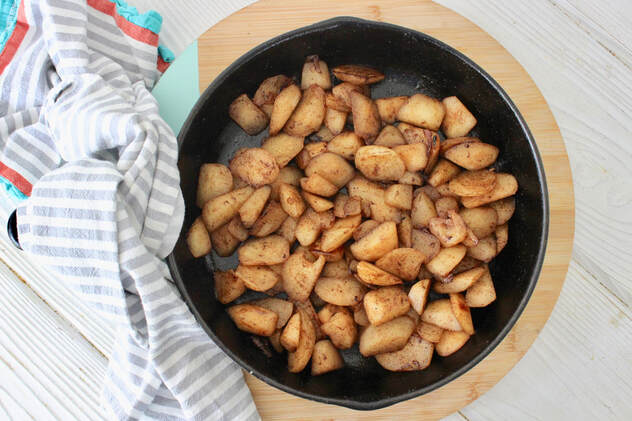
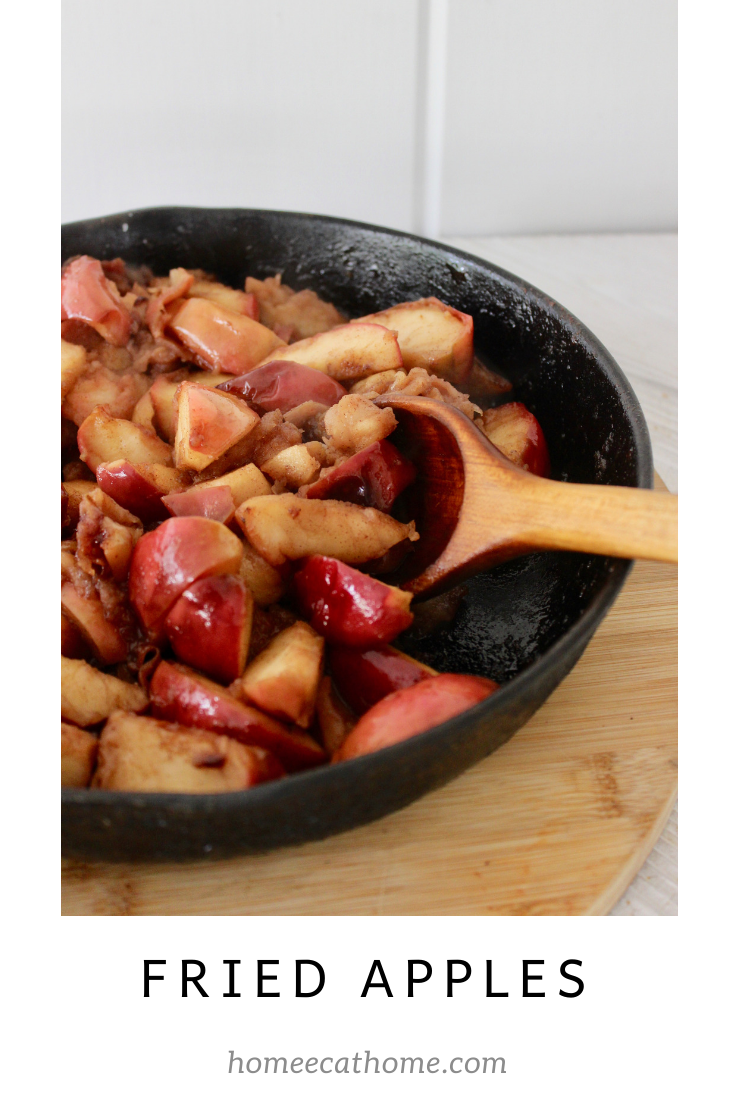
Ingredients: Apples, maybe 6 or so, whatever fills your skillet (We use a dozen or more for our large family of 6 and use more butter for more apples) 2 T. butter, you can use more or less Cinnamon, I just shake some in a couple of times while cooking Sugar, optional. I lean towards less because you don't need much. I have been using coconut sugar, but you can use granulated or brown sugar too. Melt the butter in the skillet. Add the rest of the ingredients and cook over medium heat until the apples are fork tender and start to caramelize. Stir from time to time to help apples cook evenly. If needed, turn up the heat towards the end to help the apples caramelize a little until lightly browned.
My husband bought this heavy duty, professional quality apple slicer and corer from a local hardware store that previously offered it as a rental item. He got a great deal on it and it is handy when slicing lots of apples. You can see how it works in the video.
Pin on Pinterest
You might also like: Fried Pears
Our farmer friend baled the pastures so we got to fill the barn with hay again. This was our second cutting for the season so we have a lot of hay. We have sold a few bales and will sell a few more and have plenty of hay leftover for our 4-H animals in the Spring. Here are some pictures from our afternoon of stacking hay in the barn and some fun videos at the end because there is always fun to be had on the farm. 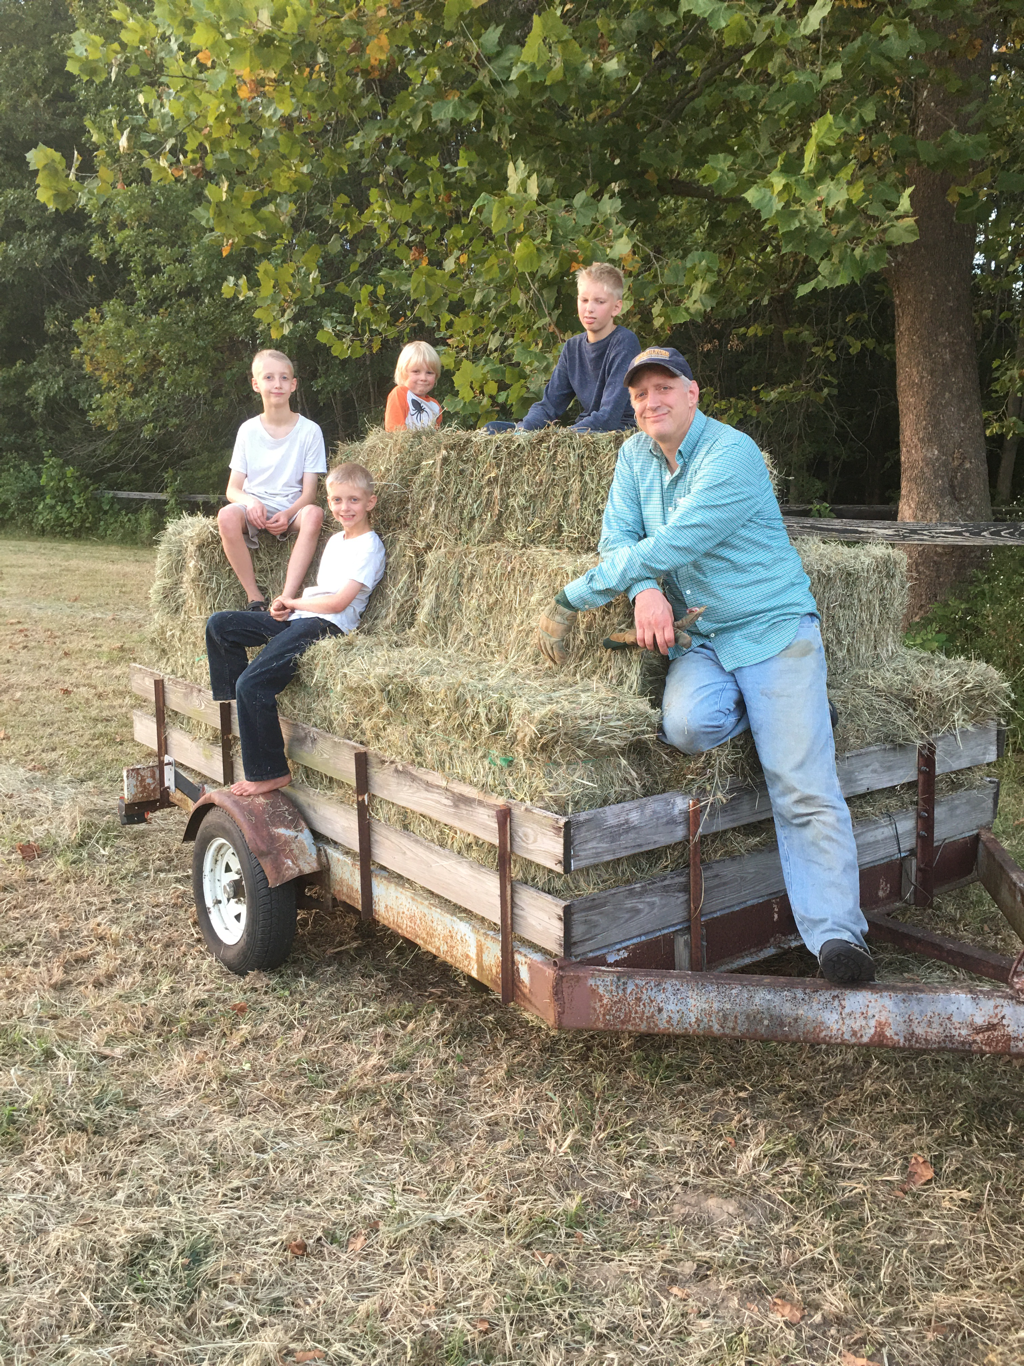 Stacking hay bales is a lot of work, but when everyone works together it goes pretty quickly and there is a lot of fun to be had too.  This one did not want to be left out. 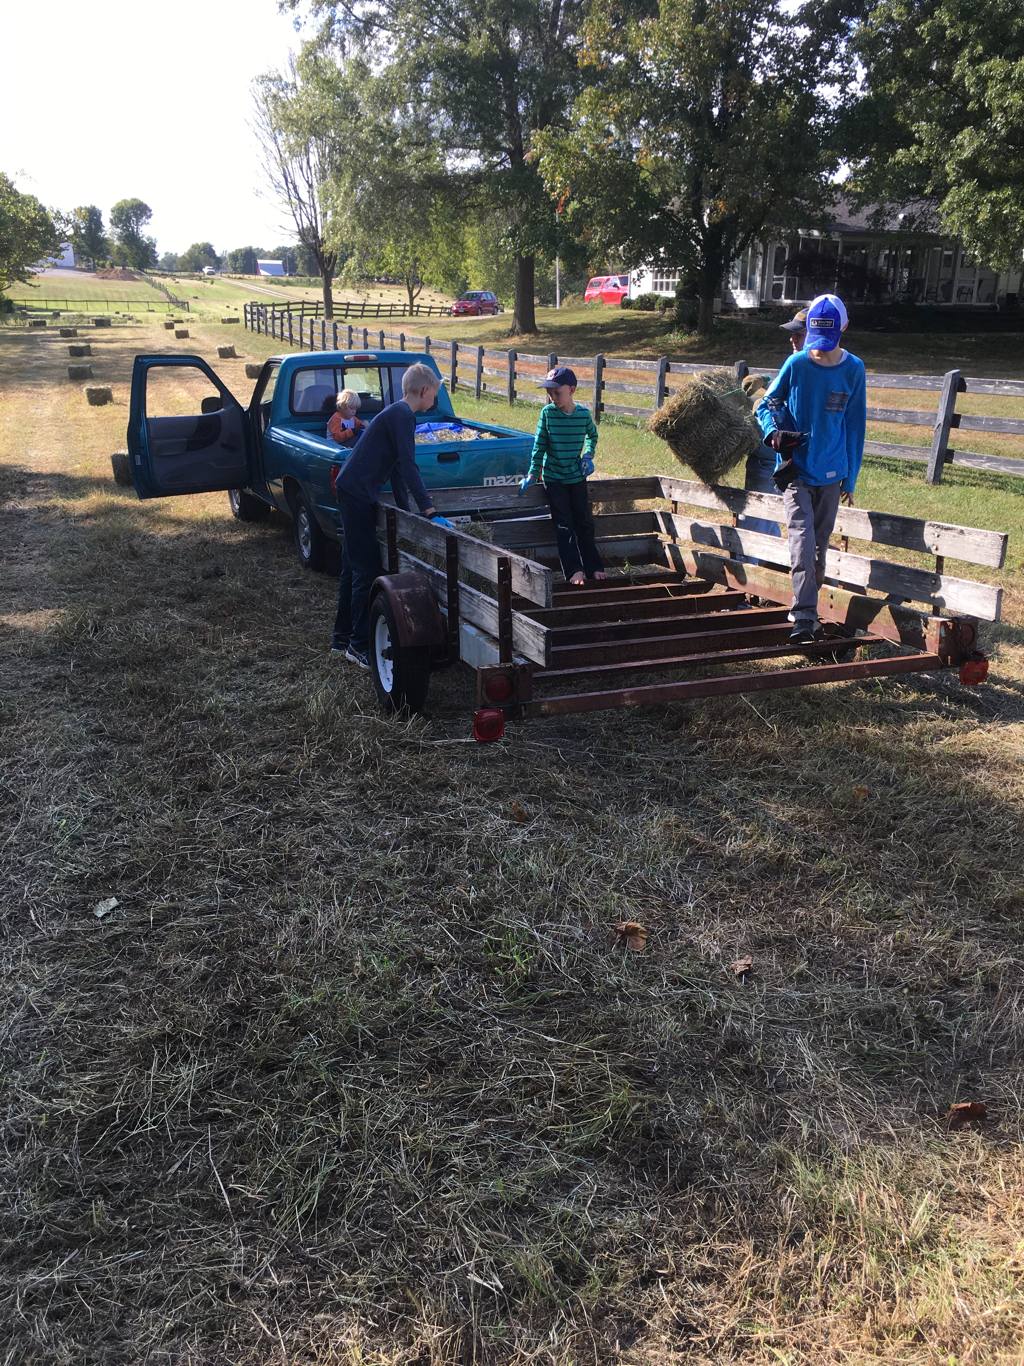 Getting ready to load hay in the wagon. 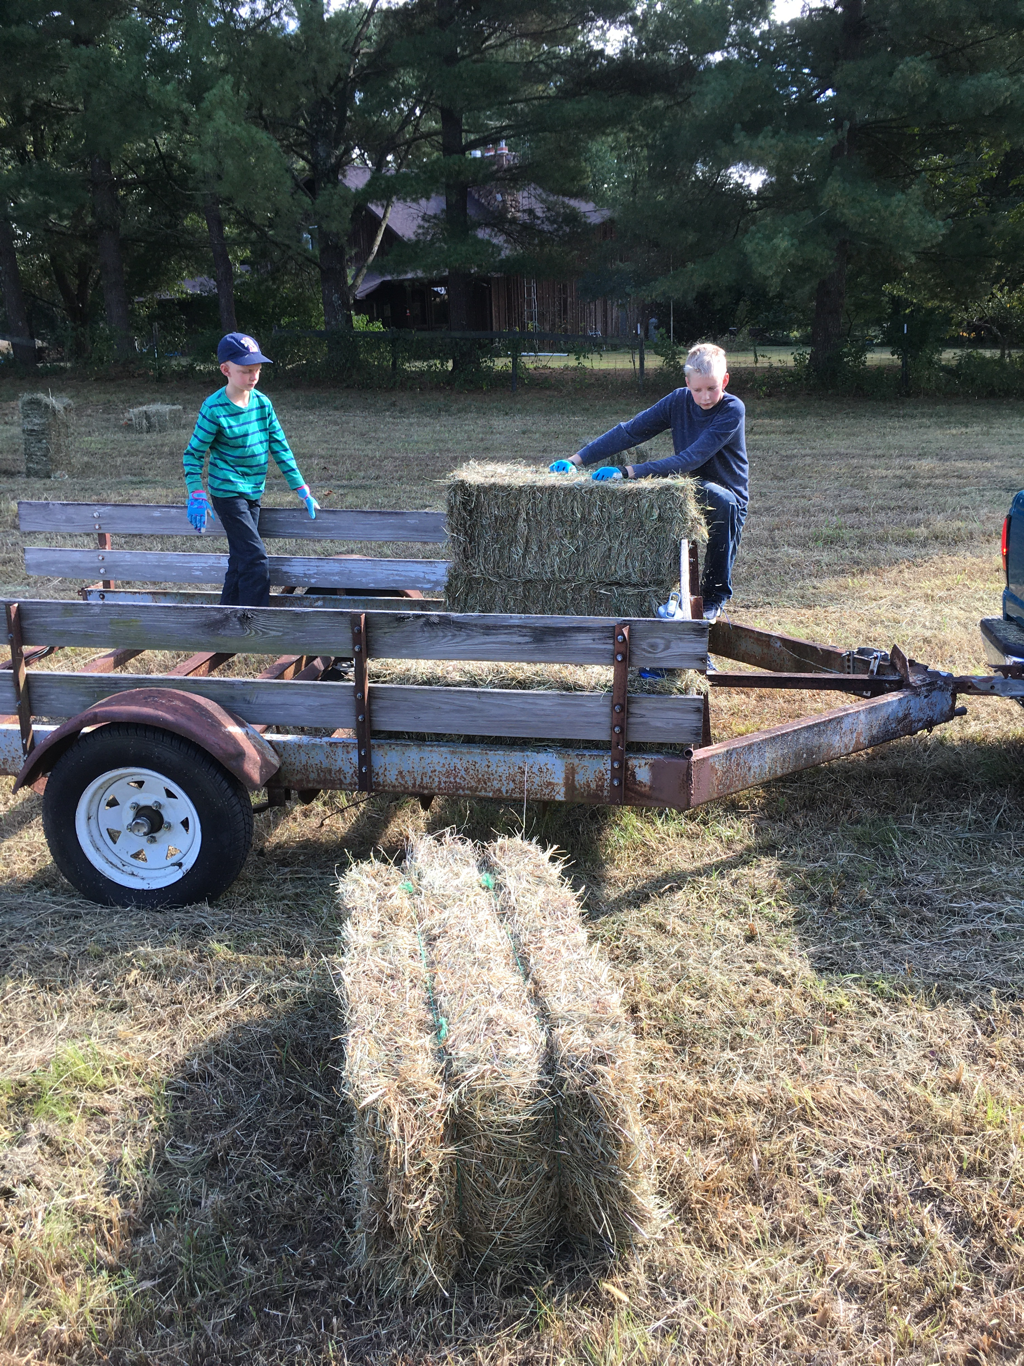 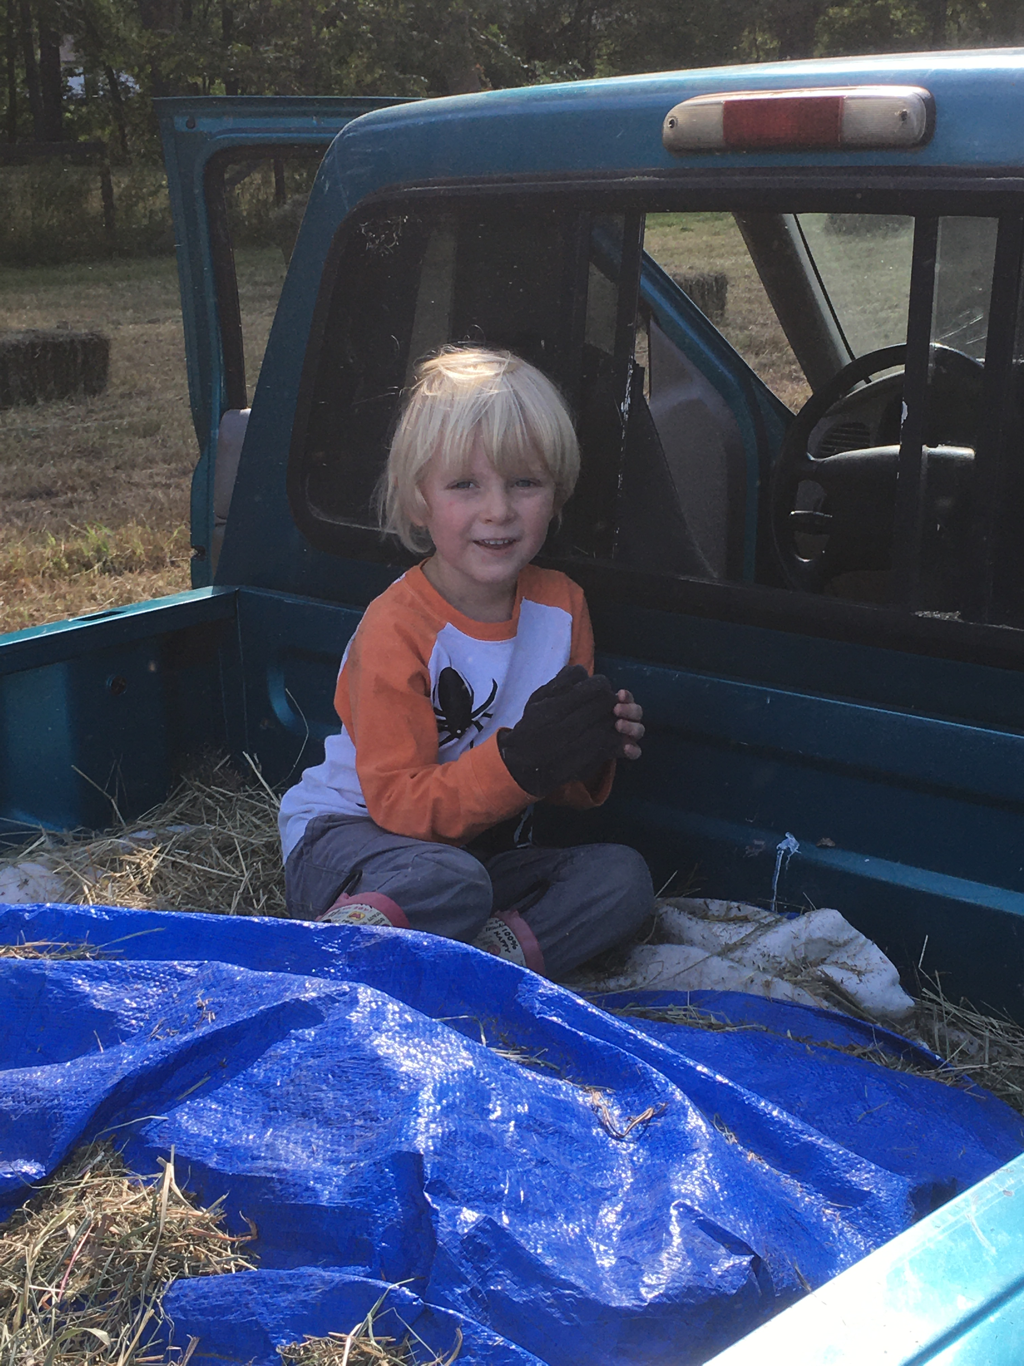 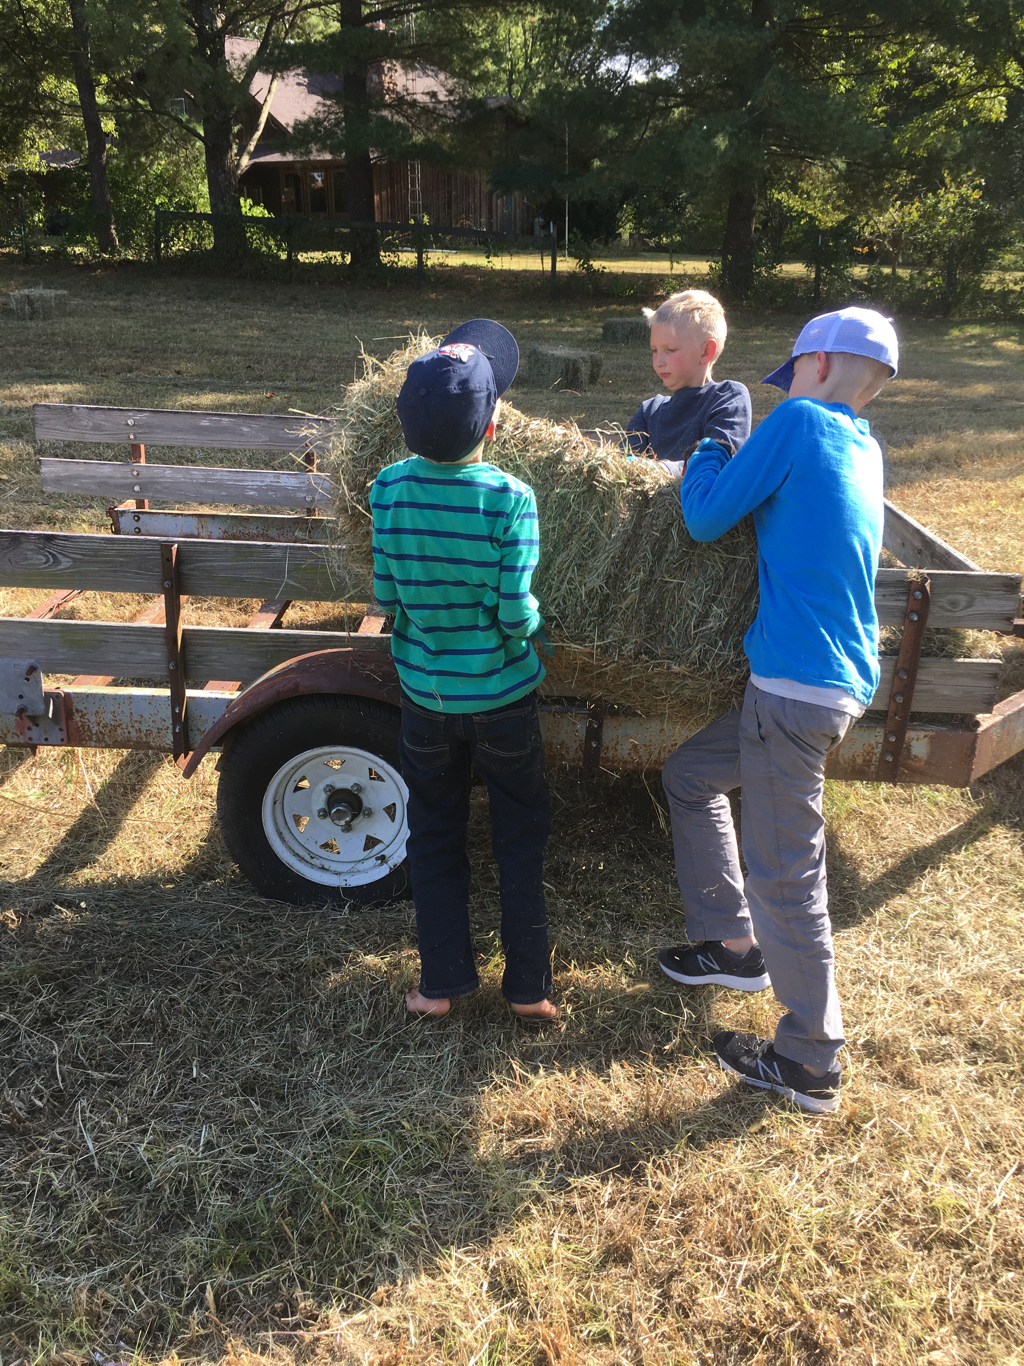 Working together. 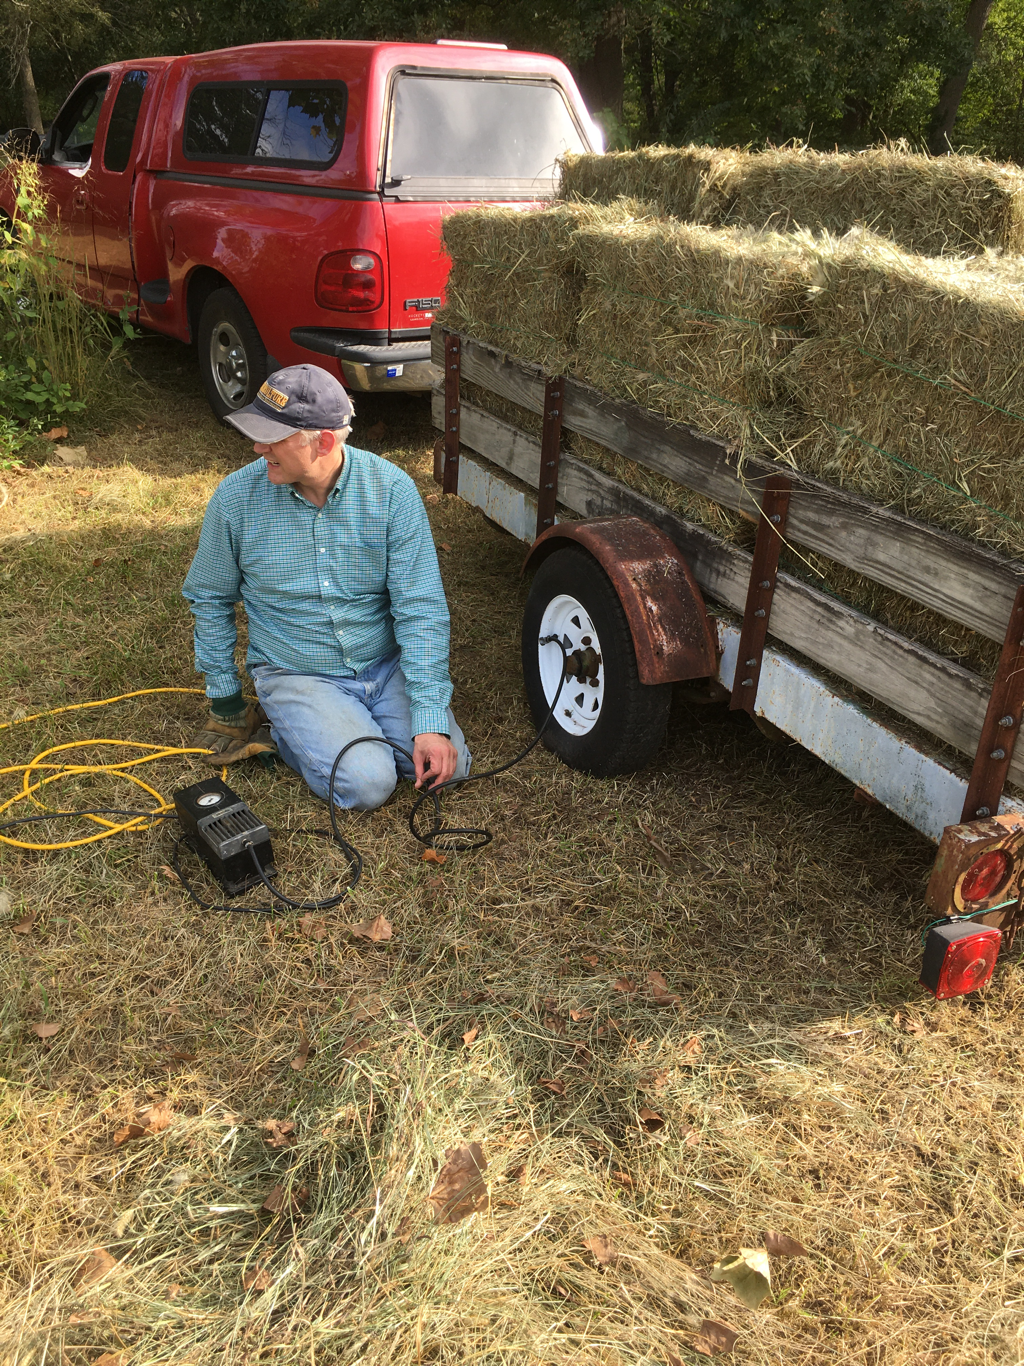 Had to stop and put air in the wagon tires.  The most beautiful view. 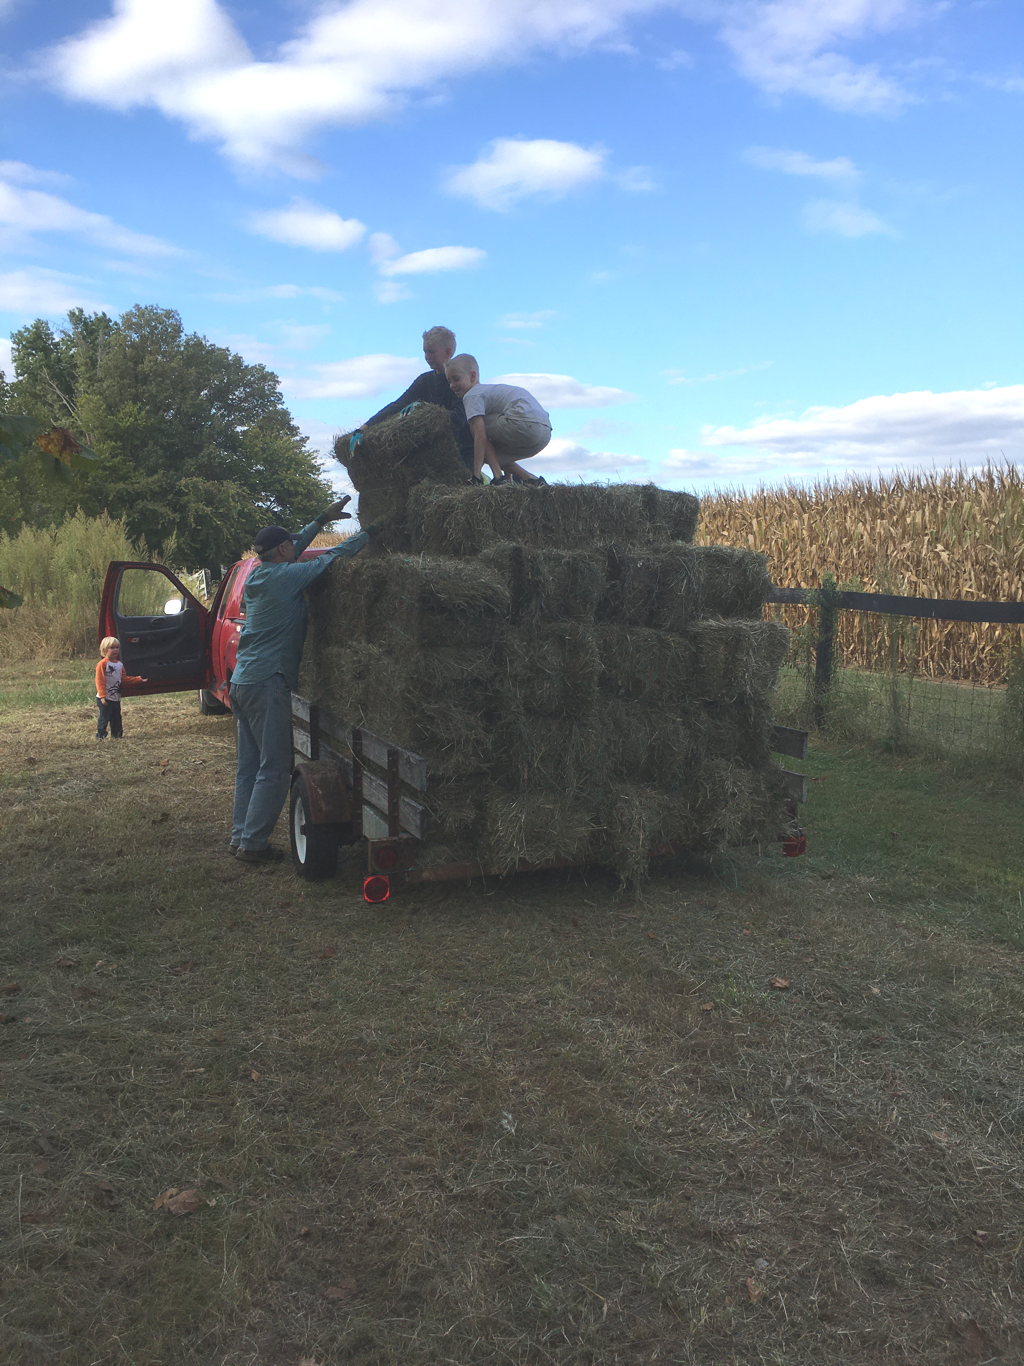 Bucking hay bales to the top of the wagon. 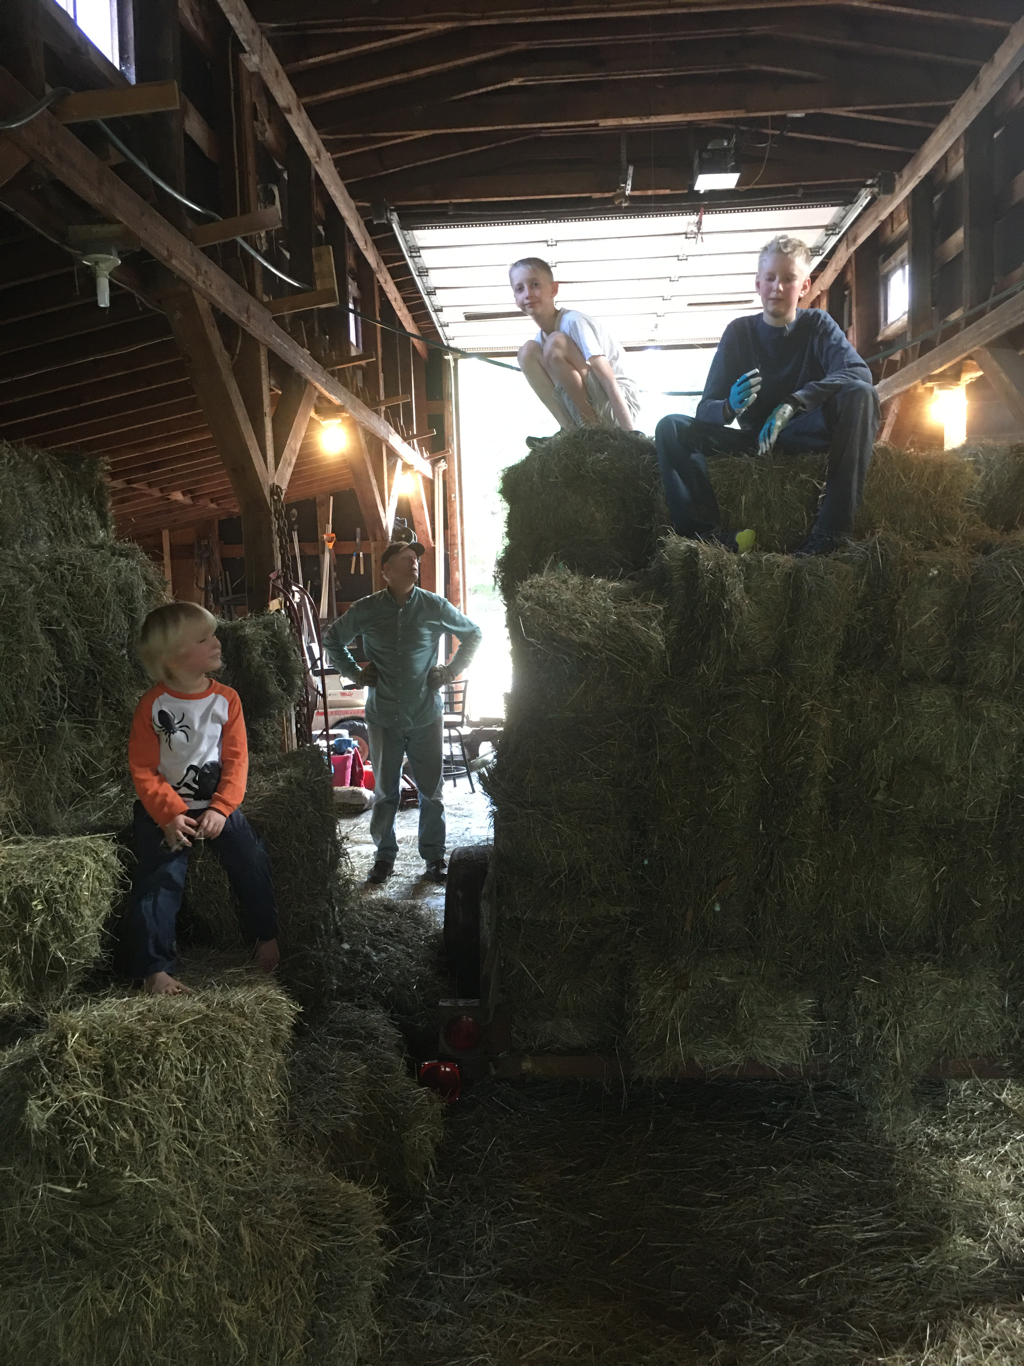 All in a day’s work. 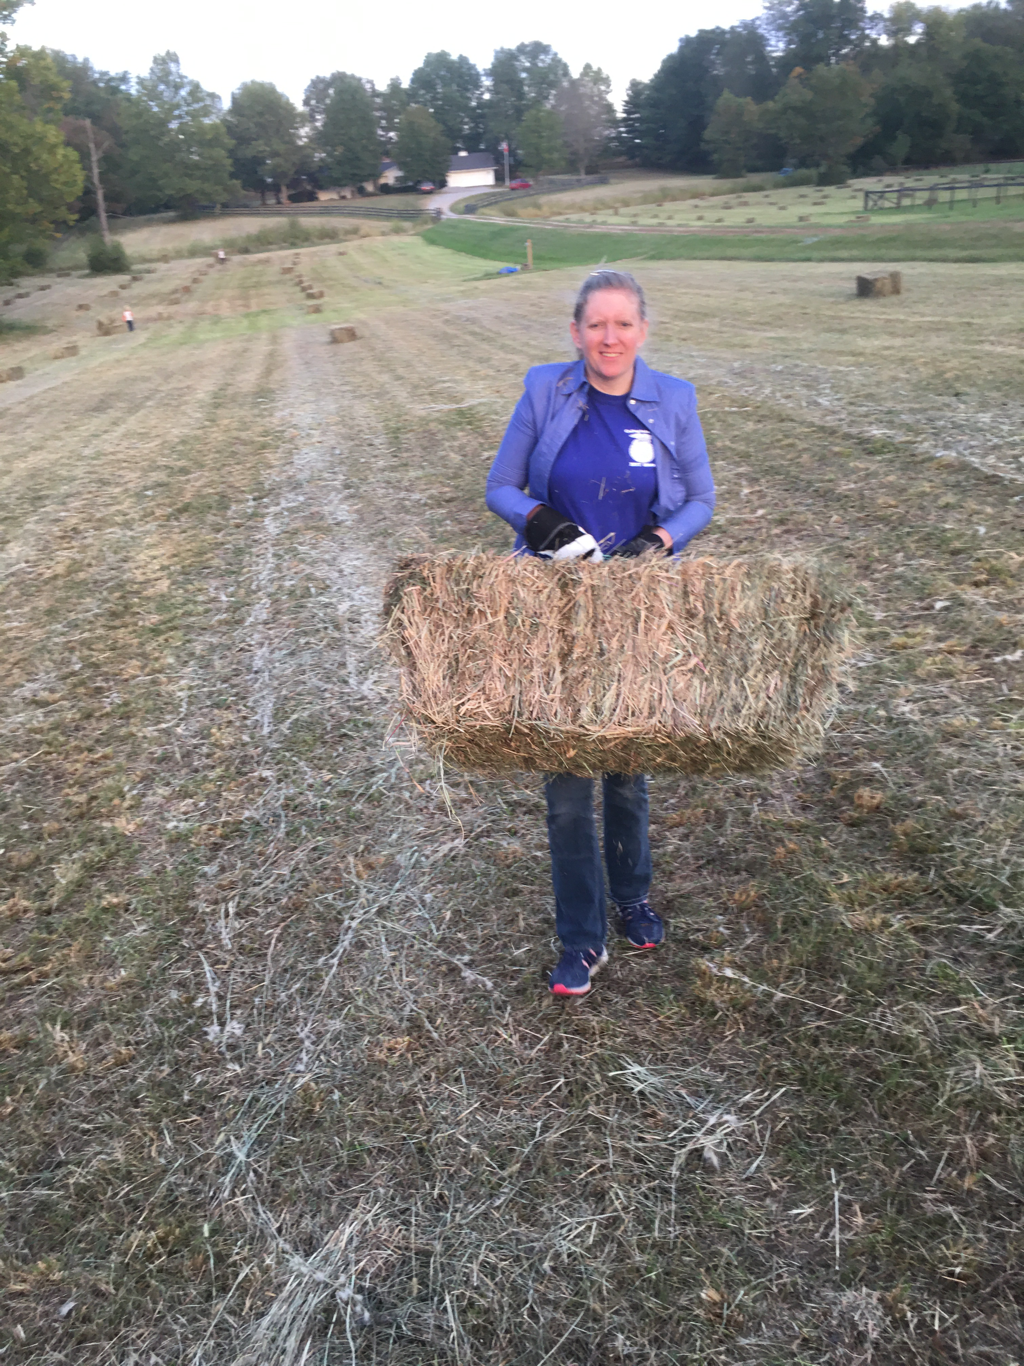 If you are going to stack hay bales, you want to wear thick jeans, long sleeves and work gloves. I had on thinner, more fashionable jeans that I wear all time and actually went in and changed into some old work jeans because the scratchy hay was going through my jeans. Good work gloves are a must. I bought several pair on clearance last year so we would have lots of gloves for everyone in the family. You can get kids sizes too. I keep them in a drawer in the kitchen so we always know where they are. 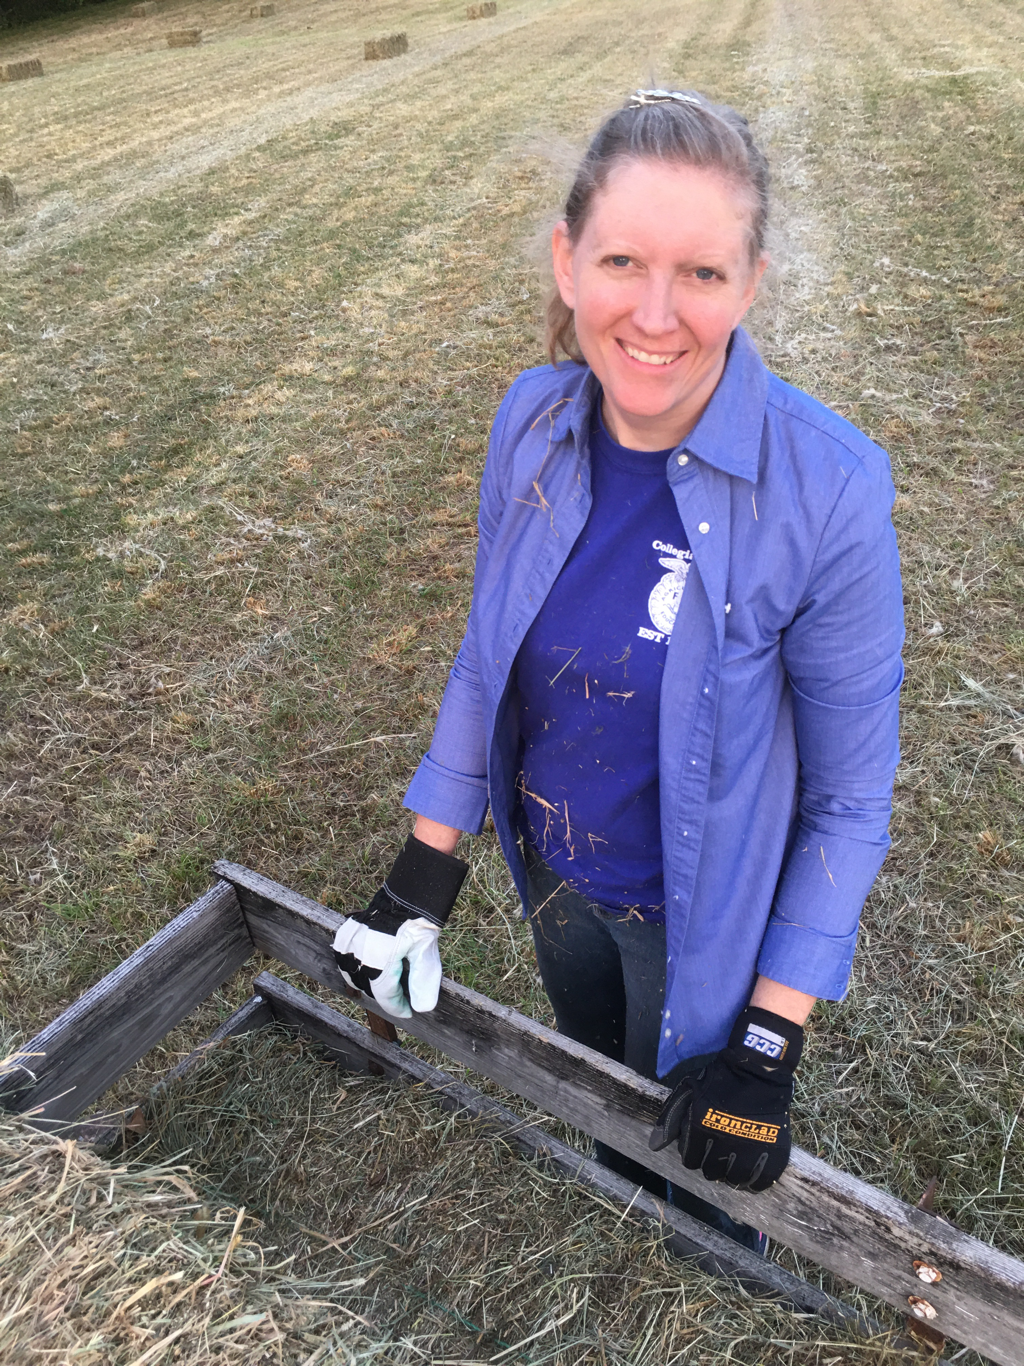 There is a lot of fun to be had when bringing in hay with the family, like hay rides. This one wanted in on the action too! We were out getting hay so we picked up the trash can from the end of the drive on the hay wagon. The boys had a blast tackling hay bales. So much fun to be had on the farm!
I received free samples of Cabot Cheese mentioned in this post. By posting this recipe I am entering a recipe contest sponsored by Cabot Cheese and am eligible to win prizes associated with the contest. I was not compensated for my time.
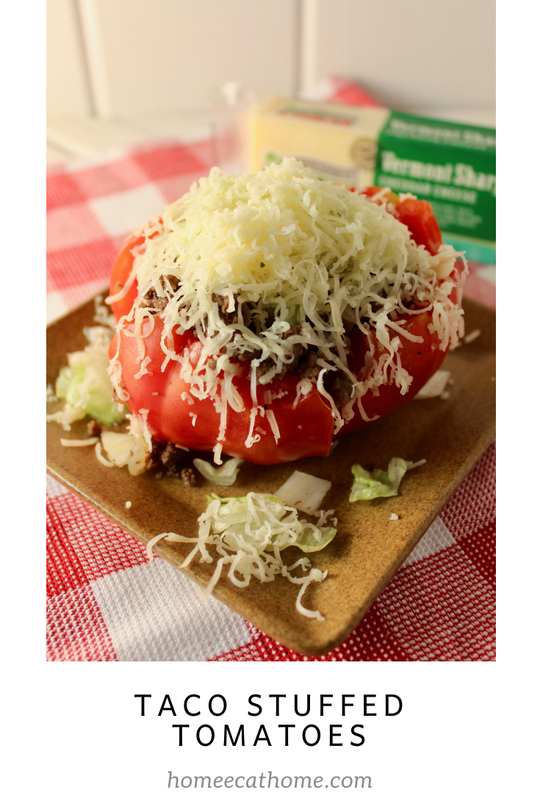
I decided to make taco stuffed tomatoes because we have been blessed with a bountiful tomato harvest this year. I have been coming up with creative ways to use extra tomatoes in our everyday meals. Yesterday, I put at least a quart of fresh diced tomatoes in a big pot of chili along with some canned tomatoes and simmered it on low all afternoon and it was so good. I have frozen and canned some tomatoes and will preserve more before the garden is done for the year, but this is a delicious way to enjoy them fresh which is always the best.
Tacos are one of our favorite busy night meals and we love fresh tomatoes so it only made since to put the two together. These taco stuffed tomatoes are such an easy, budget friendly meal. We have had them a few times this summer and the whole family loves them.
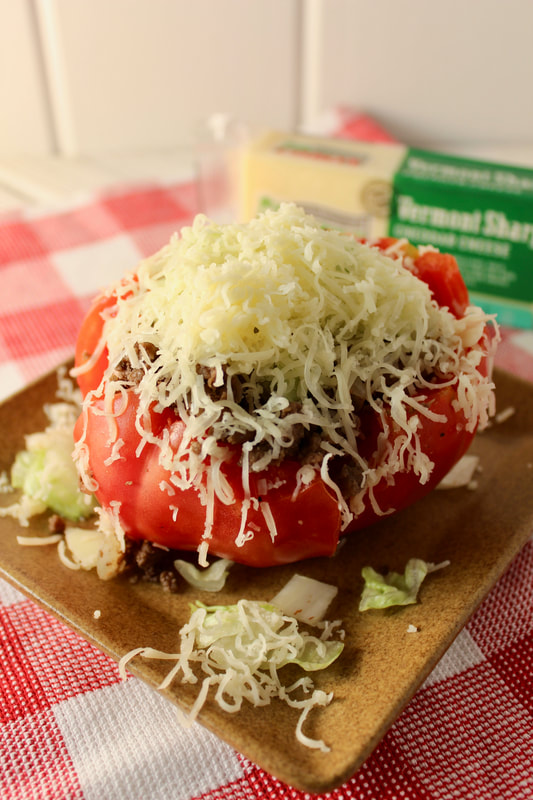
These taco stuffed tomatoes combine all the delicious toppings of tacos with fresh ripe tomatoes. You stuff taco meat into the tomatoes and then top with diced lettuce and shredded sharp cheddar cheese. Cabot Vermont Sharp Cheddar Cheese is the perfect cheese to compliment the fresh flavors in these taco stuffed tomatoes.
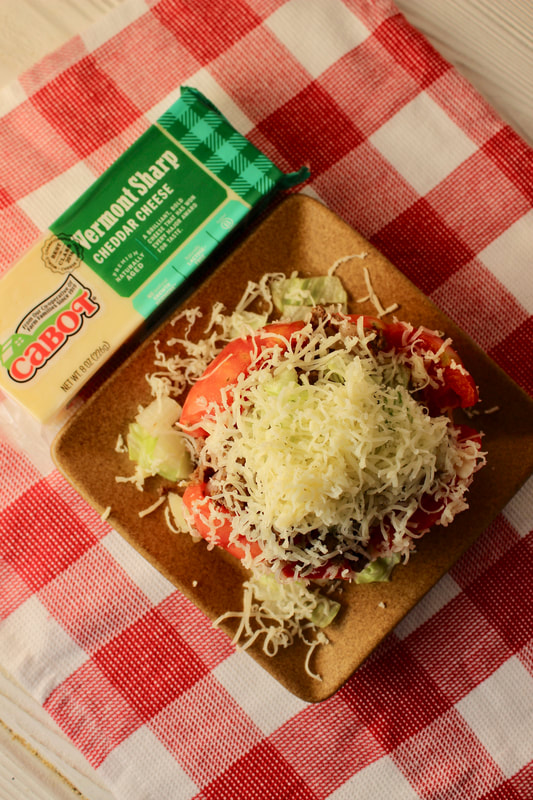
Simply cut them up and eat like a deliciously fresh taco salad.
Taco Stuffed Tomatoes
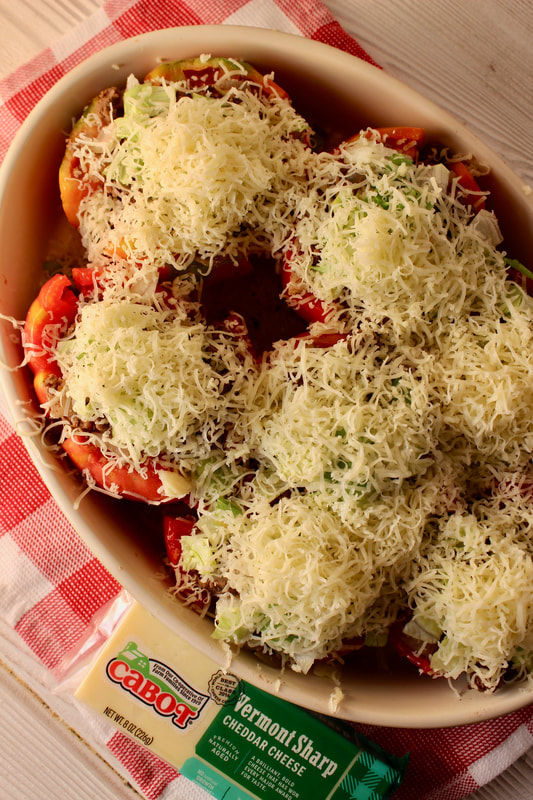
Serves 6-8 Ingredients: 6-8 medium to large tomatoes 1 lb. lean ground beef 1 onion, diced 1 tsp. ground cumin ¼ tsp. garlic powder Salt and pepper to taste ¼ head iceberg lettuce, chopped 4-6 oz. Cabot sharp cheddar cheese, shredded Optional toppings: Salsa Sour cream Guacamole Cilantro, chopped 1. In a skillet, brown ground beef and onion over medium heat. Add cumin, garlic powder, and salt and pepper. 2. Cut stem area from tomatoes, then cut down on each side to almost quarter the tomatoes stopping about 2/3 of the way down. Pull the tomato wedges out slightly to make a “bowl” for the taco beef. 3. Spoon cooked meat, then press it into tomatoes to fill each tomato “bowl”. 4. Top with chopped lettuce and shredded cheese. 5. Optional to dress with salsa, sour cream, guacamole, cilantro etc. To serve, cut with a knife and fork to enjoy as a lovely taco tomato salad. 
Pin on Pinterest
I received free samples of Cabot Cheese mentioned in this post. By posting this recipe I am entering a recipe contest sponsored by Cabot Cheese and am eligible to win prizes associated with the contest. I was not compensated for my time.
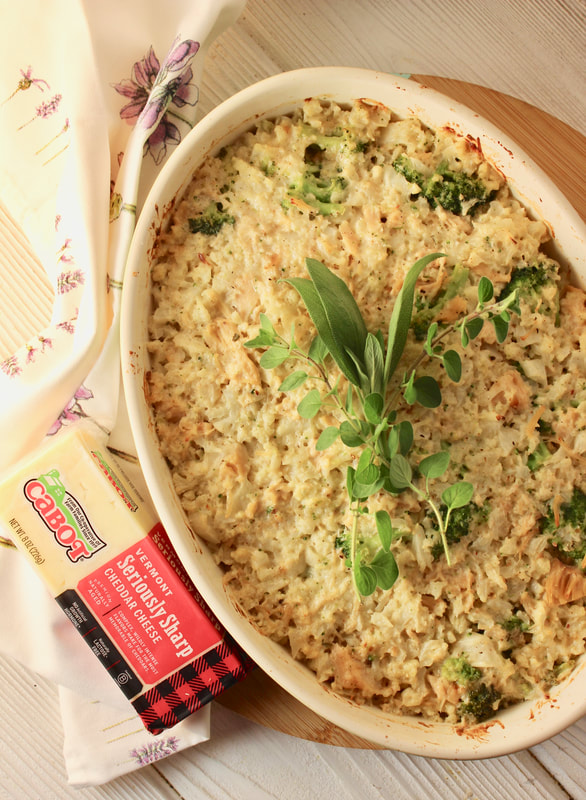
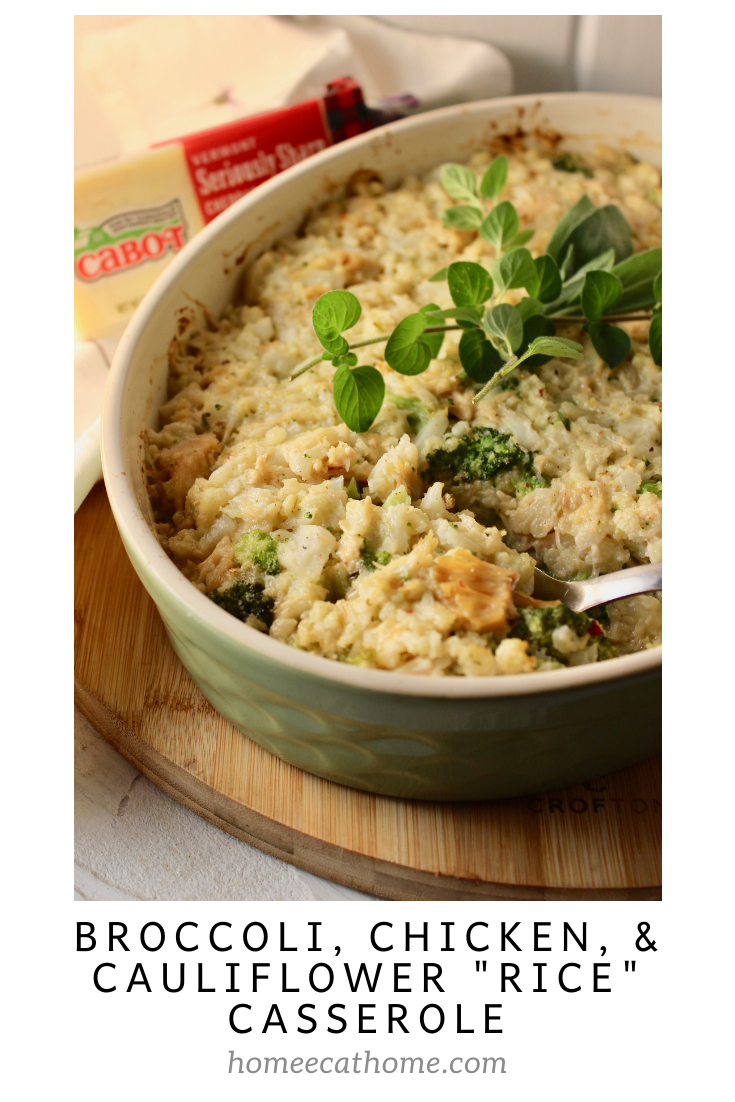
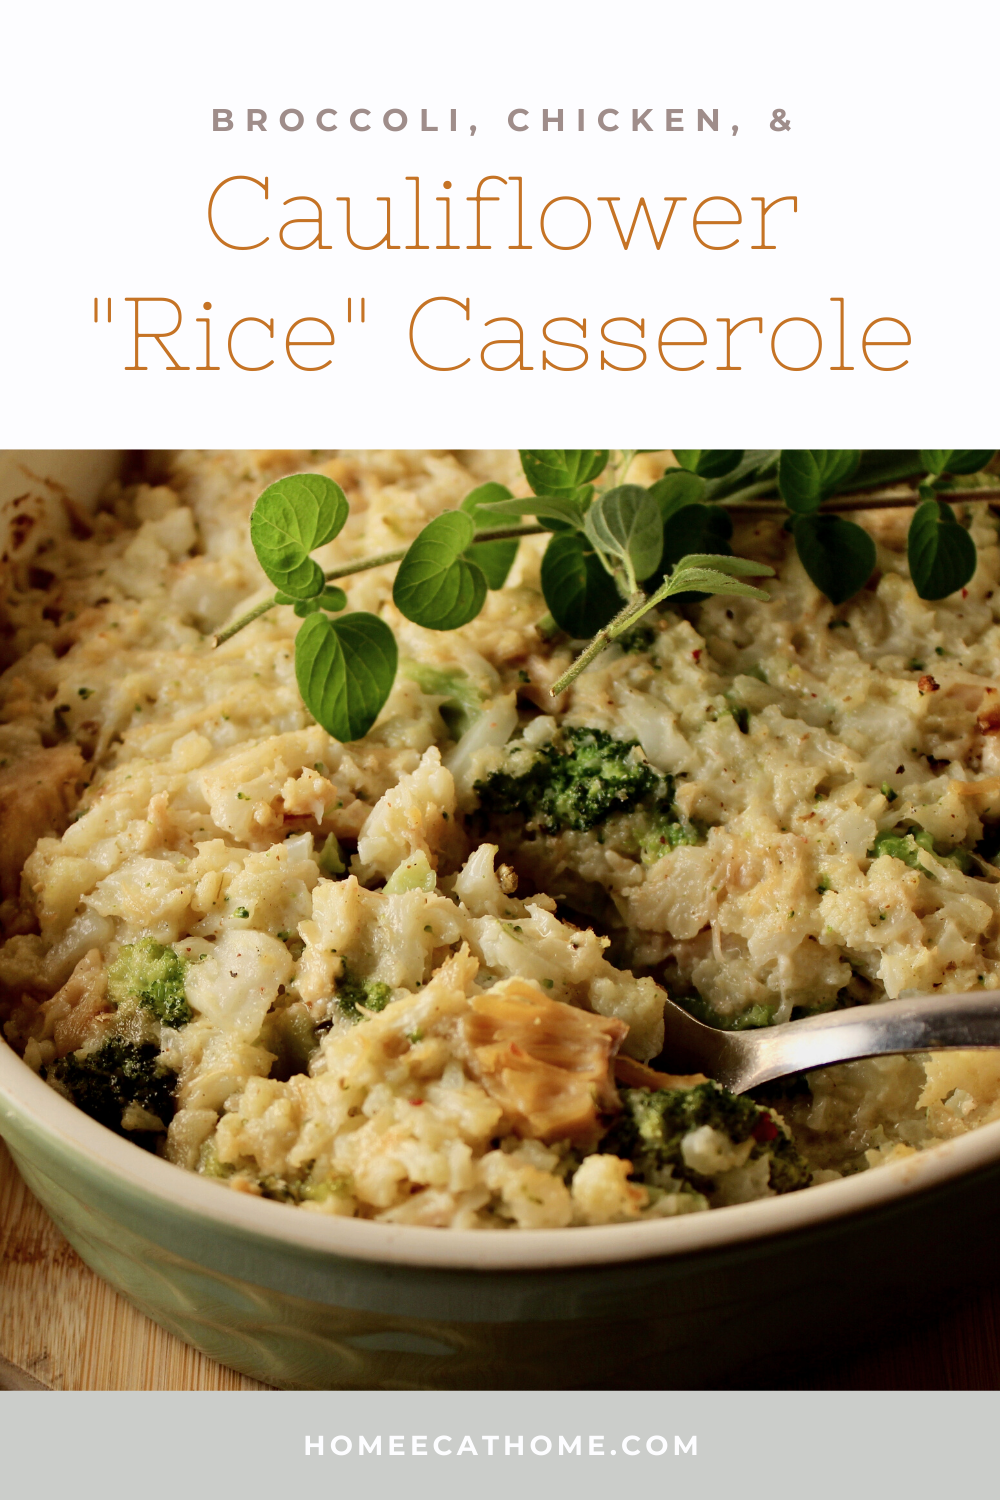
This broccoli, chicken, and cauliflower "rice" casserole is a family favorite in our house. The boys love it and come back for seconds plus it is lower in carbs since the "rice" is actually cauliflower.
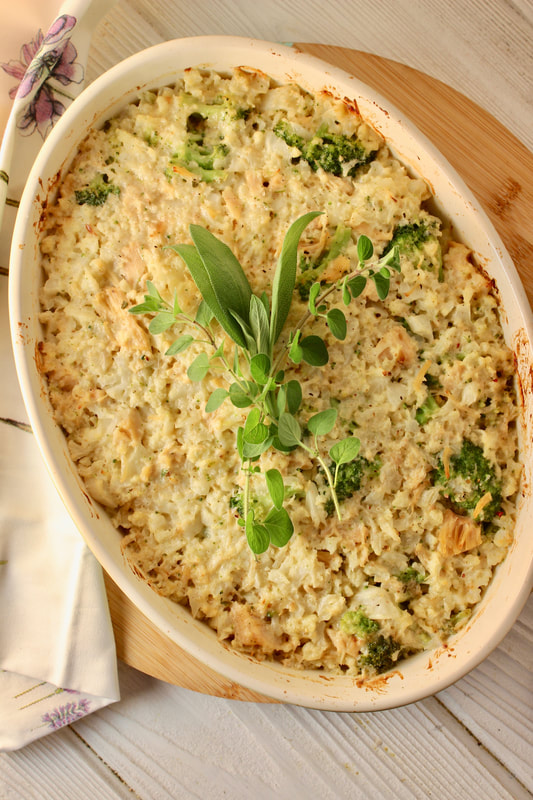
This is such an easy meal to put together too since I use budget friendly canned chicken and frozen broccoli. Simply open a can, drain and mix in the chicken and open a bag of frozen broccoli and mix in. So easy! Cauliflower is actually pretty simple to make too...just boil it, then dice it. If cauliflower is not your thing, you could substitute rice, but the nutrient rich cauliflower is really good. The sauce is a simple stovetop sauce. Throw it all together and you have a delicious broccoli, chicken, and cauliflower "rice" casserole that your family will love.
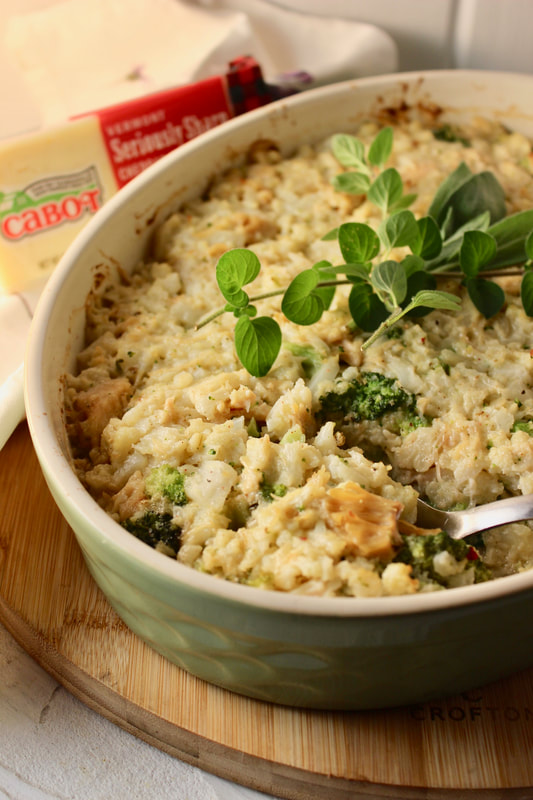
When making this casserole I use Cabot Vermont Seriously Sharp Cheddar Cheese. A good sharp cheddar gives such good flavor to the sauce and compliments the other ingredients.
Did you know Cabot is a cooperative owned by 800 farm families throughout New England & New York and 100% of profits go back to the farmers? My husband and I both come from farm traditions. We didn't grow up on farms, but our parents did. My grandpa and uncle were dairy farmers and it is a hard job that never quits. Cows don't go on vacation, they need to be milked, fed, and cared for everyday. I appreciate farming and rural life and the hard work that goes into it and am happy to support farmers.
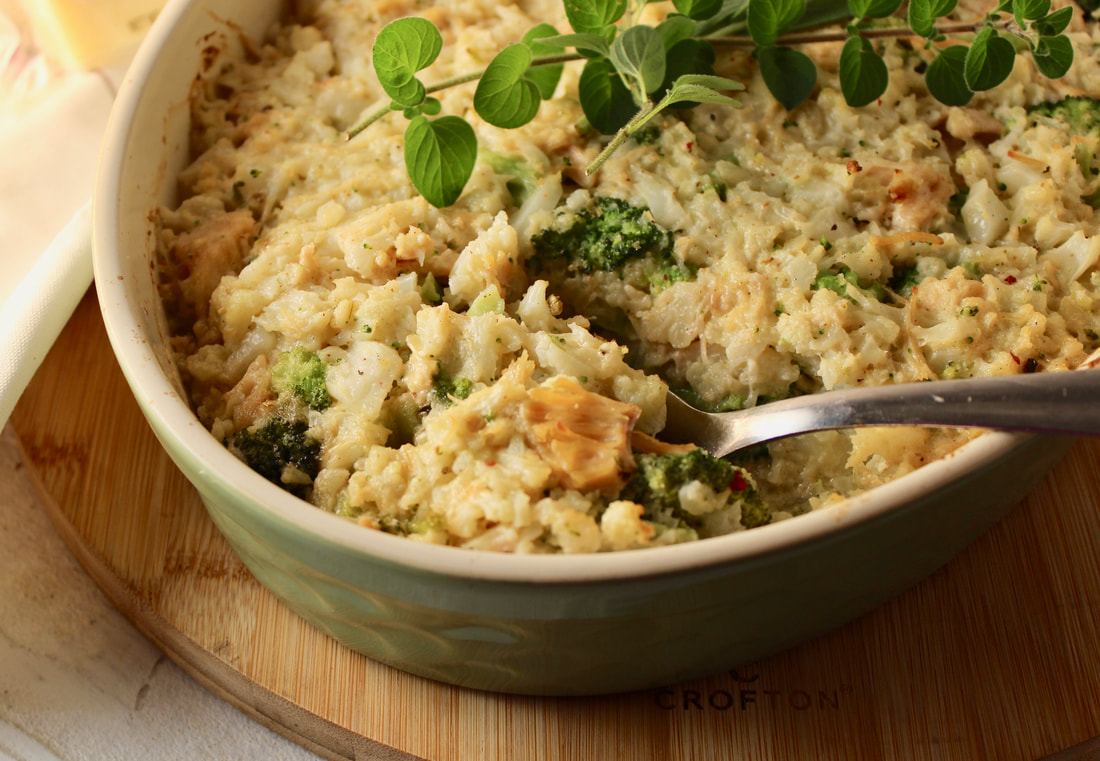
Broccoli, Chicken, and Cauliflower “Rice” Casserole
Serves: 8 Ingredients: 1 large head of cauliflower 2 Tbsp. butter 1/4 cup finely diced sweet onion 2 oz. cream cheese 1 1/2 tsp. Dijon mustard 1/4 tsp. garlic powder ¼ tsp. cayenne pepper 1/2 tsp. salt 1 cup heavy whipping cream 8 oz. Cabot Vermont Seriously Sharp Cheddar Cheese, shredded 12 oz. bag frozen broccoli florets 12.5 oz. can chicken breast, drained Fresh ground salt & pepper Preheat oven to 400 degrees F. 1. Cut cauliflower into large pieces. Boil cauliflower until fork tender. Drain in a colander and leave cauliflower in the colander to drain off more moisture while preparing the cheese sauce. 2. In a skillet sauté onion in the butter over medium heat until transparent. 3. Meanwhile, shred cheese, set aside. 4. Chop cooked cauliflower, small to “rice” it. Set aside. 3. To the skillet, add cream cheese, Dijon mustard, garlic powder, salt, heavy whipping cream and stir to combine. The cream cheese will melt into the other ingredients. Cook over low to medium heat for a couple of minutes until bubbling. 4. Stir the shredded sharp cheddar cheese into the sauce. 5. Spray a large casserole dish or a 9 X 13 pan with olive oil or cooking spray. 6. Combine the cheese sauce, cauliflower, broccoli, and chicken. Spoon into prepared casserole dish. Salt & pepper the top to taste with fresh ground salt & pepper. 7. Bake for 20-25 minutes until golden and bubbly.
Pin on Pinterest
I received this product for free from Moms Meet (momsmeet.com) to use and post my honest opinions. Compensation for this post was provided and this page may contain affiliate links. #elderberry #Sambucol #LetsSambucol
We are a participant in the Amazon Services LLC Associates Program, an affiliate advertising program designed to provide a means for us to earn fees by linking to Amazon and affiliated sites.
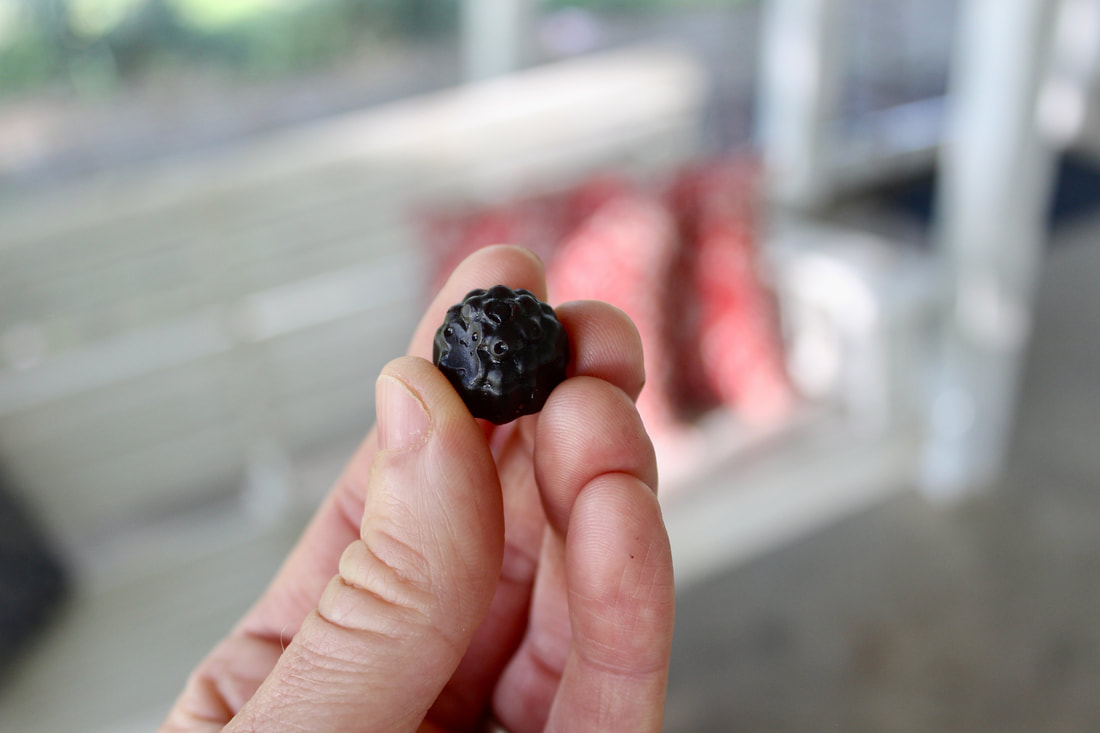
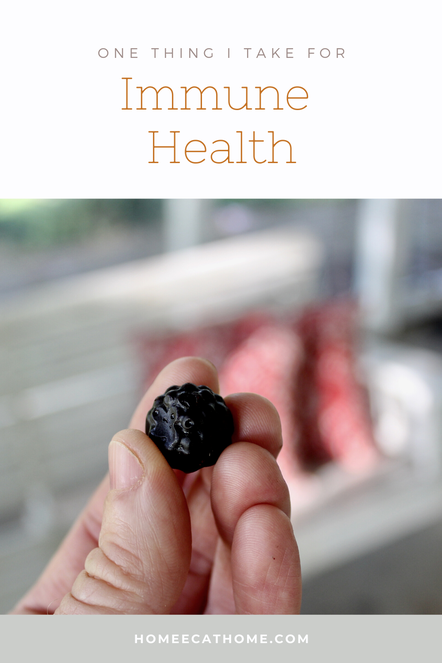
I have been taking Sambucol® Black Elderberry Gummies for natural immune support. Sambucol® is a unique black elderberry extract rich in immune supporting flavonoids. It is made from black elderberries which have twice the natural antioxidant capacity of blueberries. Wow, that's a lot of immune support packed into a little gummie!
These delicious gummies are pectin based, sweetened only with pure cane sugar, and contain no artificial flavors or colors. They are also gluten, nut, soy, dairy, and egg free.
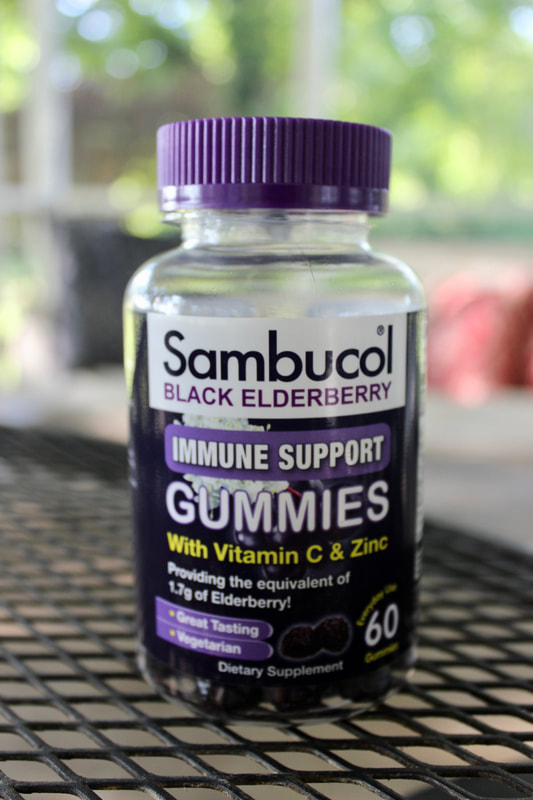
Adults and children over four years can take this yummy gummie one to two times a day. These gummies also have vitamin C and Zinc. I take one a day for a consistent immunity boost.
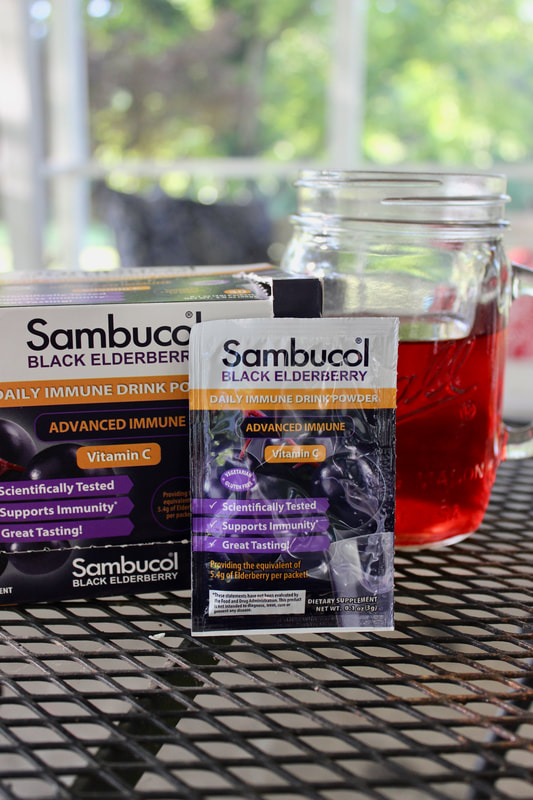
In addition, I got to try this Sambucol® Black Elderberry Immune Drink. I wasn't sure if I would like it, but I really do. I often start my morning with this easy to mix delicious drink. I just mix it with water and enjoy.
Sambucol® Black Elderberry Gummies are available to purchase at Walmart, Target, CVS, Walgreens, GNC, The Vitamin Shoppe, Ralphs, Vons, Safeway, and Kroger.
Pin on Pinterest
We are a participant in the Amazon Services LLC Associates Program, an affiliate advertising program designed to provide a means for us to earn fees by linking to Amazon and affiliated sites.
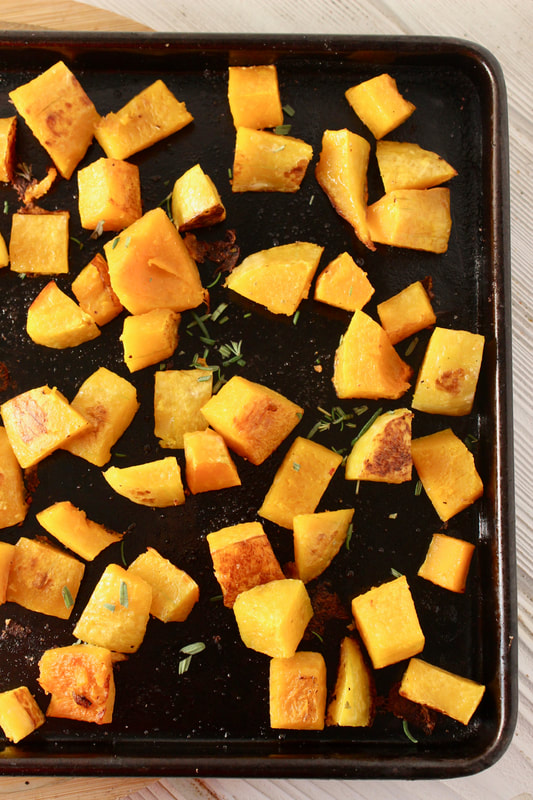
Butternut squash is one of my favorite vegetables so I was so excited when we were able to grow it in the garden this year. Unfortunately, our yield was low due to squash bugs killing the plants, but we have a few butternut squash tucked away for winter. If you know of a remedy for squash bugs that doesn't harm bees, I am all ears:).

Roasting butternut squash is super easy once you get the squash peeled and cubed. I use a vegetable peeler to peel it, then cut it in half lengthwise, then scoop out the seeds. I then cube the squash.
Roasted butternut squash is so good my kids clean their plates and come back for more.
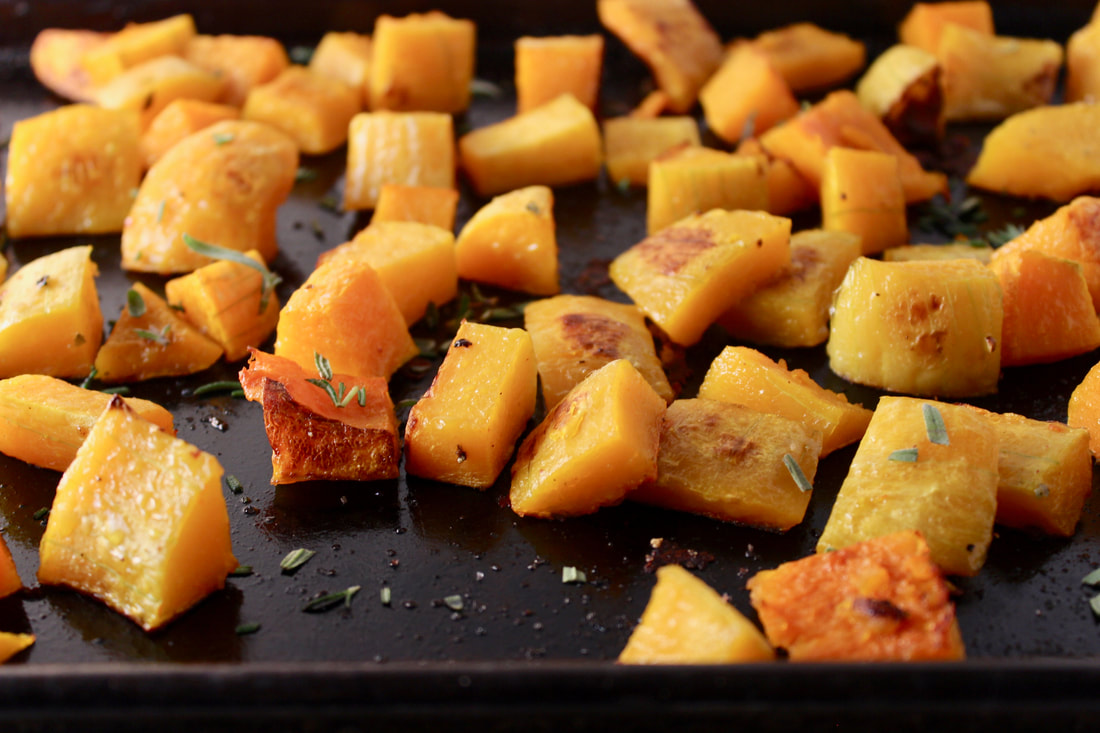
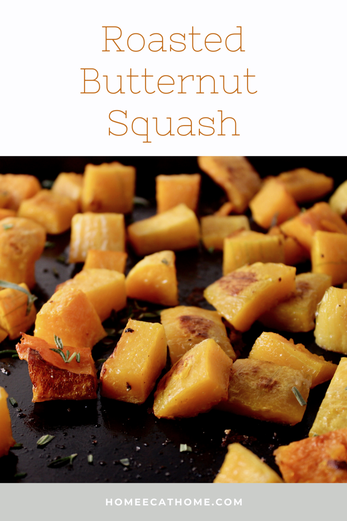
You want to spread the squash out on a large baking sheet that has been spritzed with olive oil. Spread it out so that the squash can caramelize. Then sprinkle with fresh ground salt and pepper. Bake until tender and caramelized, then to really take it up a notch sprinkle with fresh snipped rosemary. The rosemary makes it truly amazing. This will be your signature "company is coming" side dish.
Herbs are so easy to grow too. I have a couple of big pots on the back patio full of mixed herbs so that I can just snip what I need as I need it. They are actually really pretty in big mixed pots providing ornamental beauty to the patio in addition to flavoring our food.
Serves 4-6
Ingredients: Large butternut squash Olive oil (spritzer that I use, amazon link) Fresh ground salt and pepper Fresh rosemary leaves, chopped (at least a T.) 1. Preheat oven to 400 degrees F. 2. Cut off ends of butternut squash, then peel. Slice in half lengthwise, scoop out seeds, then cube squash. 3. Spritz baking sheet with olive oil. Spread squash out on the baking sheet. Spritz squash with more olive oil. Salt and pepper squash to taste. 4. Bake for 15 minutes. Flip squash, then bake for another 10 to 15 minutes until squash is tender and caramelized. 5. Remove from the oven and finish with a sprinkling of chopped fresh rosemary leaves.
Pin on Pinterest
We are a participant in the Amazon Services LLC Associates Program, an affiliate advertising program designed to provide a means for us to earn fees by linking to Amazon and affiliated sites.
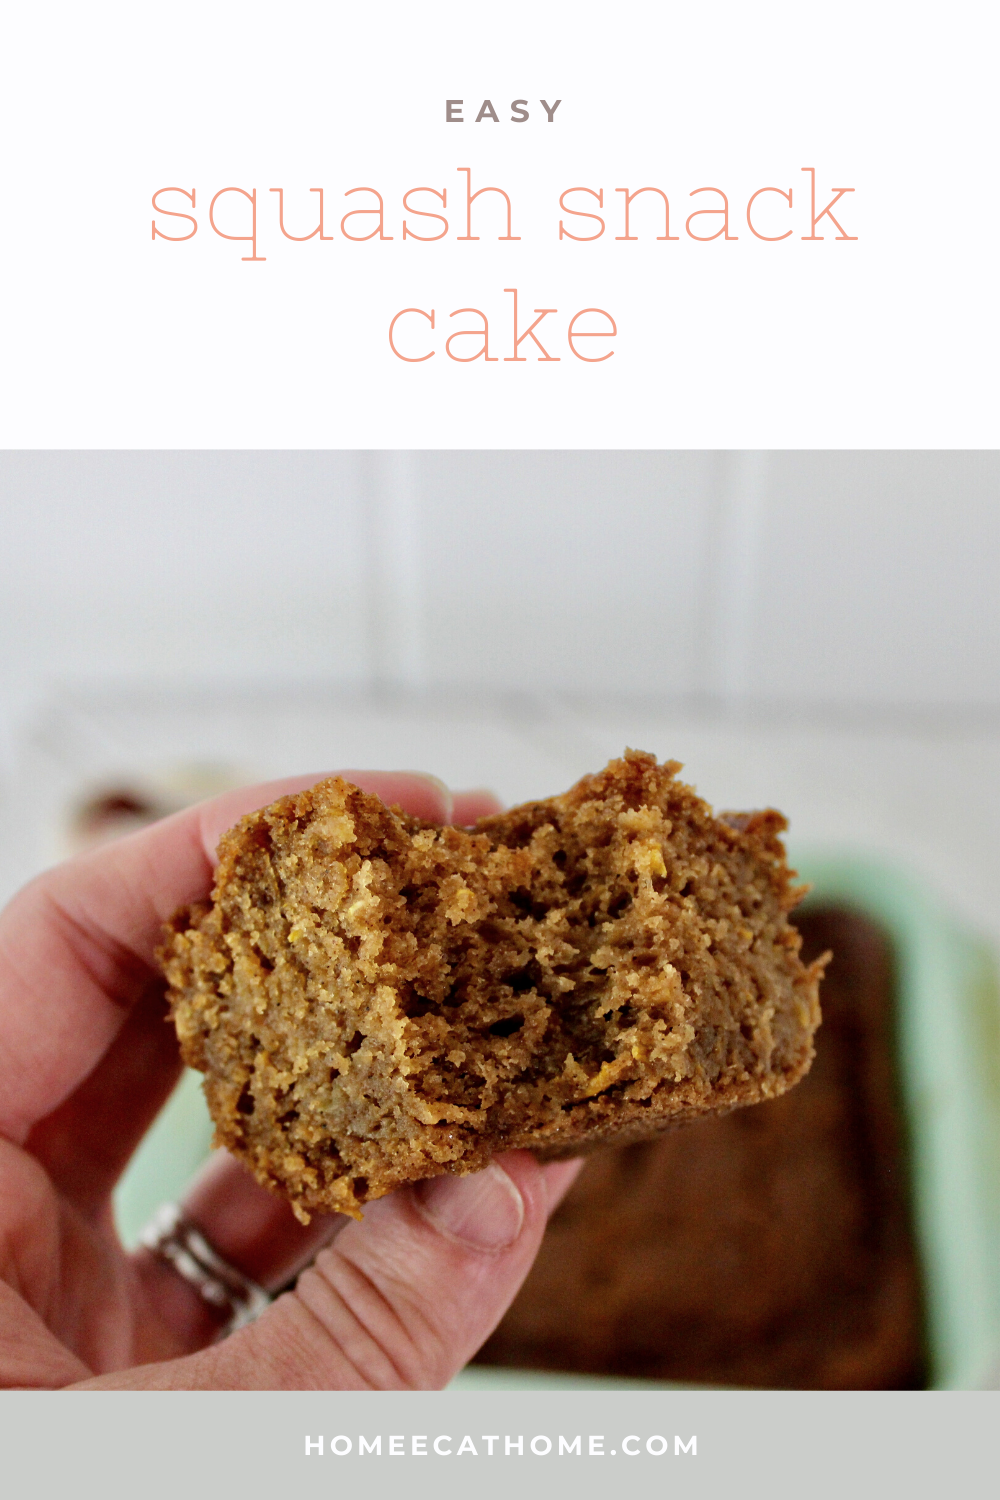
My parents grow a large garden every year. They always grow yellow crookneck squash and I remember my mom making squash cake when I was a child. It was always such a yummy way to eat squash. This delicious cinnamon and vanilla flavored squash cake with the texture of a fluffier zucchini bread is one of my family's favorites!
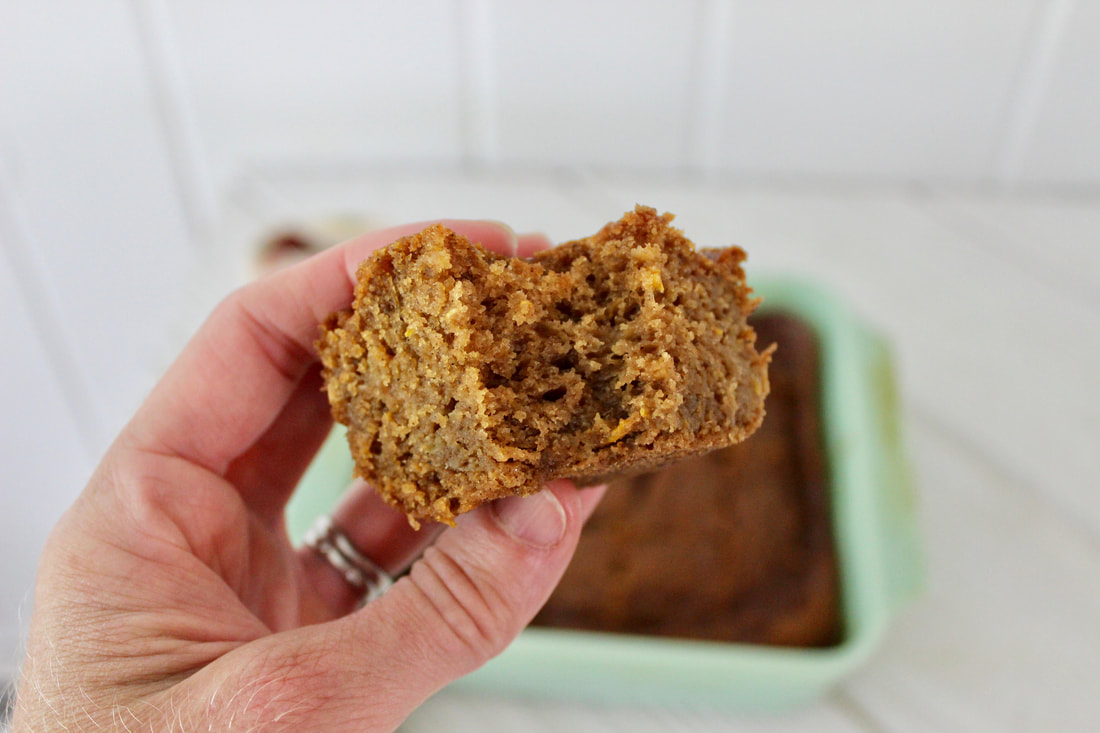
I have made squash cake a few times over the years, but this summer I have made soooooo much squash cake. With a garden full of squash and four boys who can finish a cake in no time, I found myself whipping up more cakes than I can count.
This little cake is so easy to throw together. Although grating squash is not my favorite thing to do so I use my food processor (amazon link) to make quick work of it. I usually grate more than I need and store the extra in the fridge for a day or two until I bake another cake.
You can use granulated white sugar or coconut sugar to make this cake. To be honest, I like it better with coconut sugar. It's a healthier option and I think it is too sweet when made with white sugar, but just right when made with coconut sugar.
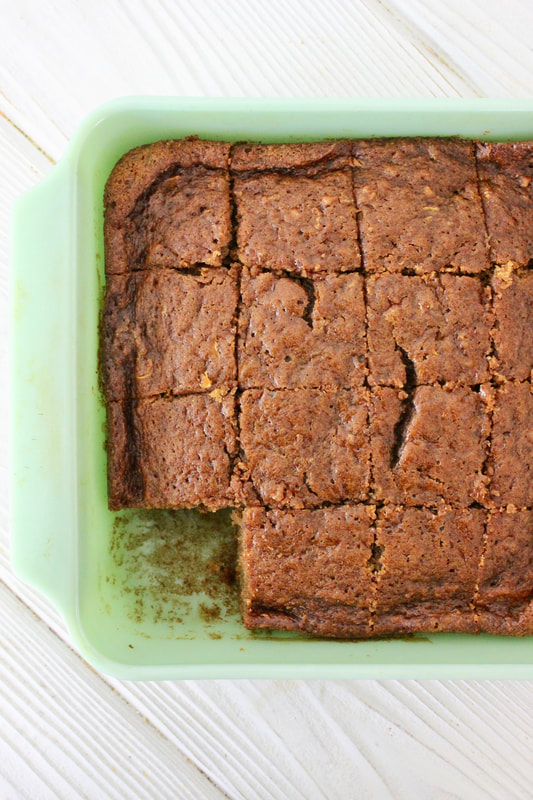
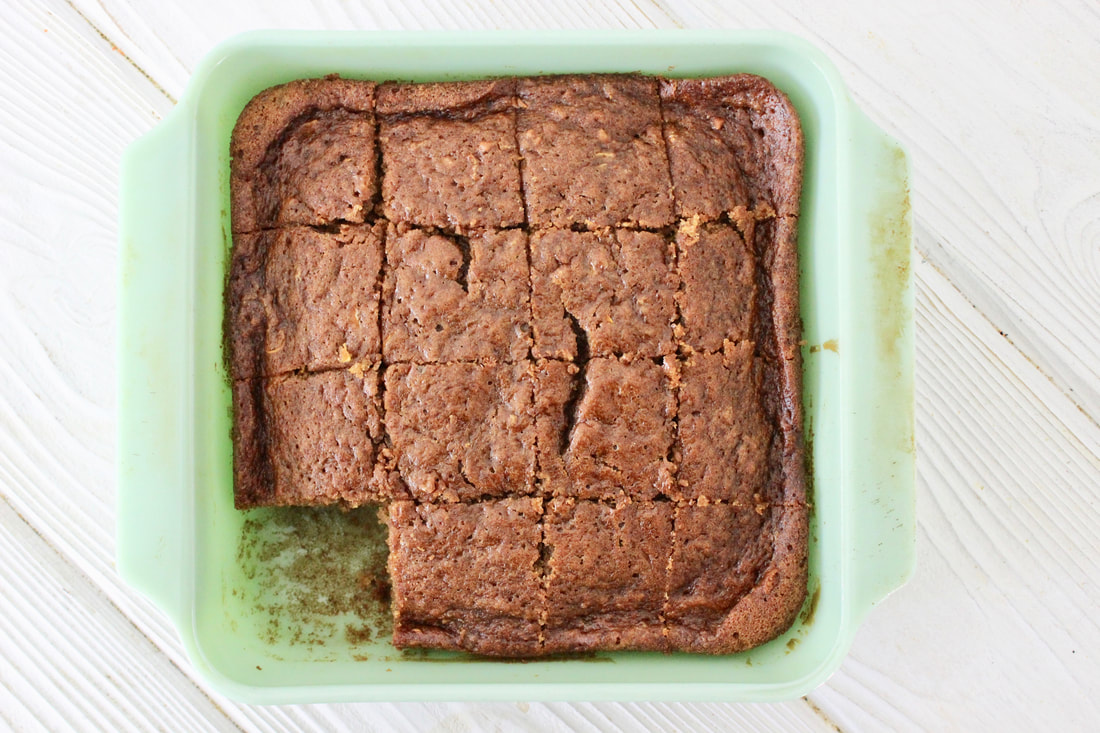
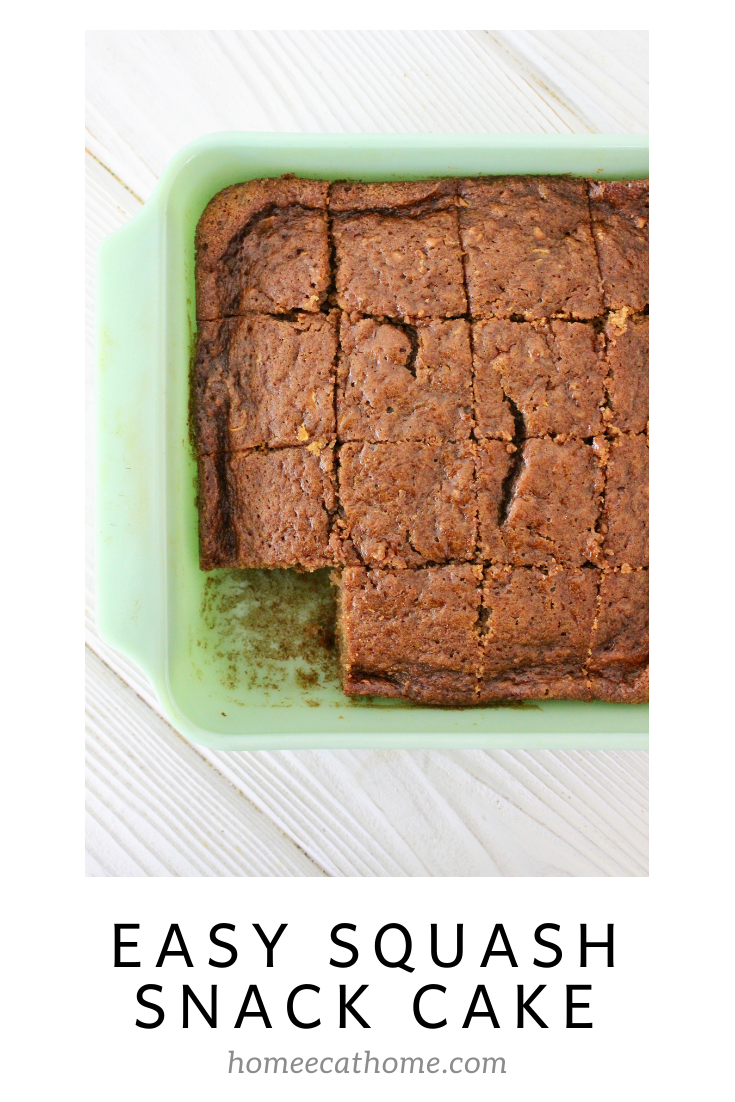
I am a little lazy when making this simple snack cake and only spray olive oil or brush some coconut oil in the pan. It sticks a little which you can see, but it's good enough for me since it always come out of the pan. If you want to do things properly, you should probably use nonstick cooking spray or grease and flour the pan to prepare it for batter. I always use this square baking pan which is a 9 X 9 or 10 X 10 inch pan. Either size should work fine for the one hour baking time.
Squash Cake
Ingredients: 1 cup coconut sugar or granulated white sugar 3/4 cup coconut oil (melted) 1 1/3 cup all purpose flour 1 tsp. salt 1 1/4 tsp. baking soda 1 1/4 tsp. baking powder 1 1/4 tsp. cinnamon 2 cups grated yellow crookneck squash 3 eggs 1 tsp. vanilla 1. Preheat oven to 300 degrees F. 2. Mix all together and pour into prepared baking pan. 3. Bake for one hour or until cake springs back when lightly touched.
Pin on Pinterest
|

Welcome to Home Ec @ HomeHi, I'm Faith, a former Family and Consumer Science teacher turned food blogger. I love God, my family, and food. You can usually find me in the kitchen preparing family friendly, homemade recipes and taking lots of pictures. 
Still Goldens, Southern, IL
 Fan Favorites

The Best Dry Brined Turkey with Citris and Fresh Herbs

 Dehydrating Pears and Apples in the Instant Pot Duo Crisp Dehydrating Pears and Apples in the Instant Pot Duo Crisp
 
 |
 RSS Feed