|
Last year the boys had a Dr. Seuss dress up day at school to celebrate Dr. Seuss's birthday. Since it is time to celebrate again I thought I would share their costumes.
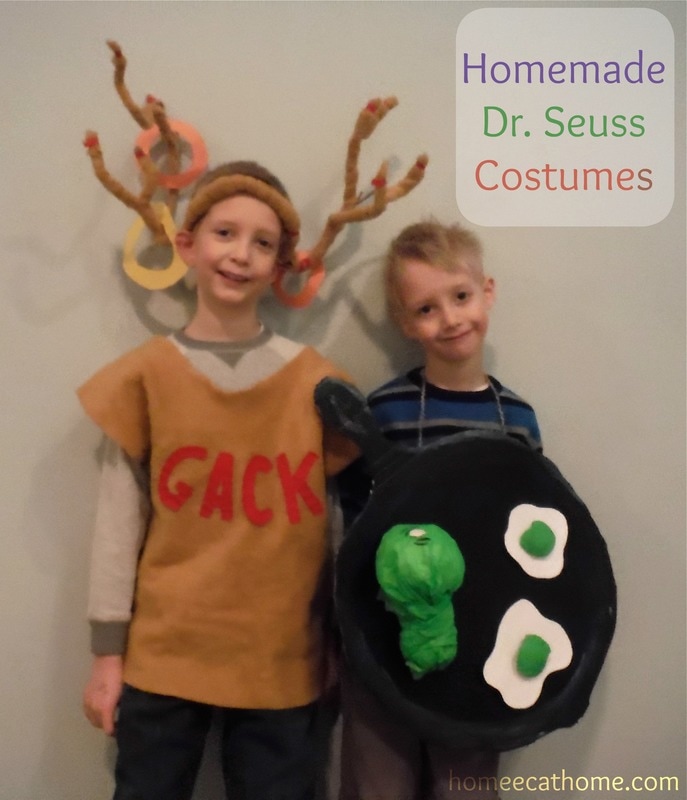
Our oldest decided to dig this homemade GACK costume out of the costume dress-up box.

He wore this years ago when he was in preschool and was still able to fit into it.

We made a new Green Eggs and Ham costume for our second son. Mostly my husband who is quite artistic made this costume. He painted cardboard to look like a skillet, then we made a form for the green ham. I think we made it out of newspaper covered with green tissue paper. The eggs are made of white paper with green tissue paper yolks. The eggs and ham were taped to the board with packing tape and stayed on really well. They survived a whole school day and I think we still have this costume somewhere.
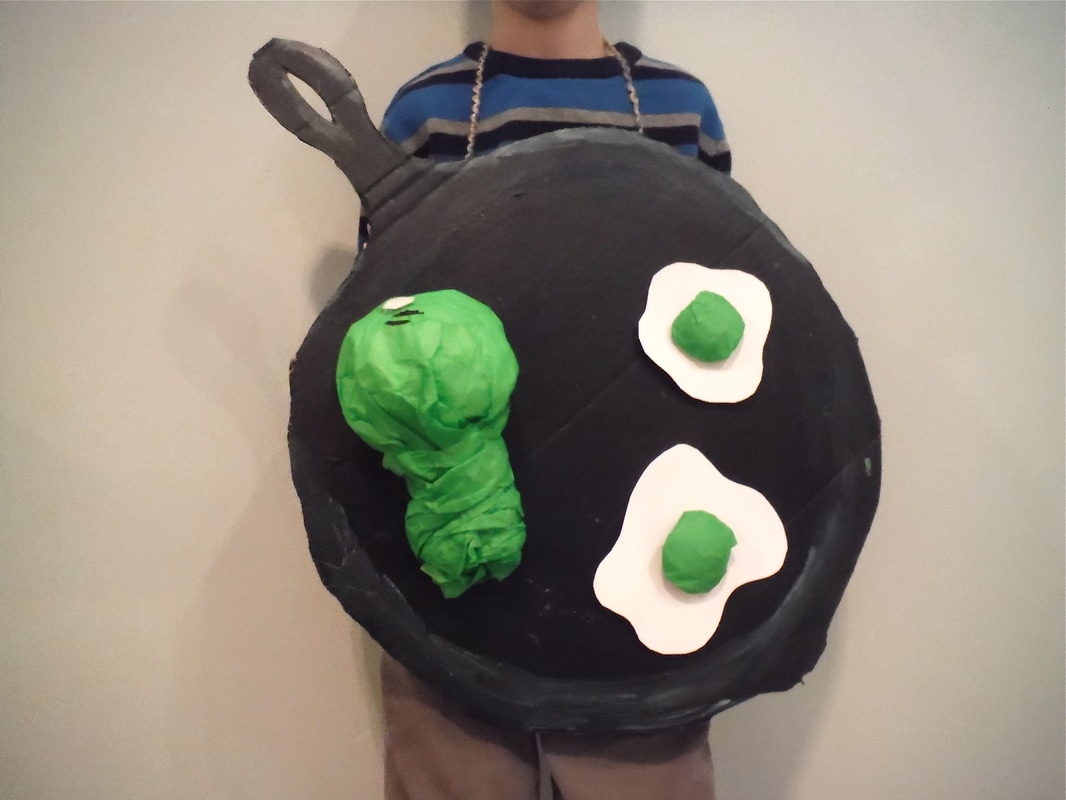
The yarn holding the costume up was taped to the back of the board and broke during the school day so he didn't wear it the whole day, but I think he made it through the hallway parade. He loved this costume and it was a fun project.

The boys had such fun being a part of the Dr. Seuss birthday celebration. Get ready to celebrate with your favorite Dr. Seuss stories on March 2nd!


5 Comments
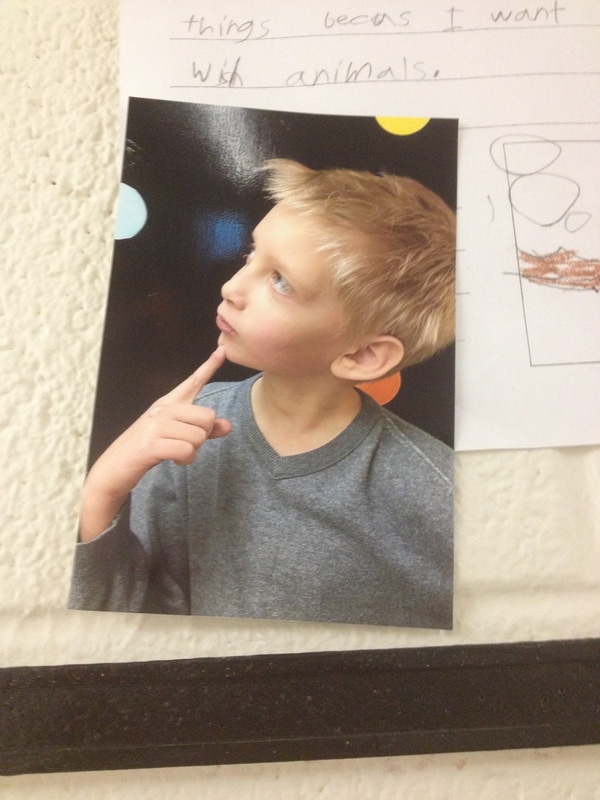
I don't know what it is about instagram, but I love it. I have only been (really) using it for a few months and know lots of people are not on instagram so I thought I would share some of my favorite pics. I post lots of pictures of the kids and our lives outside of Home Ec @ Home, so Mom you should love this!
Pretty excited about this, I just figured out how to add a caption that shows up when you hover the mouse over each picture. So hover to see what I have to say:) If you want to follow me on instagram, you can here.
Let me know if you are on instagram. I would love to see your posts!
My kids will eat anything. It amazes me sometimes. You should see them at a Chinese buffet, plates piled high with crayfish, mussels, crab legs, prawns, and sometimes even frog legs. They will just about try anything. It is probably because we have always given them the same foods we eat and we eat a large variety of foods.
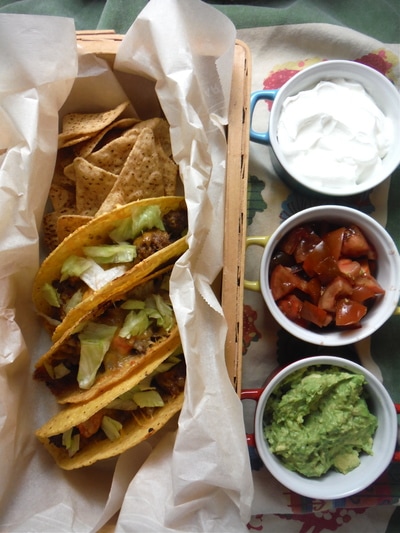
You would think mealtime is always a breeze with kids who eat anything, but it's not. Crunchy tacos meant food crumbling beneath their little hands, meat and toppings falling all over the place and of course meltdowns and the inevitable waterworks. Being a lover of crunchy tacos and easy dinners I figured out a way to enjoy tacos without the all the drama.
By stuffing and baking the tacos before serving, everything stays neat and tidy inside the taco shells. The cheese melts and helps hold the meat/onion/tomato mixture in the shells.
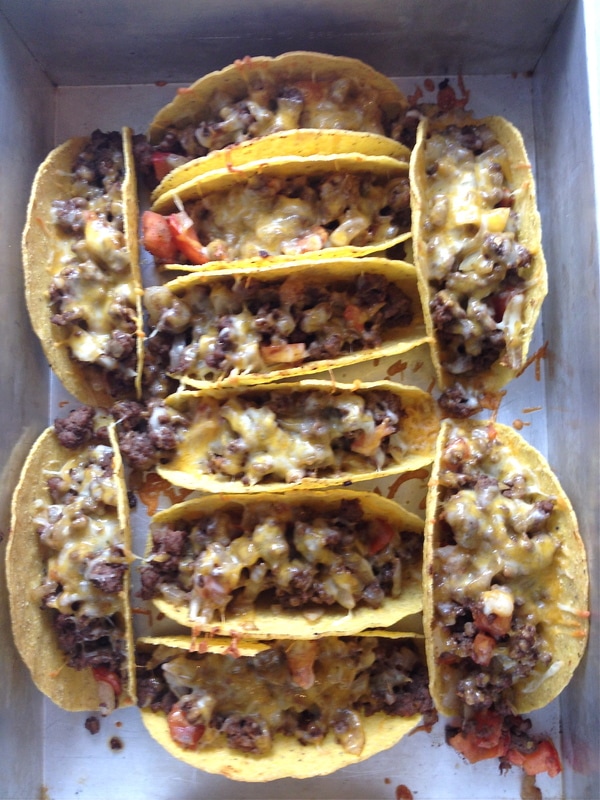
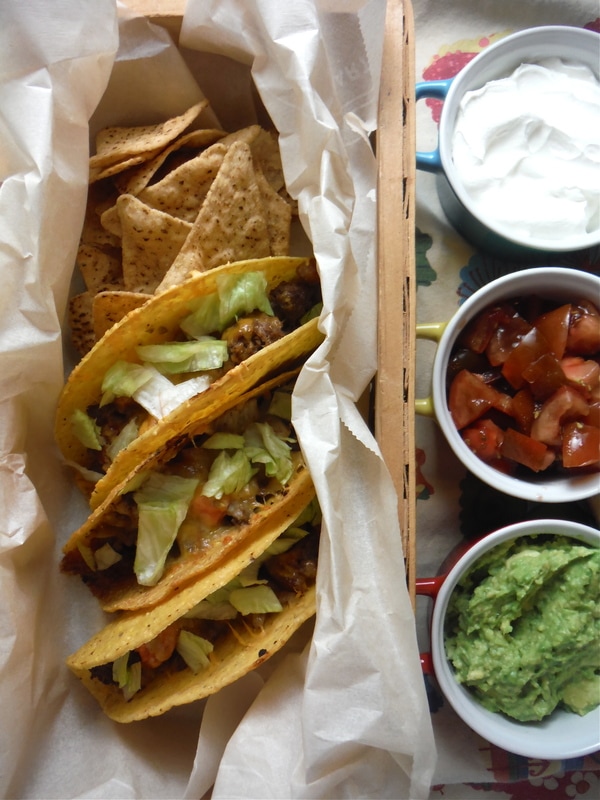
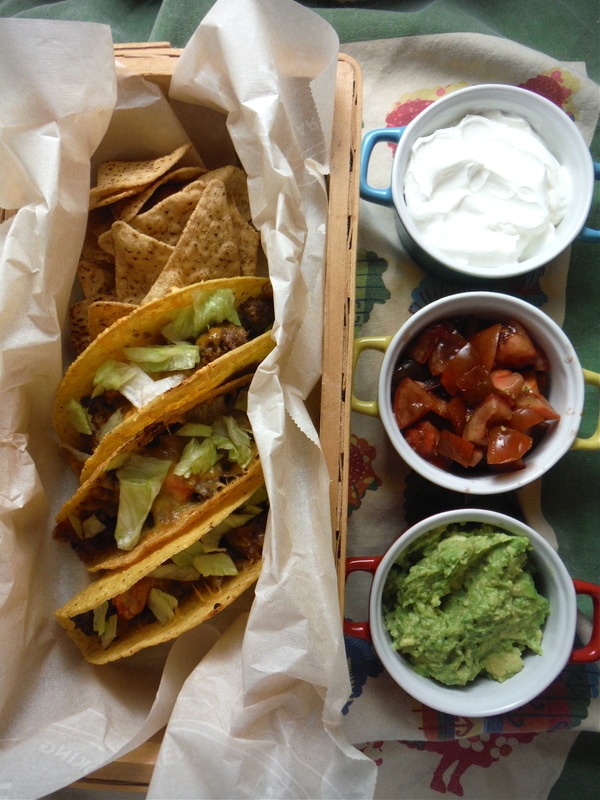
You end up with a pan of ready-to-go kid friendly crunchy tacos. These would also be great for a buffet with a topping bar. This has become one of our favorite busy night meals. So easy and kid friendly!

I have used stand and stuff and regular taco shells for these baked tacos and the stand and stuff are the easiest to use. Serve with your favorite toppings. Pictured lettuce, sour cream, kumato tomatoes (so yummy!), and homemade guacamole. I should note that I don't like heavily taco seasoned meat so I serve mine flavored simply with onion, cumin, salt and pepper. If you like taco seasoning in your meat, feel free to add.
Easy Baked Beef Tacos
1 box (10) self-standing taco shells 1 lb. lean ground beef 1 onion, diced ½ tsp. ground cumin Fresh ground salt & pepper 1 tomato, diced Shredded colby/jack cheese 1. Pre-heat oven to 400 degrees F. 2. If you like, grease a 9 X 13 baking pan with cooking spray to prevent any runaway ingredients from sticking to the pan. You can also skip this step. Taco shells will not stick to the pan. 3. Place taco shells in baking pan. 4. Brown beef and onion in skillet. Add cumin, salt, and pepper. 5. Add tomatoes and cook 2-3 minutes. 6. Fill taco shells generously with meat mixture. 7. Top with shredded cheese then bake for about 10 minutes until cheese is melted and tacos are hot. Serve with your favorite taco toppings like guacamole, salsa, lettuce, diced tomatoes, cilantro, and sour cream. Makes 10 large tacos 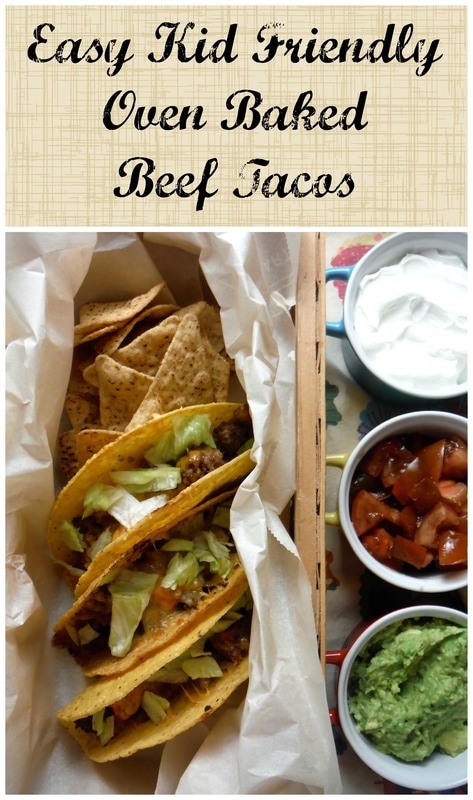
This shop has been compensated by Collective Bias, Inc. and its advertiser. All opinions are mine alone. #WonderfulYourWay #CollectiveBias #ad The following content is intended for readers who are 21 or older.
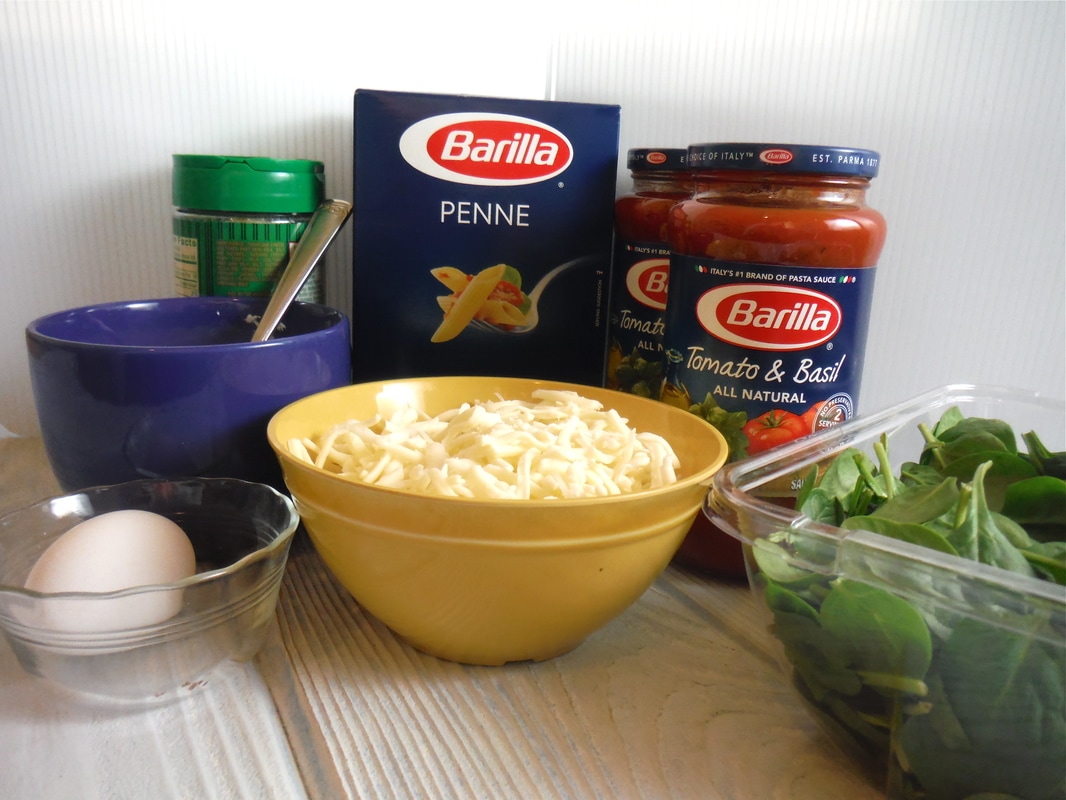
Ever have a simple recipe that was so good you could serve it for special occasions? This is one of those recipes. I love the flavor of this traditional penne casserole with the added twist of fresh spinach baked right in. The spinach adds a dimension and freshness that compliments the pasta, cheese and sauce and is truly delicious.

To make my favorite Spinach and Cheese Penne Casserole I headed to Kroger to get the ingredients. I selected Barilla® Classic Blue Box Penne because it is an authentic Italian brand that I trust as a quality ingredient to make our special "Wonderful Your Way" "date night in" meal spectacular.
This may make me sound like some kind of crazy grocery store groupee, but I really, really love my local Kroger store. Even though it is a chain, it feels like a small town store. Everyone (and I mean this literally) is so friendly. We have lived in our small town for about a year and I feel like I know most of the employees at Kroger. My favorite cashier is the sweetest lady, Barbara, who dotes on my children every time we see her. The other day my five year old told me he wants to work at Kroger when he is older so he can see me all the time. Guess that means I spend a little too much time at the store. (LOL) 
Making time for date nights is important in a relationship, but let's face it, sometimes it is easier said than done. With so much going on in our busy lives (like caring for four children including a newborn), making plans and hiring a sitter can sometimes seem a bit overwhelming.
With a few simple tips, you can still have a date night "in", saving yourself a lot of stress and money in the process. 
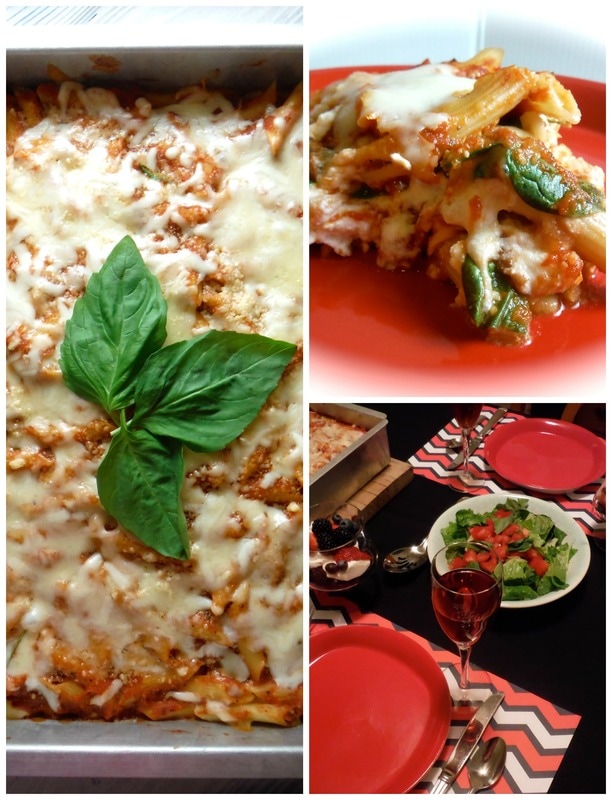
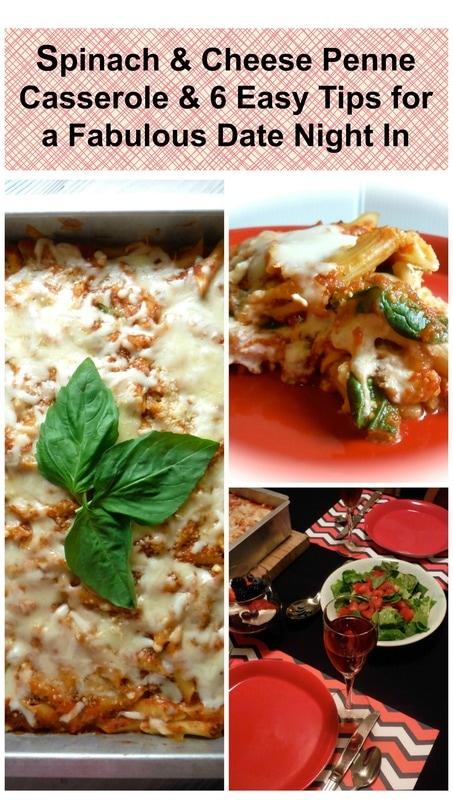
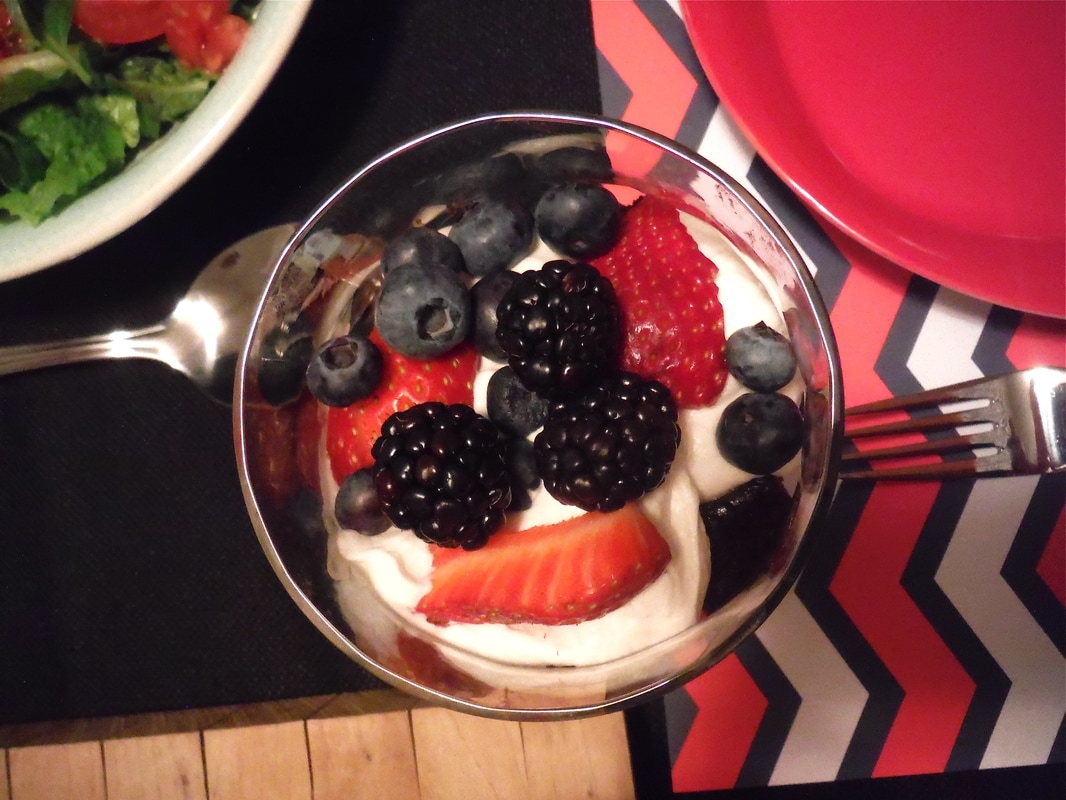
A simple, romantic date night table setting using things I already had. I coordinated some red patterned paper place mats with a black tablecloth for a festive Valentine's Day look. I served Spinach and Cheese Penne Casserole with a basic lettuce, tomato, and basil salad. You can pair with a favorite wine or sparkling juice (pictured: sparkling cherry juice) and an easy homemade or store bought dessert.
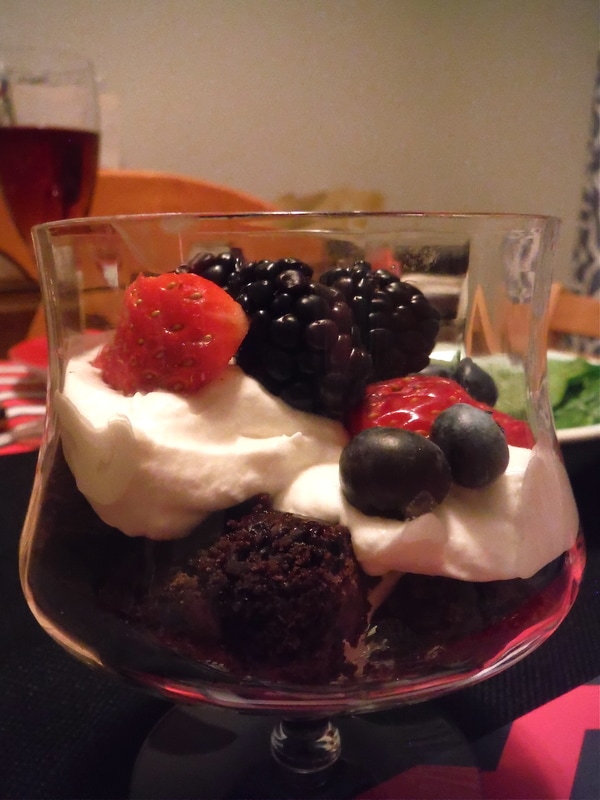
For dessert, I made this easy slow cooker chocolate cake a few days before and froze a few slices to keep them fresh. I then cubed the cake and layered it with homemade whipped cream and fresh berries in some fancy dessert glasses. So simple and yet sophisticated.
6 Easy Tips for a Fabulous Date Night In:
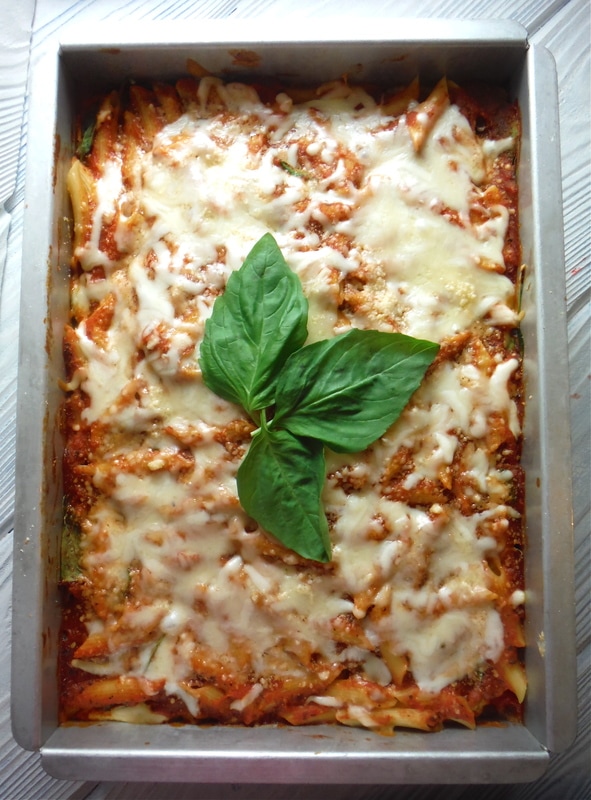
As you can see this recipe makes a lot of food. Awesome if you have a big family like we do. If you don't you can halve it. (Instructions at the bottom of the recipe.) Leftovers are great too! One of my favorite things about this recipe is that you can make it earlier in the day or even the day before and refrigerate to bake later. If you want to get a little fancy, garnish with some fresh basil leaves after baking.
Spinach and Cheese Penne Casserole
16 oz. Barilla Classic Blue Box Penne 1 egg 2 (15 oz.) containers ricotta cheese 1/2 cup grated Parmesan cheese, divided 2 (24 oz) jars Barilla pasta sauce 5 oz. package fresh Spinach 4 cups shredded mozzarella cheese 1. Cook pasta according to package directions. Drain pasta and set aside. 2. Combine the egg, ricotta cheese, and 1/4 cup Parmesan cheese. 3. Spread about 1 1/2 cups pasta sauce in a greased 9 X 13 X 3 pan or a really big casserole dish. (A 9 X 13 X 2 will work, but it will be up to the top of the pan.) 4. Top with a third of the cooked pasta, half of the ricotta mixture, half of the spinach, 1 1/3 cup mozzarella cheese, 1 T. Parmesan cheese, and 1 1/2 cups pasta sauce. 5. Repeat layers of pasta, ricotta mixture, spinach and mozzarella cheese. 6. Sprinkle with 2 T. Parmesan cheese. 7. Then top with remaining pasta, sauce, mozzarella cheese and Parmesan cheese. 8. Cover with foil and bake at 375 degrees F. for 45-50 minutes or until heated through. (Serves 12) You can easily halve this recipe and bake it in a 9 X 9 baking pan. If you cut the recipe in half, still use one egg as a binding agent in the ricotta mixture, but halve all other ingredients.
Need some more recipe inspiration? Head to Barilla for more "Wonderful Your Way" recipe ideas. .
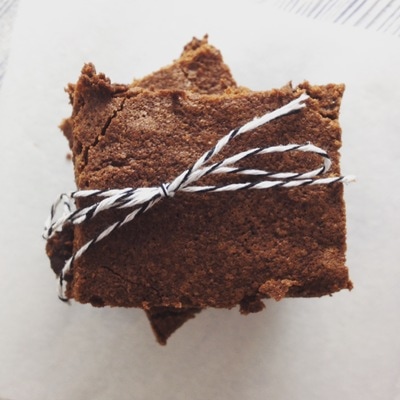
This is kind of a flashback post...redoing the photos, so you may have seen these brownies on the blog before. This is the first recipe I ever made with coconut oil back when using coconut oil was new to me and I wasn't quite sure when to use it. I now use coconut oil in place of vegetable oil in most recipes and find that it substitutes easily without compromising flavor or texture.
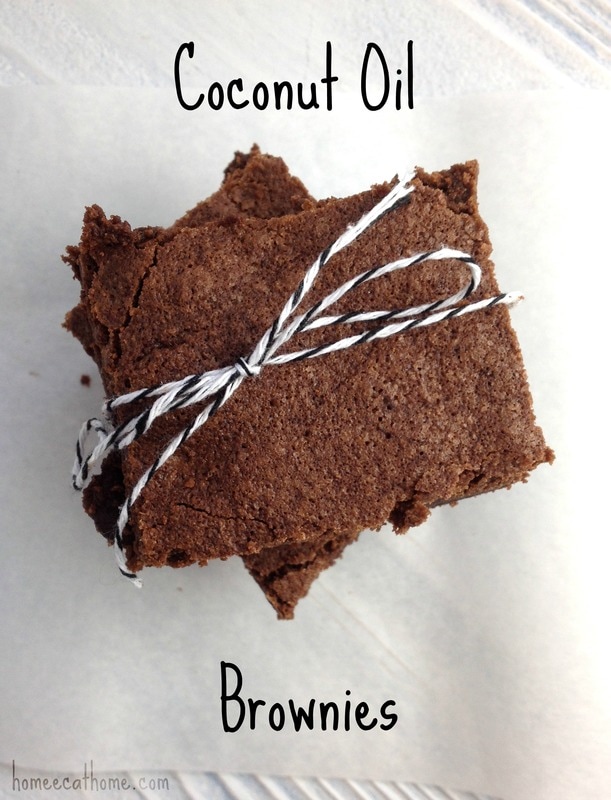
These brownies are my favorite. I love the hint of coconut flavor. It is subtle, yet noticeable. They are so easy to prepare and way better than a brownie mix. Delicious on their own or with a scoop of vanilla ice cream. These would make a lovely treat for Valentine's Day!
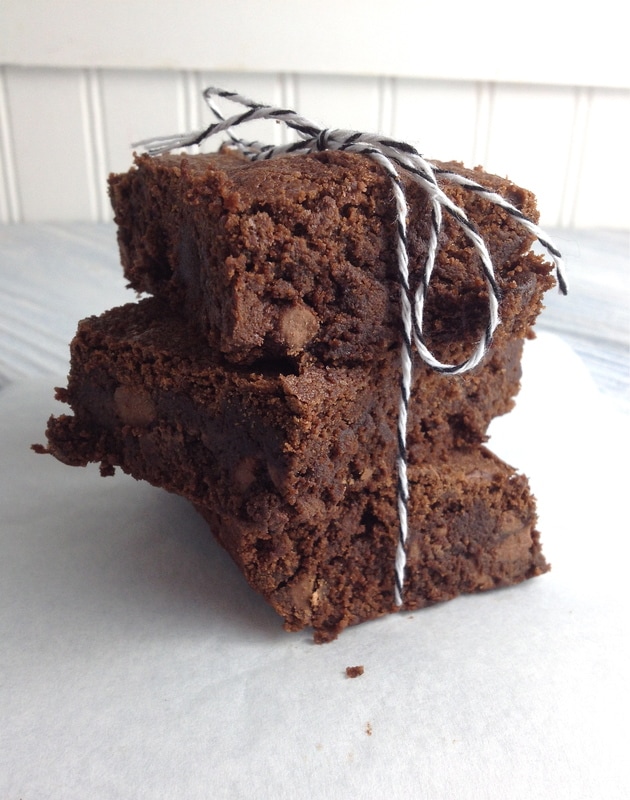
Ingredients: 1/2 cup coconut oil, melted 1/2 cup unsweetened cocoa 1 cup sugar 2 eggs 2 teaspoons vanilla 1/2 cup flour 1/4 teaspoon salt 1/2 to 3/4 cup chocolate or peanut butter chips 1. Preheat oven to 350°F. 2. Grease an 8 inch square pan. 3. In a medium bowl combine melted coconut oil and cocoa and stir until cocoa is dissolved. (I melt the coconut oil in the microwave for about 25 seconds.) 4. Add sugar and mix well. 5. Add eggs and stir until well combined. 6. Stir in vanilla, flour and salt until you no longer see any flour (do not overmix). 7. Fold in chips. 8. Spread in pan and bake for approximately 25 minutes. 9. DO NOT OVER-BAKE — You do not want your brownies to come out dry. Adjust time/temp accordingly for your oven. If you do the knife/toothpick test, it should come out with moist crumbs, not clean. 10. Cool completely before cutting into squares. This recipe is slightly adapted from coconutoilcooking.com. I often double this recipe and bake it in a 9 X 13 pan. I haven't tried it yet, but you could try using coconut sugar in place of the granulated sugar. 
|

Welcome to Home Ec @ HomeHi, I'm Faith, a former Family and Consumer Science teacher turned food blogger. I love God, my family, and food. You can usually find me in the kitchen preparing family friendly, homemade recipes and taking lots of pictures. 
Still Goldens, Southern, IL
 Fan Favorites

The Best Dry Brined Turkey with Citris and Fresh Herbs

 Dehydrating Pears and Apples in the Instant Pot Duo Crisp Dehydrating Pears and Apples in the Instant Pot Duo Crisp
 
 |


 RSS Feed