|
Disclosure: This post is sponsored, but all opinions are honest and are my own. #WEGGSDAY
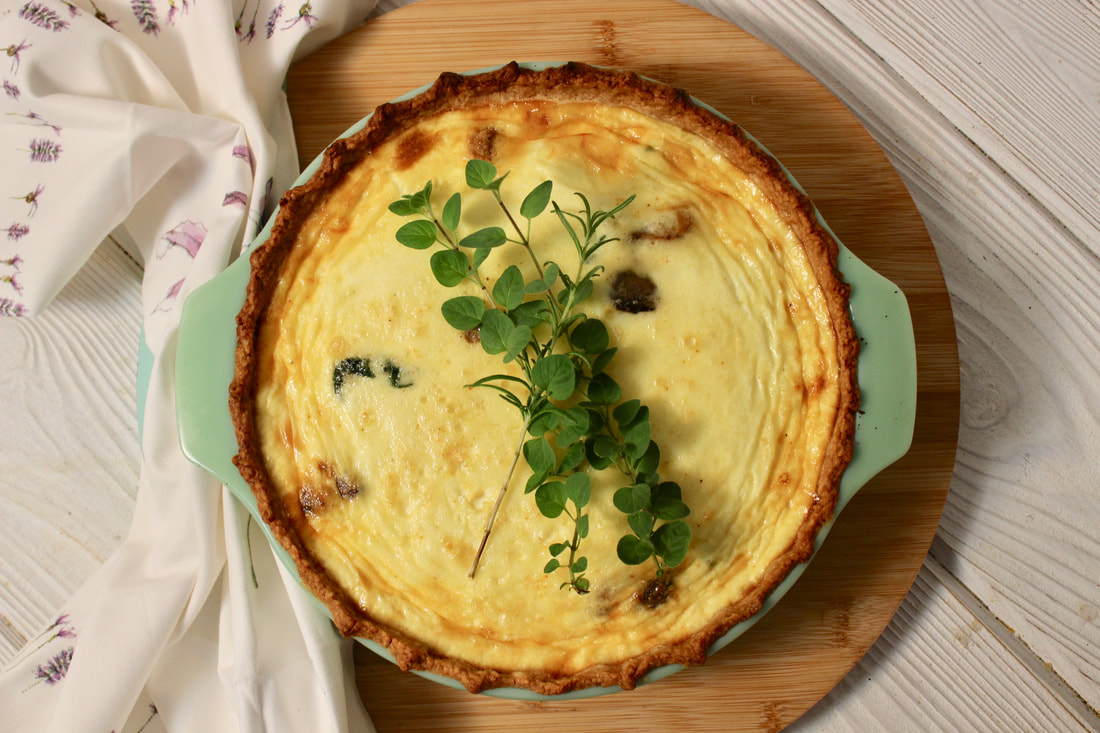
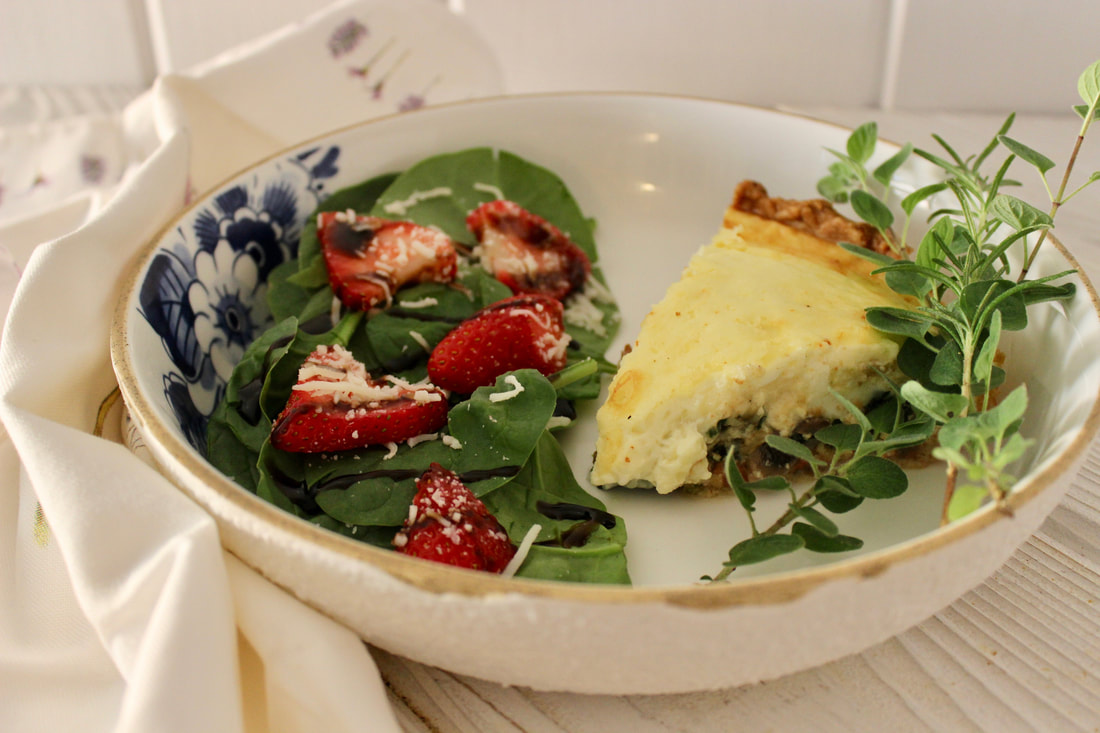
I can't think of a yummier way to start or wind down a Wednesday then with this delicious bacon, mushroom, and spinach quiche, perfect for breakfast, lunch, or dinner. Homemade with fresh ingredients including eggs, this quiche will take hump day to a whole new level ... #Weggsday.
Simple and elegant a quiche is delicious midweek or anytime. You can make your favorite crust or simply use a store bought crust like I did here. For more inspiring #weggsday recipe ideas visit The Incredible Egg.
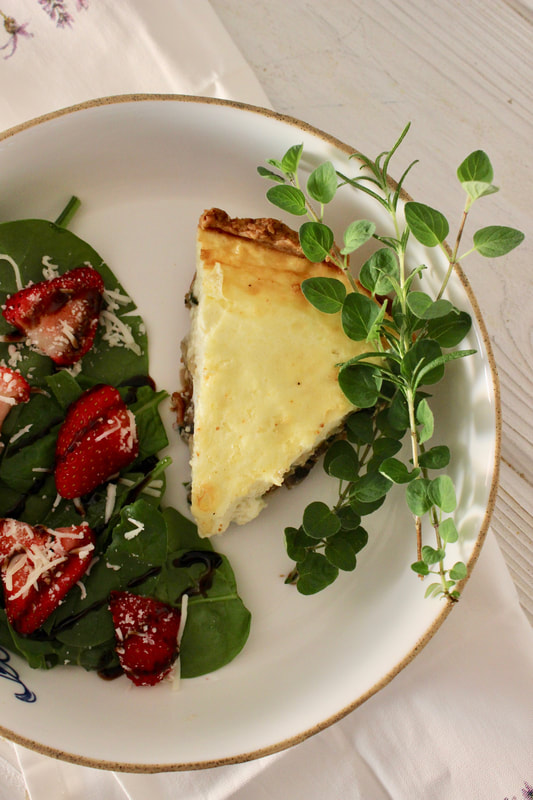
Packed with flavor, this bacon, mushroom, and spinach quiche is sure to please. The firm but creamy, cheesy filling is balanced with a crispy crust. When you add in fresh sautéed vegetables and crispy fried bacon it's a whole new level of deliciousness.
Add a simple spinach and strawberry salad to round out this deliciously healthy summer meal.
Bacon, Mushroom, and Spinach Quiche
Serves 8 Prep Time: 25-30 minutes Baking Time: 45 minutes Rest Time: 10 minutes Ingredients: 6 slices bacon 4 oz. mushrooms, chopped ½ medium onion, diced 2 large handfuls fresh spinach Fresh ground salt and pepper ½ cup shredded Swiss cheese ½ cup shredded Monterey jack, or Italian blend cheese 4 eggs 1 cup heavy whipping cream 1 cup half & half ¼ tsp. creole seasoning ¼ tsp. more salt Unbaked 10" pie crust (store bought or homemade) (My recipe for never-fail butter pie crust) 1. Preheat oven to 425 degrees F. 2. Cook cut up bacon until crispy in a skillet, then set aside. 3. Sauté mushrooms, onion, and spinach in bacon grease until tender and spinach wilts. Salt and pepper to taste while cooking. 4. Sprinkle bacon, vegetables, and cheese in pie crust. 5. Lightly beat egg. 6. Whisk in cream, half and half, and seasoning. Pour over cheese and vegetables in pie pan. 7. Bake 15 minutes. 8. Reduce heat to 300 degrees F. and bake for 30 more minutes until a knife inserted 1” from the edge comes out clean. 9. Let stand 10 minutes before cutting.
Pin on Pinterest
2 Comments
We grew a rather large garden this year. It's our first summer on our little homestead and we jumped in and started growing things. With six of us, there are lots of helping hands and mouths to feed so we kept planting. Luckily the boys are into our gardening experience for the most part. They do get tired and hot like anyone would, but they also jump in and help.
One of the fun things about growing such a large garden, is having room to grow a variety of food. Since we had the space for it, we planted both bell peppers and jalapeños. I started tomatoes and peppers in our sunroom last winter. I didn't have much luck growing peppers from seeds, but I managed to keep a few pepper plants alive long enough to get them in the ground. Someone gave us several pepper plants so we added them to the garden and now we have more peppers than we know what to do with.
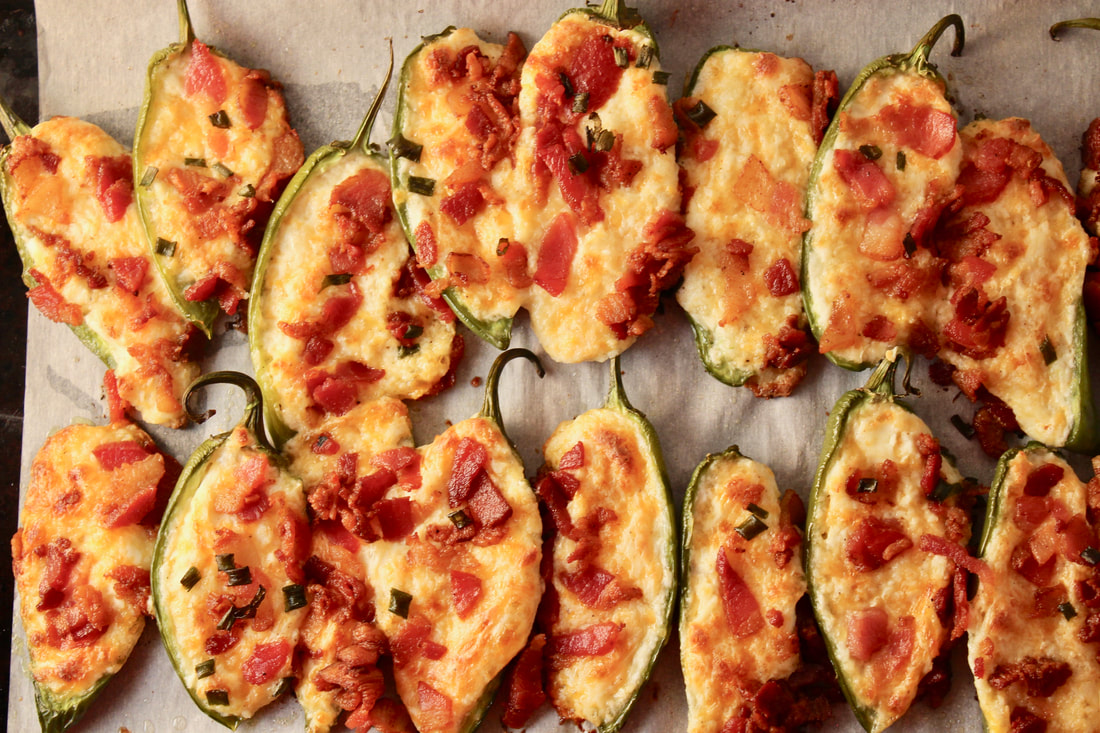
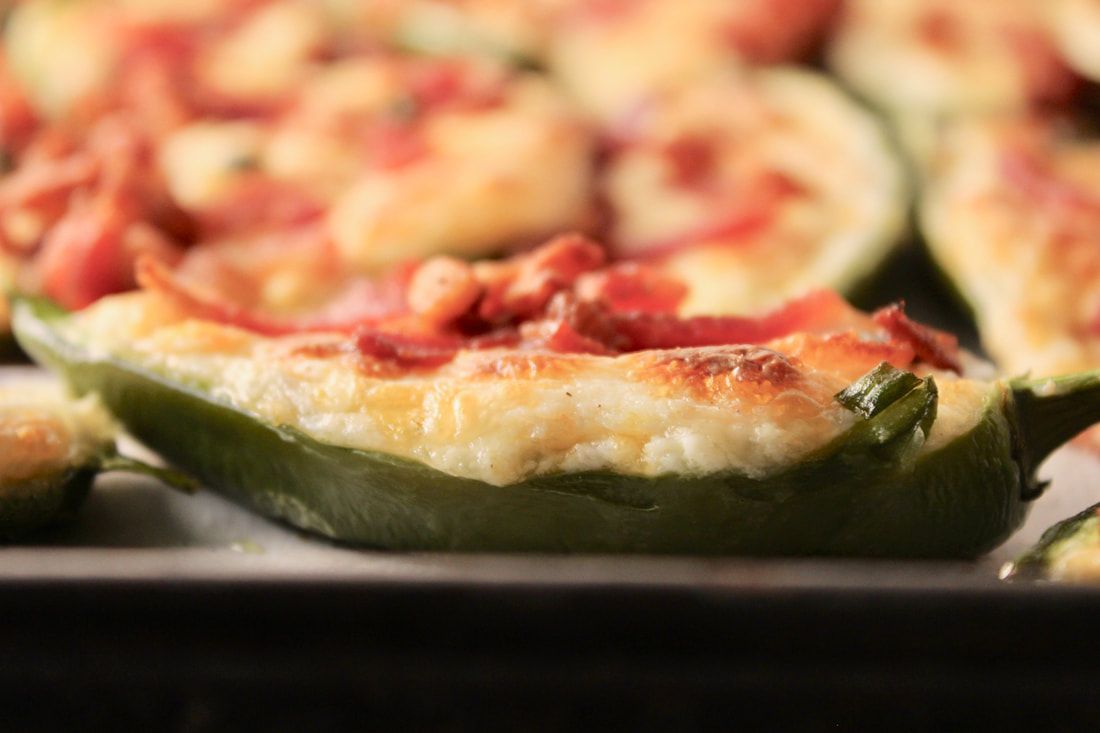
Our jalapeños from our garden are actually sweet. We didn't realize we had a sweet variety, but we do and they are delicious. When making these stuffed jalapeños, you scoop out the seeds and membranes so even if your peppers are hot, when you take out the seeds they become less hot.
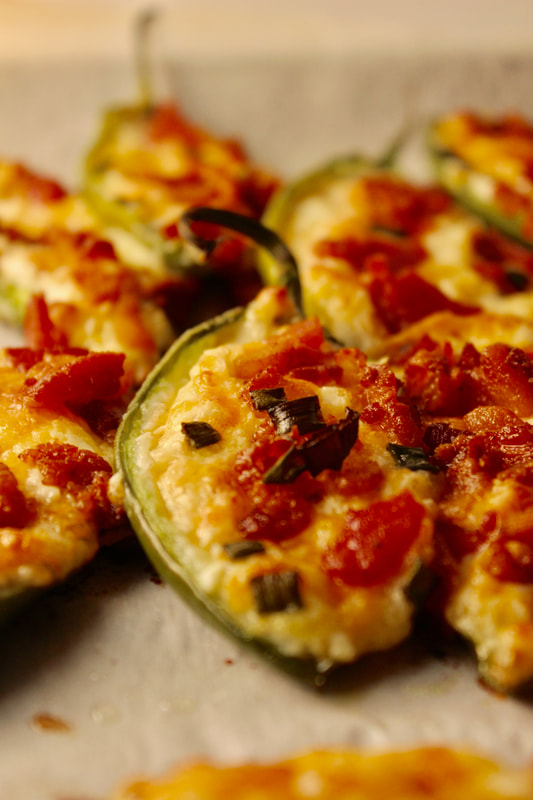
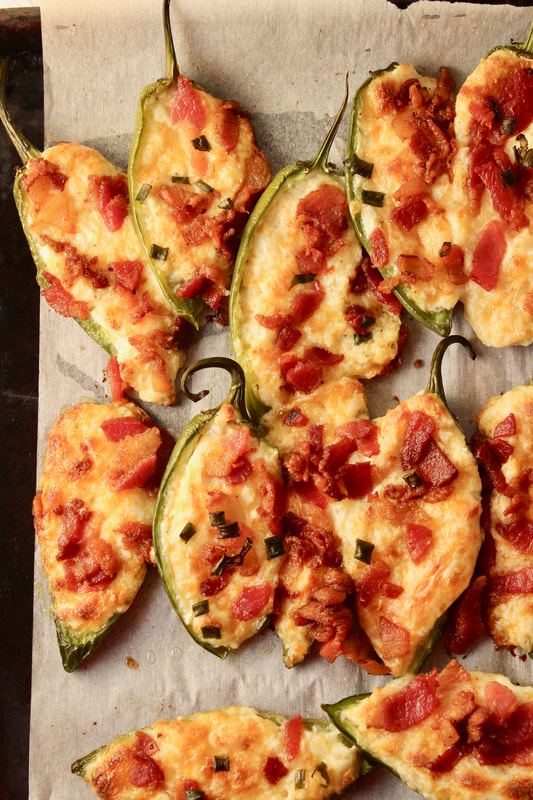
These stuffed peppers are the yummiest little morsels and they are low carb since we aren't adding any breading. Our whole family loves them, boys included. They are delicious as an appetizer or a side.
Since our garden has been producing more peppers than we can use, I have been freezing them. I cut the jalapeño peppers in half, scoop out the insides and place them in freezer bags.
Low Carb Stuffed Jalapeños
Ingredients: 12 jalapeño peppers ½ lb. bacon, chopped and cooked 8 oz. cream cheese ¼ tsp. garlic powder ¼ tsp. salt 1/8 tsp. pepper 1 ½ C. shredded cheddar blend or Colby jack cheese Optional green onions or chives, sliced for garnish Directions: 1. Preheat oven to 400 degrees F. 2. Cut and fry bacon until crisp. I find it easiest to cut the raw bacon up with kitchen shears then fry the pieces until crisp in a skillet. Otherwise, you can cook the bacon in slices then crumble when it cools. 3. Slice jalapeño peppers in half lengthwise then remove seeds and the rib inside the pepper. 4. Mix cheeses and spices together in a bowl. A fork works well to blend it. Stuff the pepper shells with the cheese filling. 5. Add bacon crumbles on top and (if using) green onions or chives. 6. You can line your cookie sheet with parchment if you like. Then bake for about 20 minutes until peppers are tender and cheese is hot. You could garnish with green onions or chives after baking if you like.
Pin on Pinterest
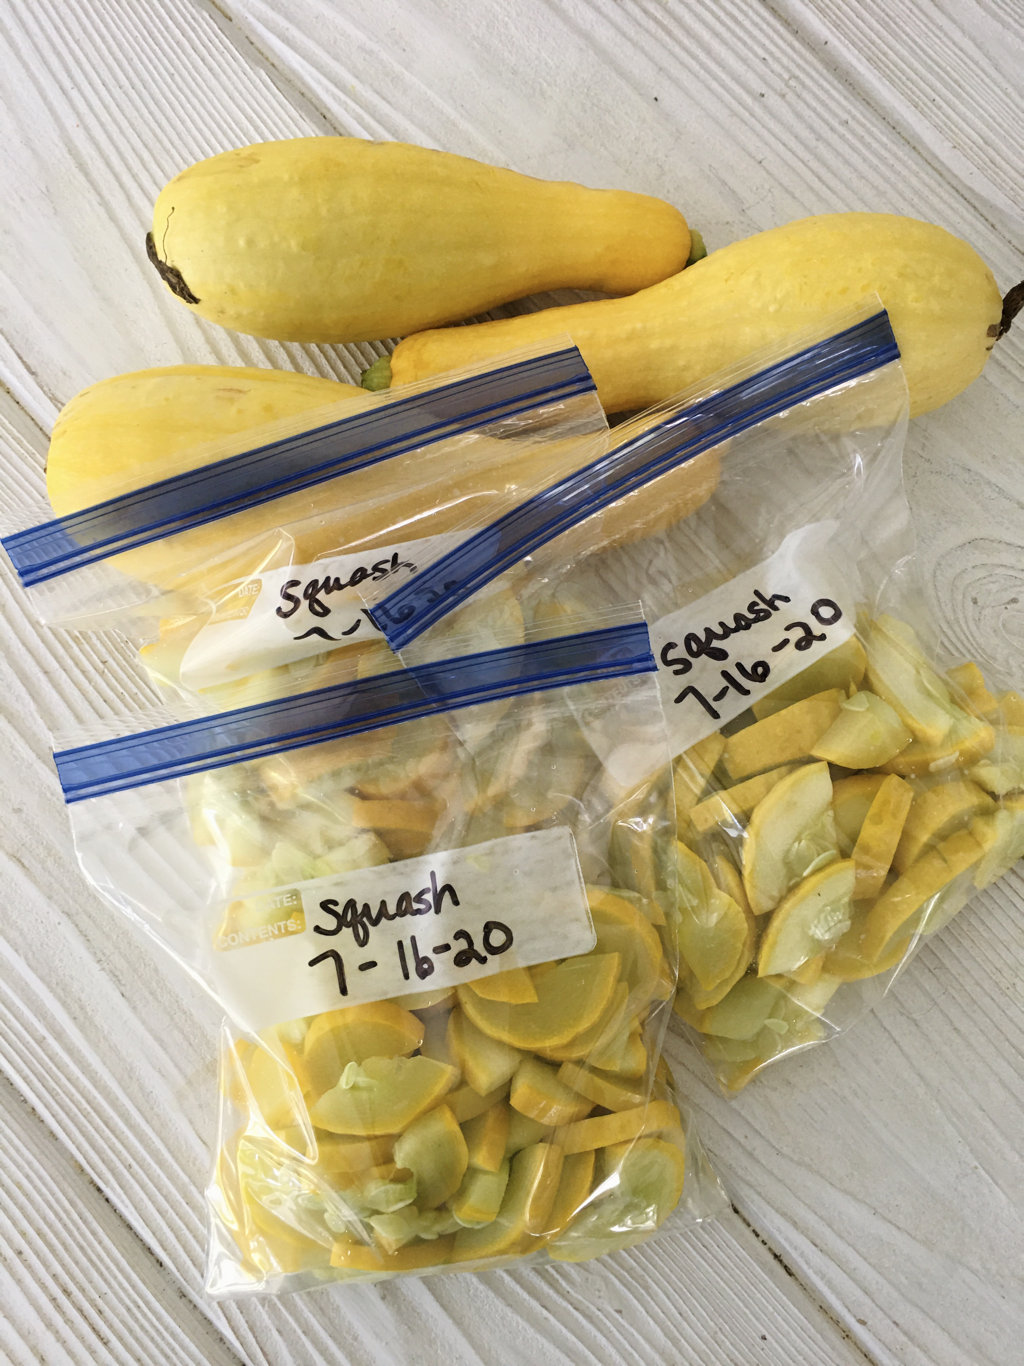
I love yellow crookneck summer squash. My parents always grew it and still do so I grew up eating it. When we planted our big garden this year, I knew I wanted to plant yellow summer squash. We love squash, but we have more than we can use right now so I started blanching and freezing it to use all year. What a treat it will be this winter! My mom makes the best squash casserole and I look forward to being able to make mom’s casserole all winter long.
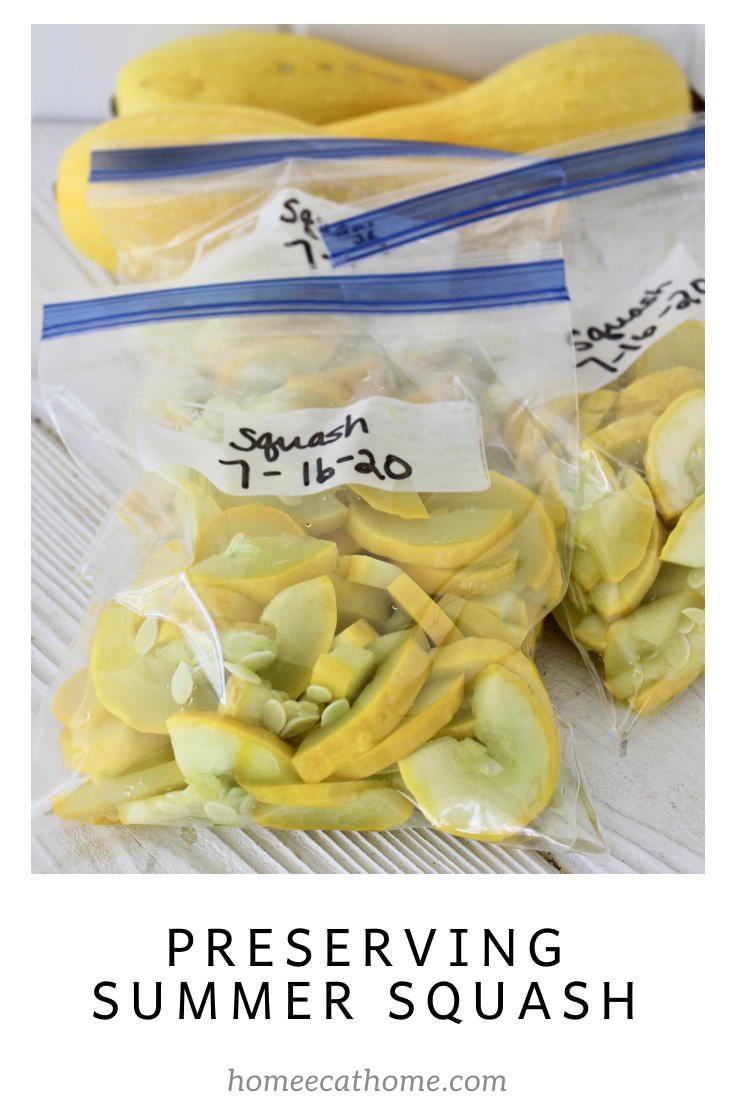
I put up six quarts of squash the other day and will freeze more this week.
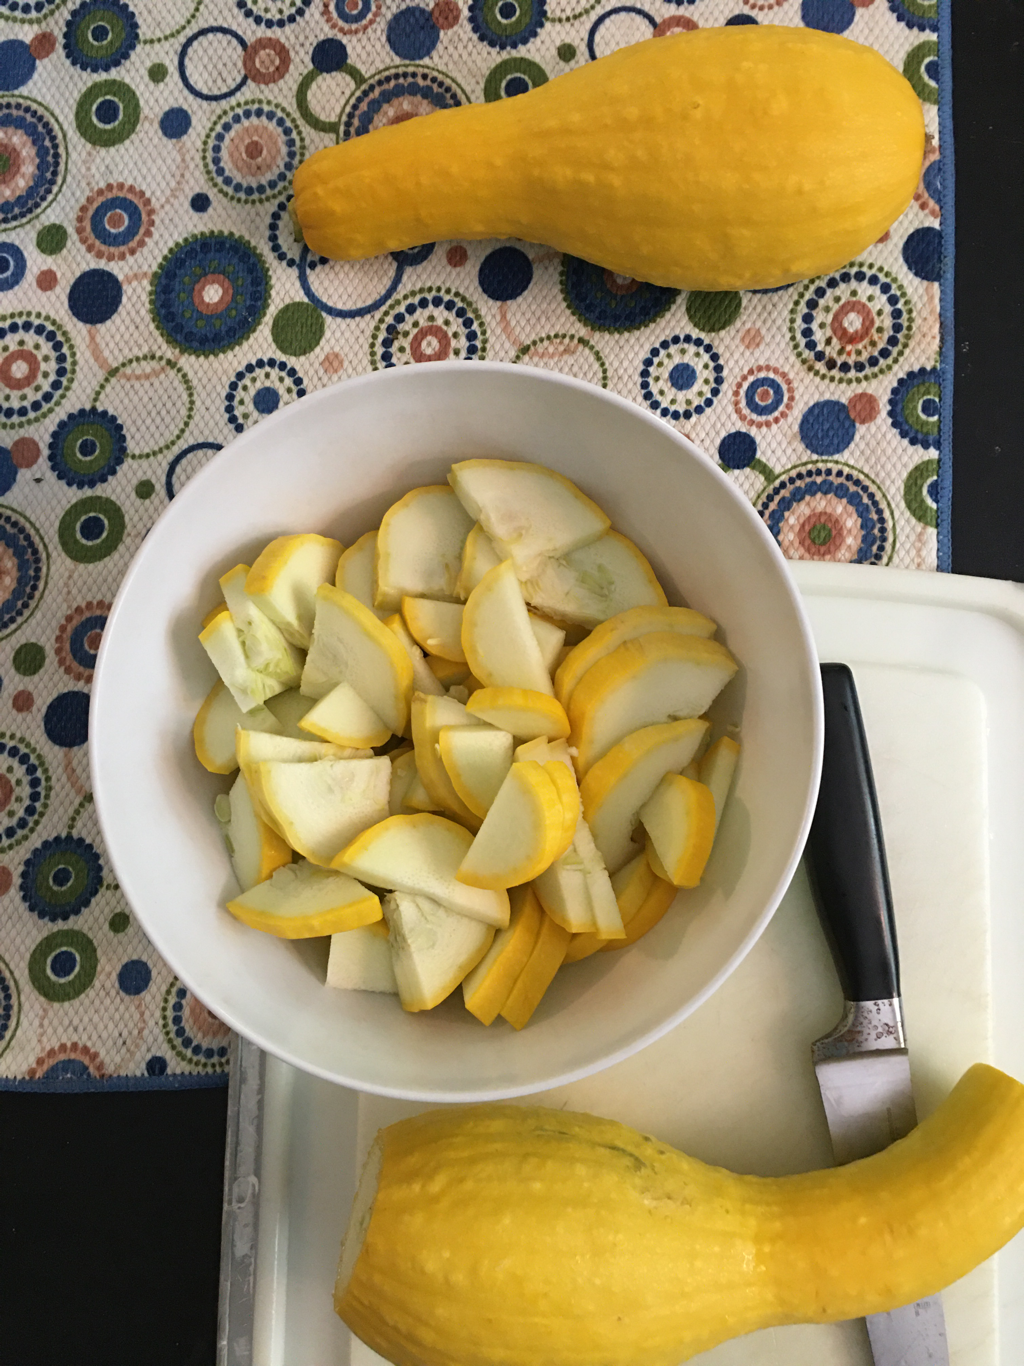
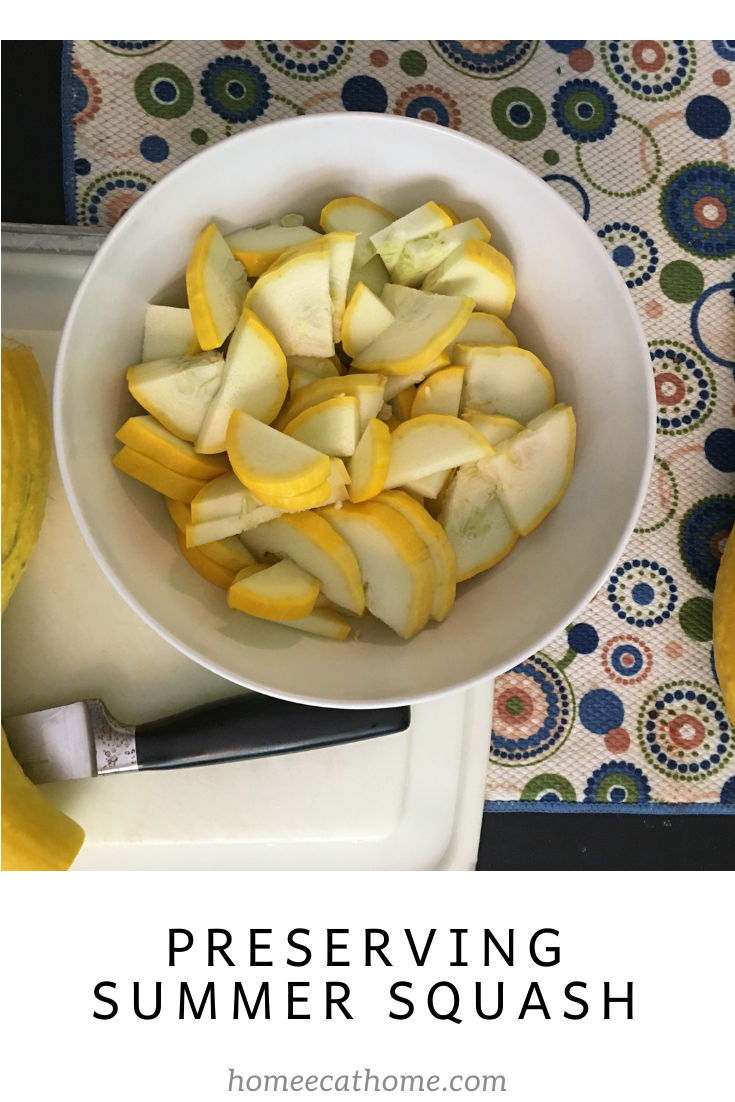
Slice the squash to your desired size.
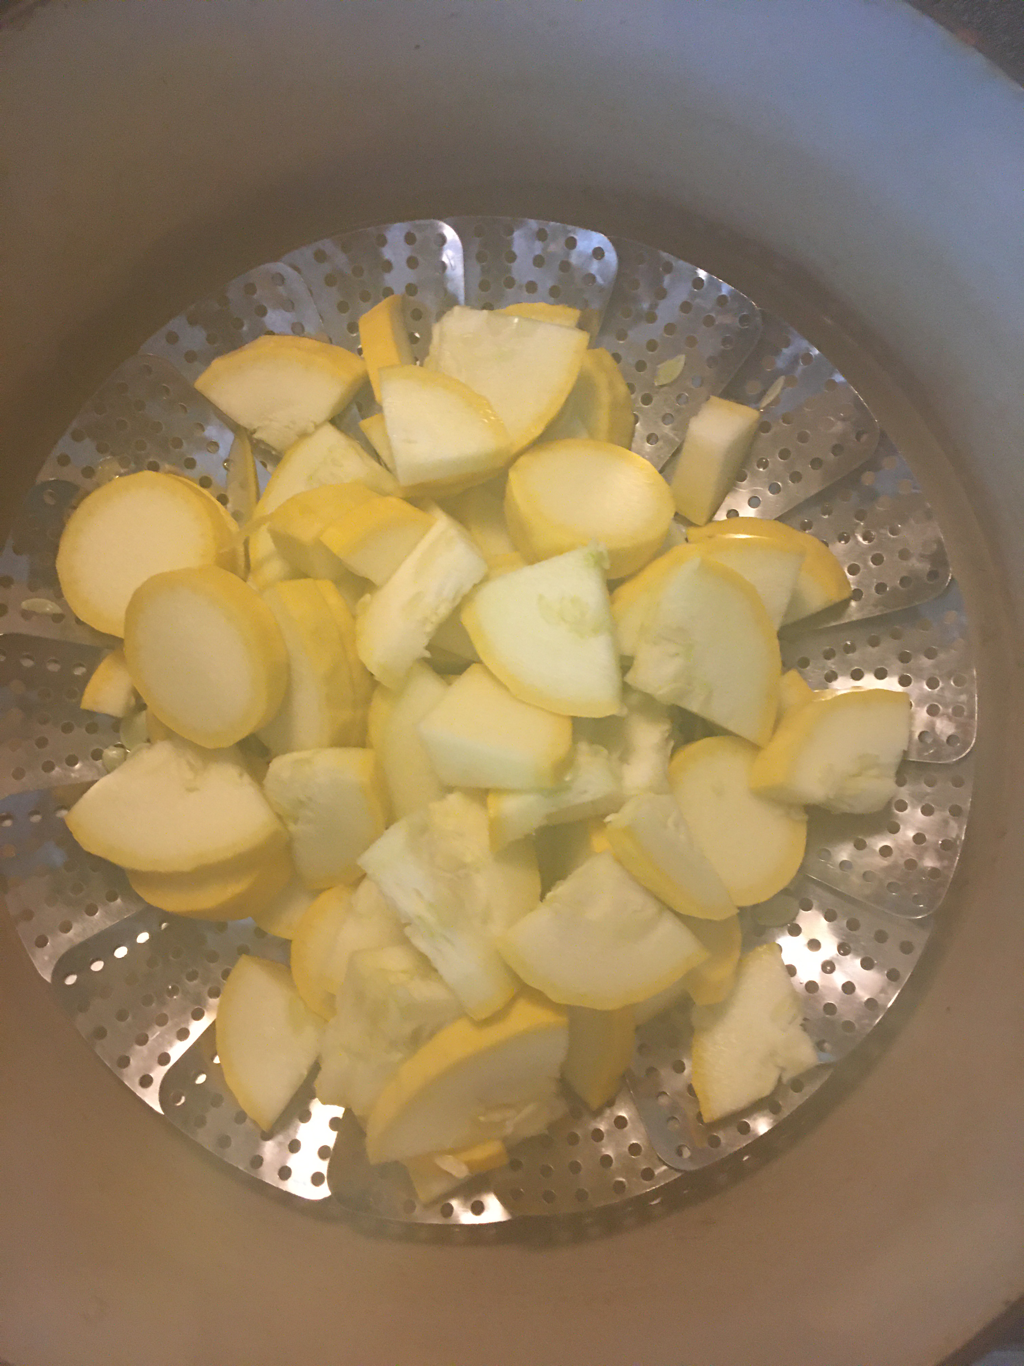
Then steam or boil the squash in batches for 3-5 minutes. I always set a timer for 3 minutes since I have so much going on with 4 kids. That way if it cooks for an extra minute or two until I can get to it, it won’t overcook.
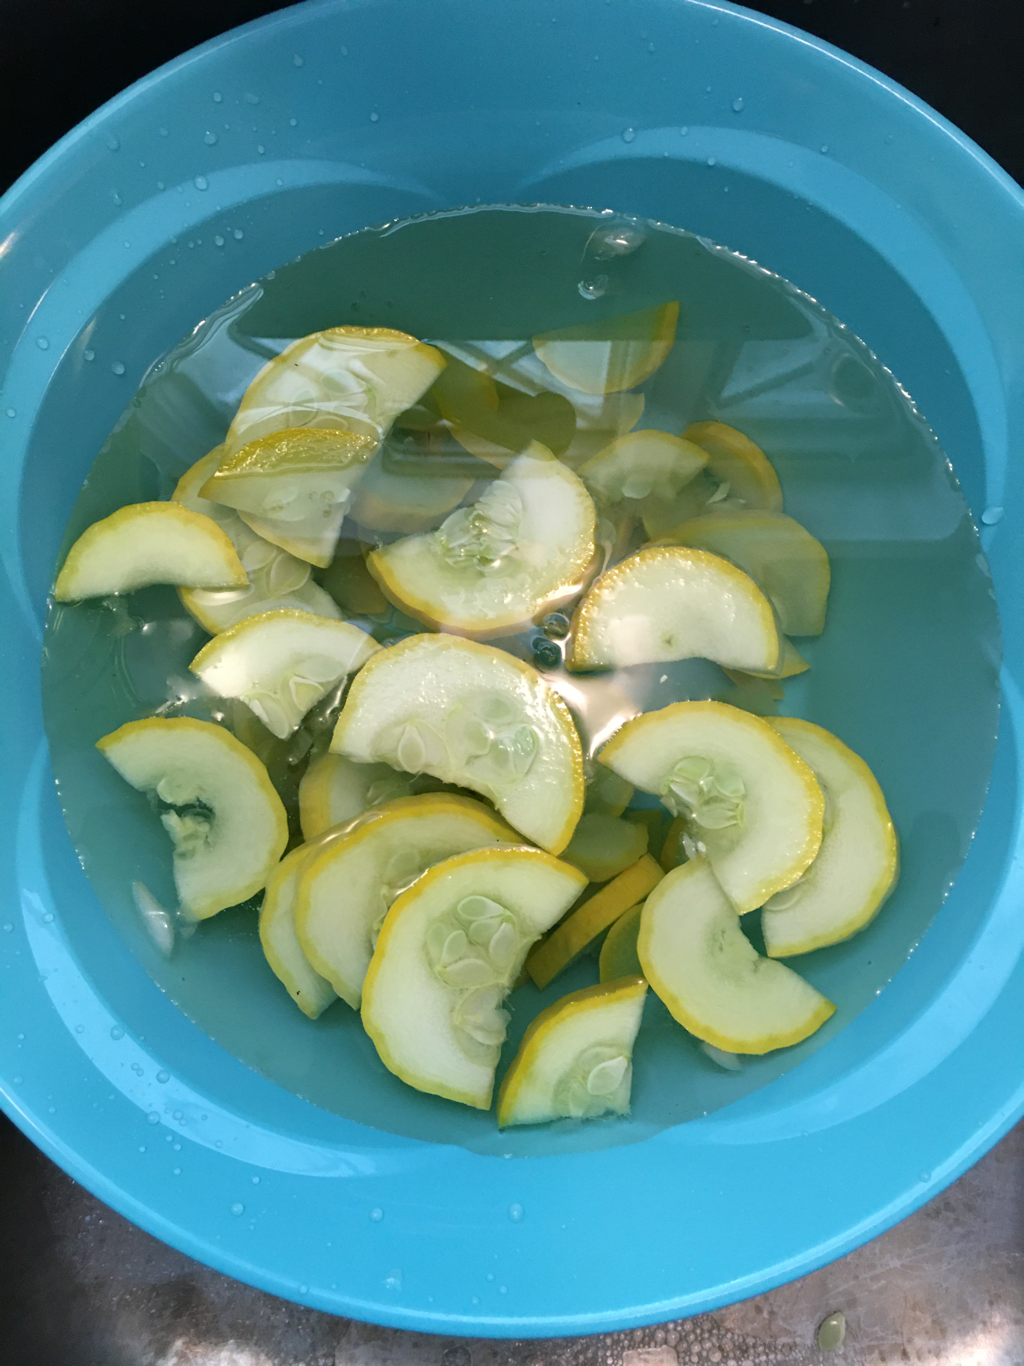
Then I move the squash to ice water for 3-5 minutes. I set a timer again for 3 minutes.
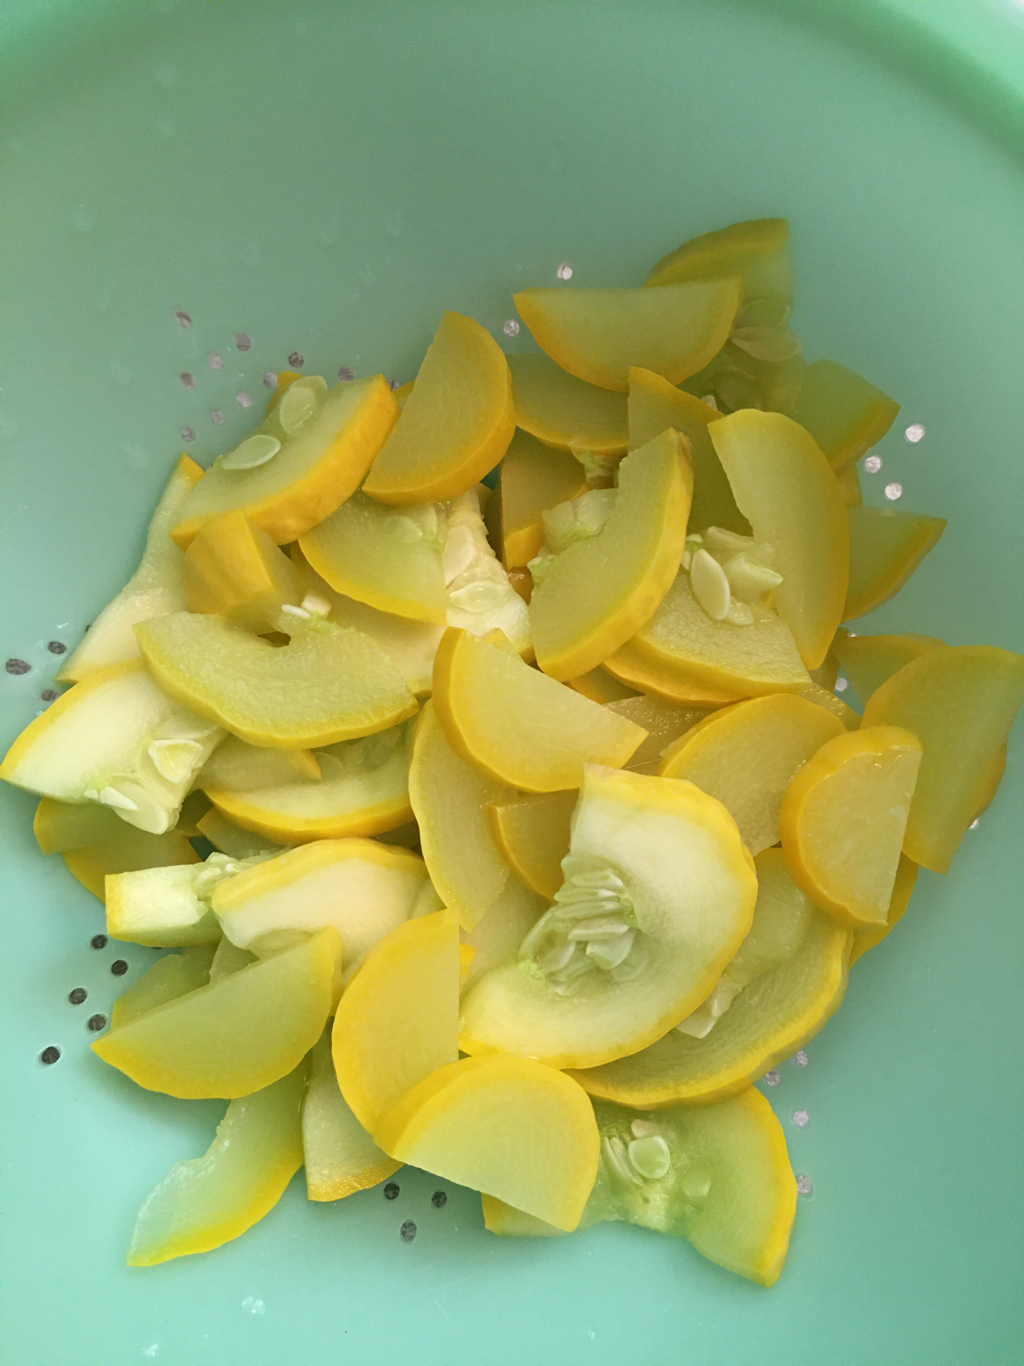
Next I drain the squash in a colander.
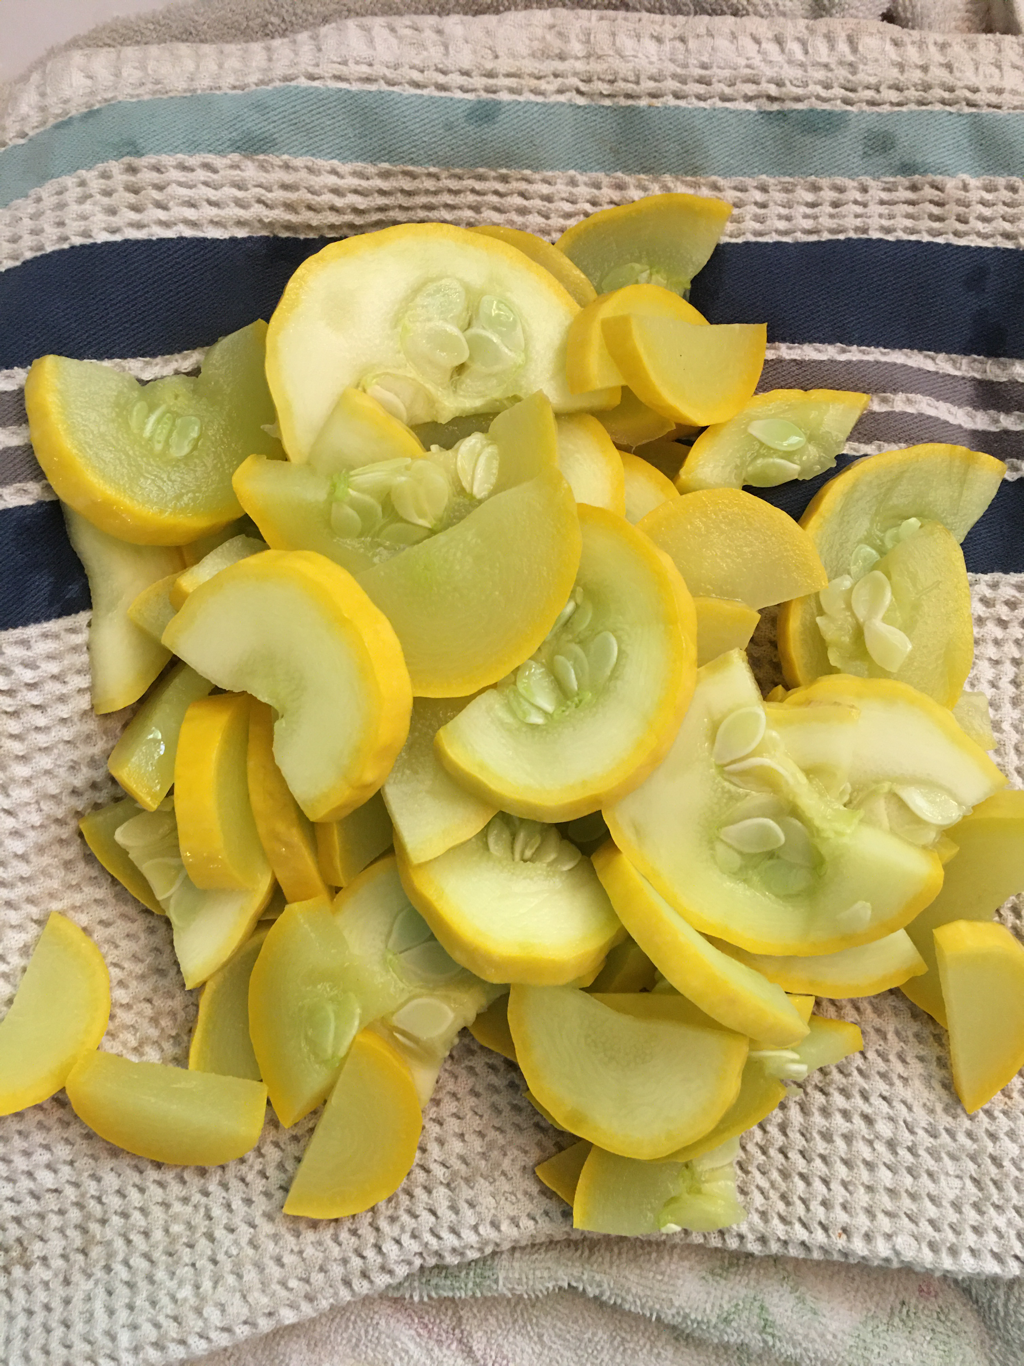
Then I dry the squash between clean dry kitchen towels.
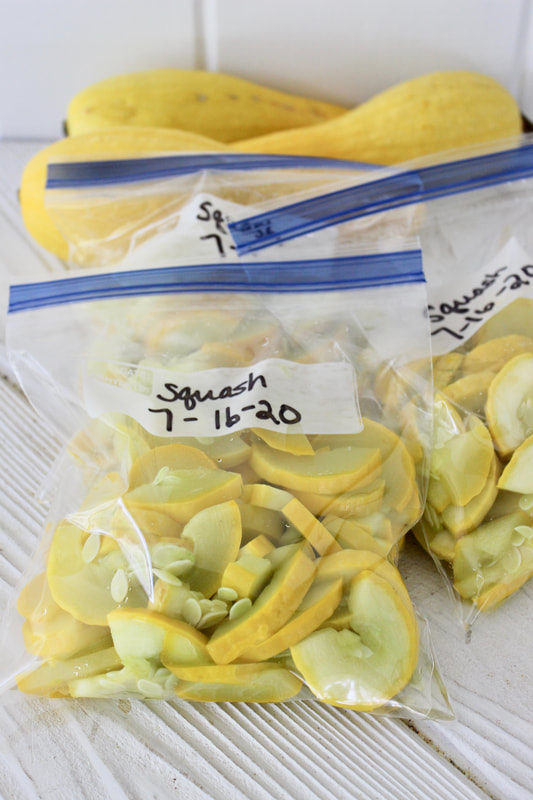
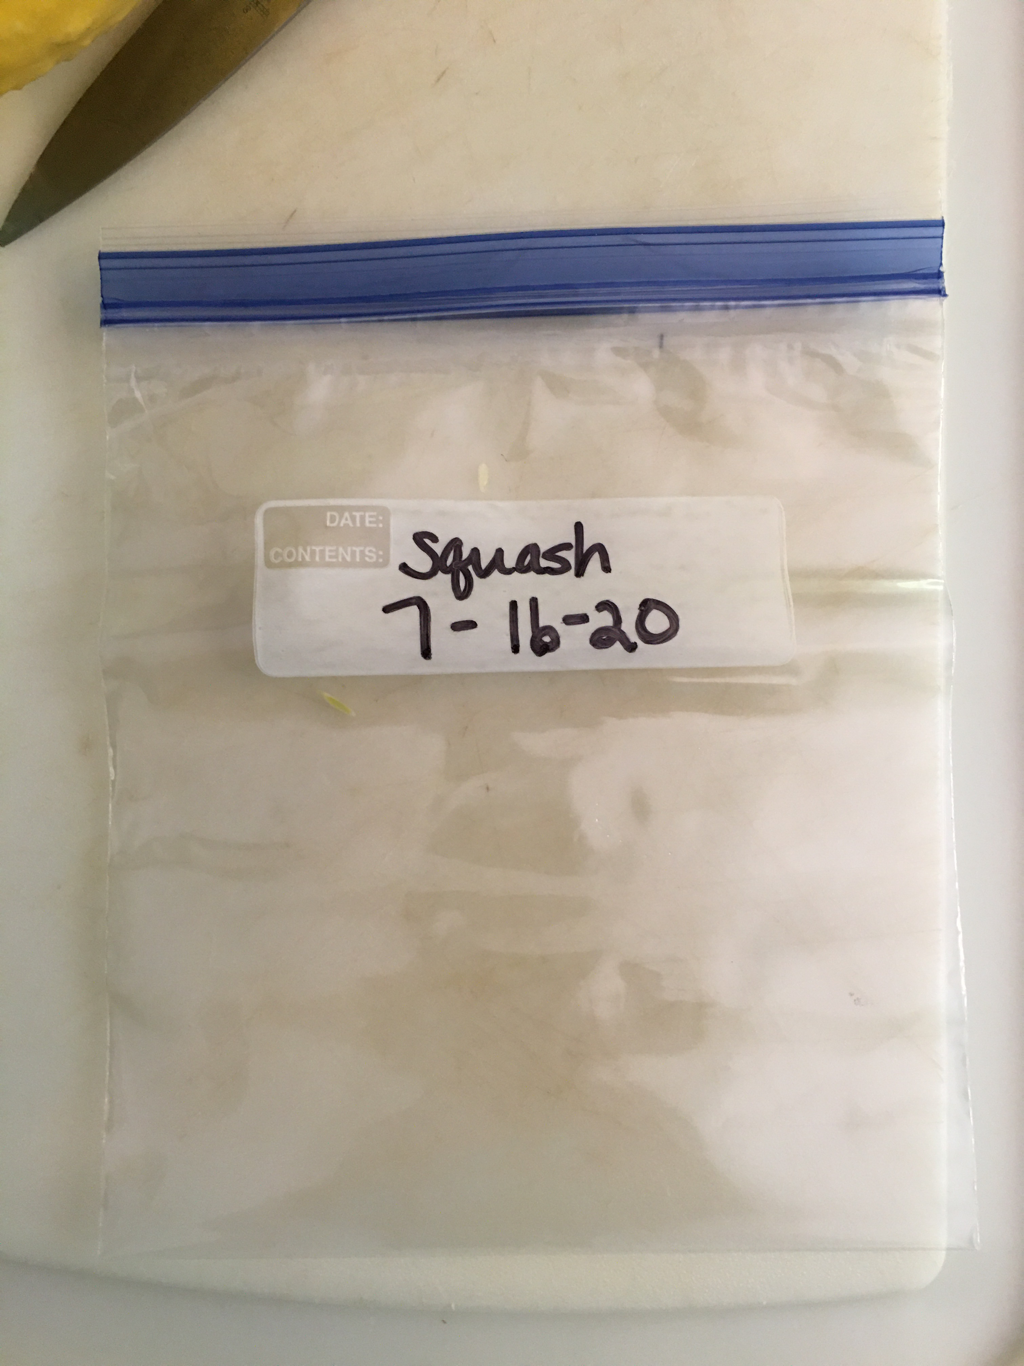
Next I fill labeled quart freezer bags with squash, press the air out, and seal. The squash is now ready for the freezer.
Pin on Pinterest
Disclosure: We are a participant in the Amazon Services LLC Associates Program, an affiliate advertising program designed to provide a means for us to earn fees by linking to Amazon and affiliated sites.
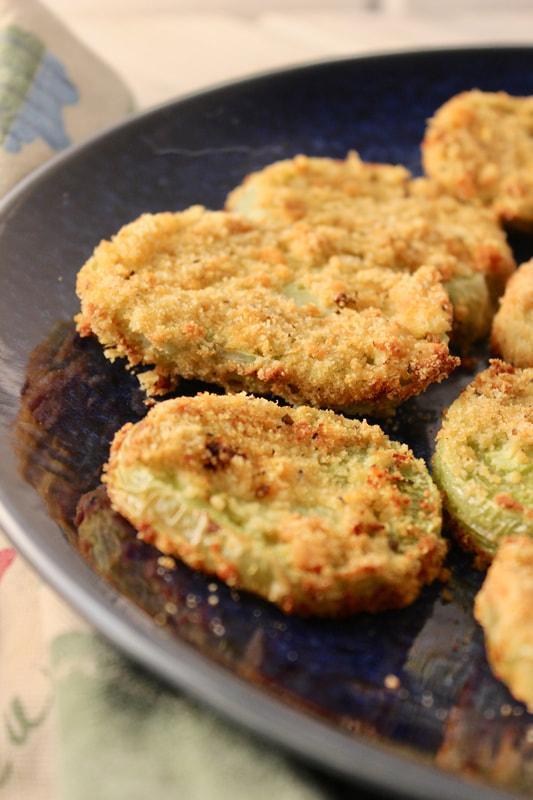
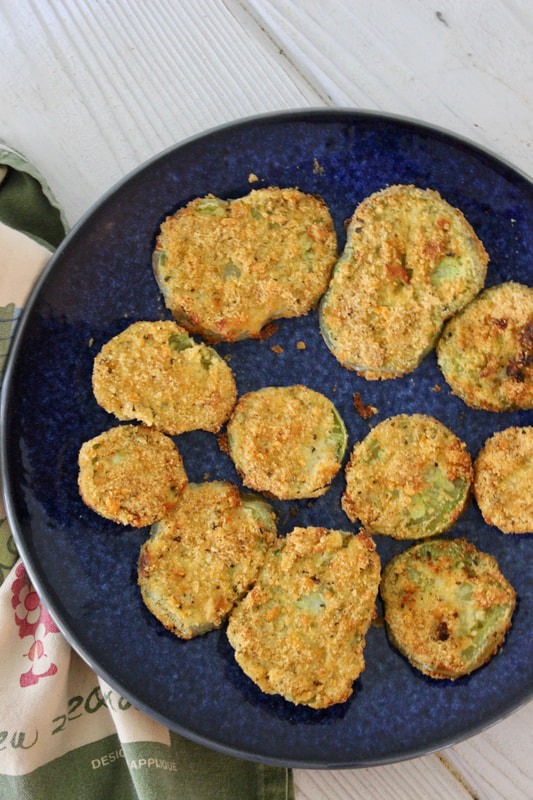
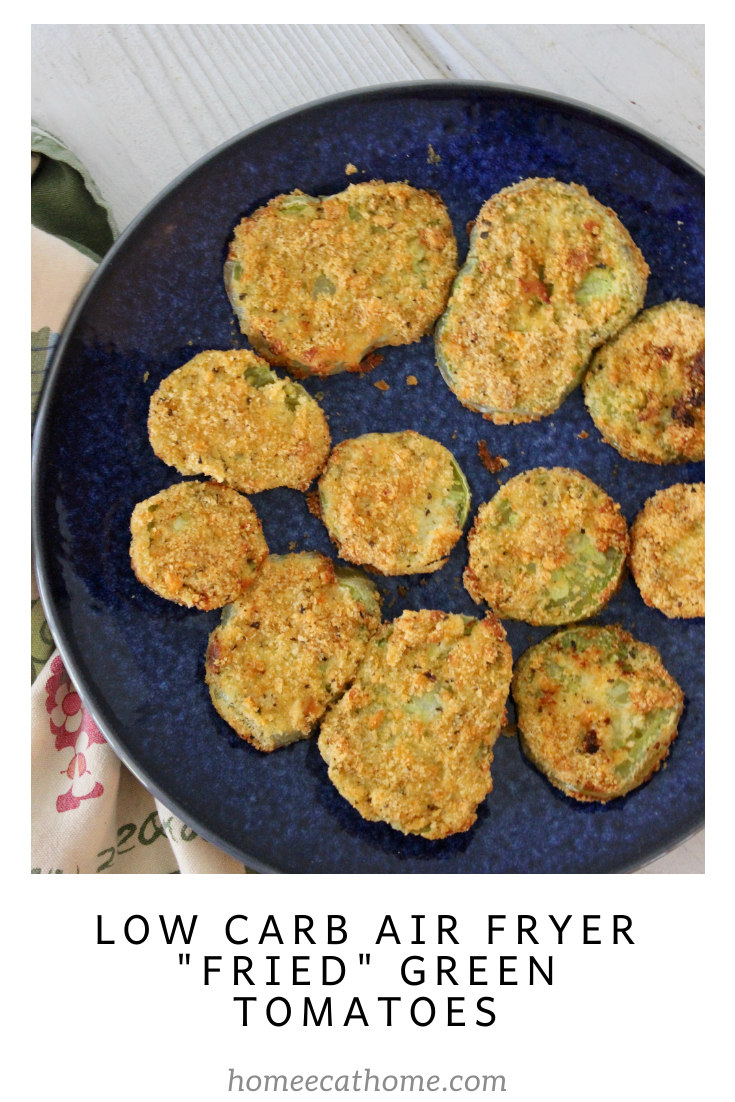
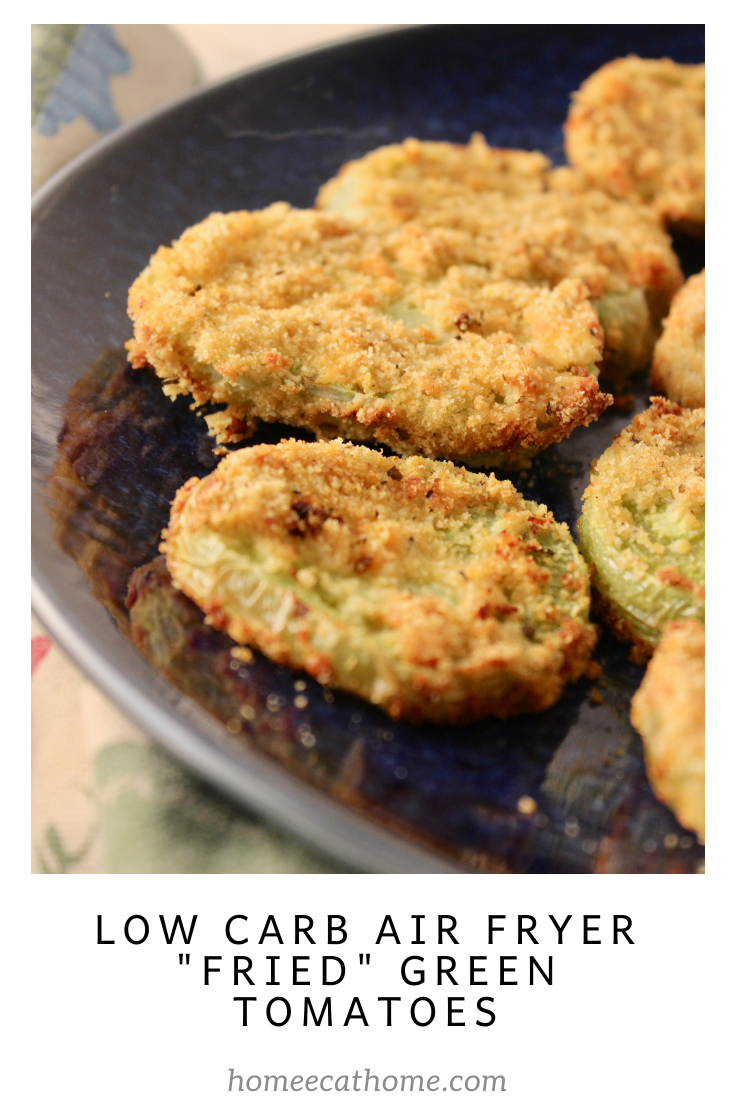
We have lots of tomatoes in the garden and have just started to get some red ones, but we have been enjoying the green ones too. When we tie up any loose tomato limbs, a few fall from the vine so we eat them even if they are still green. These low carb air fried green tomatoes are a real treat. They are crispy, flavorful and perfectly tender on the inside.
I love my air fryer! I have the Instant Pot Duo Crisp + Air Fryer. (amazon link) I got this amazing multi-cooker for Christmas and use it all the time. I use the air fryer function the most. I wanted both a pressure cooker and an air fryer, but I didn't want two big cookers taking up a lot of space so this was the perfect solution. It does a lot more than just air fry and pressure cook too. It even has a dehydrate function which I haven't used yet, but am looking forward to trying. It makes great air fried green tomatoes, but if you don't have an air fryer, you could still use this batter recipe and pan fry your green tomatoes.
This batter is lower in carbs since it is made from almond flour, crushed pork rinds, and grated parmesan cheese. You could use plain pork rinds, but may want to salt and pepper to taste. Since we have been trying a more low carb lifestyle, I keep almond flour (amazon link) on hand. I have been using this brand for a while and think it works well in the recipes I have tried and it is usually a good price per pound.
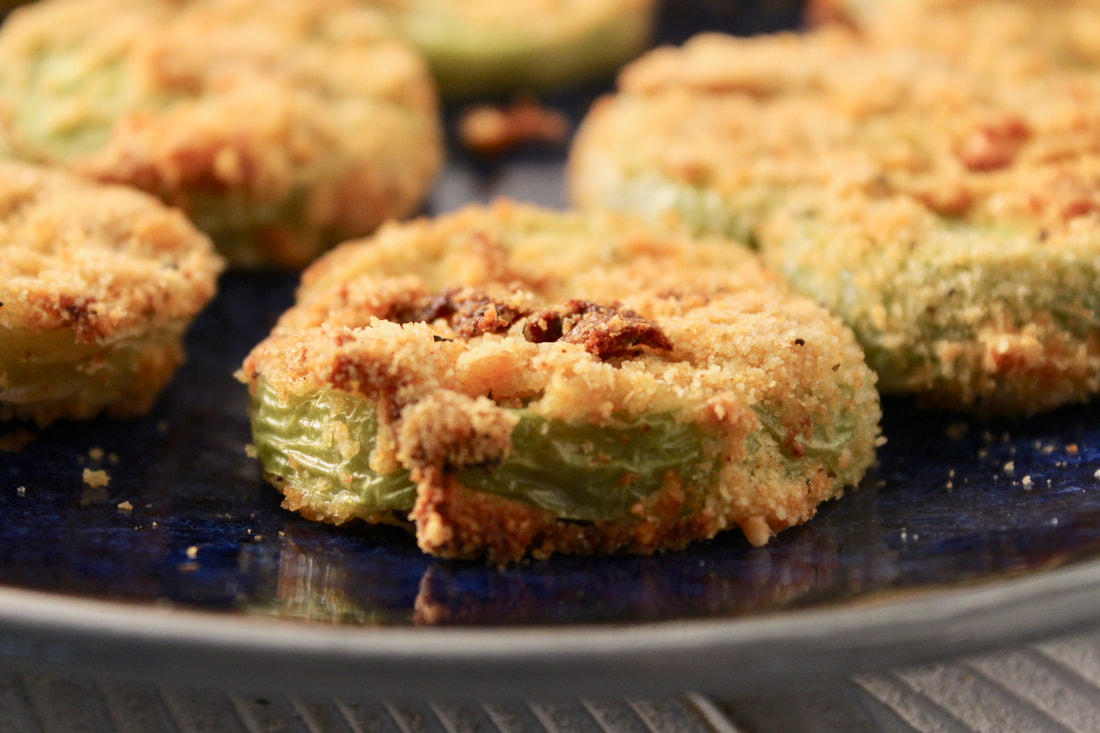
Low Carb Air Fryer "Fried" Green Tomatoes
Ingredients: 3 firm green tomatoes 1 egg, beaten 2 T. half and half or milk ½ cup almond flour ½ cup + 2 T. grated parmesan cheese ¾ cup ground BBQ pork rinds, (I put them in my food processor to crush) ½ tsp. garlic powder ½ tsp. dried basil Cooking oil spray or olive oil mister Directions: 1. Slice tomatoes ¼ inch thick. 2. Combine beaten egg and half and half in a bowl. 3. In another bowl, combine almond flour, parmesan cheese, pork rinds, garlic powder, and basil. 4. Dip each tomato slice into the egg mixture, then into the breading mixture making sure to get breading on each side. I use a fork to hold the tomato slice when breading. 5. Mist oil in your air fryer basket. I use an olive oil sprayer (amazon link). 6. Place a single layer of tomatoes in your basket. (You will have to cook in batches.) 7. Air Fry for 8 minutes at 400 degrees, turning tomatoes half-way through. Serve with your favorite sauce. We like them dipped in ranch dressing.
Pin on Pinterest
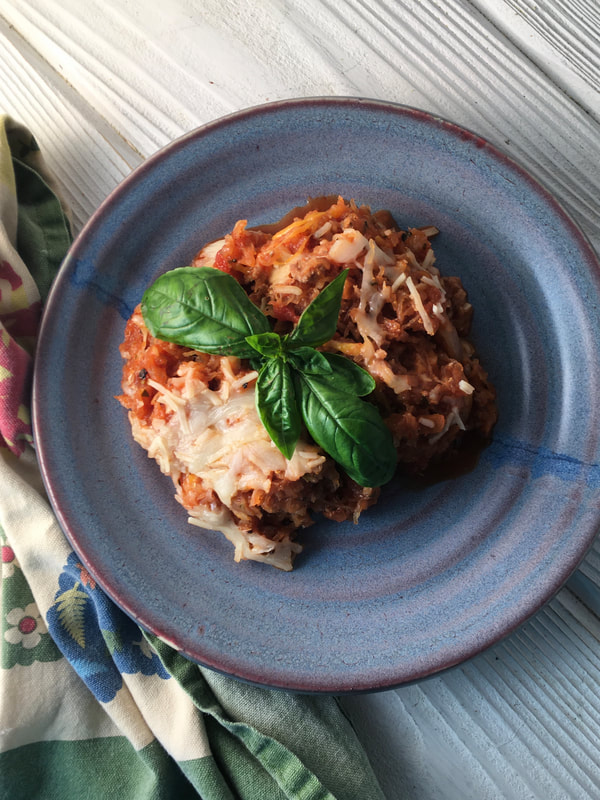
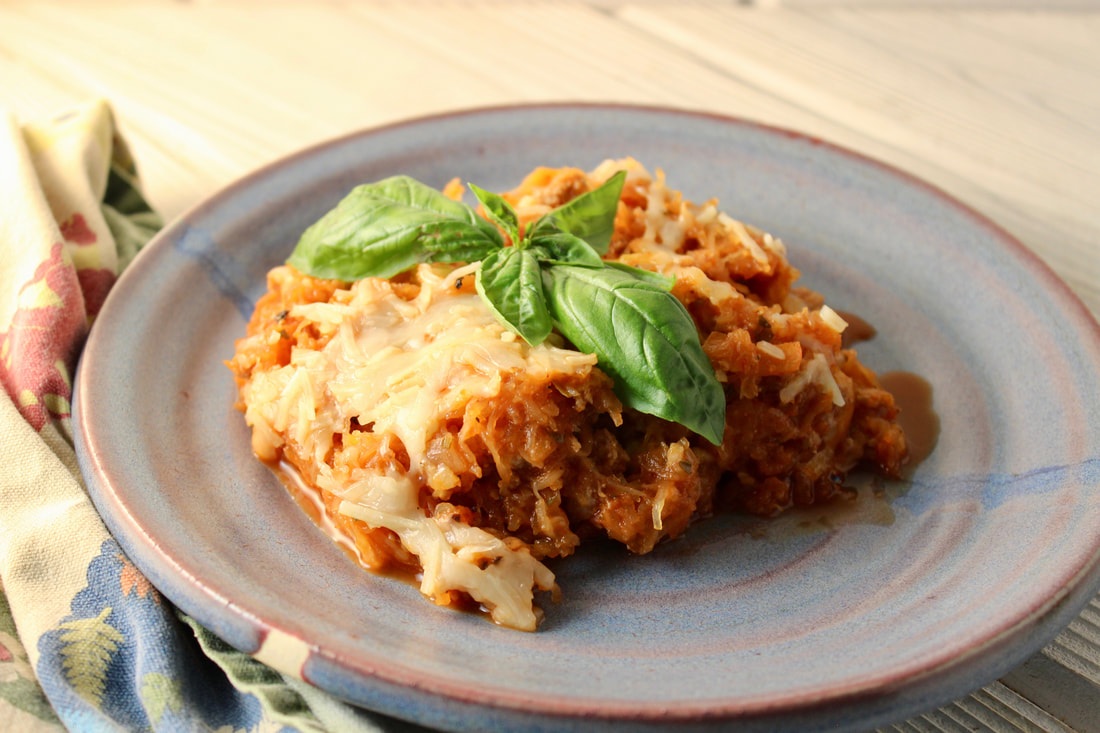
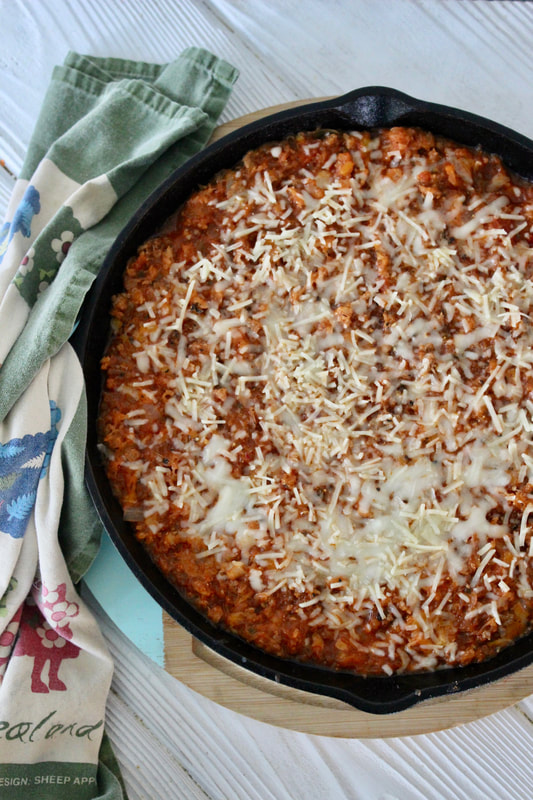
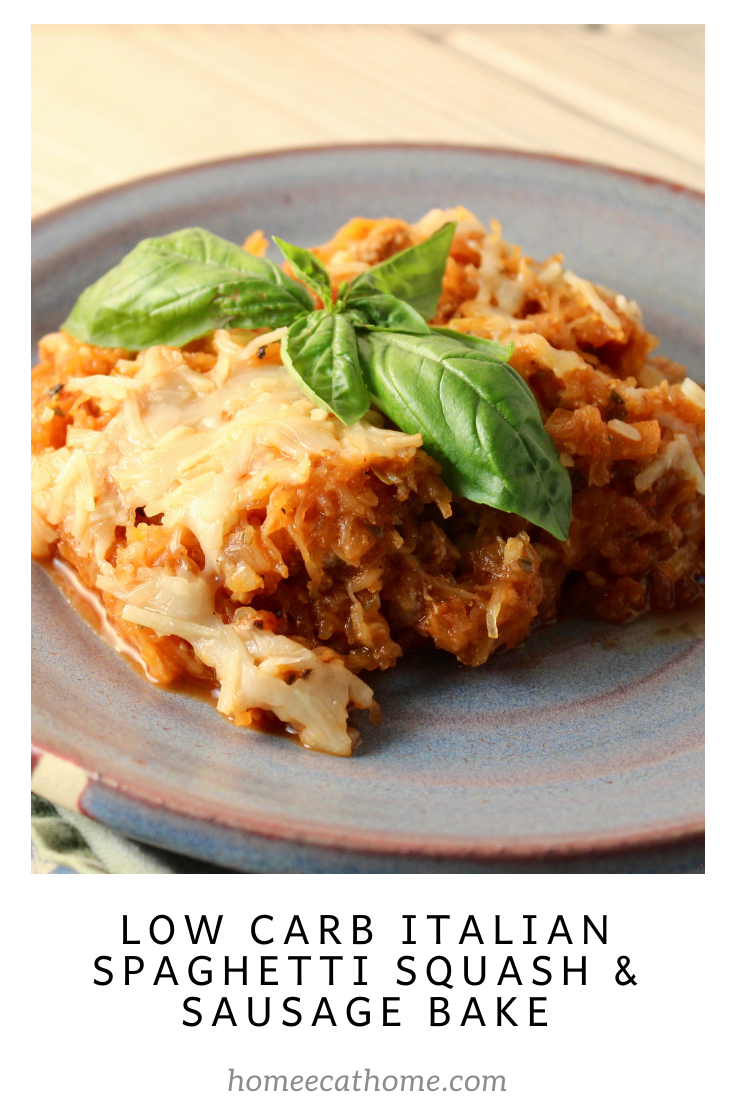
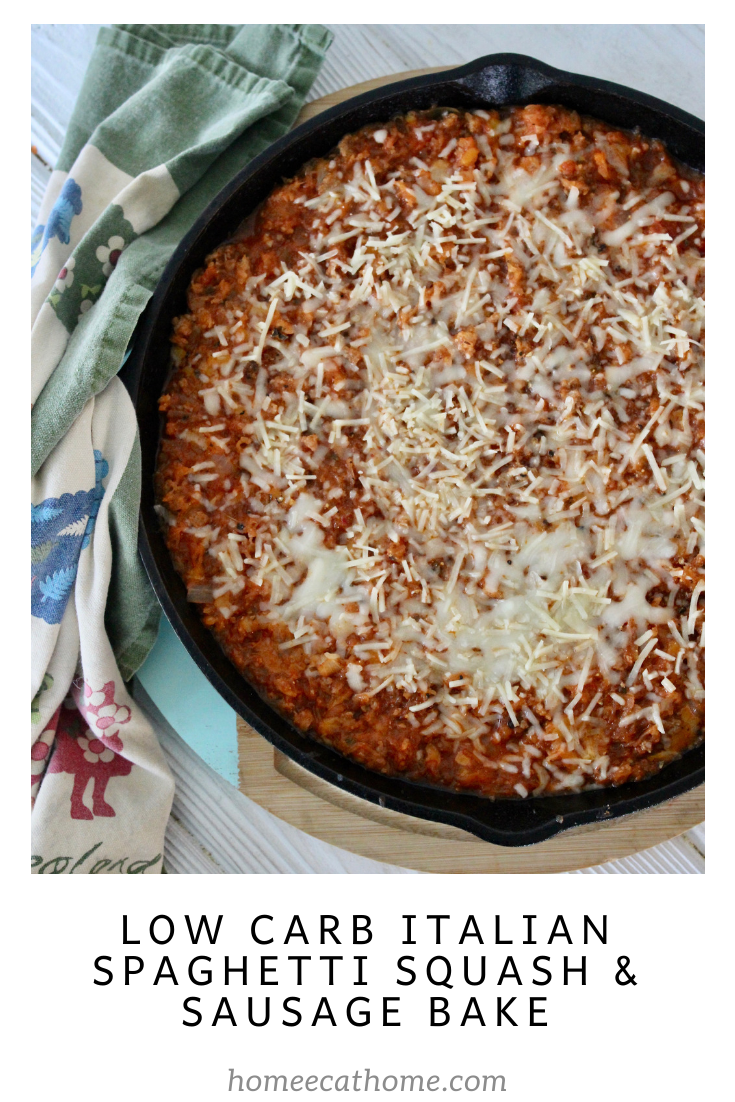
We really enjoyed this low carb Italian spaghetti squash and sausage bake. It is delicious and hearty and a great way to feel like we are having a big Italian meal without all of the high carb pasta.
We had some volunteer spaghetti squash that grew from the compost pile and we just got our pig from the processor so I came up with this dish to combine both spaghetti squash and ground sausage. Our sausage is regular mild sausage, but I think this would be good with Italian sausage too.
This is a delicious low carb meal the whole family will enjoy. Our boys gobbled it up. You can't go wrong with lots of cheese.
Serves 6-8
Ingredients: 2 spaghetti squash Olive oil 1 lb. ground sausage (mild or Italian) 1 onion, diced 1 clove garlic, minced 1/2 tsp. Italian seasoning 1/2 tsp. dried basil 1 (24 oz.) jar tomato and basil pasta sauce 4 cups shredded cheese (separated), cheddar jack, mozzarella, Italian blend, or even some shredded parmesan Salt and pepper to taste 1. Preheat oven to 400 degrees F. 2. Cut spaghetti squash in half lengthwise. Scoop out seeds and discard. Spritz cut halves with olive oil or brush them with oil. Place cut side down on a baking pan and roast for 45 to 60 minutes until fork tender. 3. Reduce oven temperature to 350 degrees F. 4. Let squash cool a few minutes until it is cool enough to handle. Use a fork to scoop out the spaghetti squash strands into a large bowl. 5. In a large skillet, brown sausage, onion, garlic, Italian seasoning, and basil. 6. Combine spaghetti squash, sausage mixture, pasta sauce and 3 cups shredded cheese in a large bowl. Salt and pepper to taste. 7. Transfer to an oven safe skillet or large casserole dish. Top with the extra 1 cup shredded cheese. 8. Bake for 30 minutes or until heated through.
Pin on Pinterest
Disclosure: We are a participant in the Amazon Services LLC Associates Program, an affiliate advertising program designed to provide a means for us to earn fees by linking to Amazon and affiliated sites.
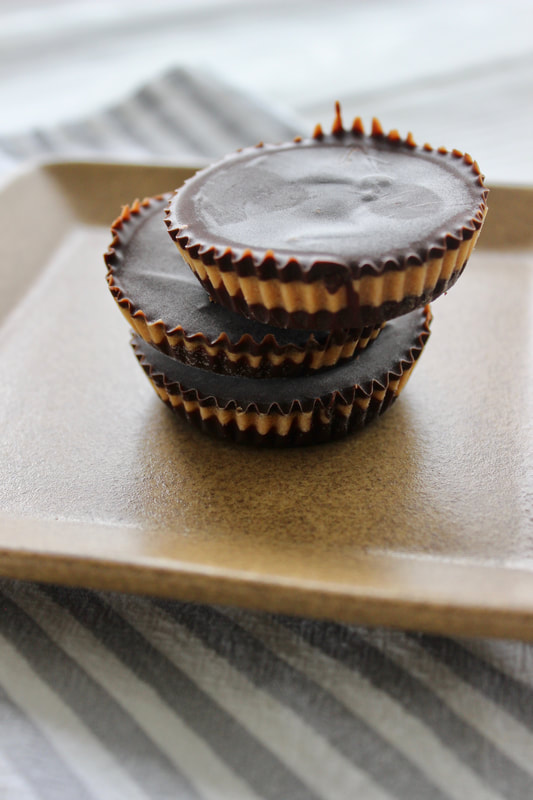
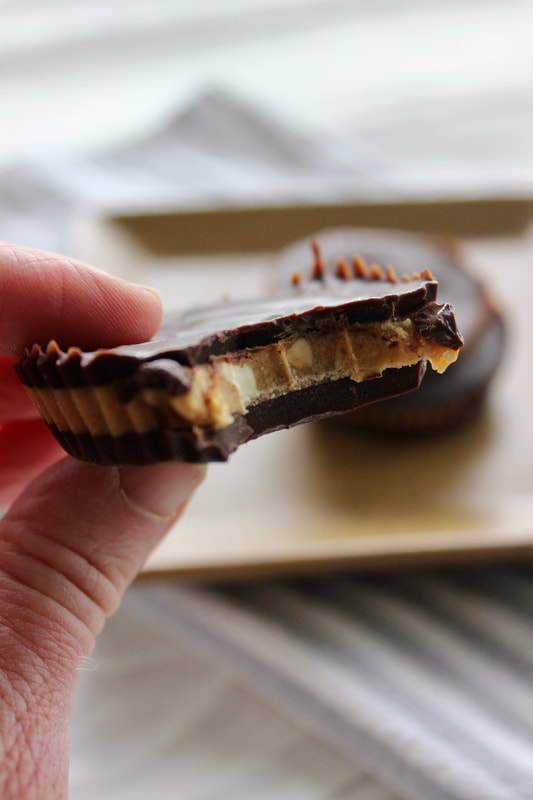
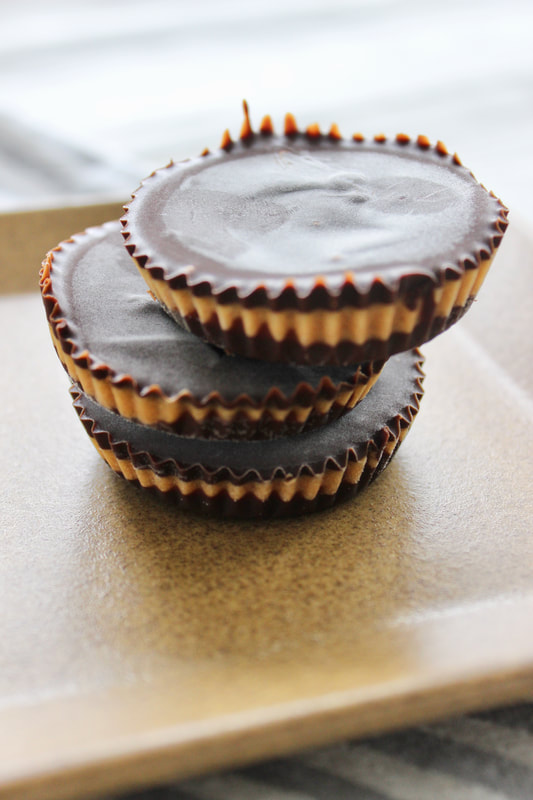
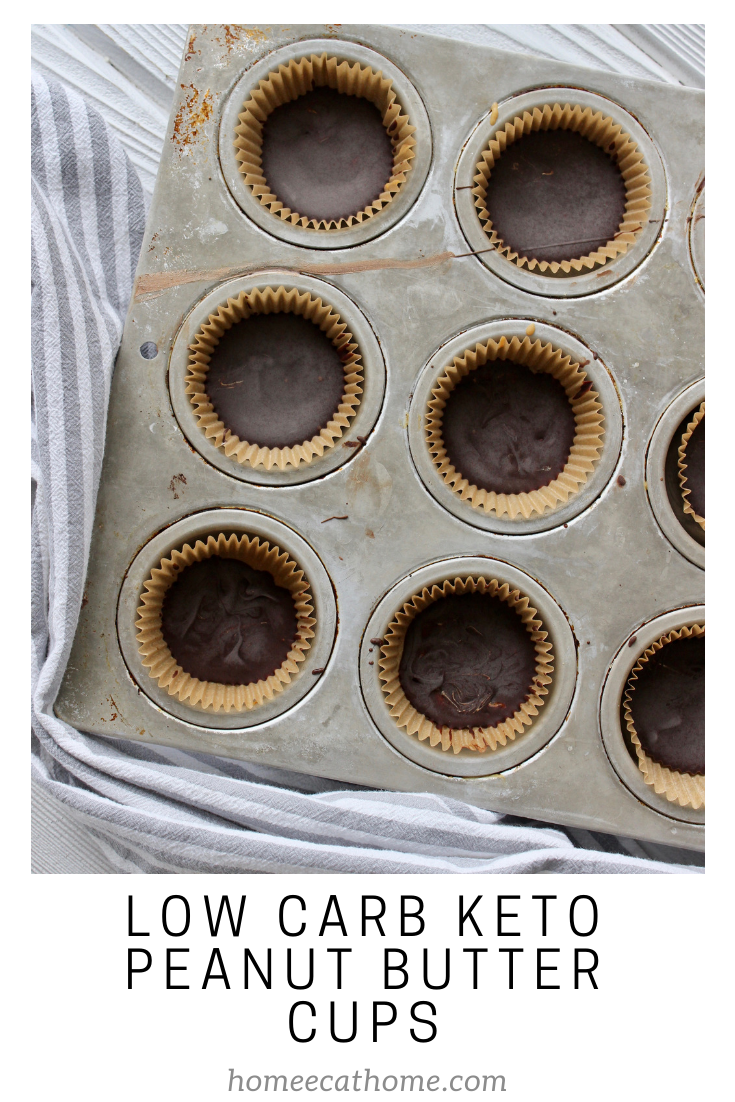
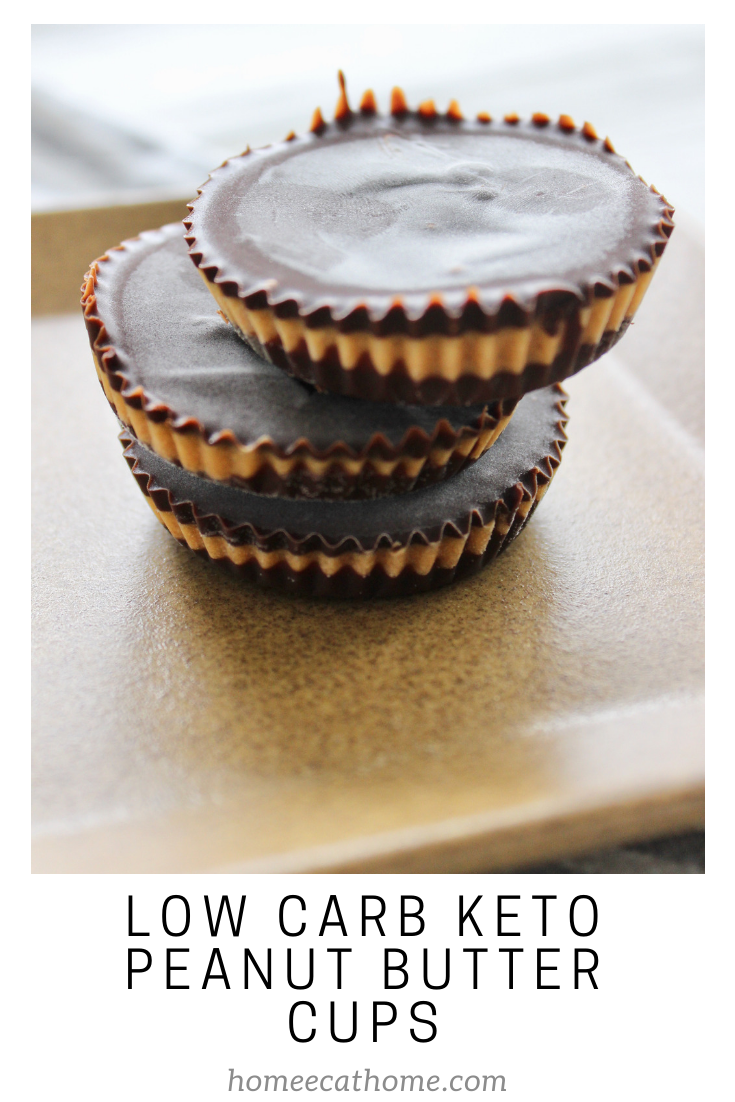
We have tried several low carb desserts over the past several months and these low carb keto peanut butter cups are by far our favorite. My husband asks for them and the boys get excited when they see me making them. When I feel the need for something sweet, I can grab one of these little gems from the freezer and it satisfies my sweet tooth every time.
To make these I use stevia sweetened chocolate chips. (amazon link) You can order them online, but they are much cheaper at Walmart. I have purchased them at Kroger and Walmart. They are more expensive than regular sugar sweetened chocolate chips, but don't have added sugar and are lower in net carbs. They taste great. I pretty much just use stevia sweetened chocolate chips now in anything I make.
These take a little time to make because of freezing them between layers, but you can multi-task and they are so worth the effort.
If I have both creamy and crunchy no sugar added peanut butter, I like to use half and half for a creamy and crunchy texture.
Makes 24 servings
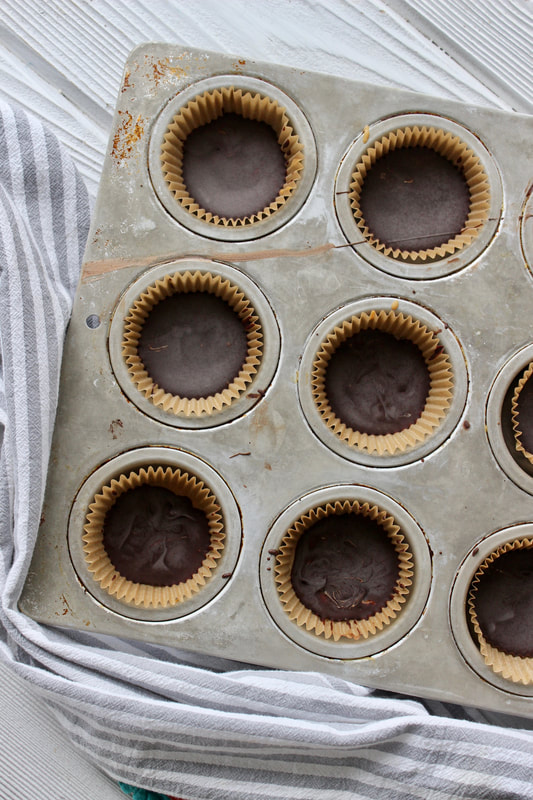
Ingredients: 2 bags (9 oz) stevia sweetened no sugar added chocolate chips 5 T. coconut oil, divided 1 cup no sugar added peanut butter 1 tsp vanilla extract ¼ cup granular swerve or stevia 1. Microwave chocolate chips and 3 T. coconut oil in 30 second intervals (stirring between) until melted. (1 minute total should do it) 2. Line muffin pan with paper muffin cups. These are my favorite because nothing sticks to them. (amazon link) 3. Make a bottom layer of chocolate using about 1T. of melted chocolate per muffin, freeze a few minutes to harden. 4. Mix together 2 T. melted coconut oil, peanut butter, vanilla, and sweetener. I use Kroger natural peanut butter (it doesn't have any sugar). I like to use 1/2 crunchy and 1/2 creamy. My favorite sweetener is granular swerve. (amazon link) It's pricey, but you only use a little in this recipe so it will last a while. I have bought swerve at Kroger too, but it is slightly cheaper on amazon. 5. Next spoon a peanut butter layer. Freeze. 6. Then layer a top chocolate layer and freeze again. We store these in the freezer. We have decided that we like these best with thin chocolate layers rather than thick chocolate layers, so I try to use small amounts when spooning it into the cups and spread it thinly with a spoon.
I tried putting the ingredients into Nutrifox to make a nutrition label, but it did not recognize some of the ingredients so it wasn't accurate.
Pin on Pinterest
|
Welcome to Home Ec @ HomeHi, I'm Faith, a former Family and Consumer Science teacher turned food blogger. I love God, my family, and food. You can usually find me in the kitchen preparing family friendly, homemade recipes and taking lots of pictures. This website uses marketing and tracking technologies. Opting out of this will opt you out of all cookies, except for those needed to run the website. Note that some products may not work as well without tracking cookies. Opt Out of CookiesFan Favorites
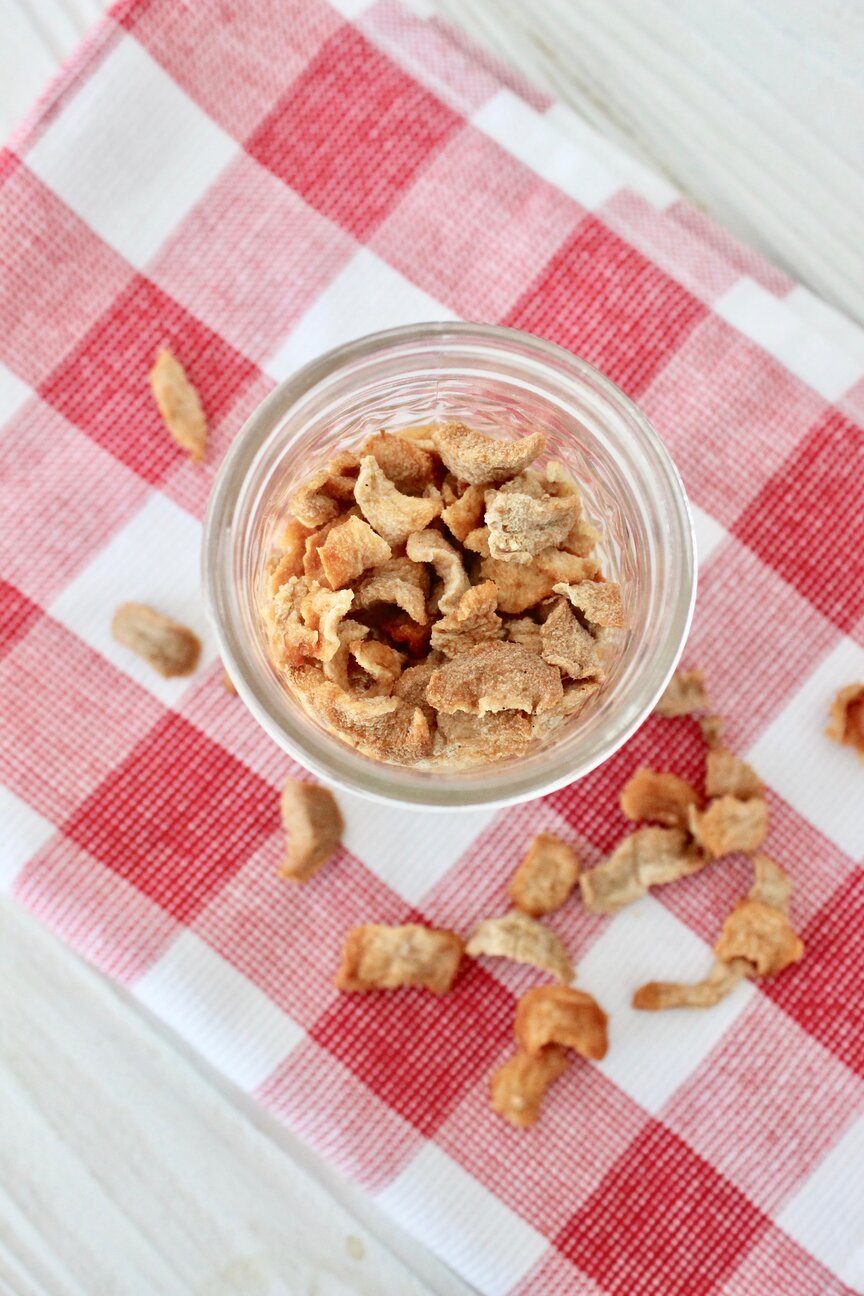 Dehydrating Pears and Apples in the Instant Pot Duo Crisp Dehydrating Pears and Apples in the Instant Pot Duo Crisp
|








 RSS Feed


