|
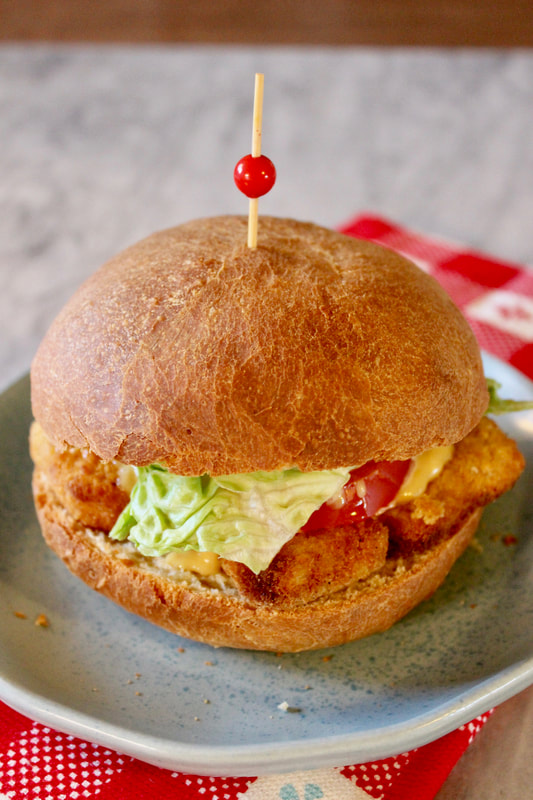
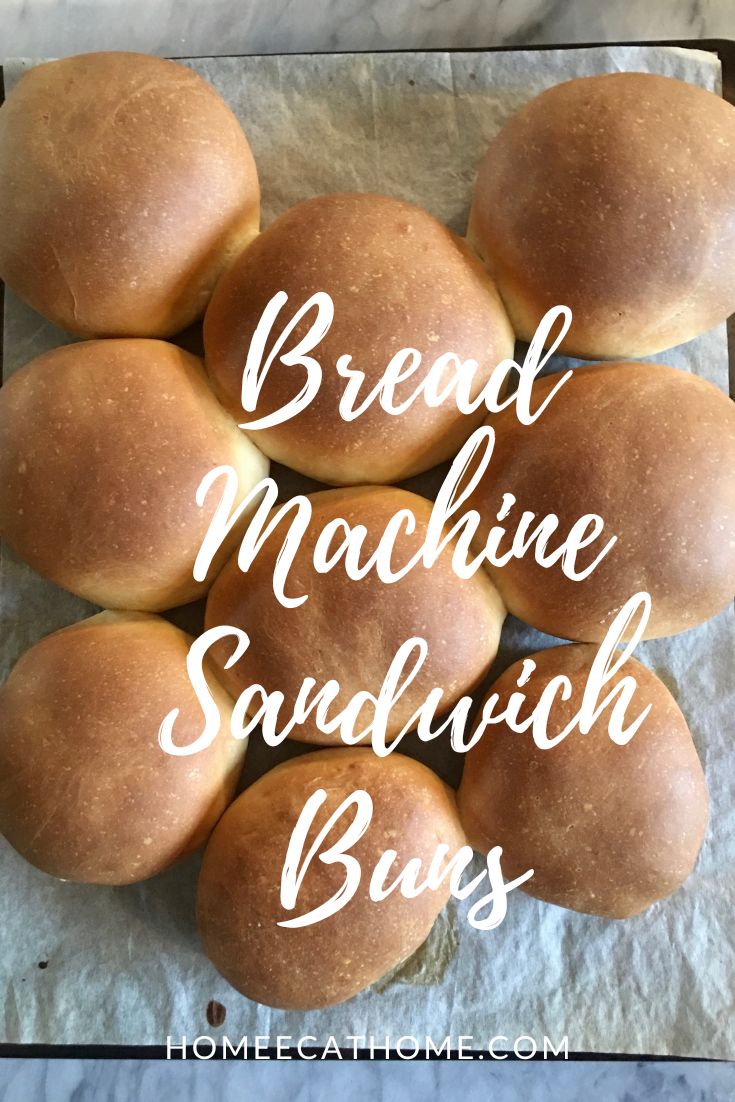
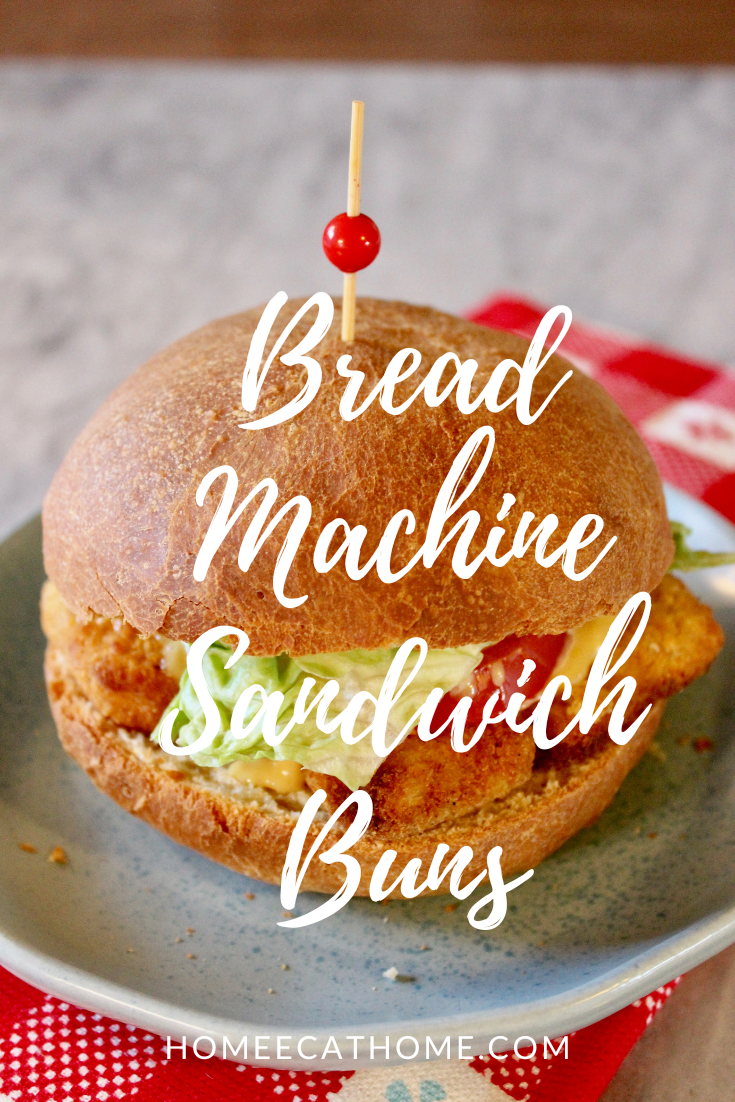
These bread machine sandwich rolls are so easy to make and are the perfect bun for your favorite burger, sub, sloppy Joe, chicken sandwich, or even Nutella sandwich. My boys love them with butter and Nutella for a quick snack.
These bread machine buns are like fancy bakery buns for a fraction of the price and since they are made with real ingredients in your own kitchen you can feel better about what you eating.
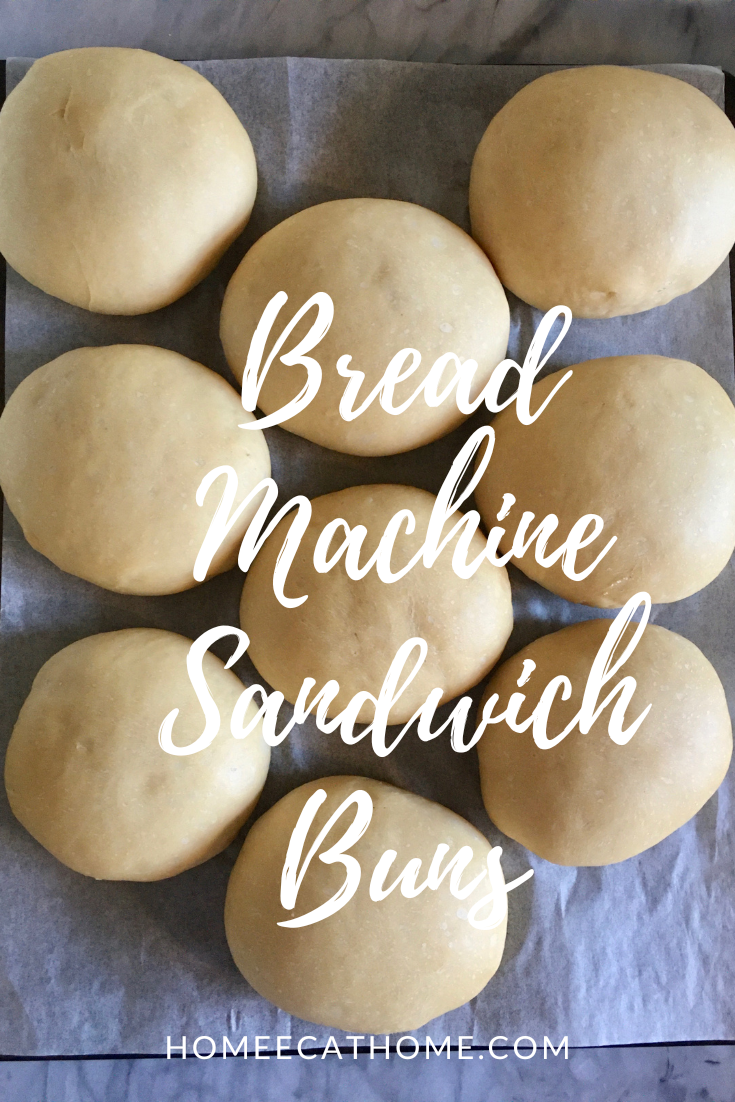
To make these sandwich buns, you simply put the ingredients in your bread machine in the order listed, run it on the dough cycle and then shape the buns, let rise, then bake.
We are a participant in the Amazon Services LLC Associates Program, an affiliate advertising program designed to provide a means for us to earn fees by linking to Amazon and affiliated sites.
You can make them any size and shape you need or make smaller dinner rolls or slider buns if desired.
Can you make these bread machine buns ahead and freeze them?
Yes, you can make these ahead of time and freeze them. This is helpful if you have a lot of prep work leading up to a celebration meal and need a large quantity. You can freeze several batches and have them ready to go. Here is a link to my roll post which includes instructions for freezing the dough to thaw and rise and bake later.
Bread Machine Sandwich Buns
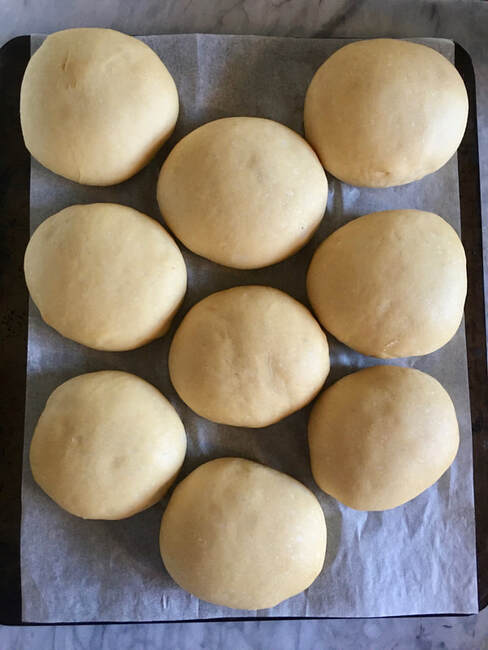
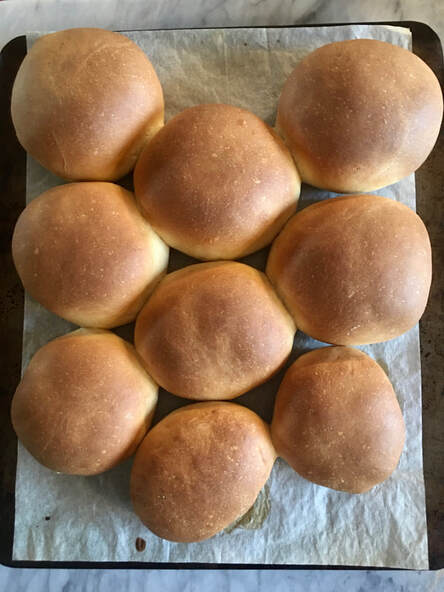
1. Add the ingredients in the order listed to your bread machine. (I have an extra large Welbilt bread machine which has been a great machine, but I bought it for $6.99 at a thrift store.) 2. I put the milk and butter together in a large glass measuring cup and microwave for 1 minute on high then add it to the bread machine. 3. After you add all of the ingredients, run on the dough cycle. 4. When dough cycle is complete, divide into 8-10 rolls and shape into balls. 5. Place on a greased or parchment lined baking sheet. 6. Press down to flatten the top and form a bun shape. 7. Cover with a lint free towel and let rise for at least 15 minutes. I let rise longer if I have the time.** 8. Bake at 375 degrees for about 15 minutes until golden brown. Yield 8-10 buns *I use coconut sugar because it is lower on the glycemic index than white refined sugar. I buy it at Big Lots for $3.50 a pound. I use coconut sugar a lot in baking as I don't feel it changes the final product and its healthier than using granulated refined white sugar. **If freezing the dough before letting it rise, you will want to let it rise for a few hours at room temperature (covered with a lint free towel) while thawing on the day you bake it. You can also let it slow rise in the fridge overnight. Cover with plastic wrap if slow rising in the fridge. Store extra buns in an airtight container at room temperature for a couple of days (they never last more than 1-2 days in our house). Leftover rolls are great for breakfast with butter and honey.
Pin on Pinterest to save for later.
Or Yum on Yummly
1 Comment
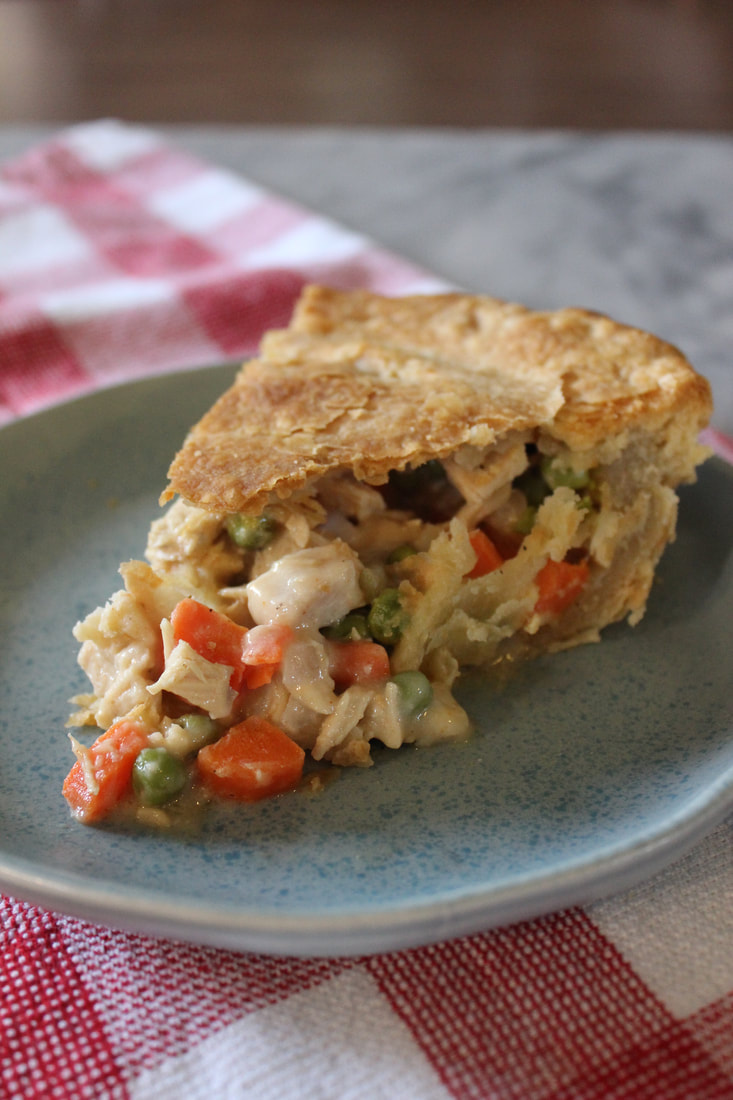
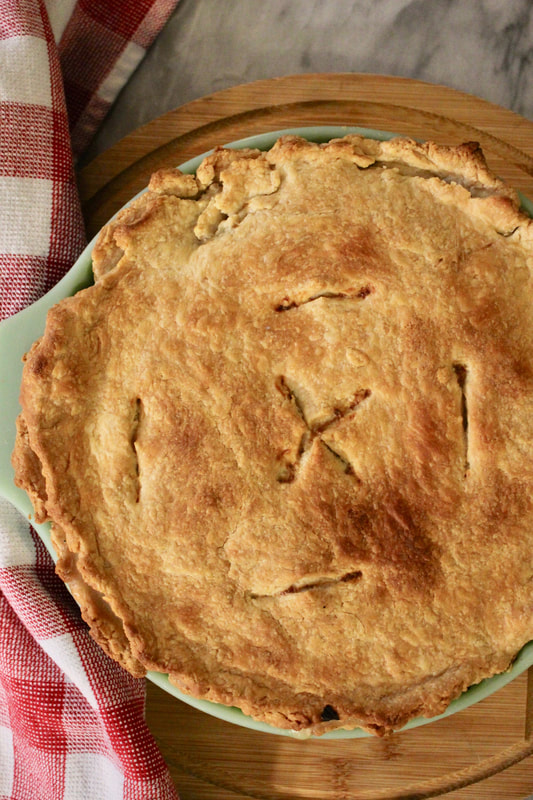
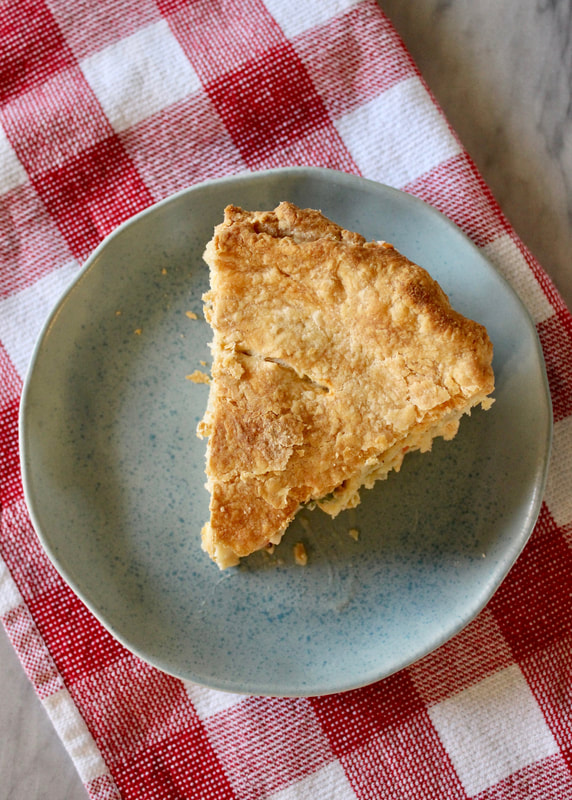
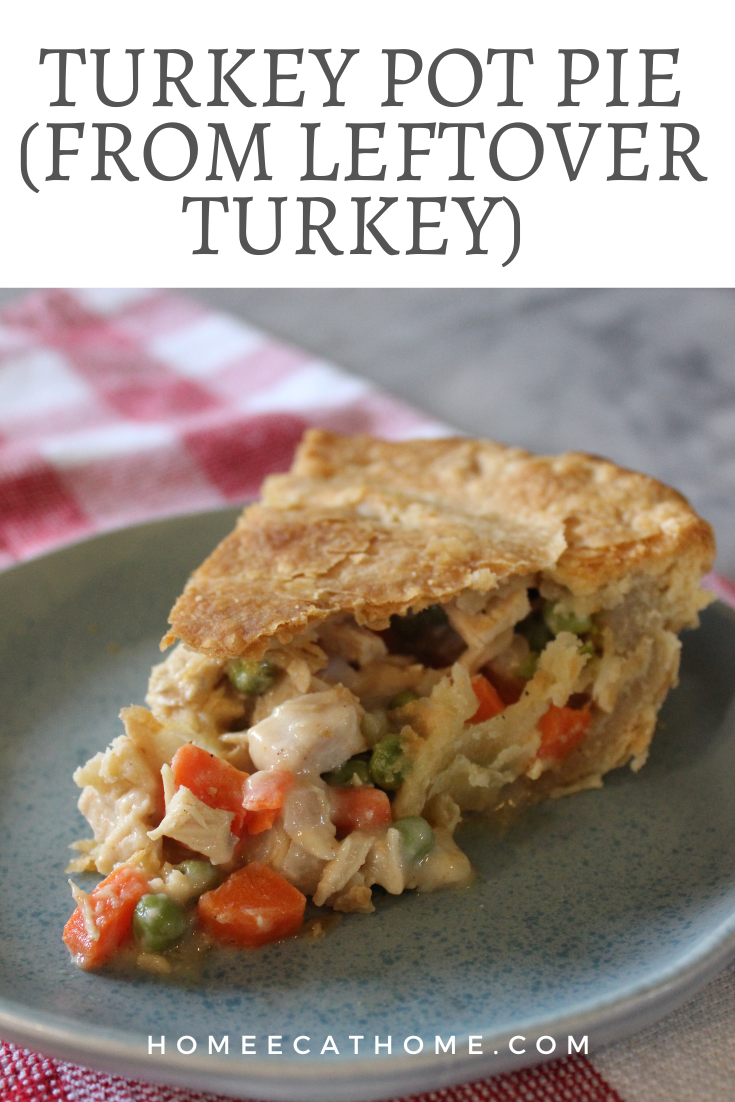
This turkey pot pie is so good and it's a great way to use up any leftover turkey. Of course, it would be great with leftover chicken too.
We are a participant in the Amazon Services LLC Associates Program, an affiliate advertising program designed to provide a means for us to earn fees by linking to Amazon and affiliated sites.
Perfectly tender and flavorful filling in a flaky, buttery crust, this turkey pot pie is absolutely delicious.
Can you use fresh carrots in place of the frozen carrots?
Yes. If you want to use 1 cup fresh sliced carrots and 1 cup frozen peas in place of 2 cups frozen peas and carrots, you can, but you will need to cook the fresh carrots first. Simply microwave the fresh sliced carrots for a few minutes until they are fork tender before putting them in the filling. If you do not pre-cook fresh carrots before adding them to the filling, they will be too firm in the finished pie. Do not pre-cook any frozen vegetables before adding them to the filling.
You will need two unbaked pie crusts (for the top and bottom). Use a large deep dish pie pan at least 10 inches in diameter. It is also helpful to place foil on the lower rack to prevent any filling dripping from bubbling over onto the bottom of the oven when baking.
I use this Never Fail Butter Pie Crust recipe which is amazing and makes two crusts. Ingredients for filling: 1/3 cup butter (5 1/3 Tbsp.) 1/2 cup diced onion 1 stalk celery, diced 1/3 cup flour or 1 tsp. xanthan gum (I prefer xanthan gum as a thickener) 1/2 tsp. salt 1/4 tsp. pepper 1/2 tsp. Tony Chachere's Original Creole Seasoning 1 3/4 cup vegetable, turkey, or chicken broth 1/2 cup milk 2 heaping cups leftover turkey, diced 2 cups frozen peas and carrots 1. Preheat oven to 425 degrees F. 2. Saute onion and celery in butter about 2 minutes. 3. Stir in flour or xanthan gum, salt, pepper and creole seasoning until well blended. 5. Then stir in milk and broth. Cook and stir until bubbly and thick. 6. Stir in turkey and vegetables. 7. Spoon filling into crust lined pie pan. 8. Top pie with second crust. Cut slits into the top crust to vent. Kitchen shears work great for this. 9. Seal and crimp edges of pie crust. 10. Bake for 35-40 minutes. During last 20 minutes of baking, cover crust edges with strips of foil or a pie shield to prevent over-browning. 11. Let pie rest for at least 5 minutes after removing from the oven before serving. It will be too hot to eat right away and will thicken up more as it rests. Pin on PinterestOr Yum on Yummly |
Welcome to Home Ec @ HomeHi, I'm Faith, a former Family and Consumer Science teacher turned food blogger. I love God, my family, and food. You can usually find me in the kitchen preparing family friendly, homemade recipes and taking lots of pictures. This website uses marketing and tracking technologies. Opting out of this will opt you out of all cookies, except for those needed to run the website. Note that some products may not work as well without tracking cookies. Opt Out of CookiesFan Favorites
 Dehydrating Pears and Apples in the Instant Pot Duo Crisp Dehydrating Pears and Apples in the Instant Pot Duo Crisp
|




 RSS Feed


