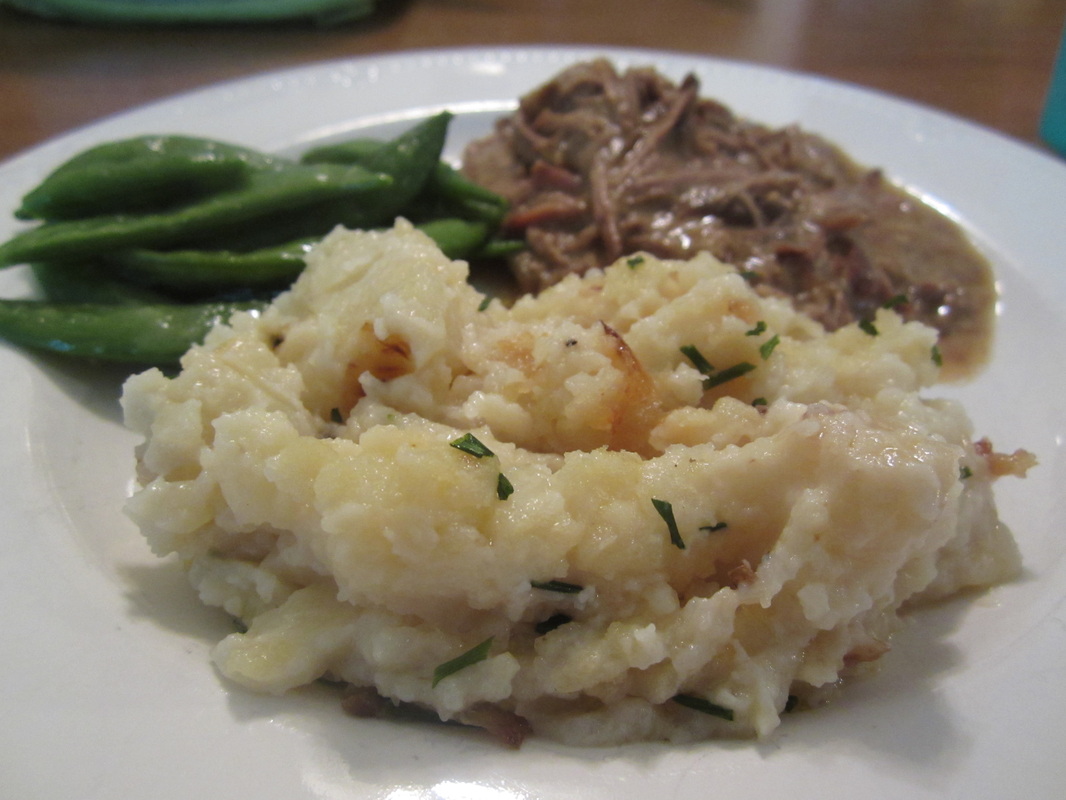
 We had baked potatoes for dinner last night and they were so big our family of 5 only finished 3 of 6 potatoes. I decided to make a casserole out of the leftover potatoes tonight. Everyone loved it. It was thicker than mashed potatoes and had so much flavor. It was delicious. It was also super easy to prepare. You don't really need a recipe. Just peel and mash up leftover baked potatoes then add your favorite baked potato toppings (plus some cream or milk) and bake. Ingredients: 2 1/2 lb. leftover baked potatoes 1 onion 4 T. butter heavy whipping cream (or 1/2 & 1/2, milk, whatever you have) sour cream salt fresh ground pepper chives Here is what I did: I peeled three large leftover baked potatoes. These were really big potatoes about 2 1/2 pounds total. Then I microwaved them 3 minutes to warm them up so they would be easier to mash. I let the boys mash them with the potato masher. They all three took turns. I sauteed a diced onion in 2T. butter until it was golden brown. I added the onion to the potatoes, then added 2 more T. melted butter, heavy whipping cream and sour cream (no measurements - just get the texture you want). Stir all together and salt generously to taste. You can add some fresh ground pepper if you like. Scoop into a greased pan. The boys picked some chives from the garden so we sprinkled chopped chives on top. Bake in a preheated 350 degree oven for 30-35 minutes or until it is heated through and bubbling with golden brown edges. 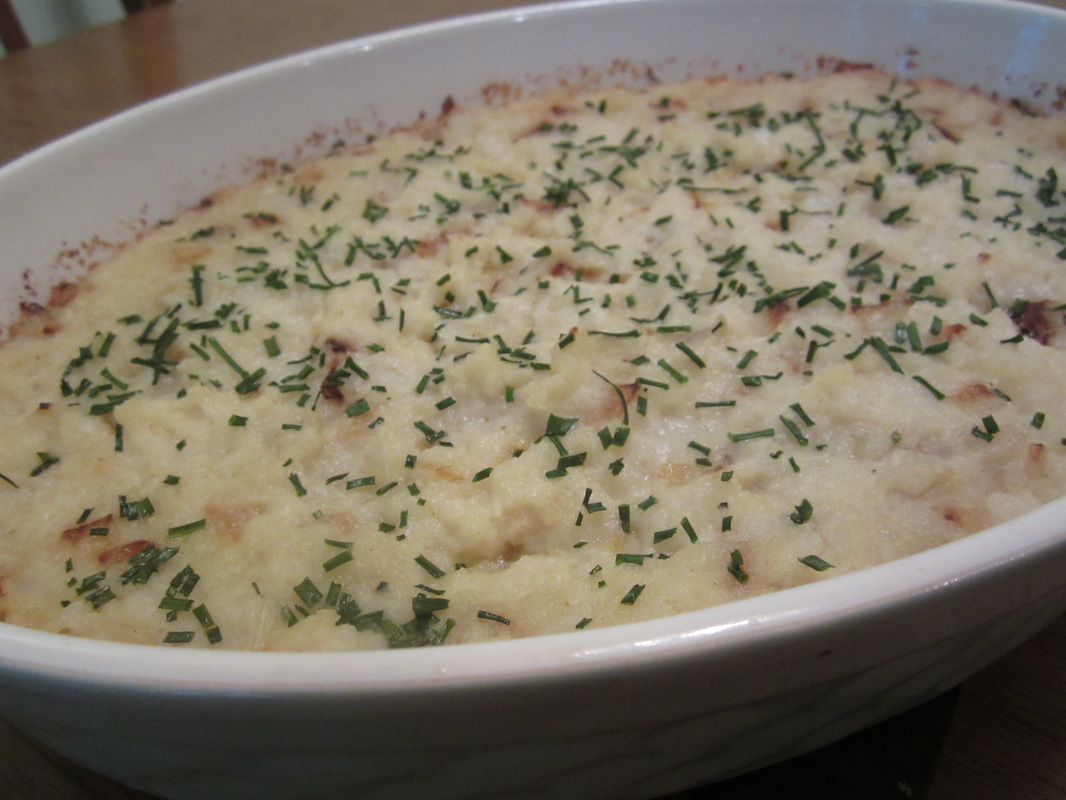
1 Comment

I wanted to do something different for dinner the other night and came up with these grilled calzones which were surprisingly delicious. We really enjoyed them. There was only one left and my husband ate it for breakfast the next morning. I used my pizza dough recipe kneading in a little extra flour to make it easier to handle.
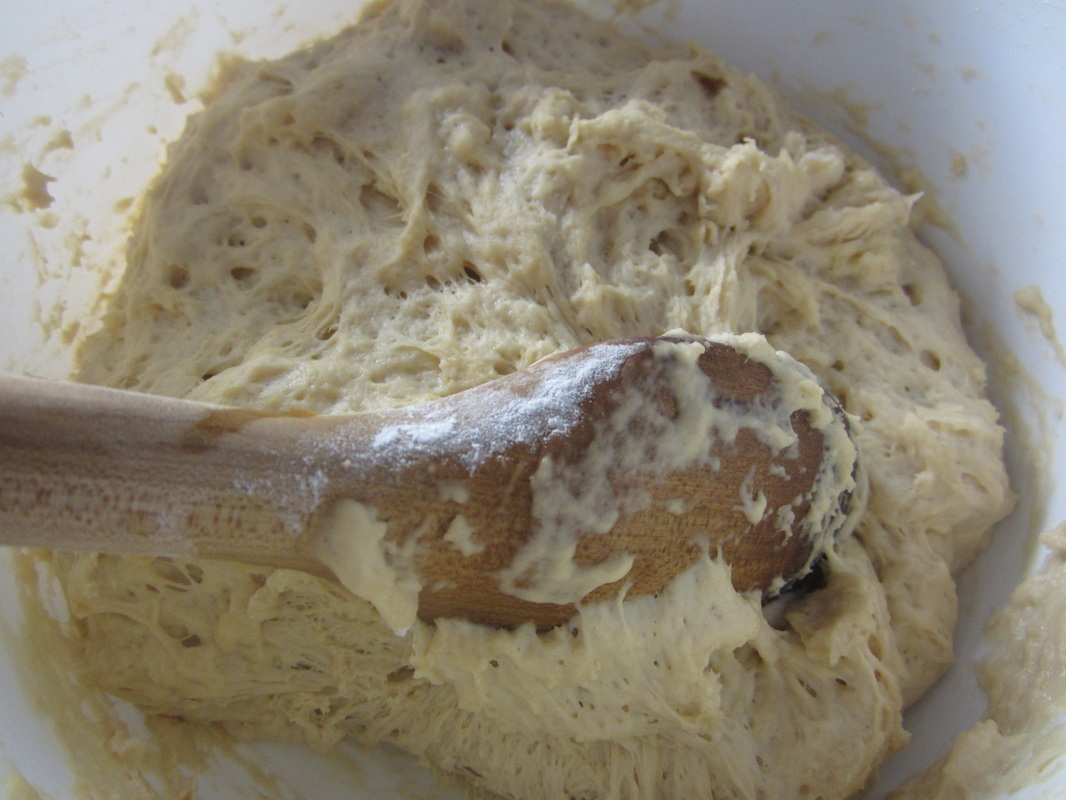
I let the dough rest a little, but that was just because I was busy. I usually don't. This is a sticky dough, so I kneaded in a little extra flour to make it easier to handle (no picture of the kneaded dough).
Pizza Dough: 1 Tbsp. active dry yeast 1 cup warm water (105 to 115 degrees F.) 2 Tbsp. sucanat or 1 T. sugar 1 tsp. salt 2 Tbsp. olive or vegetable oil 2 1/2 cups flour Dissolve the yeast in the water. Add the rest of the ingredients in and mix. Dump onto a floured surface. Knead in a little more flour to make it easier to handle (five minutes or so). 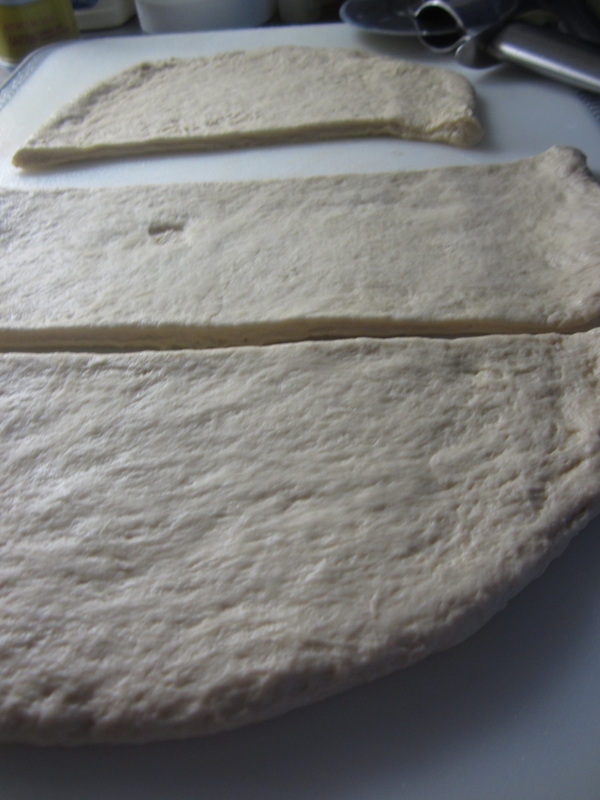
Roll out half of the dough onto a lightly floured cutting board and cut into 3 pieces. Repeat with the remaining dough.
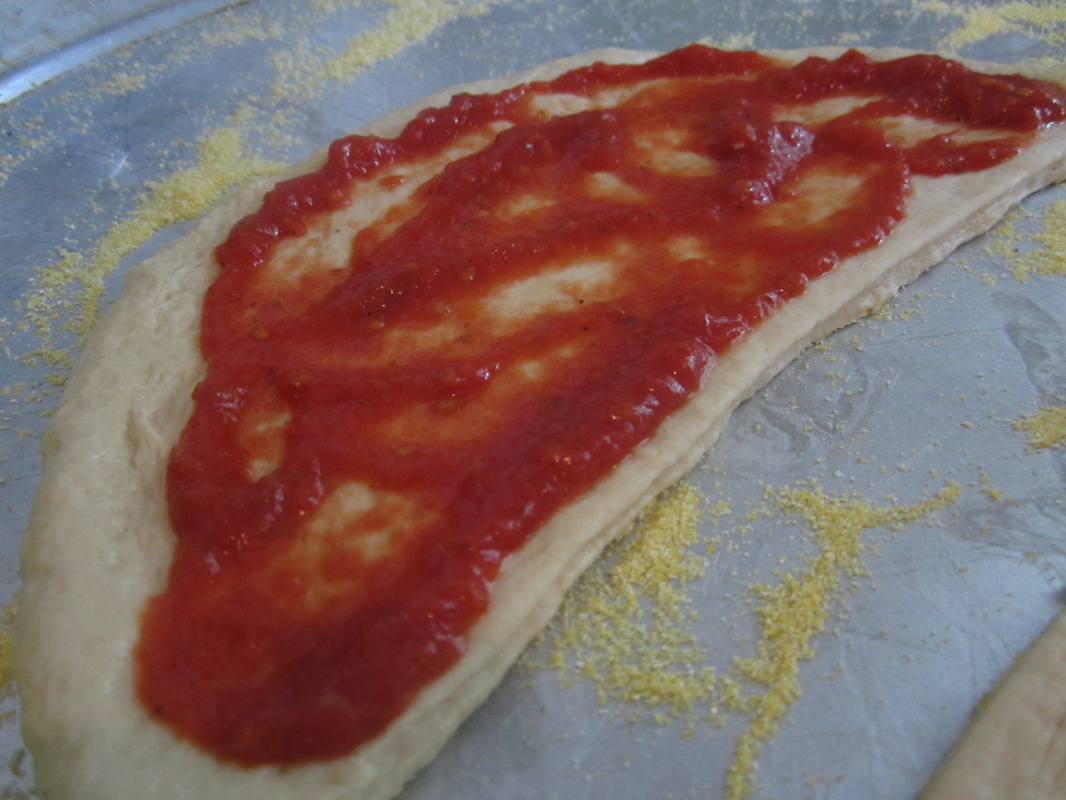
Sprinkle some corn meal on a large pizza pan or cookie sheet. Place the dough pieces on the pizza pan. Spread some pizza sauce on each piece of dough.
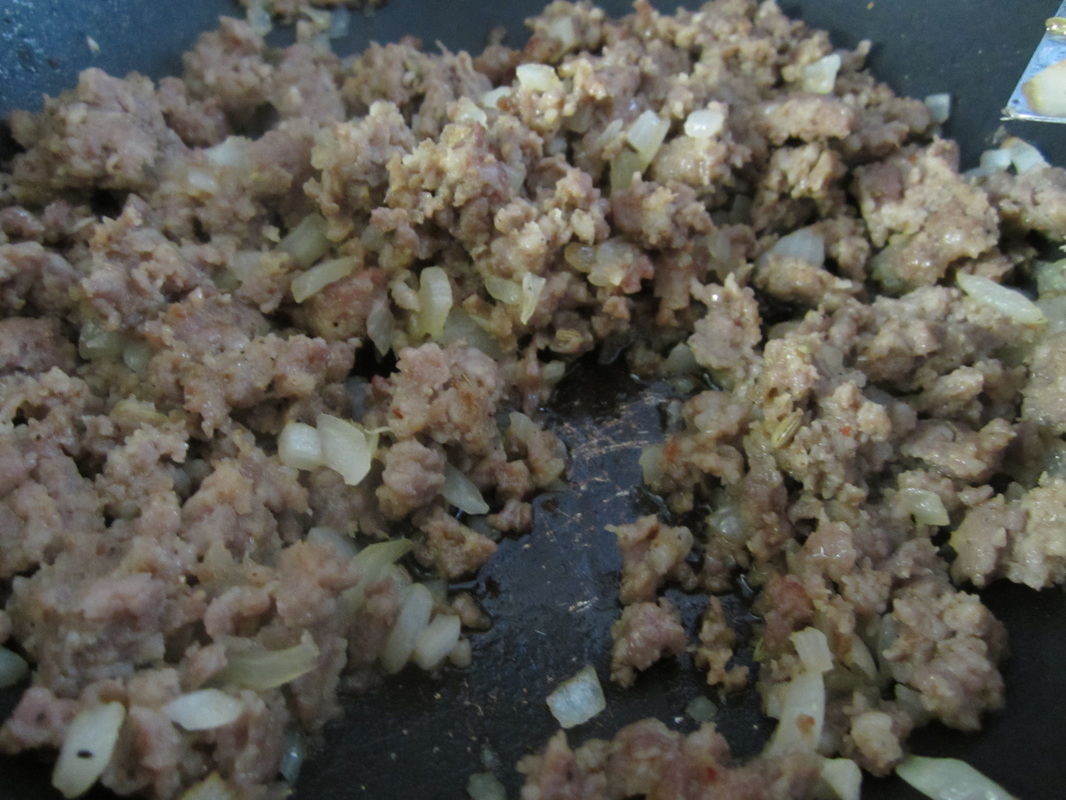
I cooked a pound of Italian sausage with a sweet onion for the filling. We didn't use it all, probably 3/4 of it so you could probably use 1/2 to 3/4 pound sausage.
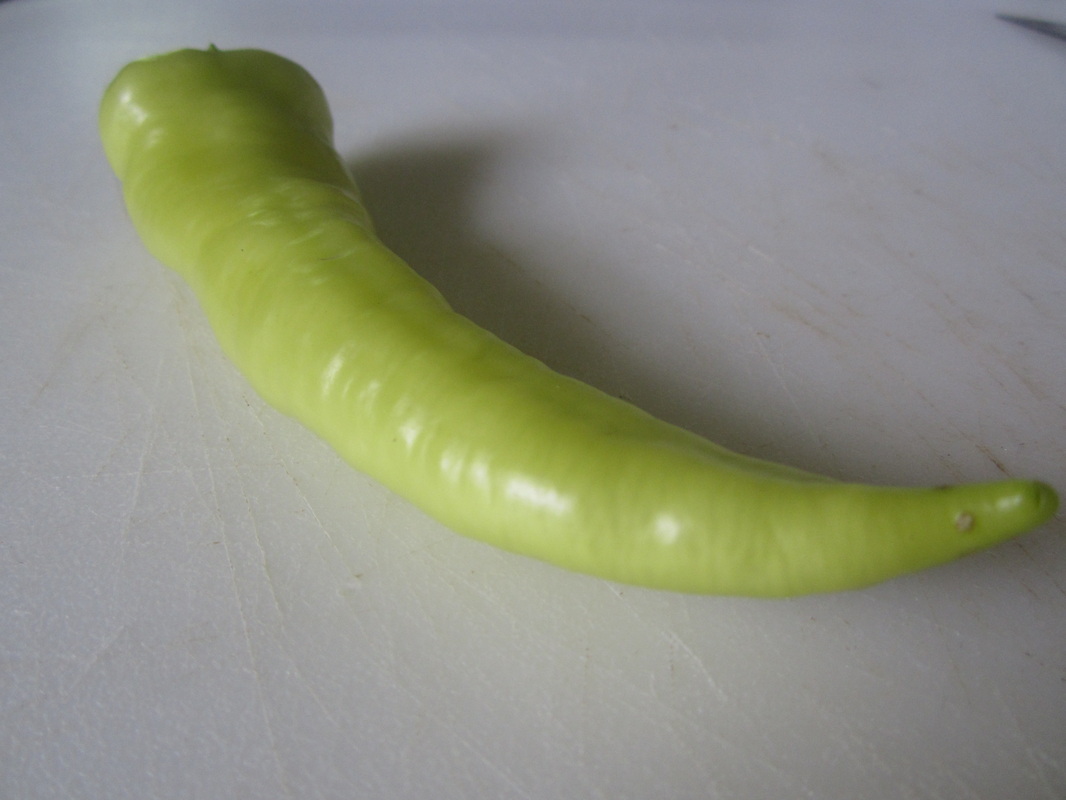
I picked this pepper from the garden and sliced it and added it to each calzone. It is supposed to be a Yolo pepper, but I think it is a banana pepper that was mis-labled at the garden center. It is not spicy yet, but I wanted some added dimension.
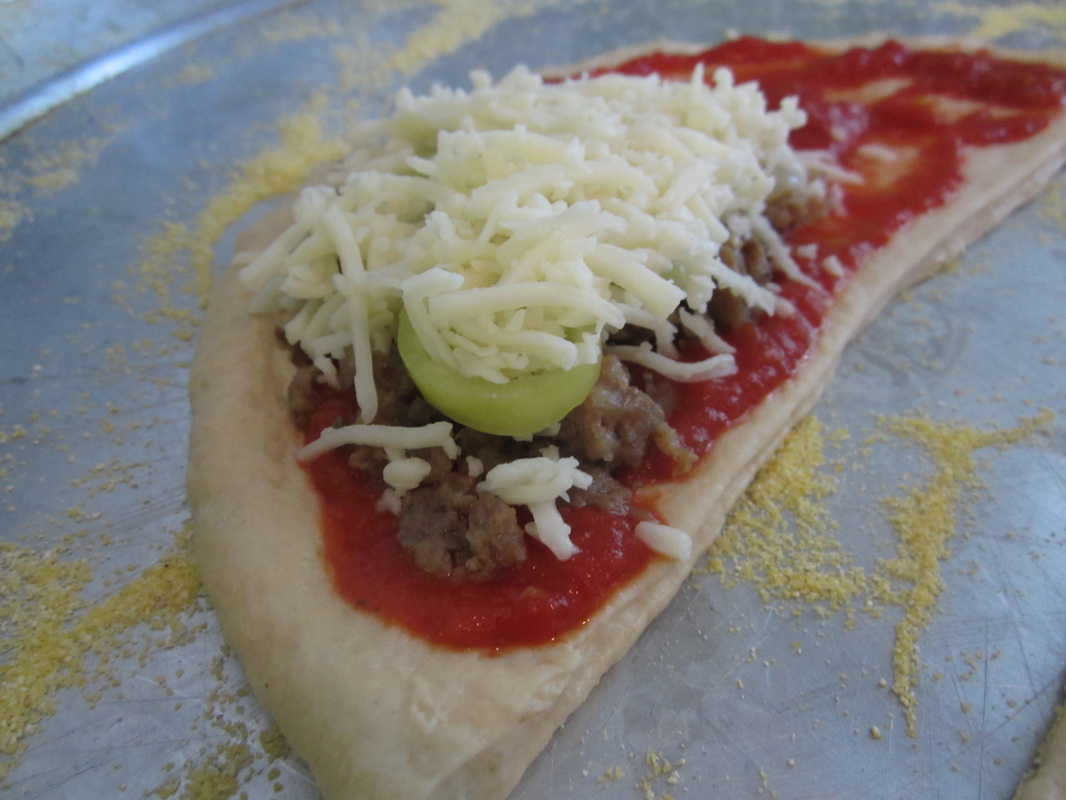
I layered the sausage, pepper, and mozzarella on 1/2 of each piece of dough.
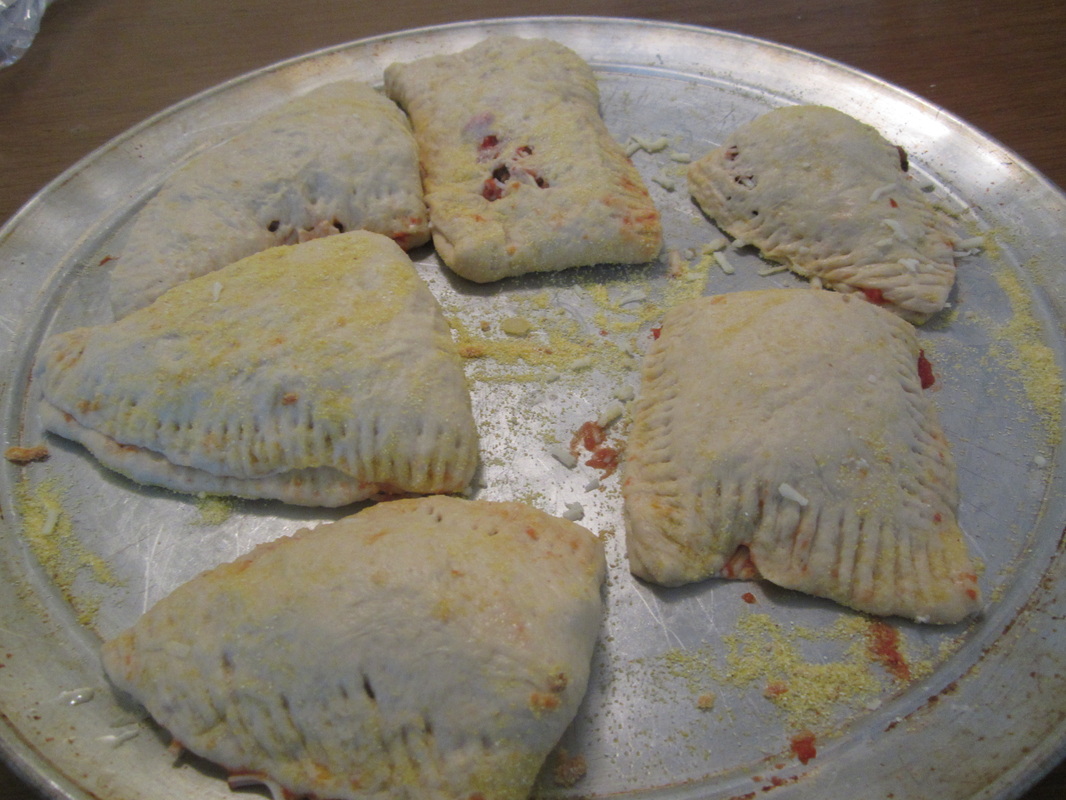
Fold over each piece of dough to seal it around the fillings. Press edges together and crimp them with a fork.
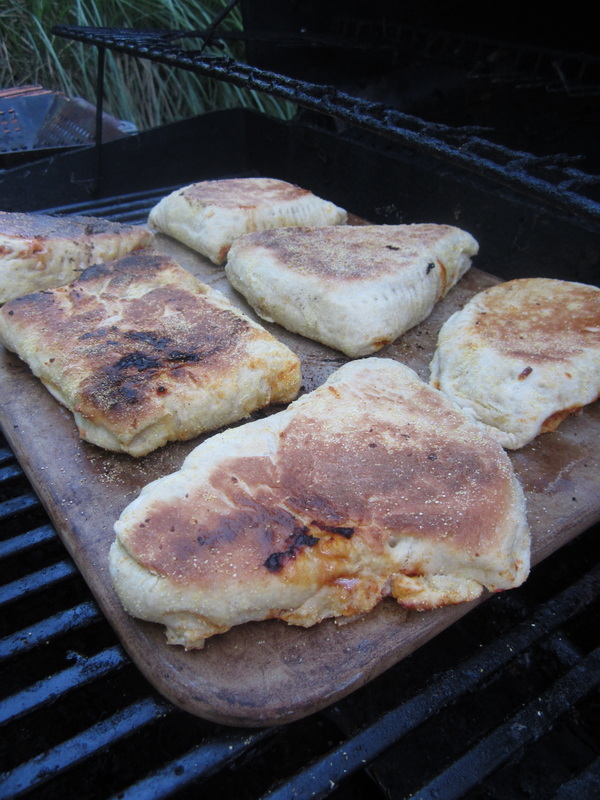
Place calzones on a hot pizza stone or grilling rack on the grill. I kept my grill on low (which is still pretty hot) to prevent burning. Foil would probably work too. I found it easier to lift them (when uncooked) onto the grill with my hands than with a turner.
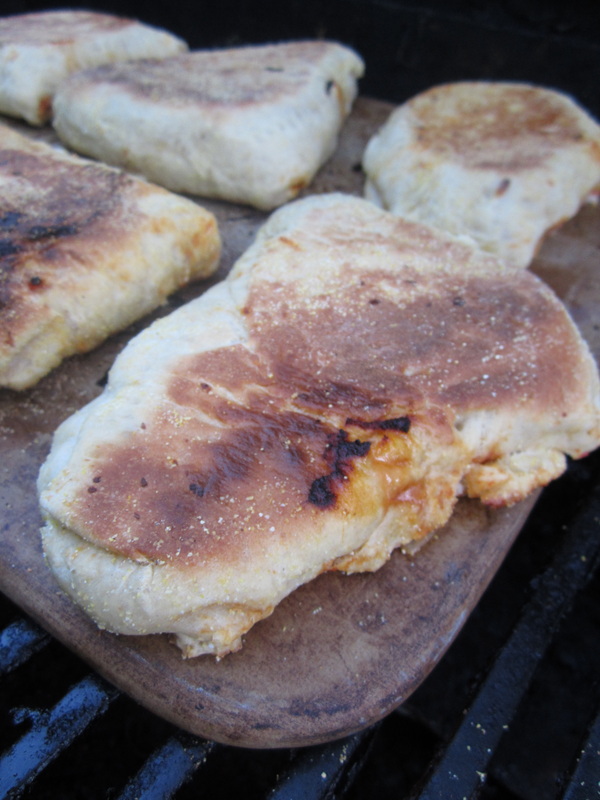
Grill for 10 to 15 minutes turning over halfway through.
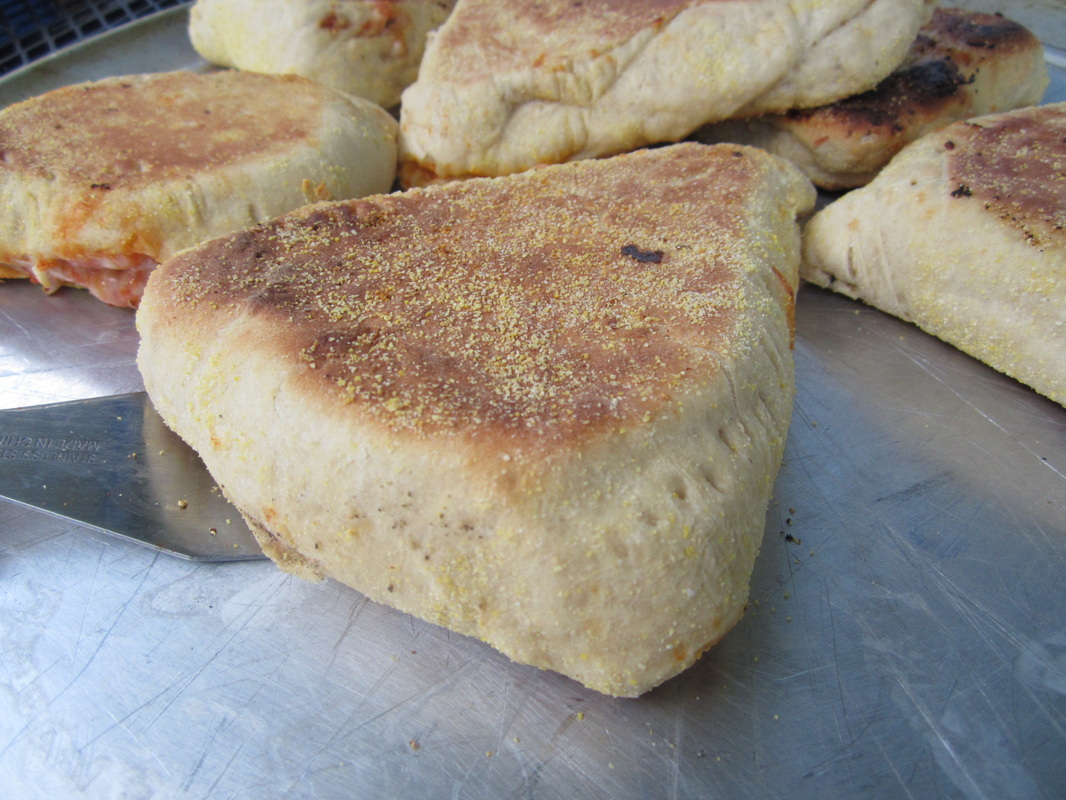
We loved the combination of flavors in these grilled calzones, but of course you can fill them with whatever you like.


My son like most two year olds loves to play with balls so we threw him a ball birthday party for his second birthday. We kept it really simple by keeping the guest list small. We didn't do a pinata or any party favors.
I did find this blow-up ball pit with multi-colored balls in a second hand children's store and my 6 year old said we had to buy it for the party. It was a hit. Unfortunately, the ball pit did not survive the wild party boys (it sprung a leak), but the balls have provided hours of fun on their own. 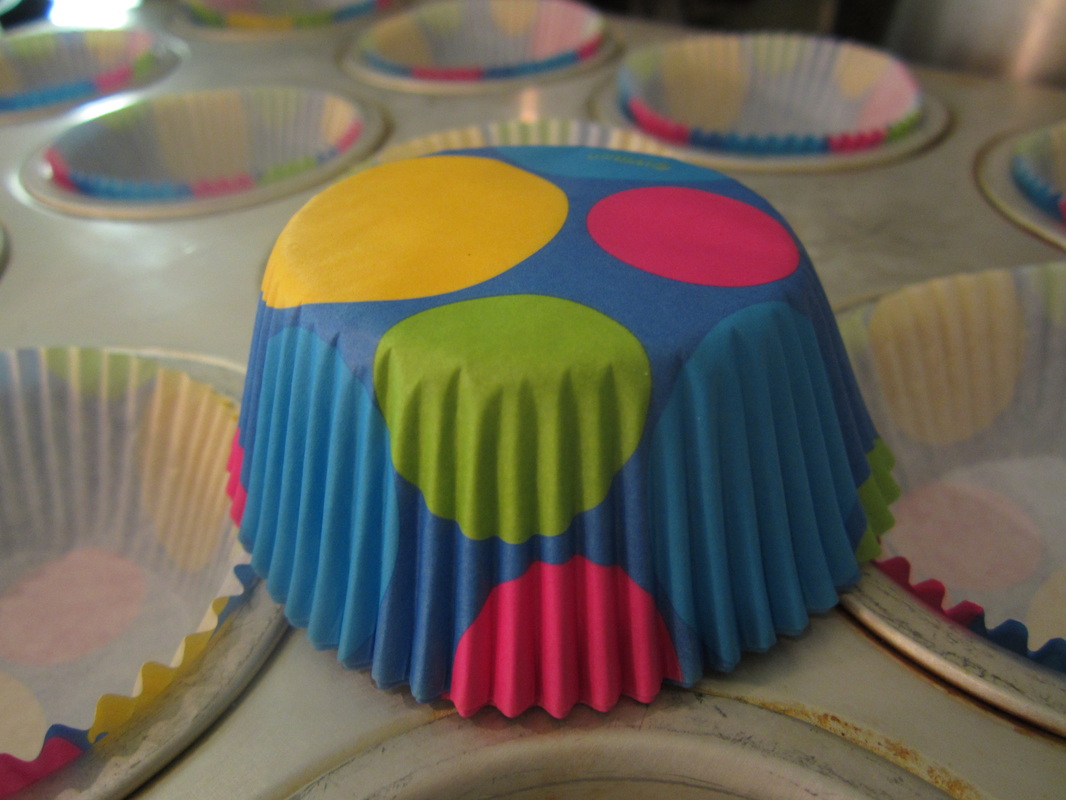
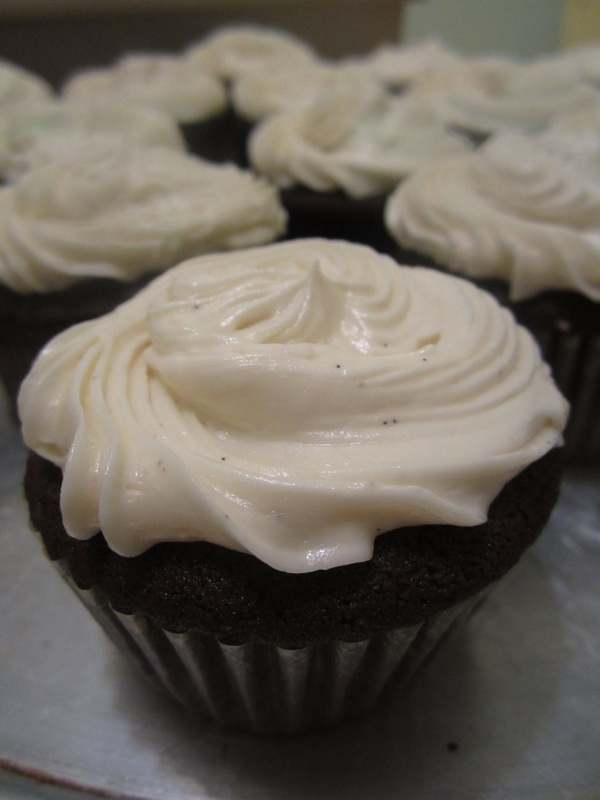
I found these adorable cupcake liners at Meijer and thought they were perfect for a ball themed party.
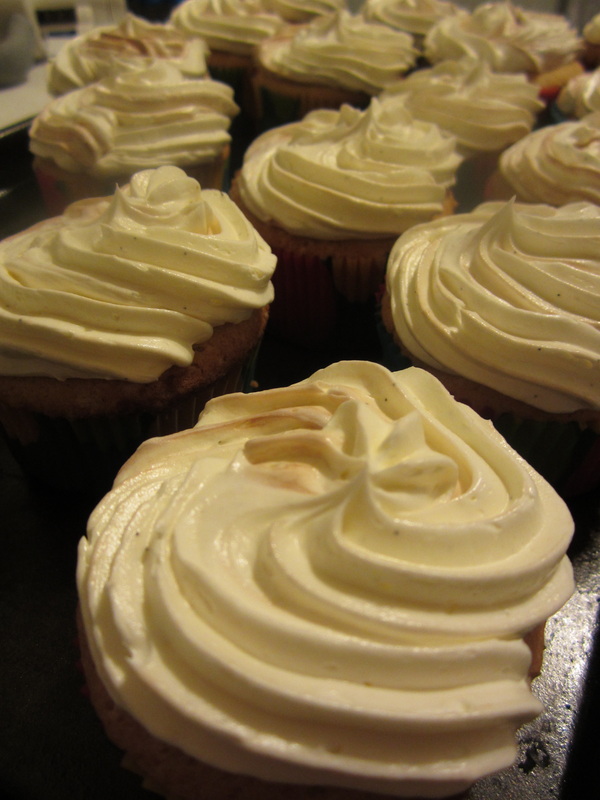
I made these vanilla cupcakes with chocolate buttercream and frosted some of them with vanilla bean icing.

I swirled some of them with chocolate and vanilla icing. I loved both icing recipes and would make them again. I found the cupcake recipe good, but a bit challenging.
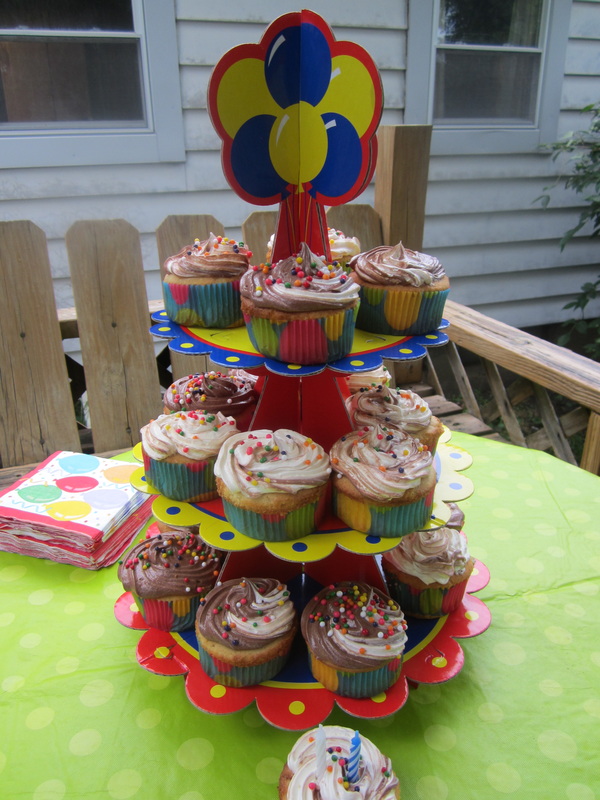
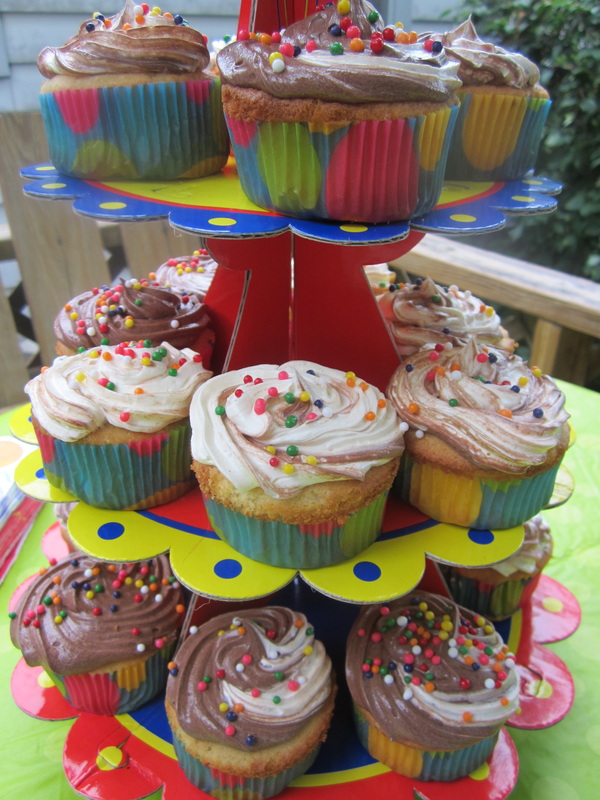
I used these large ball sprinkles (also from Meijer) to coordinate with the party theme.

This boy is serious about his icing.
I tried to keep the menu both manageable and delicious.
The Party Menu: Guacamole and Homemade Tortilla Chips Pulled Pork and Cole Slaw Hot dogs Black Bean and Corn Salad Fresh Berries Cheese Balls (our only ball themed food) Cupcakes and Homemade Ice Cream Pop, Water, Juice
 I have been making my favorite chocolate cake recipe as cupcakes. Cupcakes are so easy to make and they are simply fun. I served cupcakes at both birthday parties we have given the boys this summer and they were very well received, but hey--- who doesn't like cupcakes? Here is my favorite chocolate cake recipe, baked as cupcakes. Chocolate Cupcakes with Chocolate Frosting Cake Ingredients: 1 cup cocoa powder 2 cups boiling water 1 cup (2 sticks) butter, softened 2-1/2 cups sugar 4 eggs, at room temperature 2-3/4 cups all-purpose flour 2 teaspoons baking soda 1/2 teaspoon baking powder 1/2 teaspoon salt 1-1/2 teaspoons vanilla extract Chocolate Cake Directions: 1. Preheat oven to 350 degrees F. Put cupcake liners in cupcake pans. This recipe will make more than your average 24 cupcake recipe. Expect 30+ cupcakes. For even heating, bake them in two or three batches so that there is only one pan in the oven at a time. Place the pan in the center of the oven. 2. In a medium bowl, stir the boiling water into the cocoa until smooth, and set aside. 3. In a separate bowl, combine the flour, baking soda, baking powder and salt, and set aside. 4. At medium speed of an electric mixer, cream the butter and sugar for 4 to 5 minutes. 5. Add the eggs, one at a time, beating well after each addition. 6. Turn mixer down to low speed. Add the flour mixture to the creamed mixture alternately with the cocoa mixture, beginning and ending with the flour mixture. 7. Stir in the vanilla, and do not over-beat. 8. Spoon the batter into the cupcake pan. I fill the cupcake liners about 3/4 full. This recipe makes nice flat topped cupcakes that are easy to frost. 9. Bake for approximately 20 minutes or until a cake tester comes out clean. 10. Remove from pan. Cool on cooling rack. Allow cupcakes to cool completely before frosting. Chocolate Frosting Ingredients: 1 6-ounce package semi-sweet chocolate chips (1 cup) 1/2 cup half-and-half 3/4 cup butter (1-1/2 sticks) 2-1/2 cups sifted confectioners' sugar (powdered sugar) Chocolate Frosting Directions: 1. Combine the chocolate chips, half-and-half and butter in a heavy saucepan. 2. Cook over medium heat, stirring constantly, until chocolate chips melt. Remove from heat. 3. Gradually add the confectioners' sugar, stirring well. 4. Put icing in mixing bowl and refrigerate until cold. Then mix with electric mixer until light and fluffy. I have been using a delicious recipe for Vanilla Bean Buttercream Frosting from Annie's Eats. Here is a picture of some cupcakes I made earlier this summer with chocolate icing. I swirled chocolate and vanilla on some of them to make this really pretty effect. 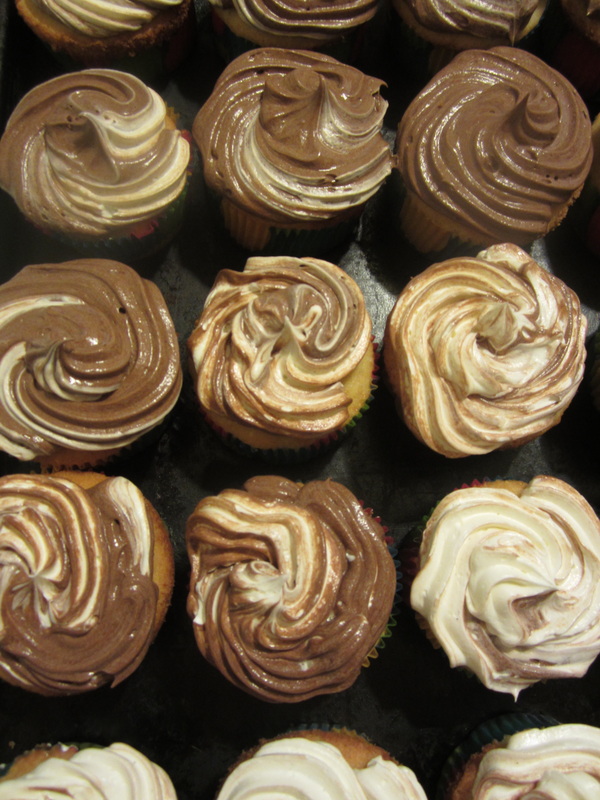 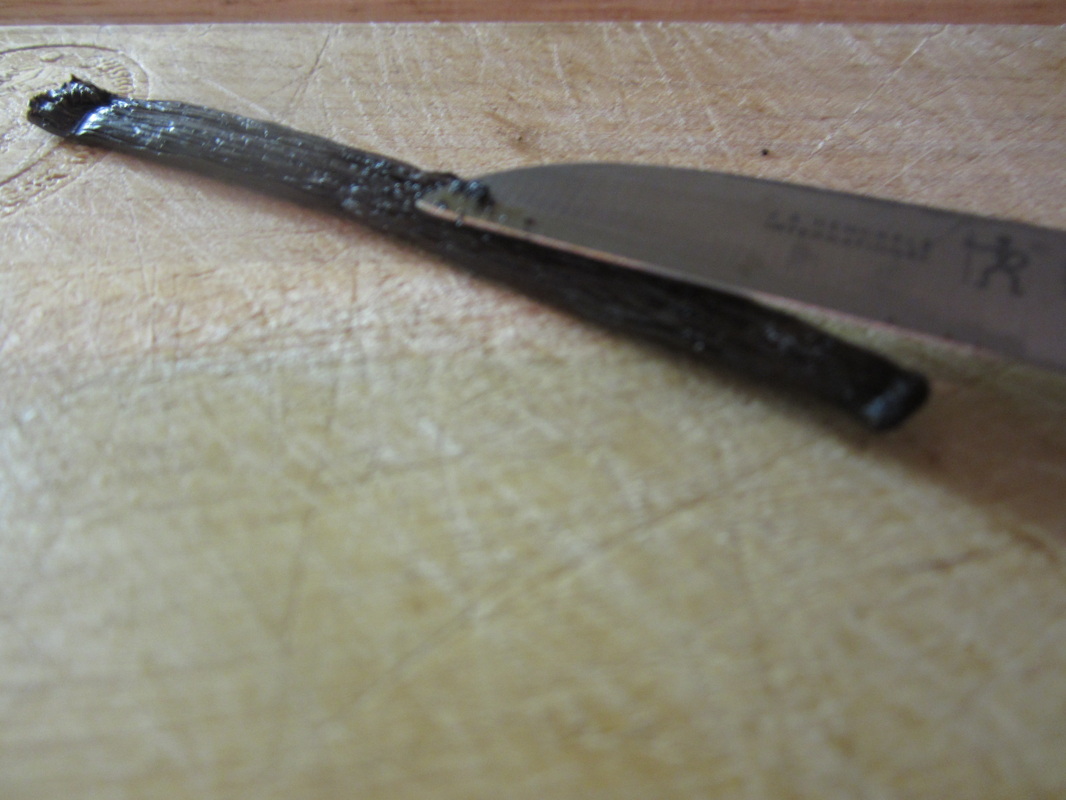
Vanilla beans add wonderful flavor and those pretty little flecks to recipes and they are so easy to use. Simply slice the vanilla bean lengthwise, then scrape out the insides. 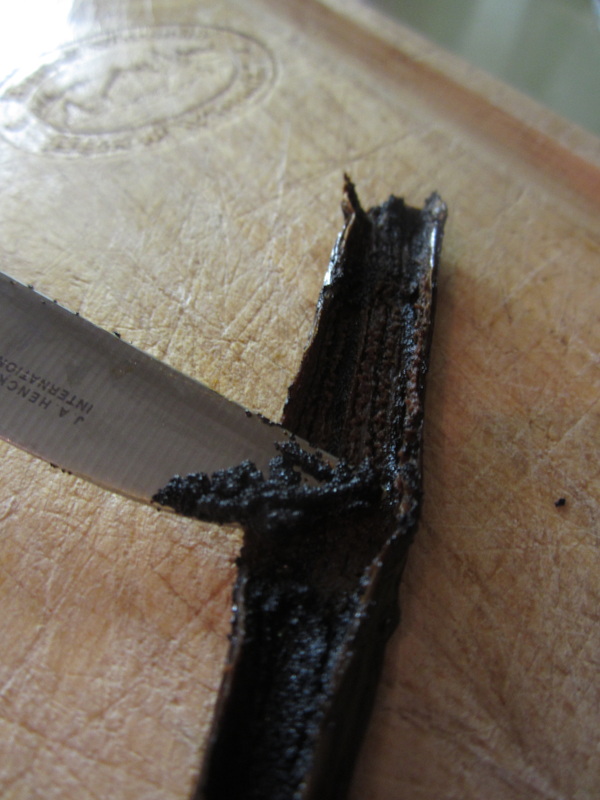
Discard the outer skin and add those beautiful little bean flecks to ice cream, icing, cake batter, whatever makes you happy. Your options are endless.
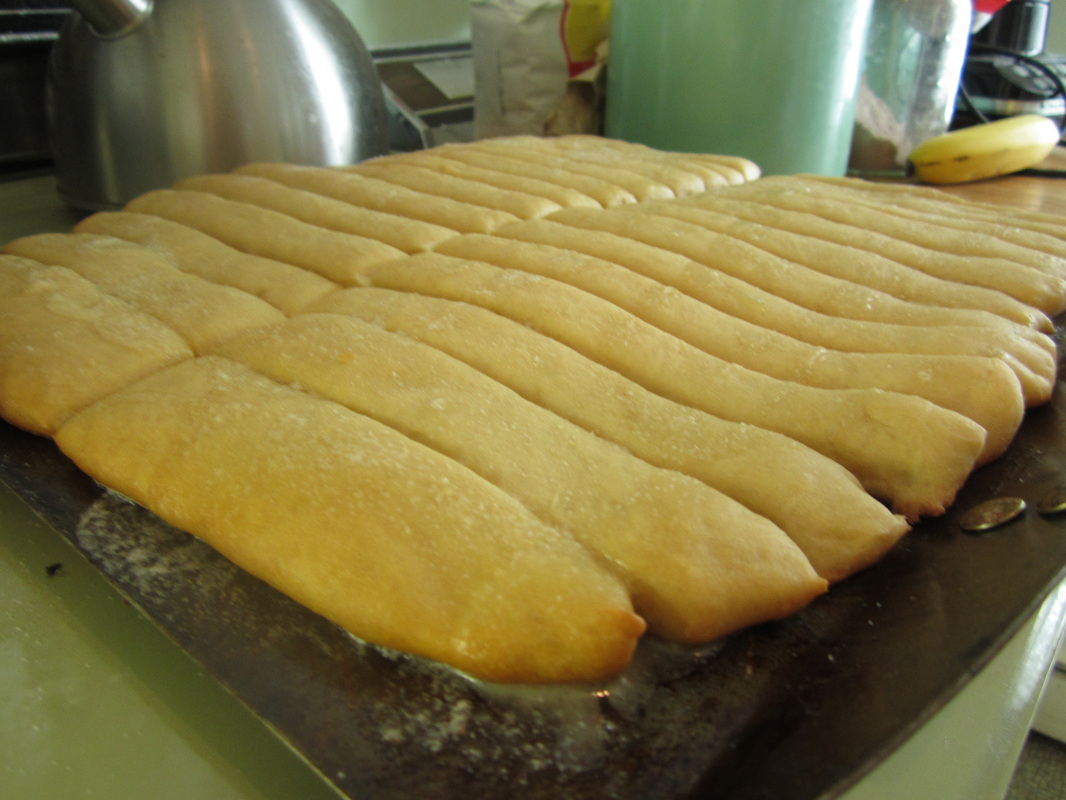 We LOVE this recipe for bread machine breadsticks so much that when my bread machine quit working we went through breadstick withdrawal. I knew we had to have these breadsticks so I tried making them by hand and it worked. They were just as delicious as before and they were actually pretty easy to make. I have been making these regularly without a bread machine and they come out perfect every time. This dough also makes a delicious pizza crust. Simply top with your favorite pizza toppings after rolling the dough out onto the pan. Don't let the dough rise a second time, just bake the pizza after putting on the toppings. It makes a deliciously sweet breadstick crust. Ingredients: 1 cup warm water 2 1/2 tsp active dry yeast 3 TBS brown sugar or sucanat 1/4 cup oil (I use olive oil) 3 cups of bread flour (all purpose works too) 1 tsp. salt Dissolve the yeast in the water. Add the rest of the ingredients in and mix. Dump onto a floured surface. Knead into a smooth dough (five minutes or so). 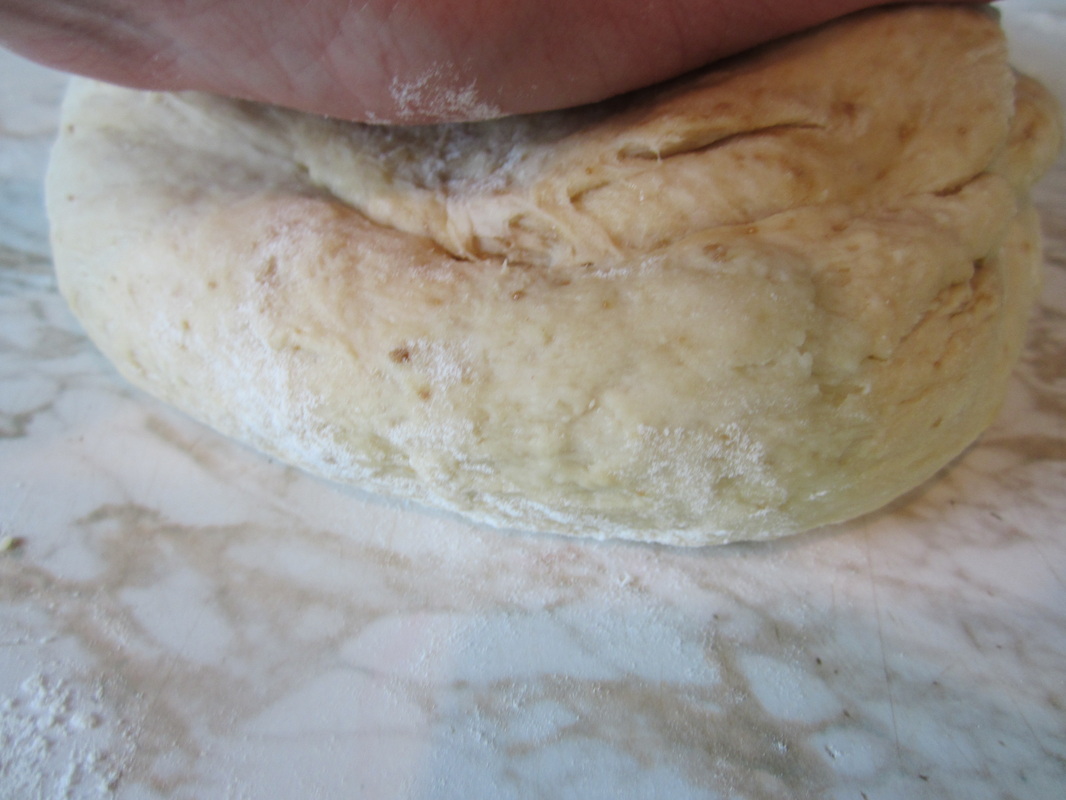 Put dough in a bowl to rise for about an hour or so. Cover with a towel. 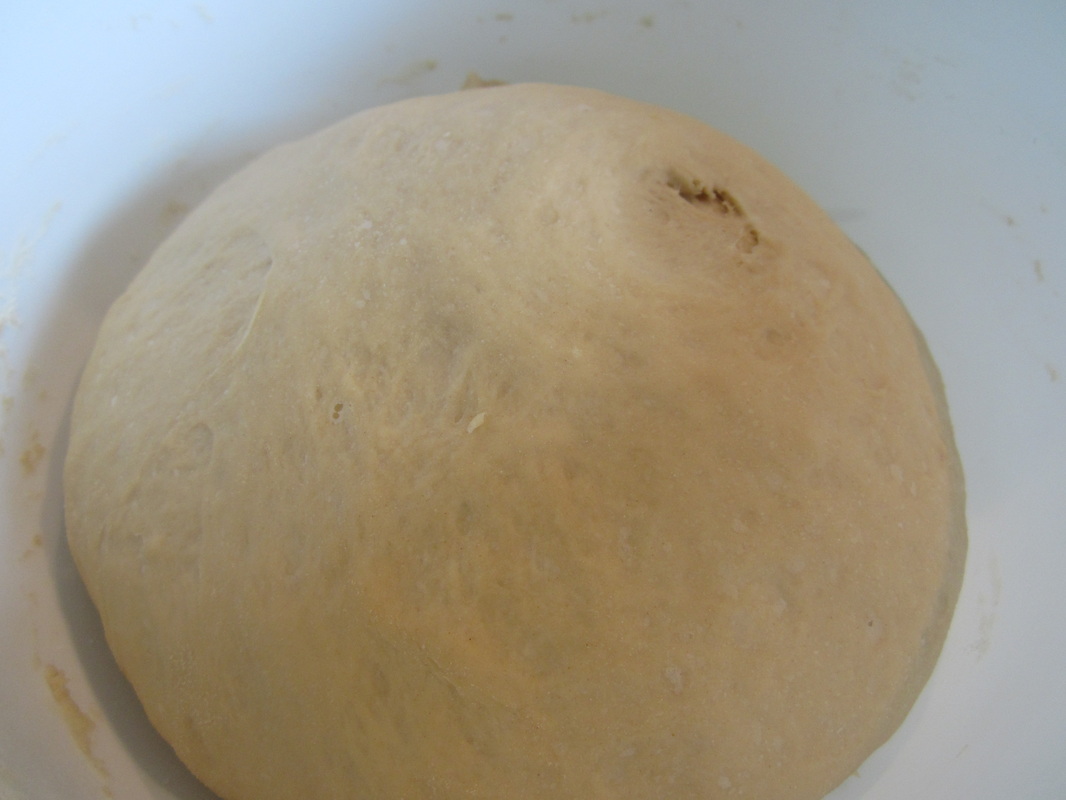 Once the dough has risen, roll the dough onto a 10 x 12 lightly buttered cookie sheet. My cookie sheet is larger than 10 X 12. Just use a large cookie sheet and don't worry too much about the dimensions. 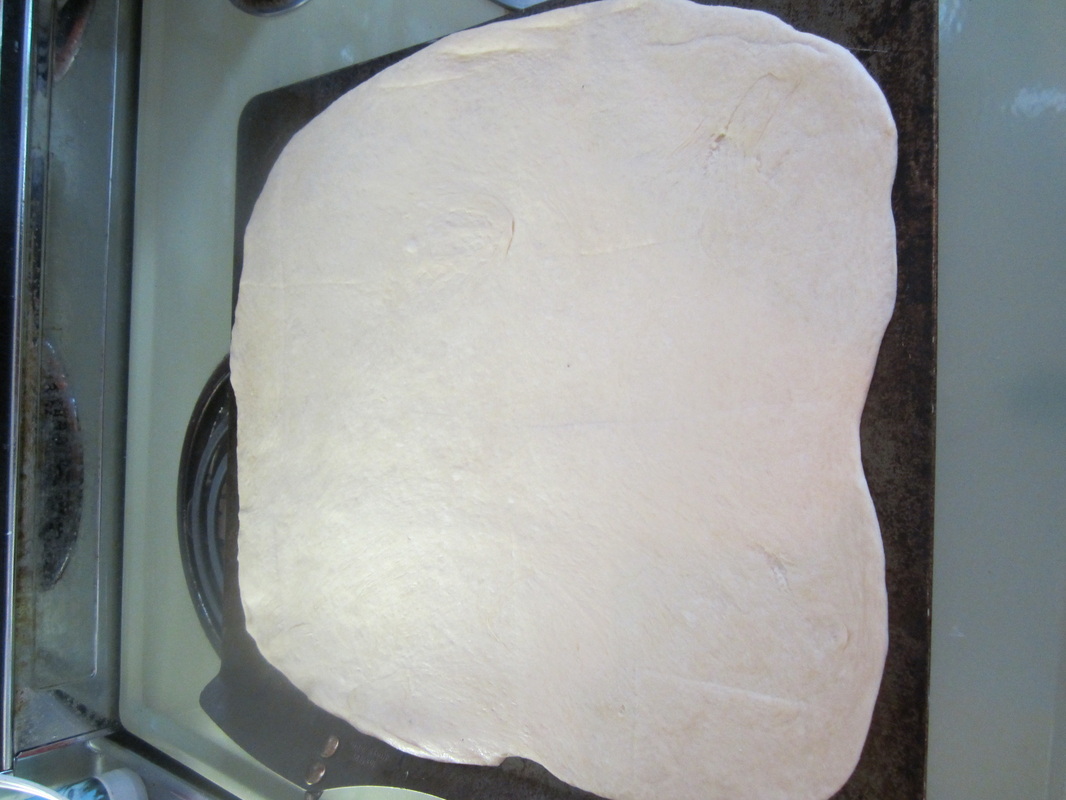 Using a pizza cutter, cut the bread sticks into 24 pieces. 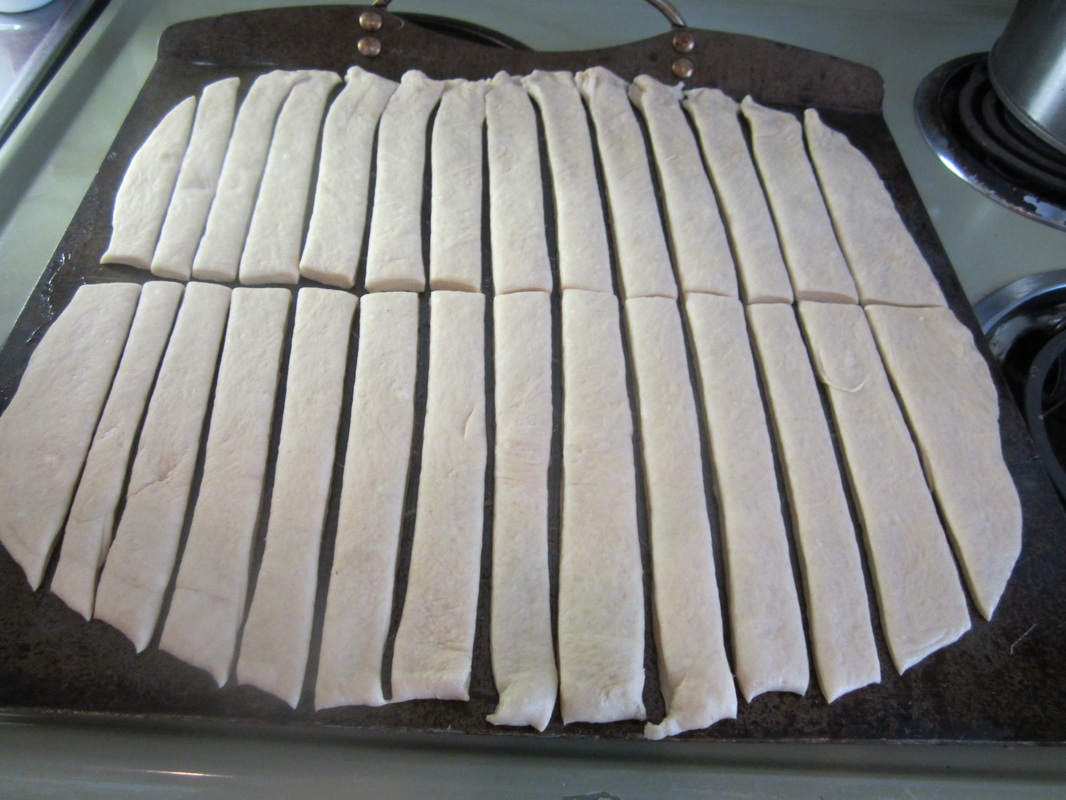 Let rise for about an hour. Cover with a tea towel again while it is rising. 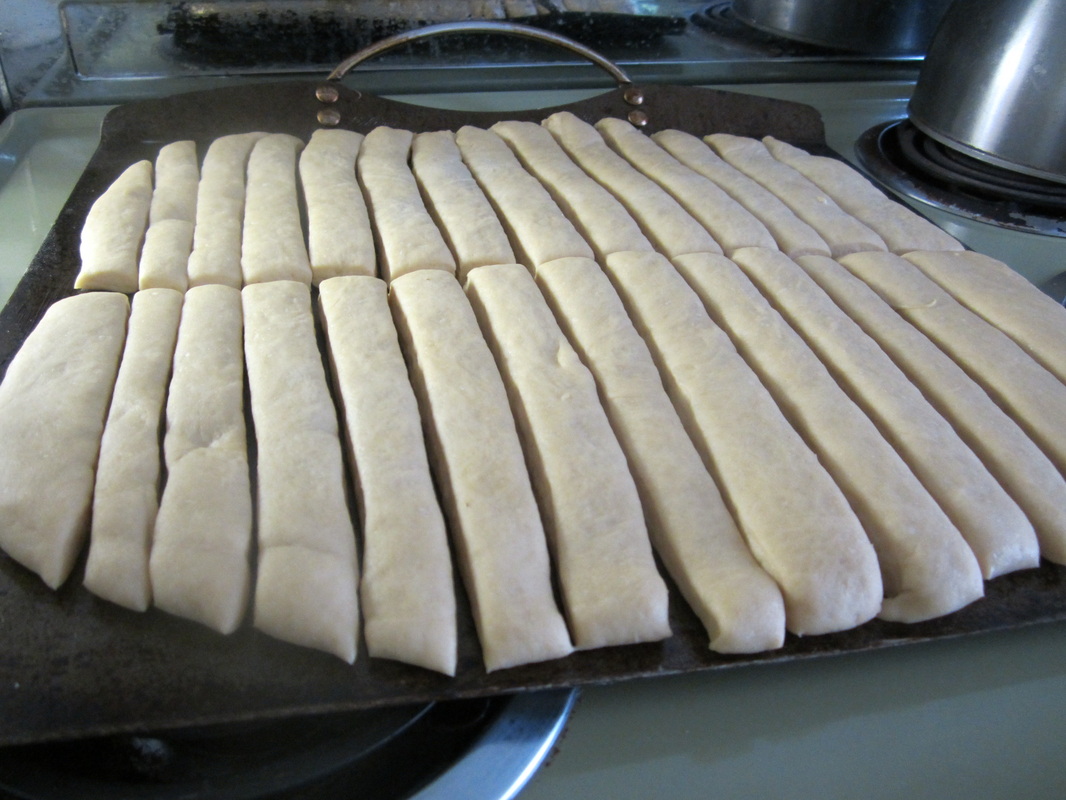 Bake at 375 for 10-15 minutes. When breadsticks come out of the oven, drizzle 4 TBS melted butter on top, then sprinkle with 1/2 tsp or more garlic salt. Finally, sprinkle with Parmesan cheese and serve with pizza sauce for dipping. *You can reheat any leftover bread sticks at 375 degrees F for 5 minutes or so until they are warm. My boys gobble these up, reheated for lunch.  |

Welcome to Home Ec @ HomeHi, I'm Faith, a former Family and Consumer Science teacher turned food blogger. I love God, my family, and food. You can usually find me in the kitchen preparing family friendly, homemade recipes and taking lots of pictures. 
Still Goldens, Southern, IL
 Fan Favorites

The Best Dry Brined Turkey with Citris and Fresh Herbs

 Dehydrating Pears and Apples in the Instant Pot Duo Crisp Dehydrating Pears and Apples in the Instant Pot Duo Crisp
 
 |
 RSS Feed