|
Disclosure: We are a participant in the Amazon Services LLC Associates Program, an affiliate advertising program designed to provide a means for us to earn fees by linking to Amazon.com and affiliated sites.
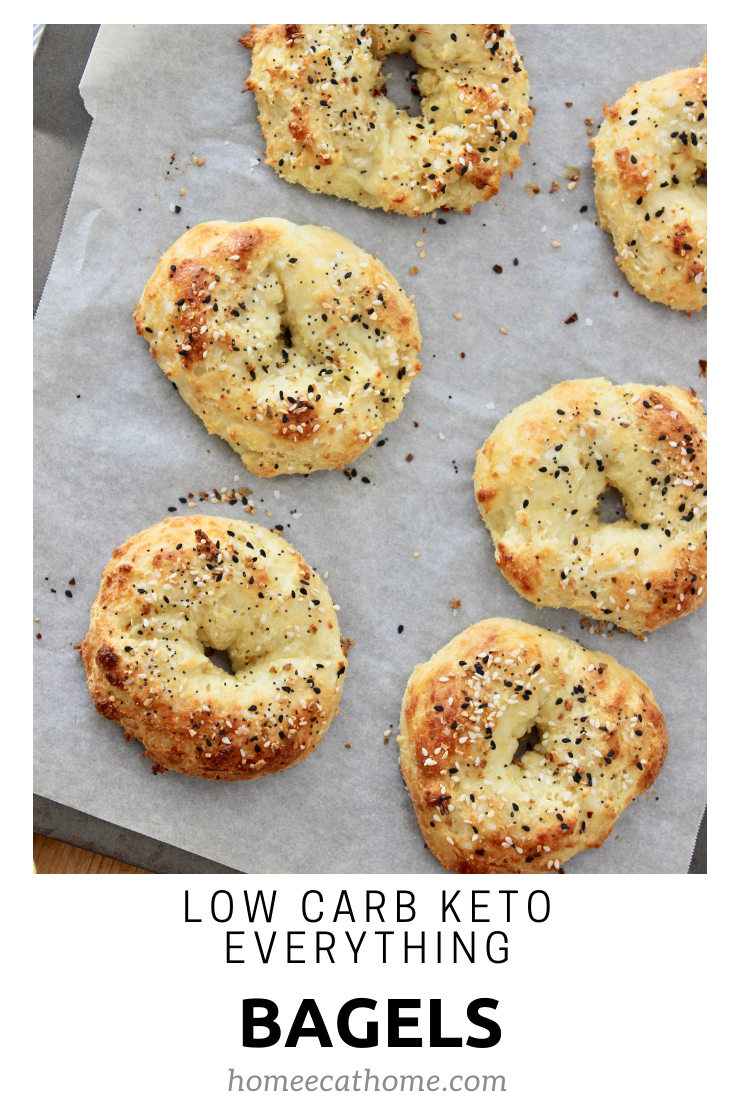
If you have been following a low carb lifestyle, you have probably found yourself craving breads at some point. My husband and I started eating low carb foods in January. When we all started staying home all of the time in March, we eased up a bit and enjoyed more baking with the kids. Now we are somewhere in between, trying to eat a healthy balanced diet with fewer empty carbs, but also enjoying some treats here and there. These low carb keto everything bagels are one of my favorite breakfast foods that I enjoy without all of the empty carbs.
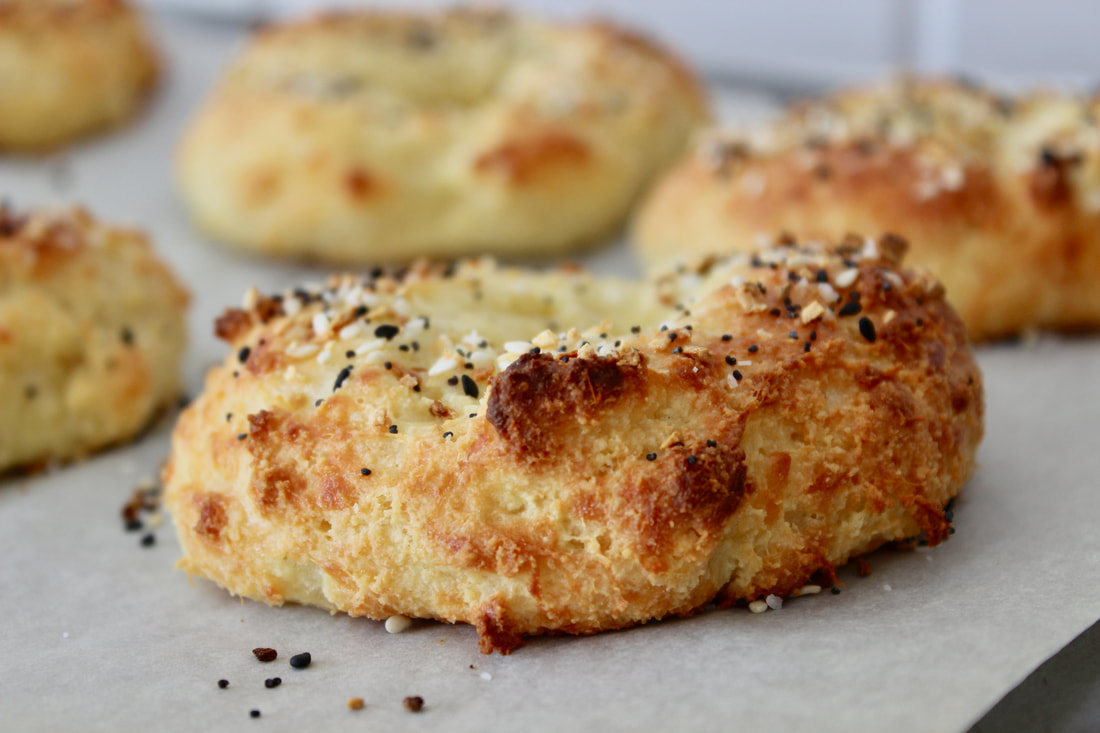
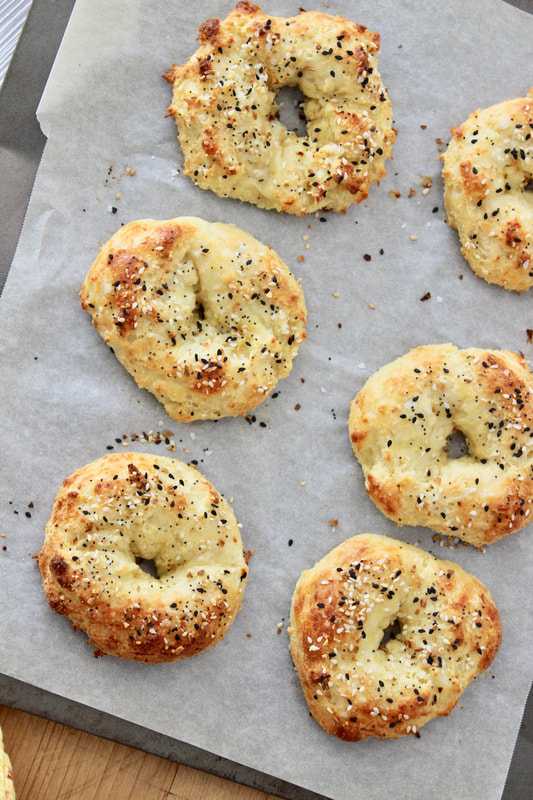
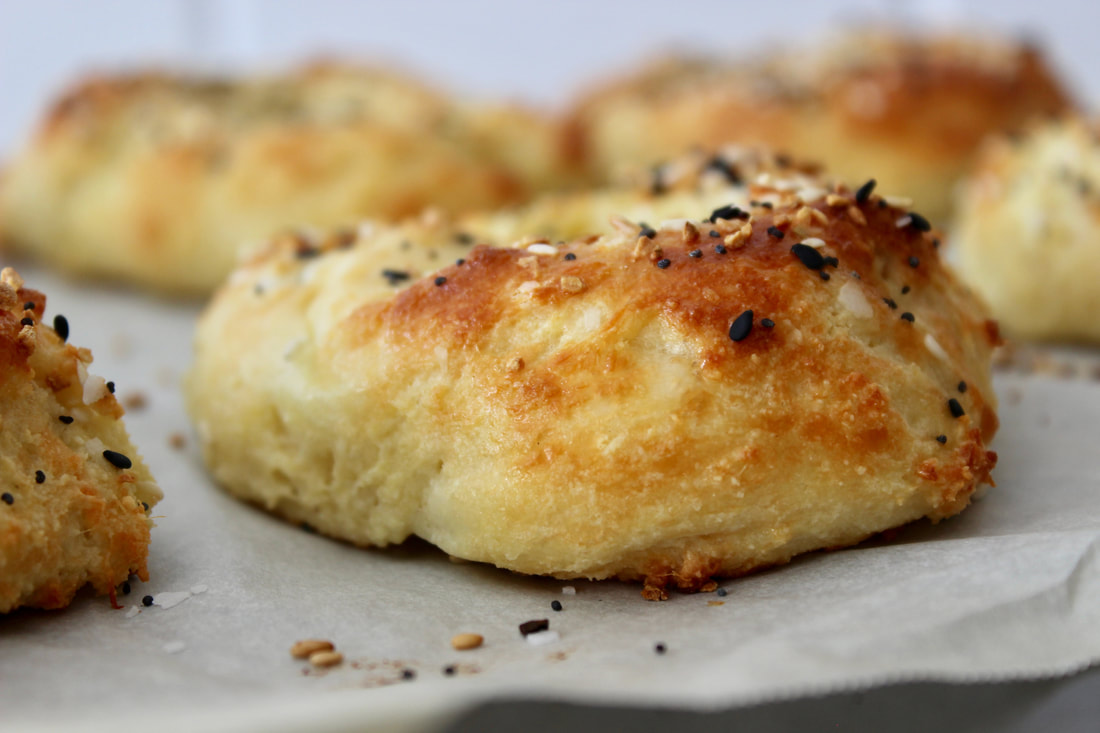
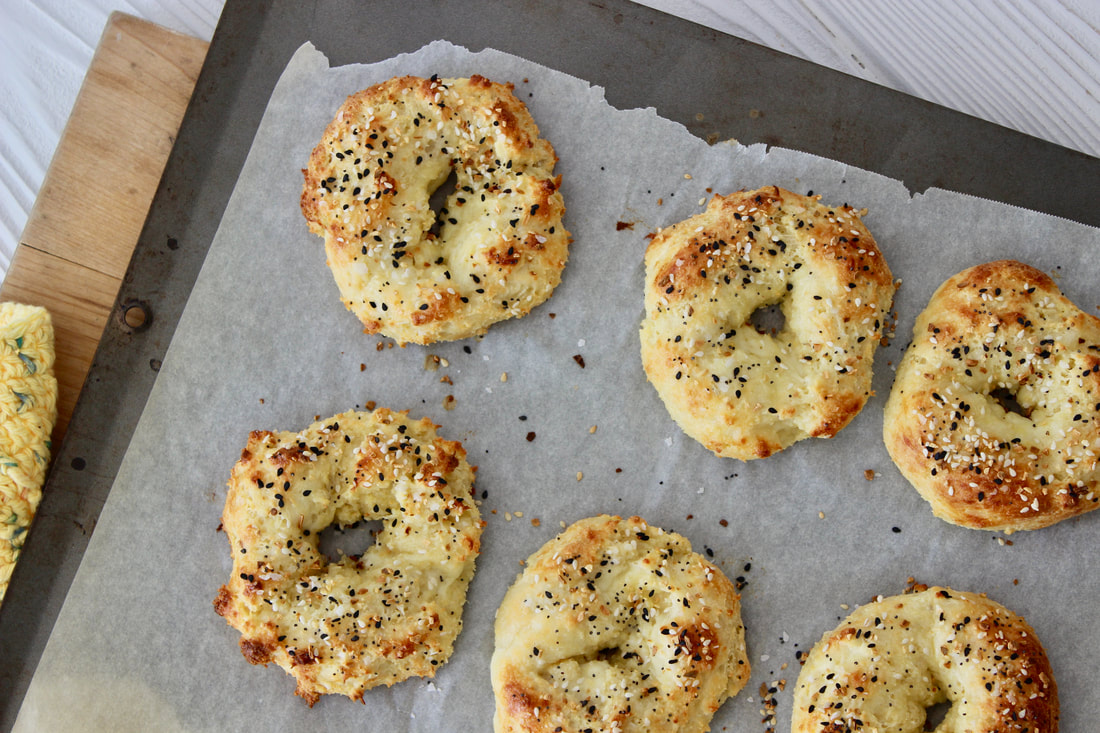
These are not like conventional bagels, but they are really good. I love them fresh and hot right out of the oven or toasted with a smear of cream cheese.
These bagels are made with a basic fathead dough of mozzarella cheese, cream cheese, almond flour, baking powder, and eggs making them keto and gluten free.
Since I have been doing some low carb baking, I have gone through several bags of almond flour. I have been ordering this brand (amazon link) and think it is the best deal I have seen. I also ordered this everything bagel seasoning (amazon link), but have since seen it for a better price at Aldi.
Low Carb Keto Everything Bagels
Makes 6 bagels 2 Cups almond flour 1 Tbsp baking powder 2 Cups mozzarella cheese, shredded 2 oz. cream cheese 2 eggs, beaten Everything bagel seasoning Directions: 1. Preheat oven to 400 degrees F. 2. In a bowl, mix the almond flower and baking powder. 3. In a large microwave safe bowl, melt the mozzarella and cream cheese together. Microwave for one minute, stir and microwave another minute. 4. Stir together the flour mixture, cheese and eggs. 5. Shape into the form of a bagel and place on baking sheet. I roll balls of dough into little tubes and shape them into do-nut shapes. 6. Sprinkle on everything bagel seasoning. 7. Bake for about 12 minutes or until golden brown.
Pin on Pinterest
3 Comments
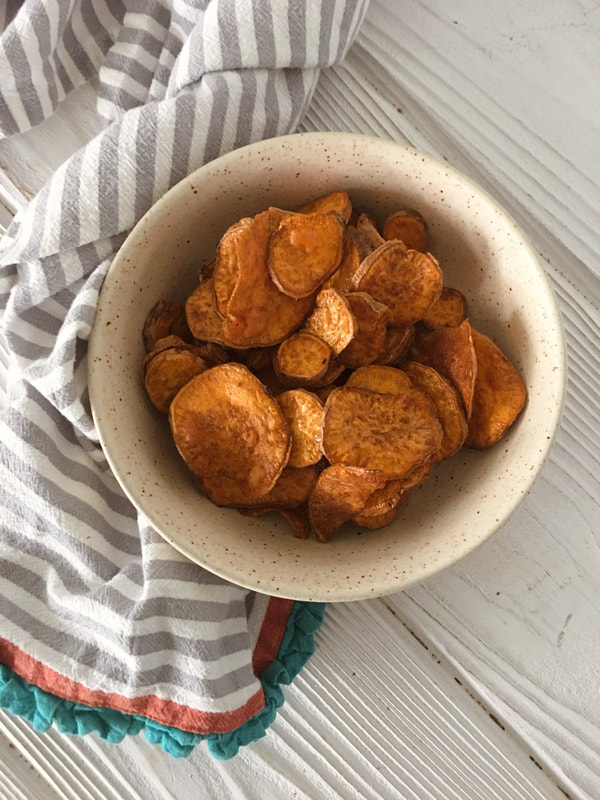
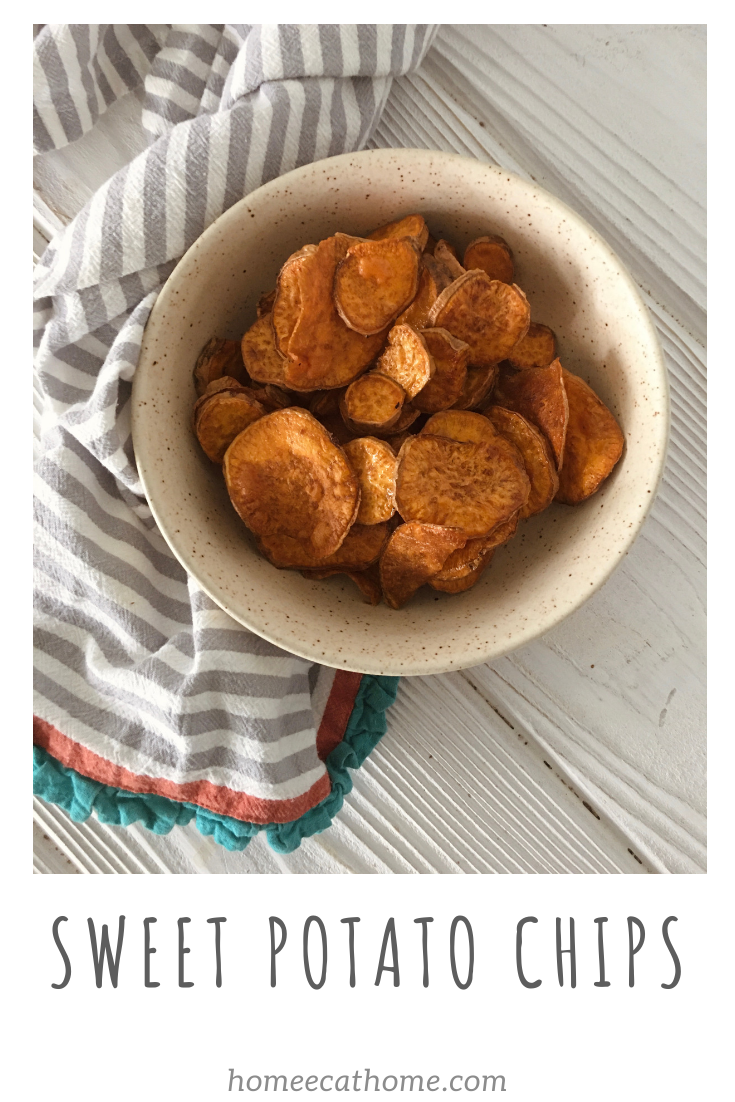
You won't believe it, but we are still eating sweet potatoes from last summer's crop. We have almost finished them, but there are still a few left in the garage. One of our favorite warm weather ways to eat sweet potatoes is to make sweet potato chips. They are perfect with summer foods like anything on the grill and of course the best side to go with a juicy hamburger.
My favorite way to make them is to fry them, but they are also really good made in the air fryer. Try these air fryer sweet potato chips. You can also make regular potato chips which are really good too.
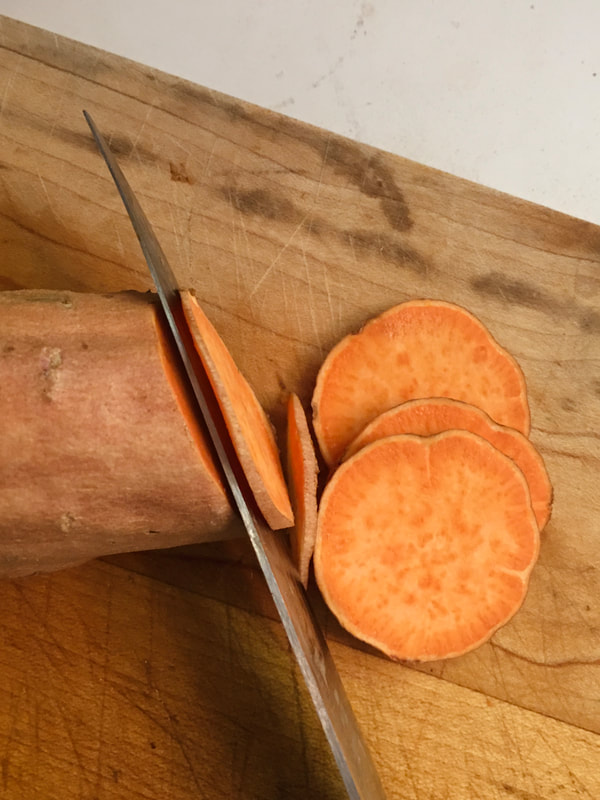
I wash the sweet potatoes then slice them thinly with a sharp knife. You can also use a mandolin, but I get thinner slices with slicing by hand.
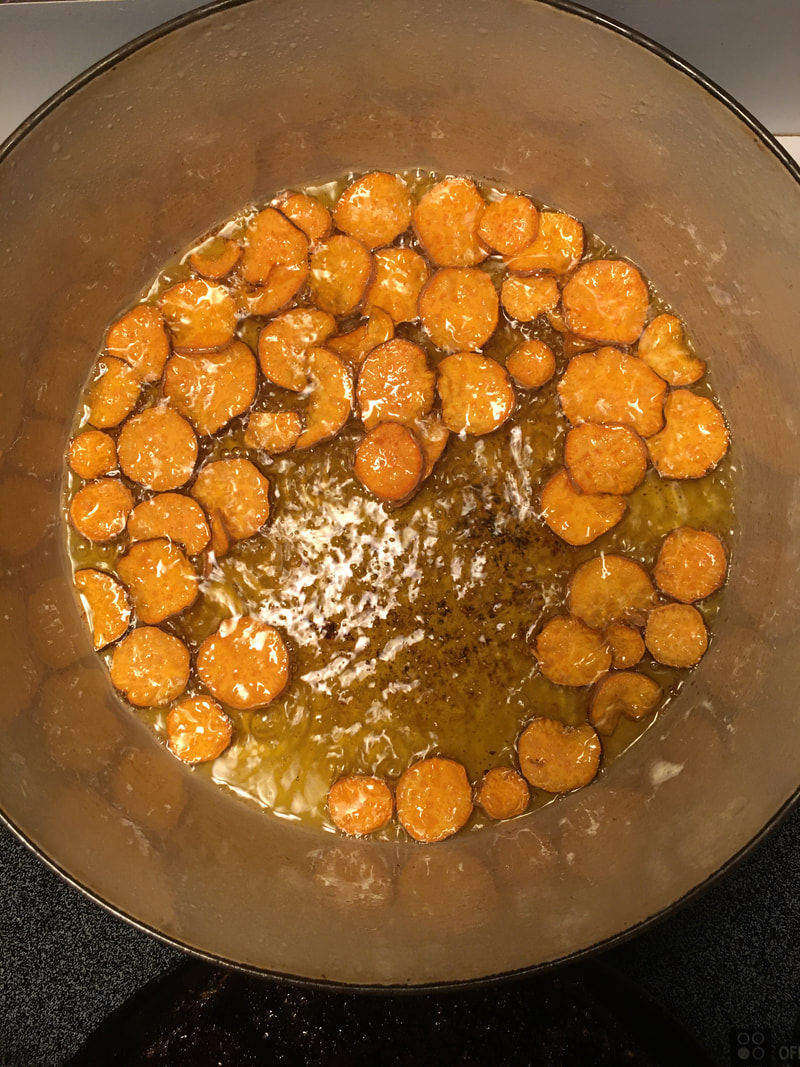
To fry, simply heat some oil (I use peanut oil) until hot in a heavy pot. It doesn't take much oil.
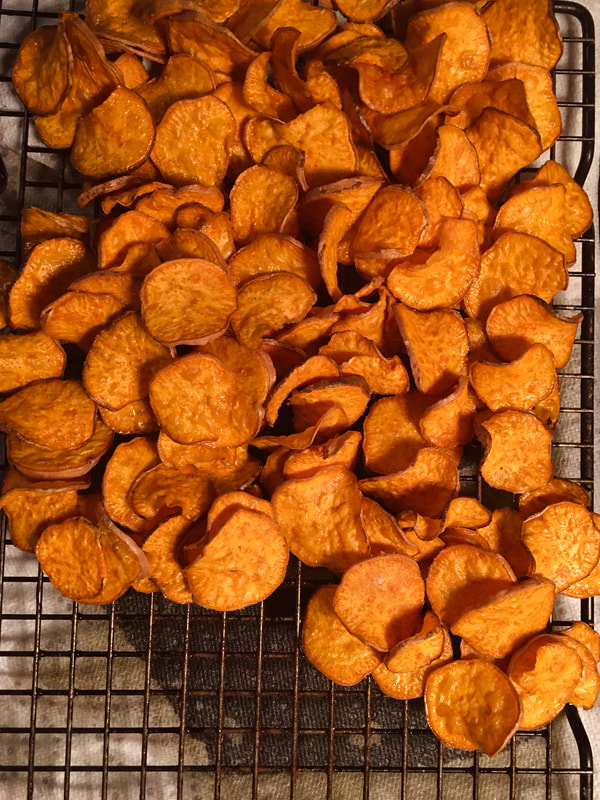
I remove the sweet potatoes from the hot oil and cool on a rack over a paper towel lined jelly roll pan like this.
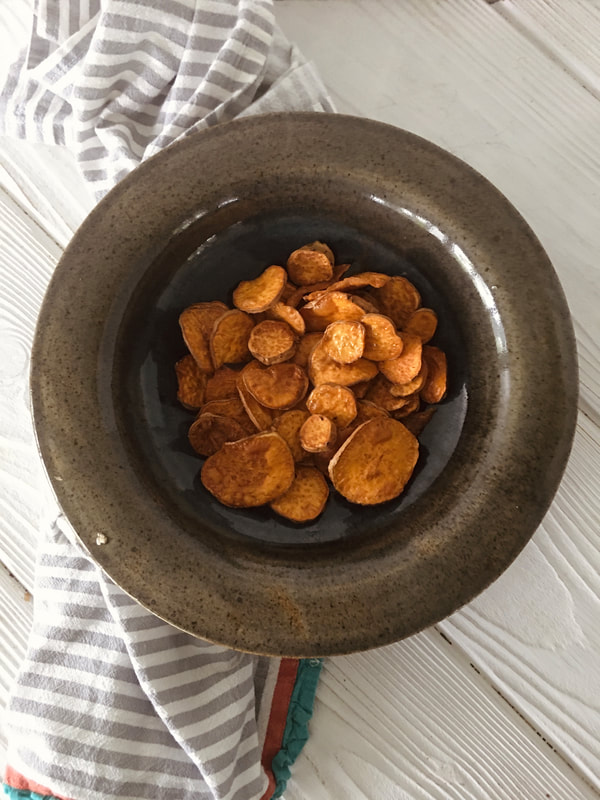
These yummy sweet potato chips are really easy to make and go perfectly with all of our favorite summer foods. Fair warning...if your family is anything like mine, they will be gobbled up in no time.
Sweet Potato Chips
Ingredients: Sweet Potatoes (I use 3 large sweet potatoes for our family of 6) Peanut oil (or another frying oil) Salt Instructions: 1. Slice sweet potatoes into thin rounds. 2. Heat oil on medium high heat on stove in large heavy pot or dutch oven. You could also use a deep iron skillet. I only use an inch or two of oil. 3. When oil has heated, dip a sweet potato slice in to see if the oil is hot enough to fry the potato. It will sizzle and start to puff up or curl up a little. 4. Stir gently with a slotted utensil paying attention to the crispness and color of the sweet potatoes. They fry pretty quickly. I have never timed them, but I don't think it takes more than a couple of minutes. 5. Using a slotted utensil, lift the sweet potatoes onto a cooling rack that is positioned over a jelly roll pan. I put paper towels on the jelly roll pan to soak up any dripped grease. Salt to taste. 6. Move to a serving dish to serve.
Pin on Pinterest
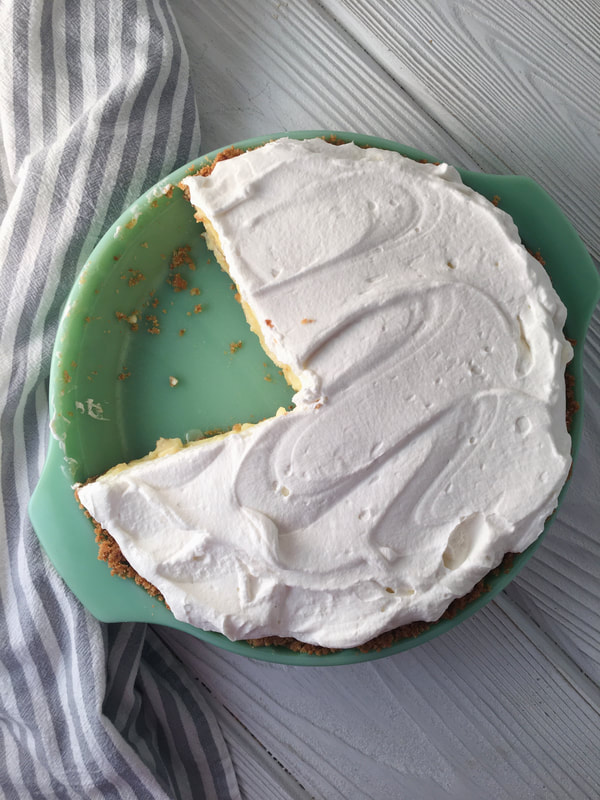
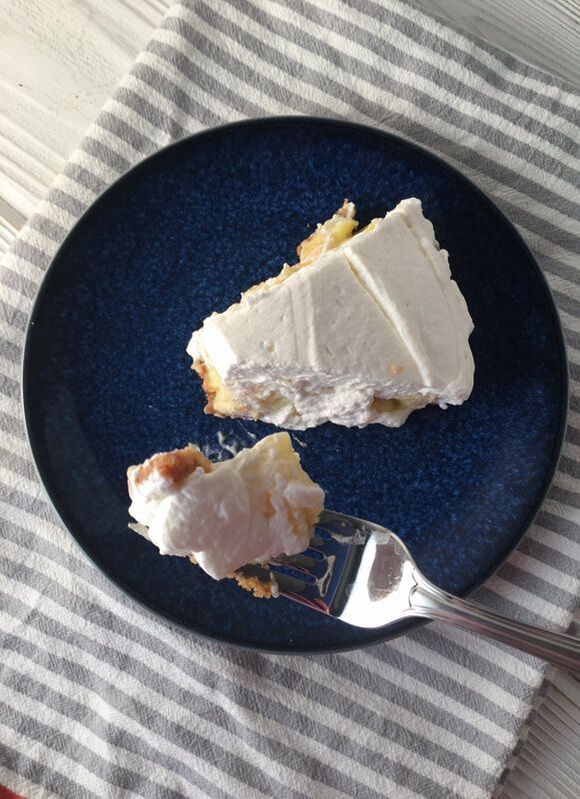
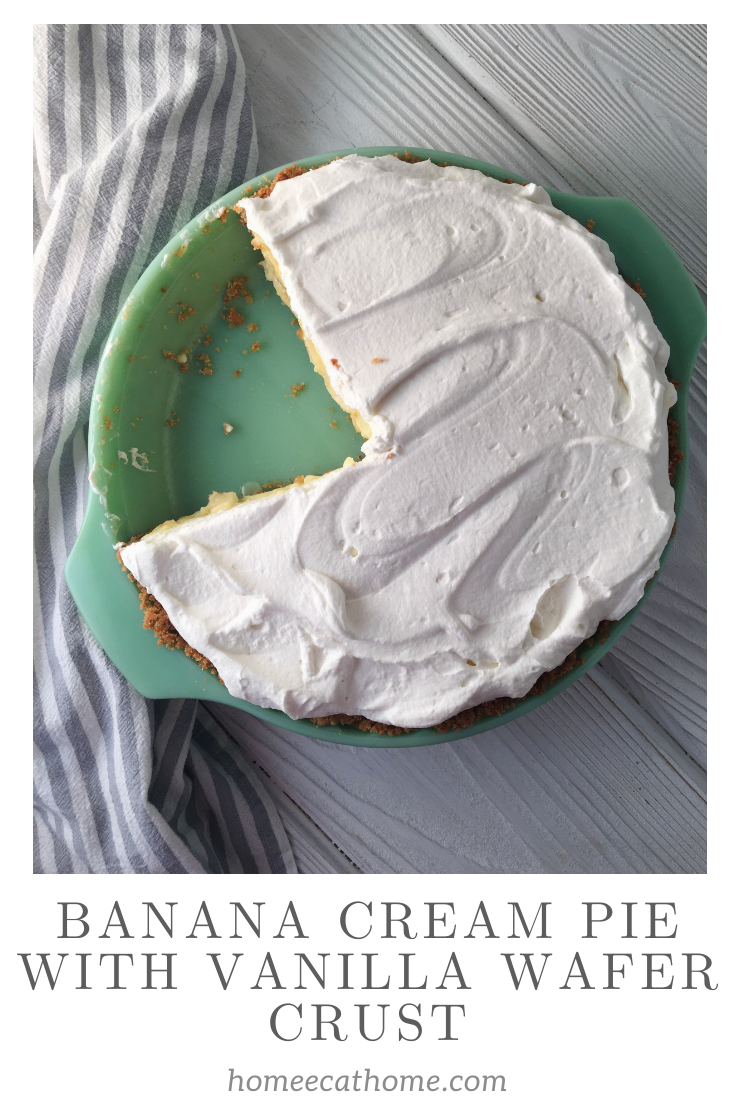
This is the perfect pie combination if there ever was one, banana cream pie with a vanilla wafer crust! Layers of delicious vanilla cream filling with sliced bananas in a crispy vanilla wafer crust topped with homemade whipped cream...all I can say is yes please! I'll have another slice.
Pies served cool like banana cream pie are a summertime favorite. We also love this chocolate cream pie which my students made when I taught FCS.
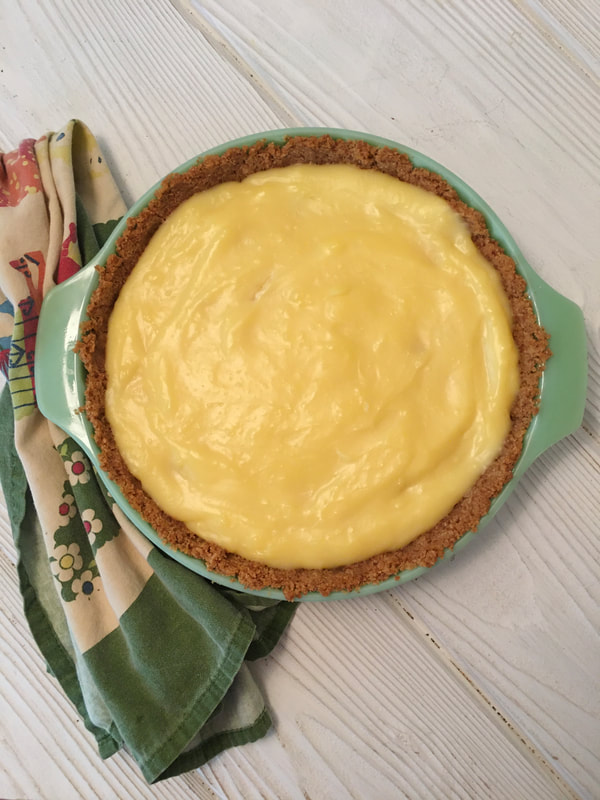
Making this pie filling is fairly simple. Like my chocolate cream pie filling, I don't temper the egg yolks. I put everything in the saucepan (except for the butter and vanilla) and bring it to a low boil, stirring frequently. I find a whisk is useful for stirring the filling while cooking. The ingredients come to a hot temperature at the same same and do not require tempering.
Enjoy a slice or two!
Vanilla Wafer Crust
Ingredients: 2 Cups crushed vanilla wafers 2 T. sugar ½ Cup (1 stick) butter, melted 1. Spray a pie pan with cooking spray. 2. Mix together wafer crumbs, sugar, and melted butter. 3. Press into pie pan. 4. Bake at 350 degrees F. for 10 minutes. 5. Cool before filling. Banana Cream Pie Ingredients: ¾ Cup sugar ¼ Cup cornstarch 2 ½ Cups milk (whole if available) ½ tsp. salt 3 egg yolks, slightly beaten 1 T. butter 1 tsp. vanilla extract 2-3 bananas, depending on size 1. Combine dry ingredients in saucepan. 2. Add milk, egg yolks and mix well with a whisk. 3. Cook, stirring frequently over medium heat until mixture comes to a low boil. Boil for two minutes, until mixture thickens like pudding. Remove from heat. 4. Stir in butter and vanilla. Cool filling. 5. Pour half of the cooled filling into pie crust. 6. Slice bananas and add a layer of sliced bananas over the filling. 7. Then layer remaining pie filling over the bananas. 8. Top cooled pie with whipped cream and refrigerate until ready to serve. Whipped Cream Ingredients: 1 ½ Cups whipping cream 3 to 4 T. sugar depending on how sweet you like it 1 tsp. vanilla extract Combine ingredients in mixer using the whisk attachment. I usually start out slow to let the sugar dissolve, then whip at high speed until cream is whipped. Use the splash shield on your mixer bowl if you have one or hold a tea towel up to prevent cream from splashing out of the bowl.
Pin on Pinterest
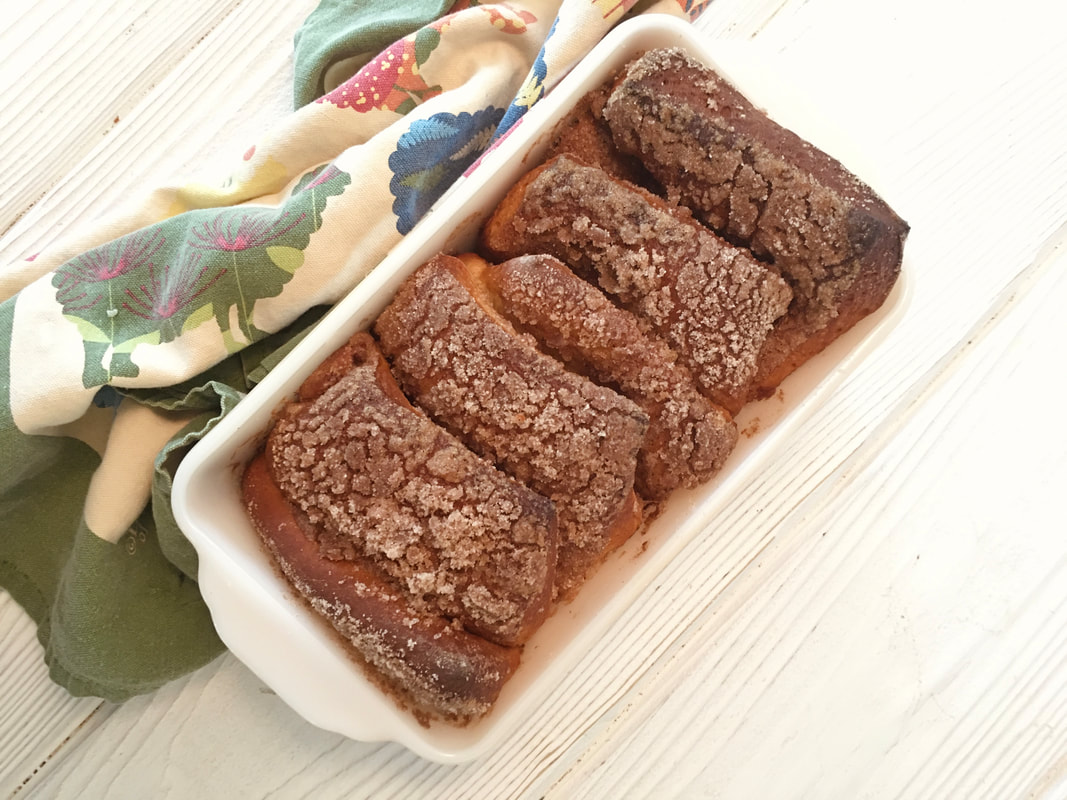
My bread machine cinnamon sugar pull-apart bread post was first published back in 2013. It has always been relatively popular, but it has bumped up to most popular post the last two months since there has been a rise in home baking. I decided to do some updates with this new popularity so the boys have been enjoying way too much cinnamon sugar pull-apart bread. Enjoy the updated recipe with some new photos. I left the old ones in too so you can see it in different size pans. Robert, my littlest helper, and I even made an instructional video. He is such a cute little helper in the kitchen and an eager assistant.
Disclosure: This post contains affiliate links. If you make a purchase through one of my links, I will make a small commission helping to support this blog.
My husband has dreamed of putting in a blueberry patch for years. Since this is our first spring on our little homestead, we planted blueberries and some raspberries too. We actually planted these about a month ago. Spring and fall are the best times to plant blueberries. (The grass in the pasture is really tall because it will be bailed for hay.)
Since this was a dream of his, he wanted really good established blueberry bushes. He did some research online and called the owner of a family-owned blueberry farm, True Vine Ranch in Kansas. The owner was really nice and answered his questions so my husband felt confident ordering from them. This is not a sponsored post, but we are really happy with these blueberry bushes so sharing our experience. It was a big investment to order a dozen three year old blueberry bushes so he wanted to make sure he ordered good plants and planted them correctly.
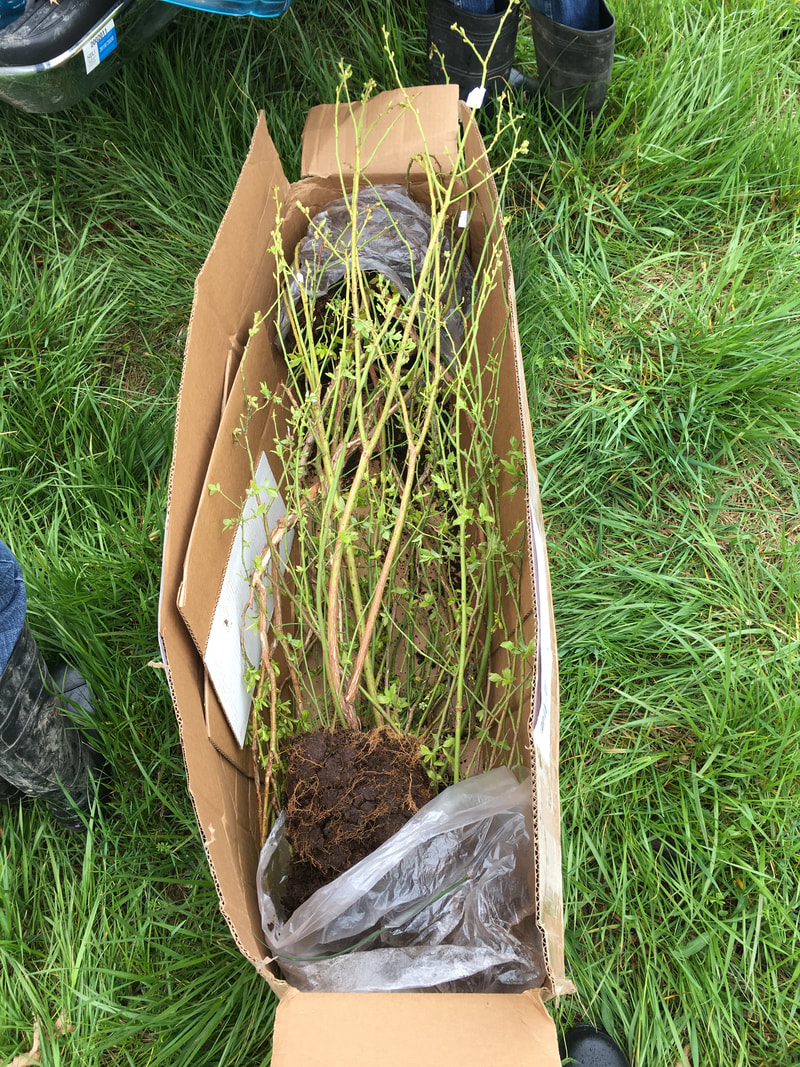
The blueberries arrived in large boxes as shown without containers, but with a lot of moist soil on the roots. They were packed six to a box.
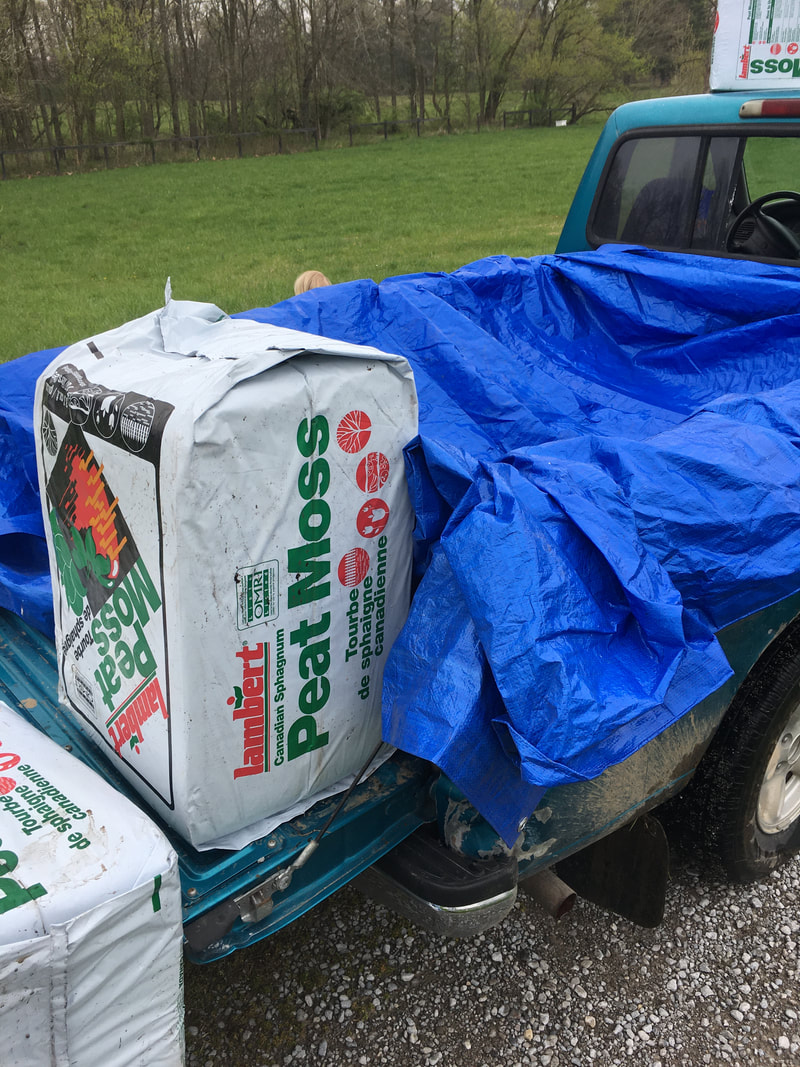
We planted the blueberries in peat moss, per the instructions from True Vine Ranch. We needed to saturate the peat moss before putting it in the planting holes in the ground. We lined the back of the little truck bed with a tarp and filled it with peat moss. I then carried 5-gallon buckets of water from the old well in the pasture to the truck and dumped them in for the kids to mix. I think we used five bales of peat moss and somewhere around 16 or 17 (5-gallon) buckets of water. My husband dug all of the holes while we were mixing the peat mixture. My husband has since put a pump on the well and a hose so we don't have to carry buckets of water anymore.
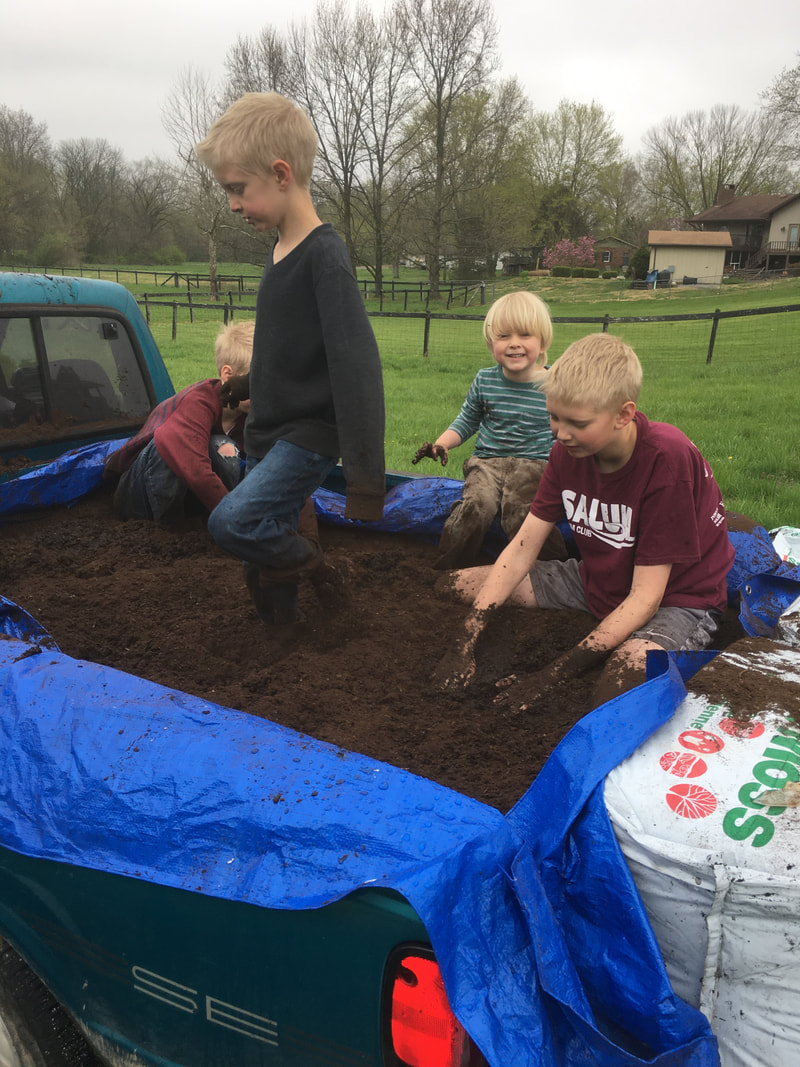
The boys helping to mix peat moss and water.
My husband fertilized with Holly-tone (amazon link) an acidic fertilizer for acid loving plants like blueberries while the boys filled the holes with the peat mixture.
This poor little guy was done with planting blueberries and ready for a warm bath.
Planting blueberries was a lot of work and a big investment, but also a wonderful family experience. We hope to enjoy delicious blueberries and many wonderful family memories of picking berries, and preparing yummy berry dishes for many years to come.
For more info on growing blueberries check out the Blueberry Council.
Pin on Pinterest
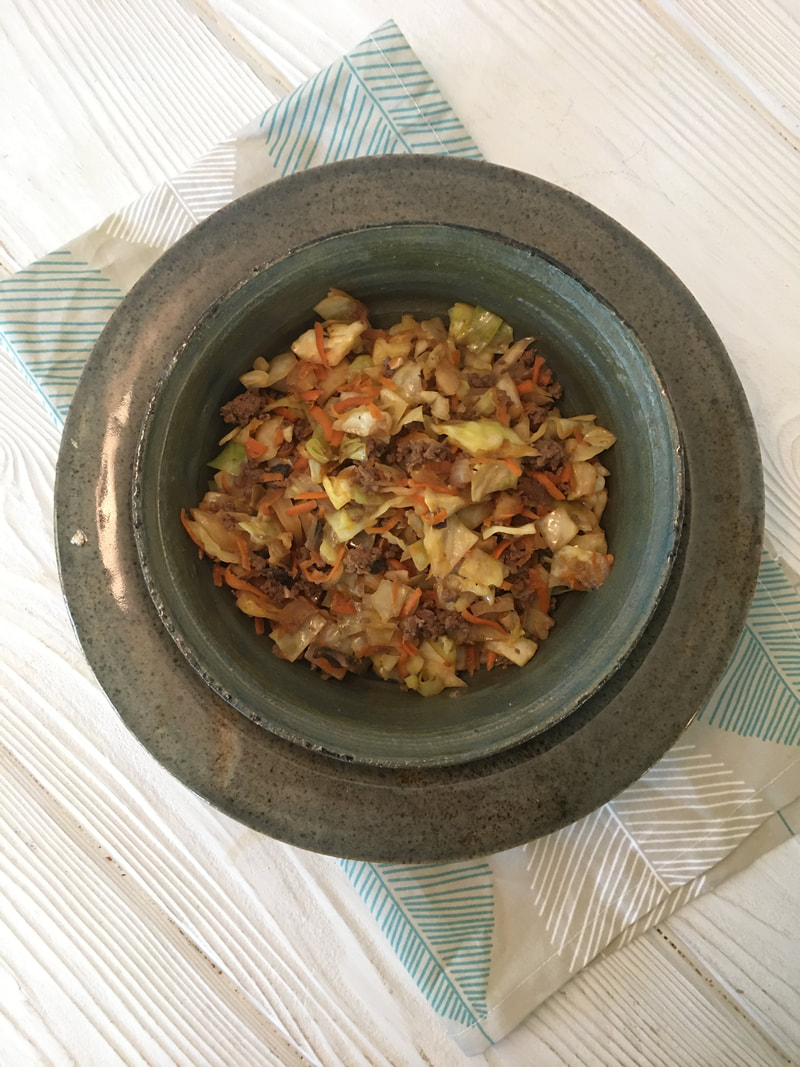
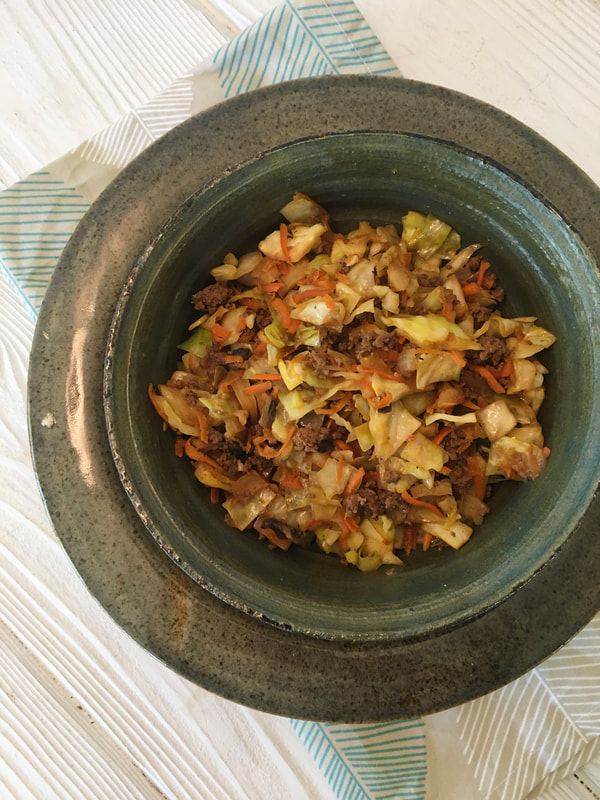
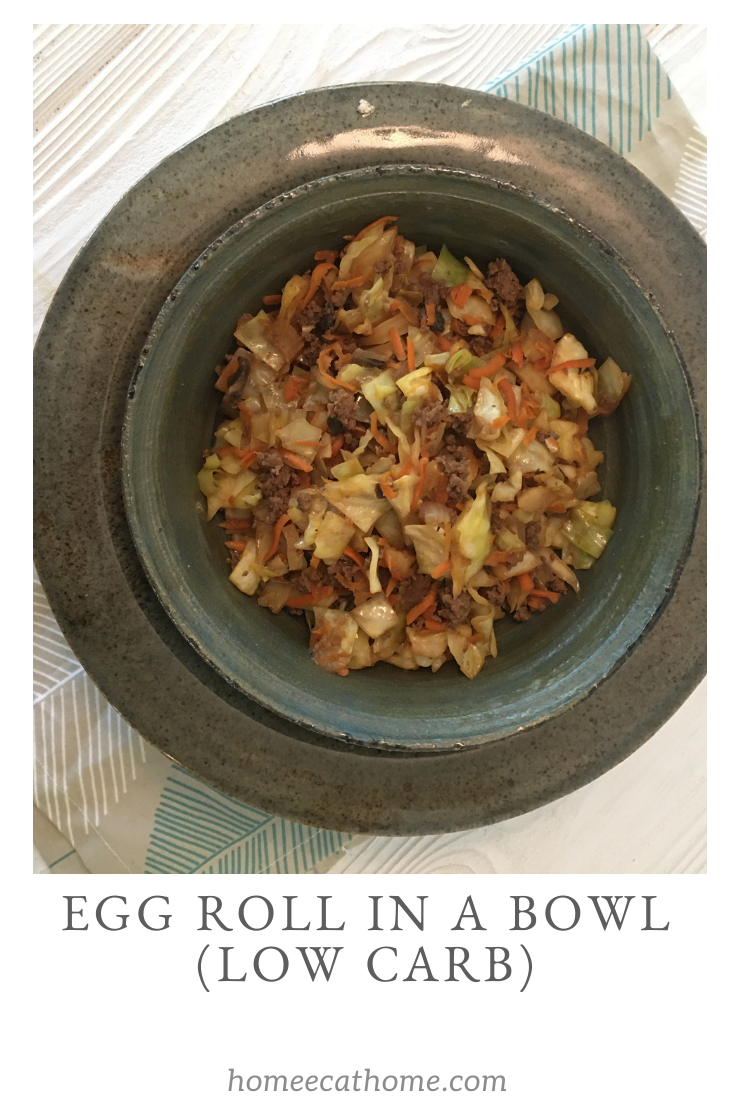
Egg Roll in a Bowl is one of my favorite easy throw together meals that everyone loves. I have been making this for years (updating an old post) and we still enjoy it every time. Cabbage and whole carrots keep in the fridge a long time too so this is a great recipe to make now that we are all staying home and visiting the store less frequently. Whole cabbage will keep in your fridge for one to two months and whole unpeeled carrots can last several weeks even up to three months in a plastic bag or sealed container in the fridge. And of course ground beef, pork, or venison is easy to store in the freezer.
I love the flavors that come together in this dish, especially sesame oil which adds so much flavor. I add more as I am cooking, checking the flavor as I go.
This will feed 6-8 people, so if you are cooking for 1 or 2 or even 3, I would halve the recipe unless of course you like lots of yummy leftovers.
Egg Roll in a Bowl (Egg Roll Stir Fry)
Ingredients: 1 lb. ground beef, pork or venison 1-2 onions, diced (depending on size, I sometimes use 2) 1 Tbsp. (or more to taste) sesame oil (I use a lot more for flavor adding it as I cook.) 4 cloves garlic, minced 1 1/2 tsp. ground ginger 1/4 - 1/2 cup soy sauce (start with 1/4 cup and add more to taste, I use 1/2 cup) 1 head cabbage, finely sliced 4 carrots, shredded* Salt and freshly ground pepper, to taste Optional additions: 4 oz. fresh mushrooms, chopped 1 small can sliced water chestnuts, chopped Pinch or more red pepper flakes to taste, I like to add 1/4 tsp. Instructions: 1. Brown ground meat, onion, and sesame oil in a large skillet or wok. If using mushrooms, add them here. Salt and pepper to add a layer of seasoning. 2. Add garlic, ginger, soy sauce and cabbage and cook until the cabbage is tender, stirring occasionally. If using water chestnuts, add them here. 3. Then add carrots and cook for a few more minutes til everything is hot and tender. 4. Salt and pepper again to taste. Add more soy sauce and sesame oil as needed to taste. I splash sesame oil in several times while cooking, checking the flavor as I go. Add any additional flavors or ingredients you like. My husband always adds extra ginger to his. *If you have a food processor, it will make shredding carrots super easy.
Pin On Pinterest
Yum on Yummly
|
Welcome to Home Ec @ HomeHi, I'm Faith, a former Family and Consumer Science teacher turned food blogger. I love God, my family, and food. You can usually find me in the kitchen preparing family friendly, homemade recipes and taking lots of pictures. This website uses marketing and tracking technologies. Opting out of this will opt you out of all cookies, except for those needed to run the website. Note that some products may not work as well without tracking cookies. Opt Out of CookiesFan Favorites
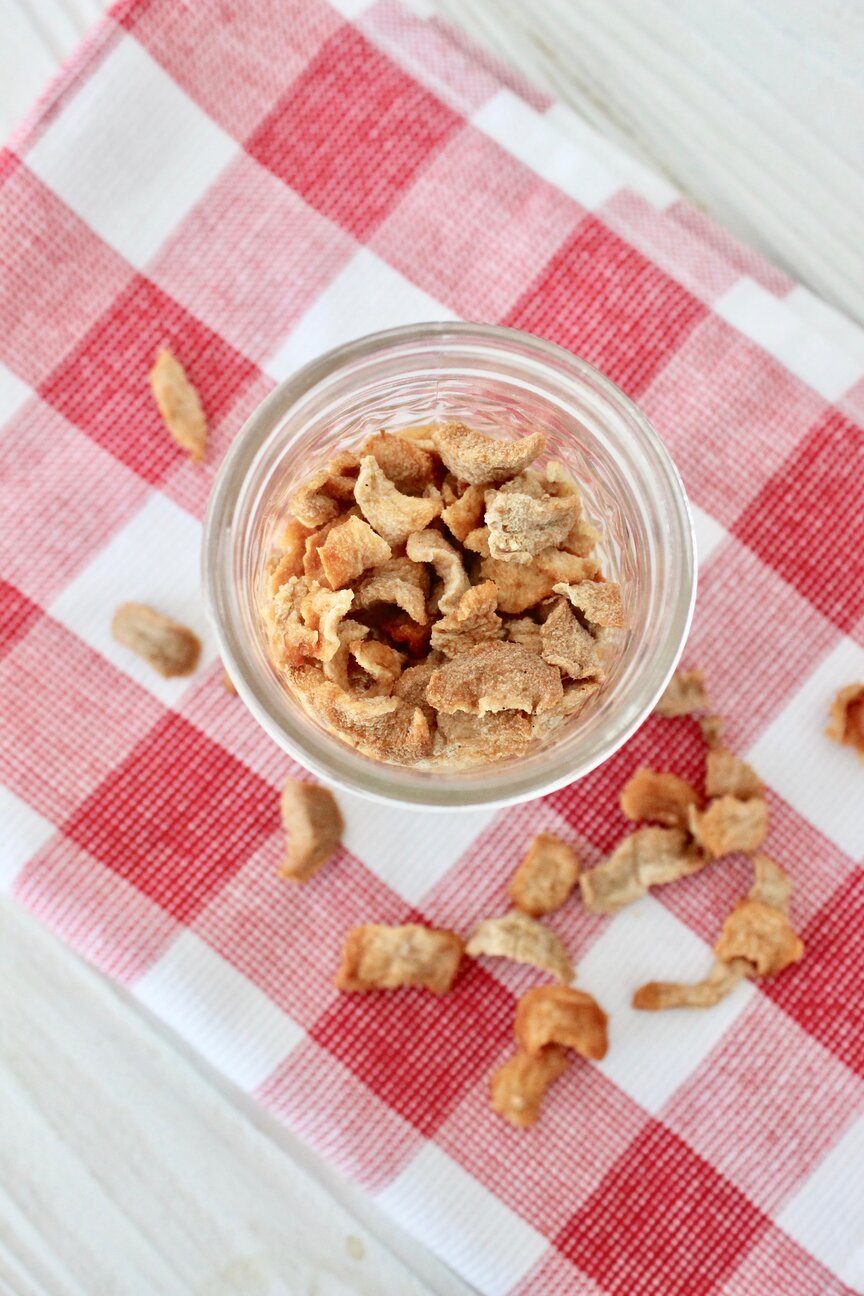 Dehydrating Pears and Apples in the Instant Pot Duo Crisp Dehydrating Pears and Apples in the Instant Pot Duo Crisp
|








 RSS Feed


