|
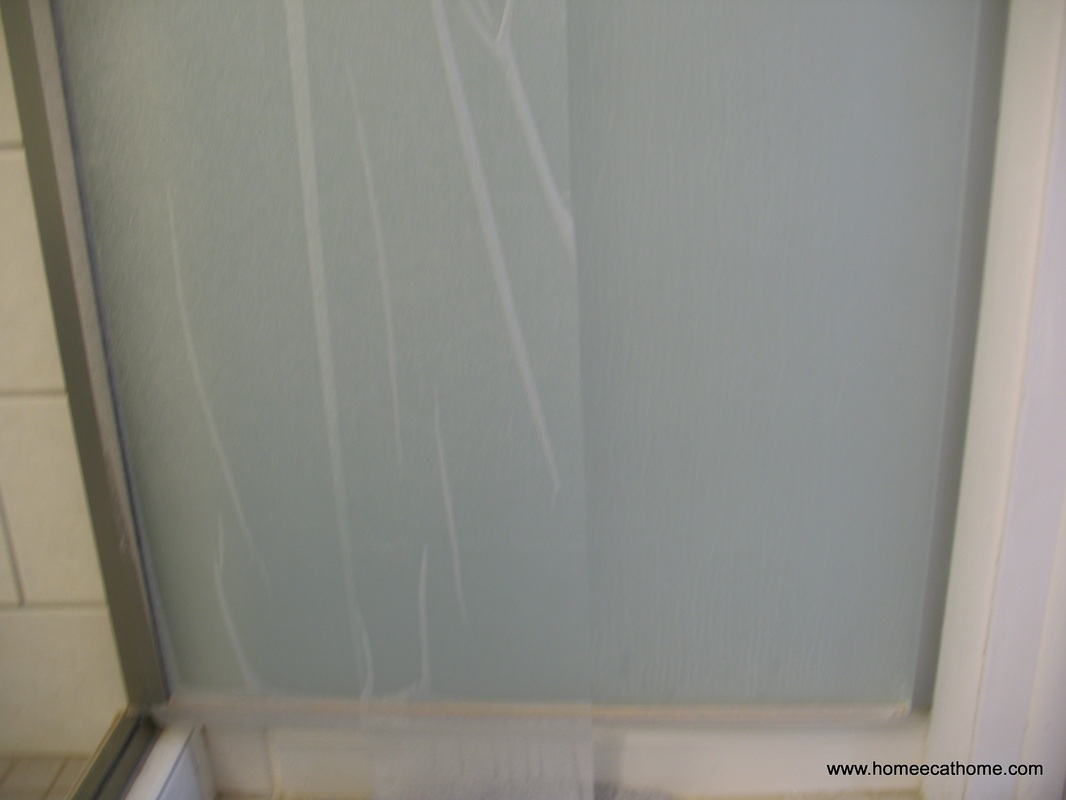
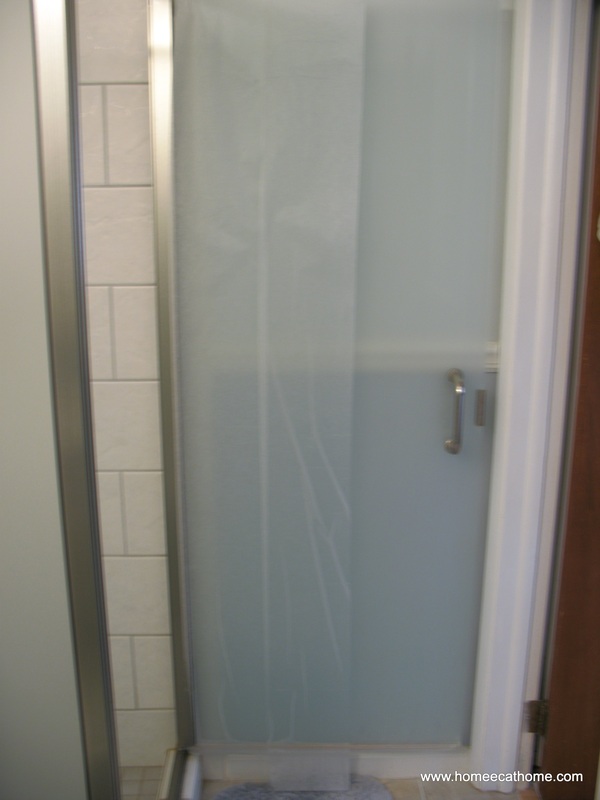
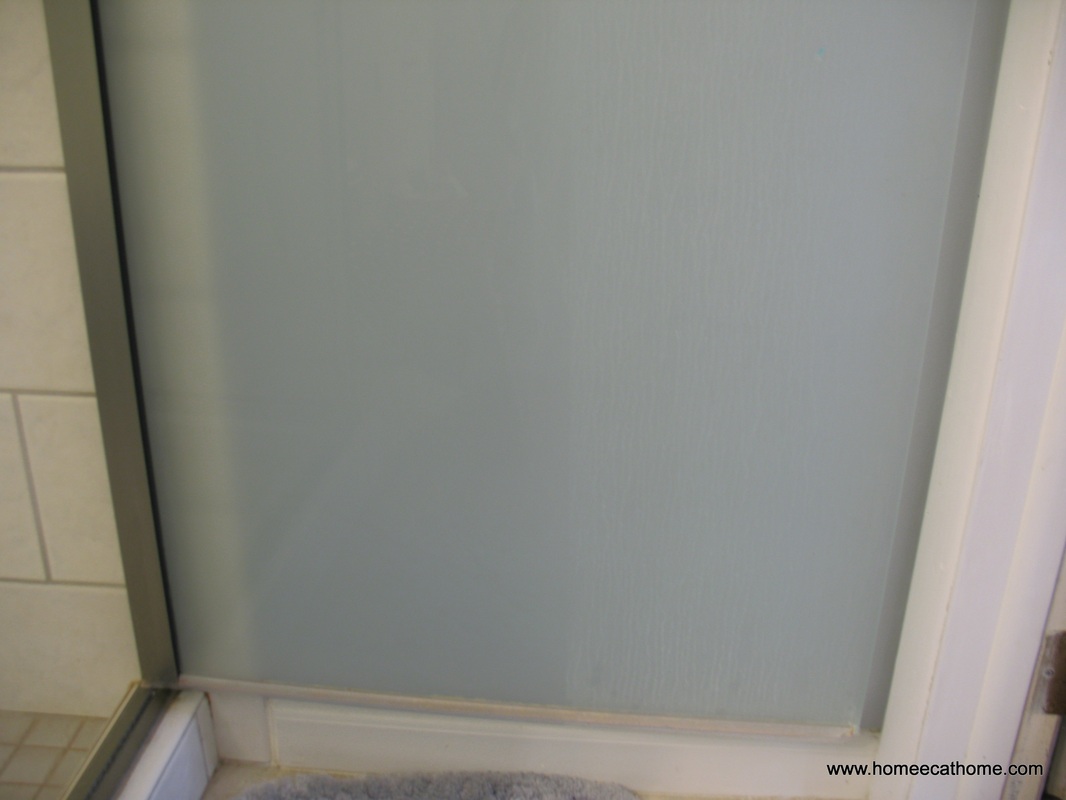
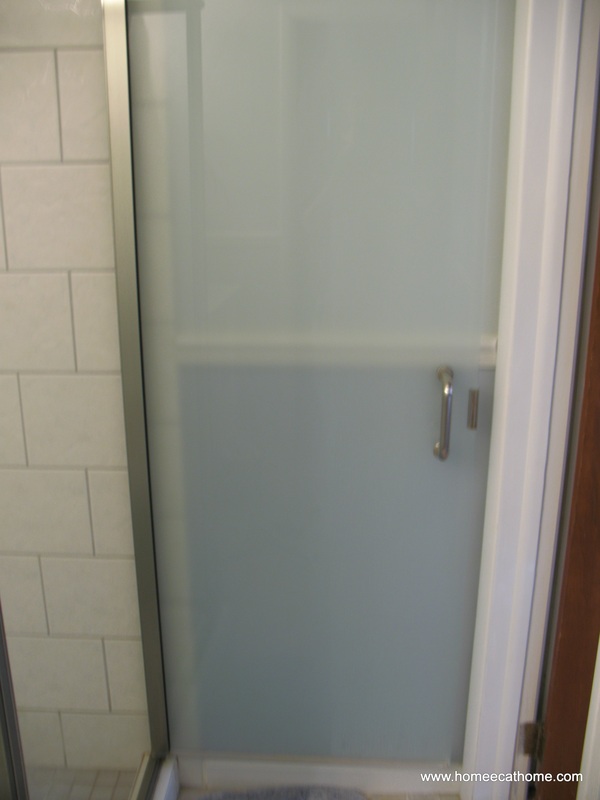
Guest post by my sister, Rebecca My husband and I installed new shower doors during our bathroom renovation a few years ago and were disappointed when they were quickly covered by scale buildup. We had opted for a silk finish on the doors and were concerned that abrasive cleaners might mar the finish. After many trials and little success with various cleaners including vinegar, I finally sprayed a paper towel with vinegar and effectively “soaked” a small section of the shower door. To my relief, the vinegar soak was successful in removing all of the scale buildup. I recently cleaned the shower doors again and decided to take some pictures to show the amazing results. This time I used a spare roll of liners for cloth diapers as the soaking material (since I never bother using the liners in our cloth diapers). Any thin material that will cling to the glass shower doors when soaked with vinegar should work. Here are the steps that I took to clean the shower door. This method also works on tubs and surrounds. 1. Drape a thin material (e.g., paper towels or cloth diaper liners) over your shower door and spray it with vinegar until it is well soaked. If necessary, smooth out the material so that it is in complete contact with the door. Allow to soak for 10 or 15 minutes. 2. Remove the soaking material and wipe down the shower door with a damp cloth. If the vinegar has had enough time to penetrate the scale buildup, little to no scrubbing will be necessary. 3. Transfer the soaking material to another section of the door, and repeat the process. If you are not fond of the smell of vinegar, keep in mind that as it dries, the odor will dissipate. As I was growing up, I always hated the smell of vinegar when Mom used it to clean; now that I have small children of my own, I buy vinegar by the gallon and know that it is a safe and effective cleaner for our home. The pictures below show the vinegar soak (on the left) and scale buildup (on the right). I’m so glad that we are able to restore the look of our shower doors to their new condition. As a lasting solution to the problem of scale buildup, we are currently researching water filtering options for our home. Although we will likely choose to install a whole-house filter in addition to our water softener, another solution would be to install a showerhead filter. You can see the vinegar soak on the left side of the door. If you look really closely, you can see the scale buildup is on the right side of the door, but no longer on the left. Thank you Rebecca for taking the time to share your cleaning success story.
0 Comments
Ingredients
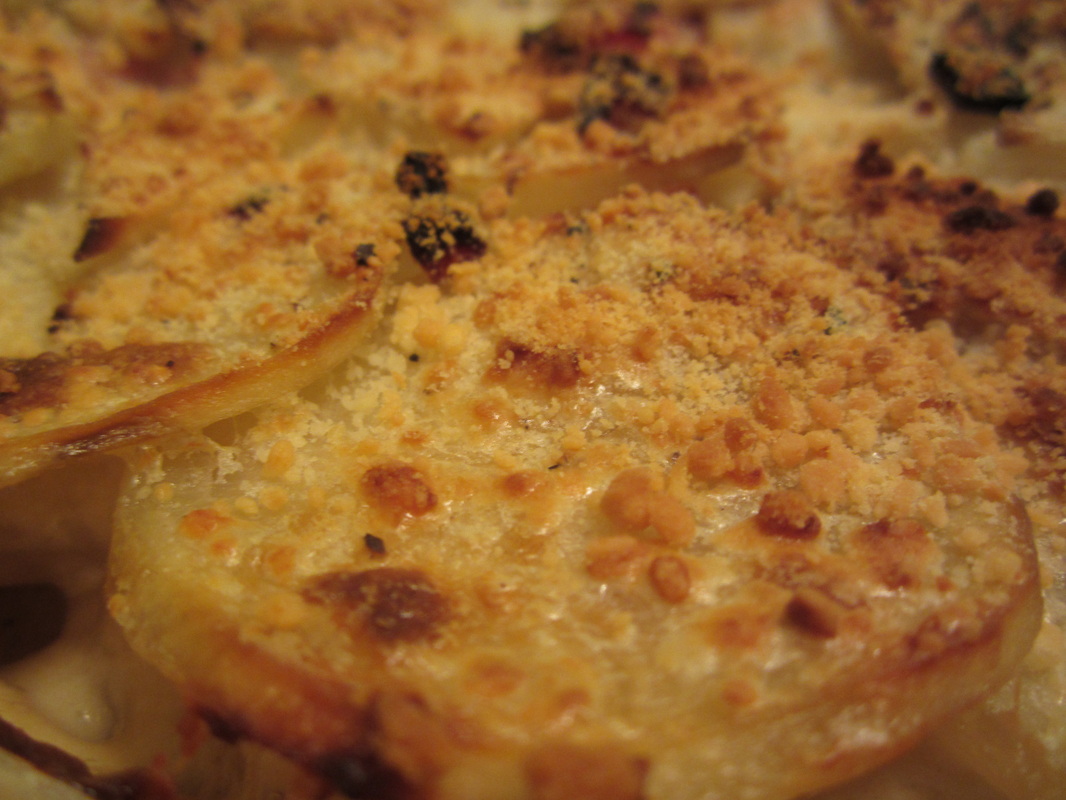
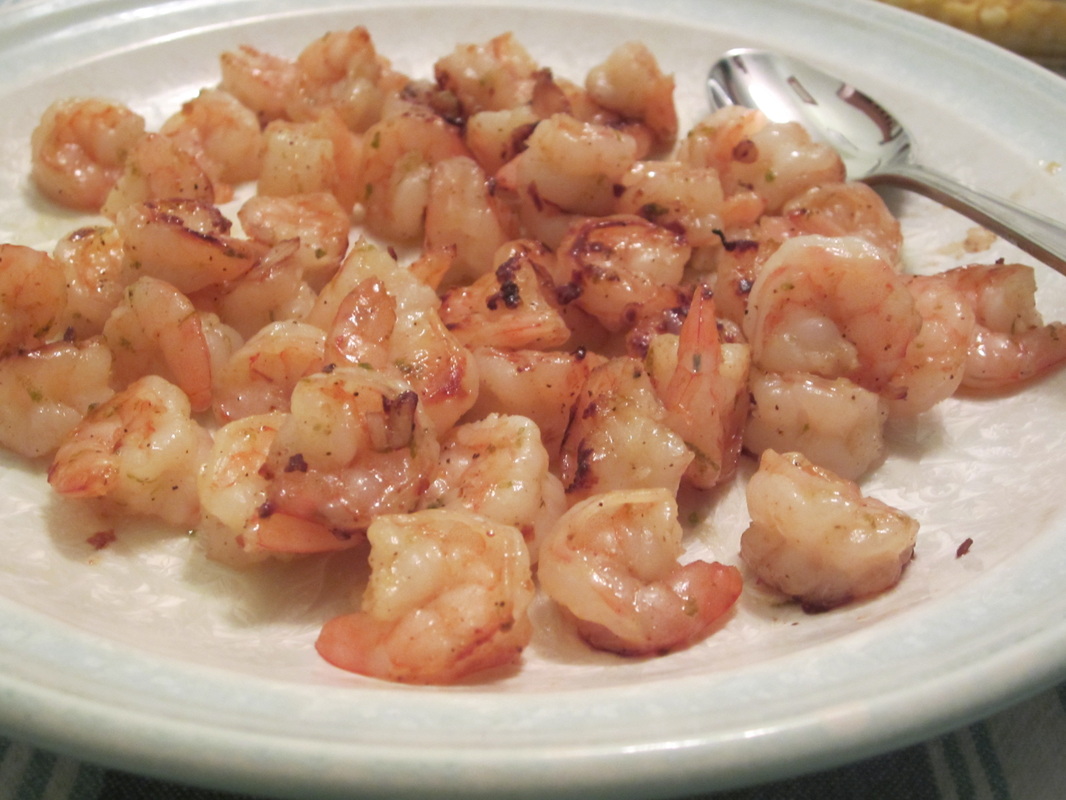
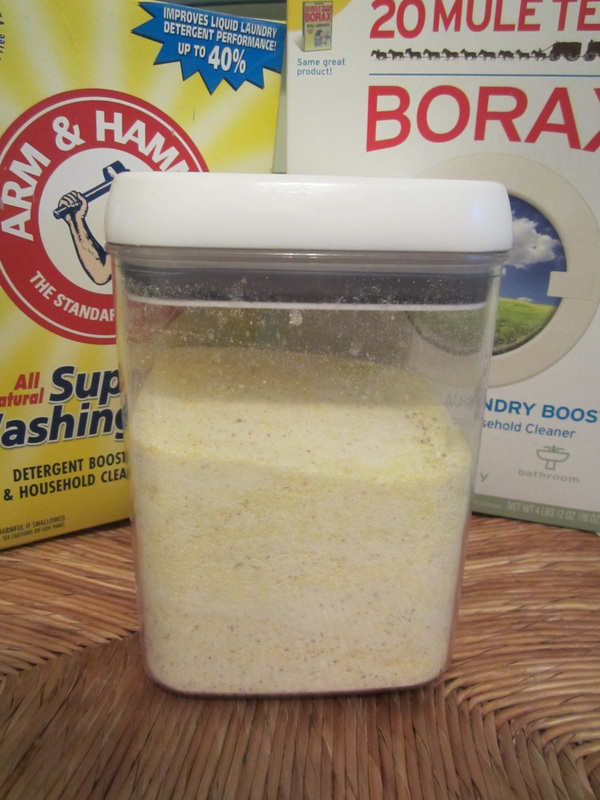
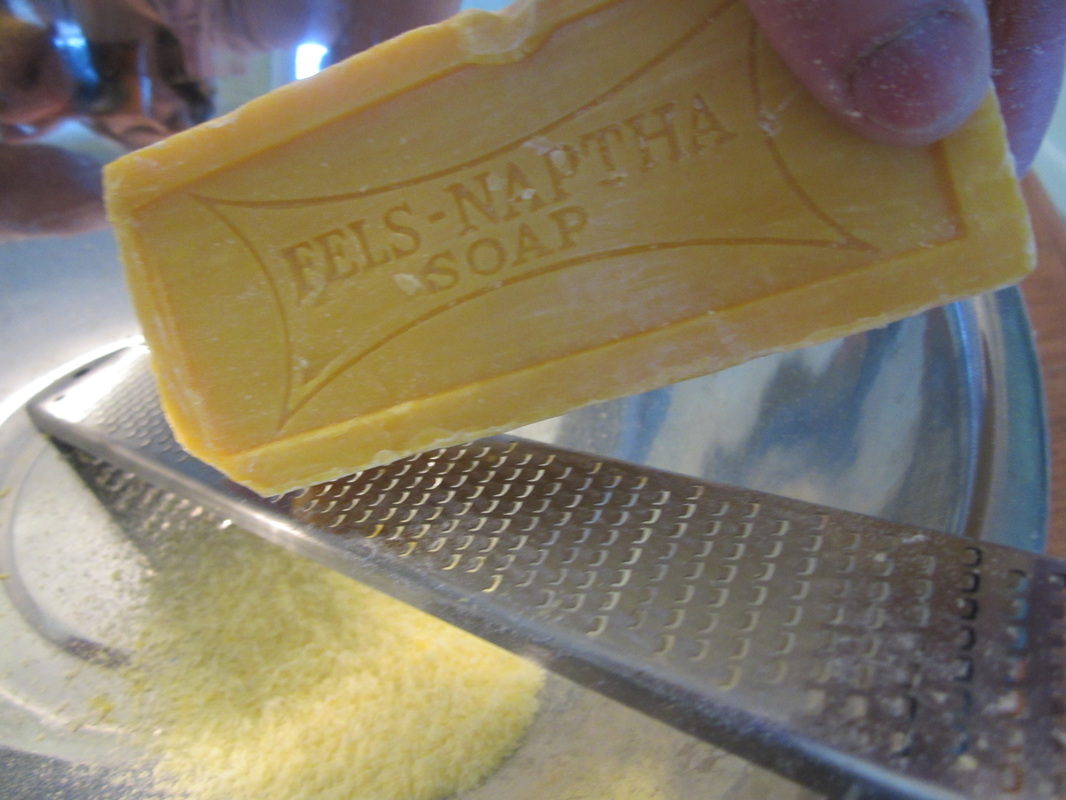
1. Preheat the oven to 375 degrees F. 2. In a saucepan, heat the cream with the thyme, chopped garlic, and nutmeg. 3. Butter a 9 X 13 or equivalent in size casserole dish. 4. In a large bowl, pour the warm cream over the potatoes. Mix to combine. 5. Place a layer of potatoes in the casserole dish. Generously salt and pepper. Sprinkle about 1/2 cup shredded monterey jack and 2-3 Tbsp. parmesan cheese over the potatoes. Then sprinkle with about 1/2 cup diced ham. 6. Repeat everything in step 5 to make a second layer. 7. Place a third and last layer of potatoes on top. Pour any remaining cream over the dish. Salt and pepper again. Sprinkle some more grated parmesan on top. (Do not put any shredded monterey jack or ham on top because they will burn.) 8. Bake uncovered for 45 to 50 minutes. Then sprinkle with more parmesan and broil about 5 minutes to let the parmesan on top brown. This is a favorite meal in our house. Perfectly delicious shrimp with just a little kick. In fact my 7 year old requests this all the time. I serve over plain white rice. I use frozen medium raw shrimp. I prefer to use raw shrimp instead of cooked shrimp so that the shrimp don't overcook in the skilltet. This is so good, that I have been making 2 pounds for our family of five. There is usually just a little leftover. I double all of the ingredients and cook in one batch. Honey Lime Shrimp serves 4 1 pound medium or large shrimp, peeled and deveined 1/4 cup olive oil 2 T honey juice and zest of one lime 2 cloves garlic, minced 1/2 tsp salt 1/4 tsp black pepper 1/4 tsp red pepper flakes 1. In a large ziploc bag, combine the marinade ingredients. When everything is well-combined, add the shrimp. Place it in the fridge. 2. Let the shrimp marinate for 30-60 minutes, flipping the bag around once or twice during that time, so that the shrimp stay evenly submerged in the marinade. 3. When you’re ready to cook, take the shrimp out of the fridge and let them sit at room temperature for about 10 minutes. Heat a large skillet over medium-high heat; there is no need to add any oil or butter to the pan, as the marinade has enough oil in it to keep the shrimp from sticking to the pan. (If you would prefer to use the grill for these, you can thread them onto skewers and toss them on the grill at this point.) 4. Cook the shrimp until done, then drain off the liquid from the pan reserving it for the meal. Then continue to cook the shrimp letting it caramelize a little forming golden brown crispy edges. Or just cook it all together and serve the sauce with the shrimp. 5. Serve immediately with rice and your favorite vegetable. We drizzle the reserved sauce over the rice and the shrimp. Slightly adapted from The Dough Will Rise Again. This is the easiest homemade laundry detergent. I have been using it for a couple of weeks with great results. Don't forget to enter my giveaway for 20 Mule Team Borax. Ingredients: 2 cups Arm & Hammer Super Washing Soda 2 cups 20 Mule Team Borax 1 Fels-Naptha laundry bar 1 capful of Purex Crystals (optional for added scent) 1. Grate on a fine grater a bar of Fels-Naptha laundry soap. 2. Then mix in the super washing soda, borax, and optional Purex Crystals. That is all there is to it. Use 1 to 2 Tbsp. detergent per laundry load depending on size of load.
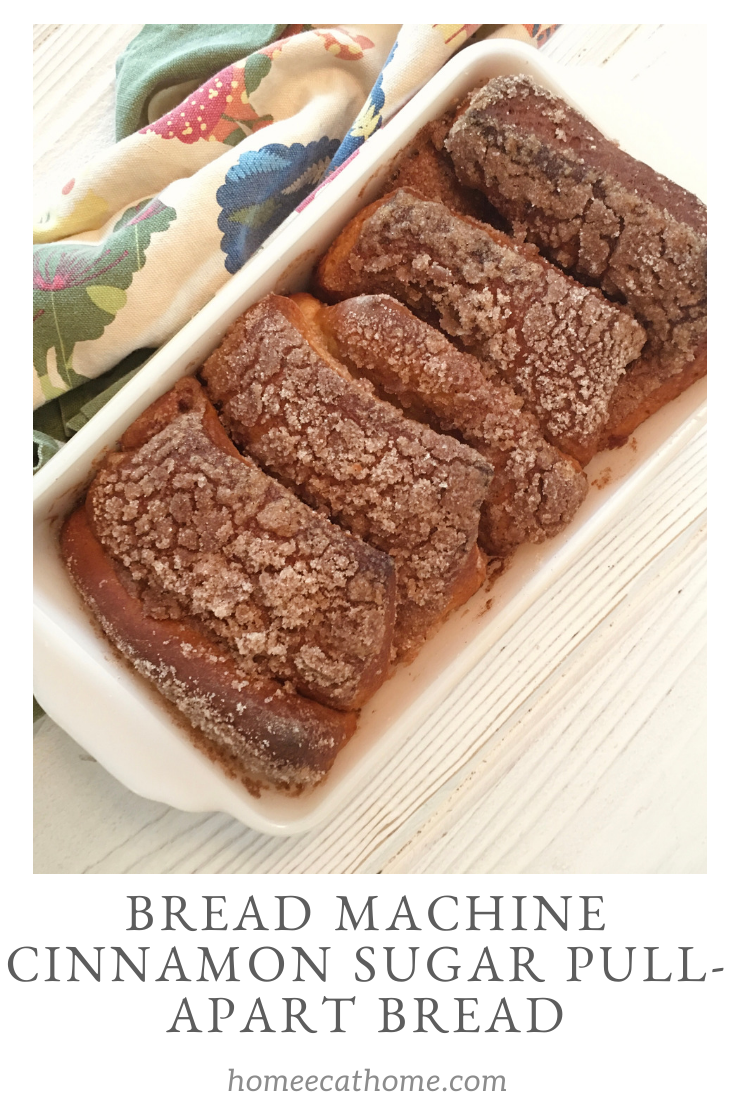
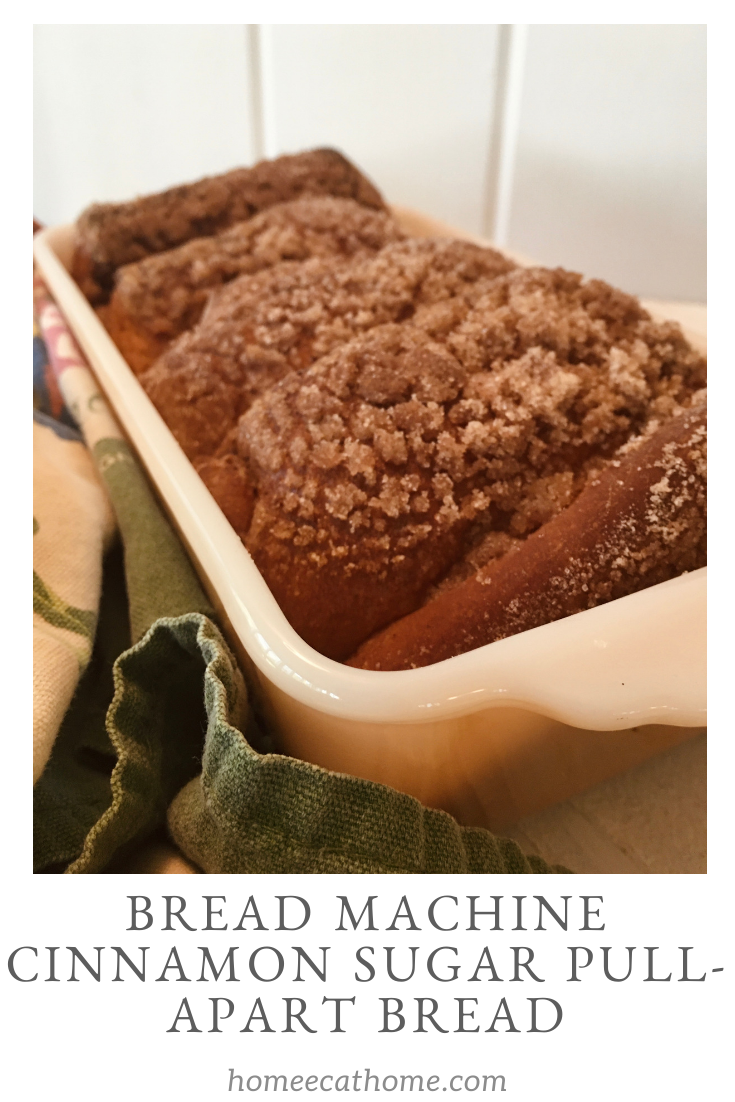
Cinnamon Sugar Pull-Apart Bread has always been a popular post on this blog, but it has jumped up to most popular post the last two months so I decided to make some updates. My youngest and I even made a youtube video. He is so fun to watch in these cooking videos and he loves making them so I'm sure there will be more.
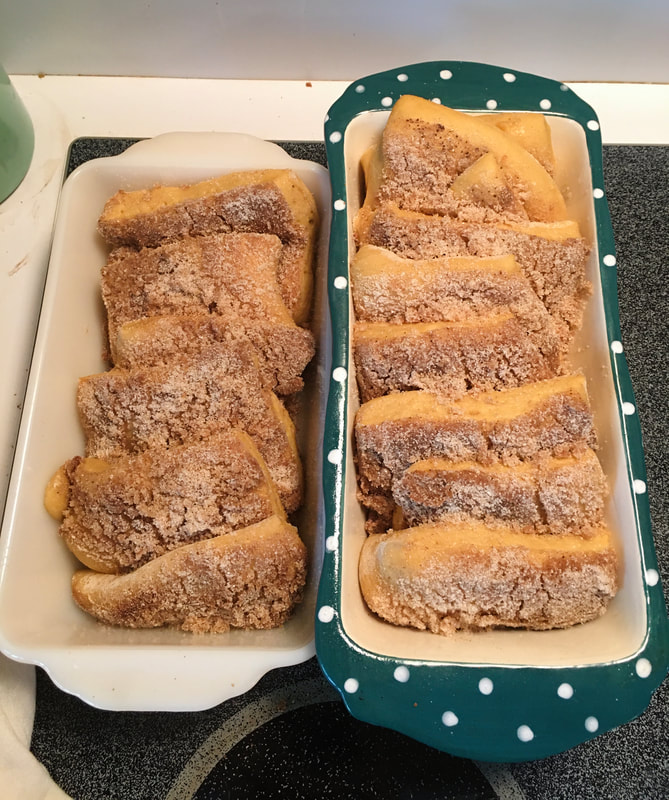
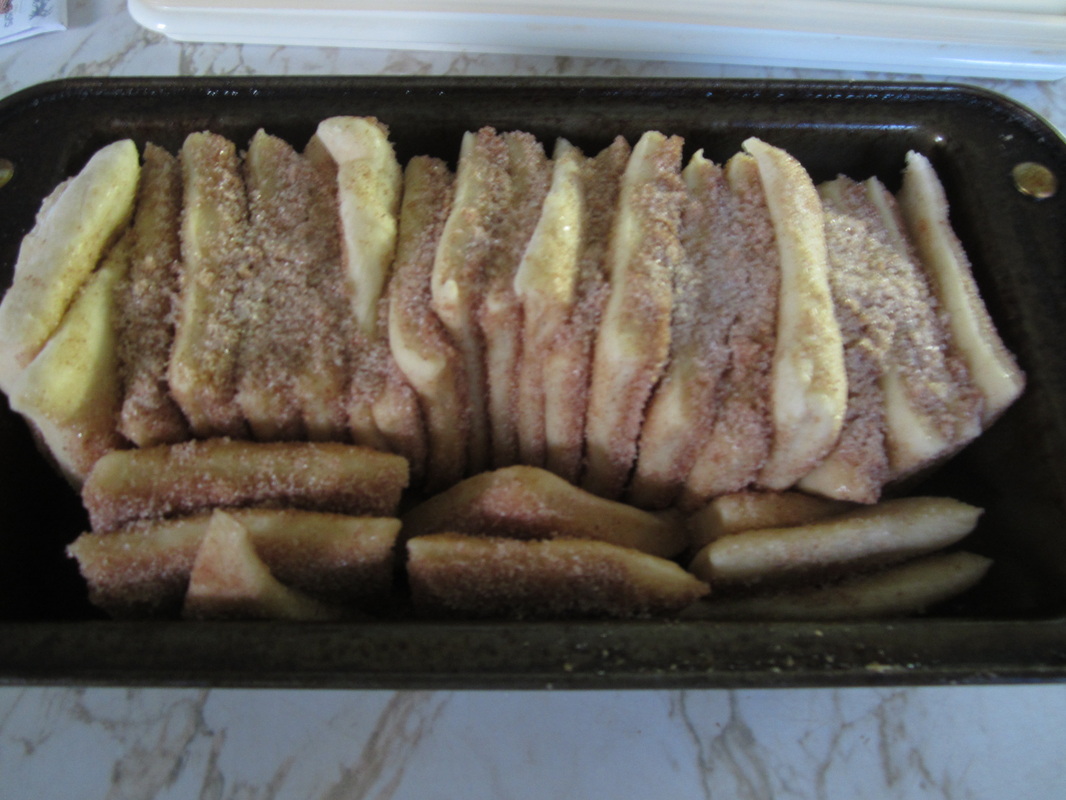
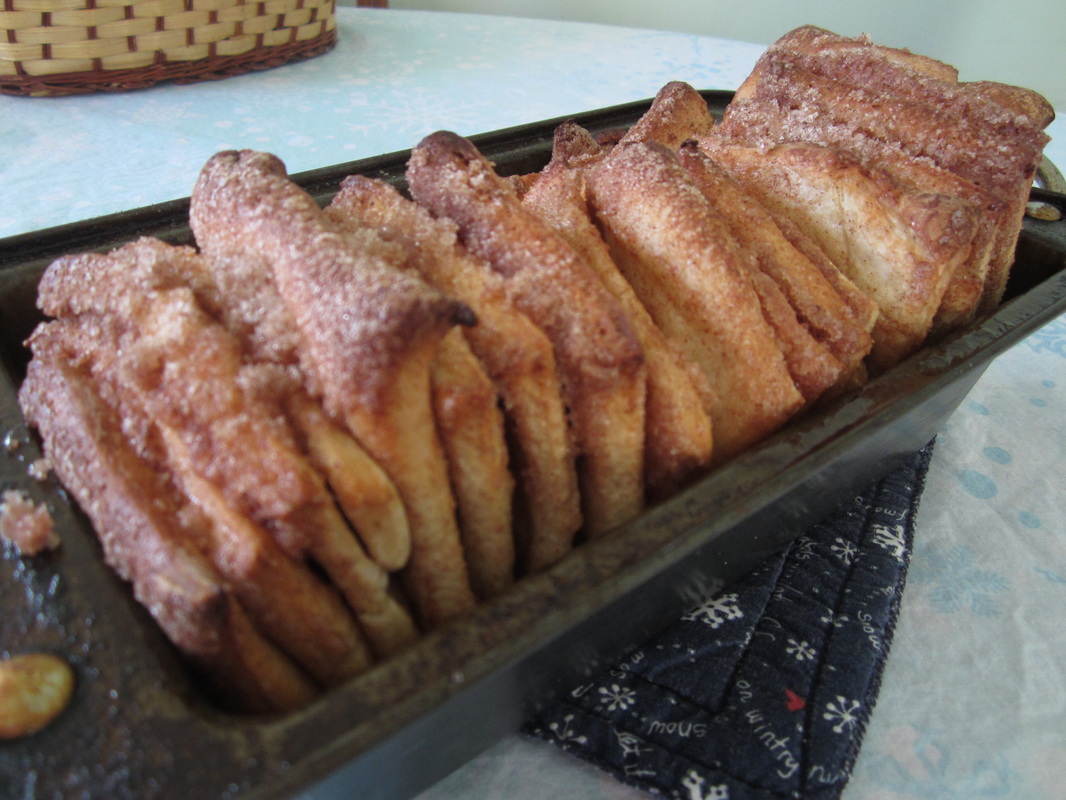
Depending on the size of your bread pan, you may need to split this up among more than one pan. My old photos on this post were from my favorite old big bread pan, which I can't find since our last move. I tried baking it in one of my other pans recently to update the pictures for this post and because I have four hungry boys at home (they can consume a loaf of cinnamon bread in no time), but when I crammed it one pan, part of it bulged out of the pan while baking.
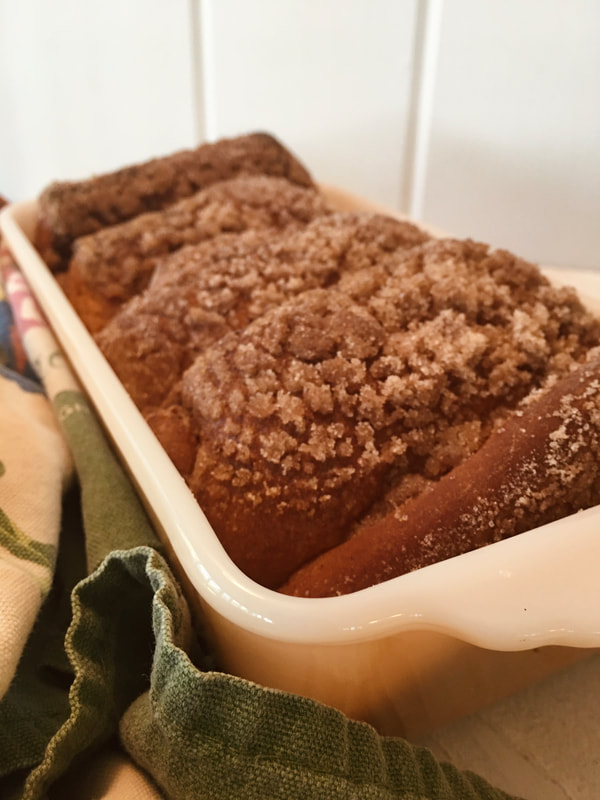
This is an old original photo. Notice how I put some pieces on the side to fit them all in the pan. You will probably need two pans.
Ready for the oven!
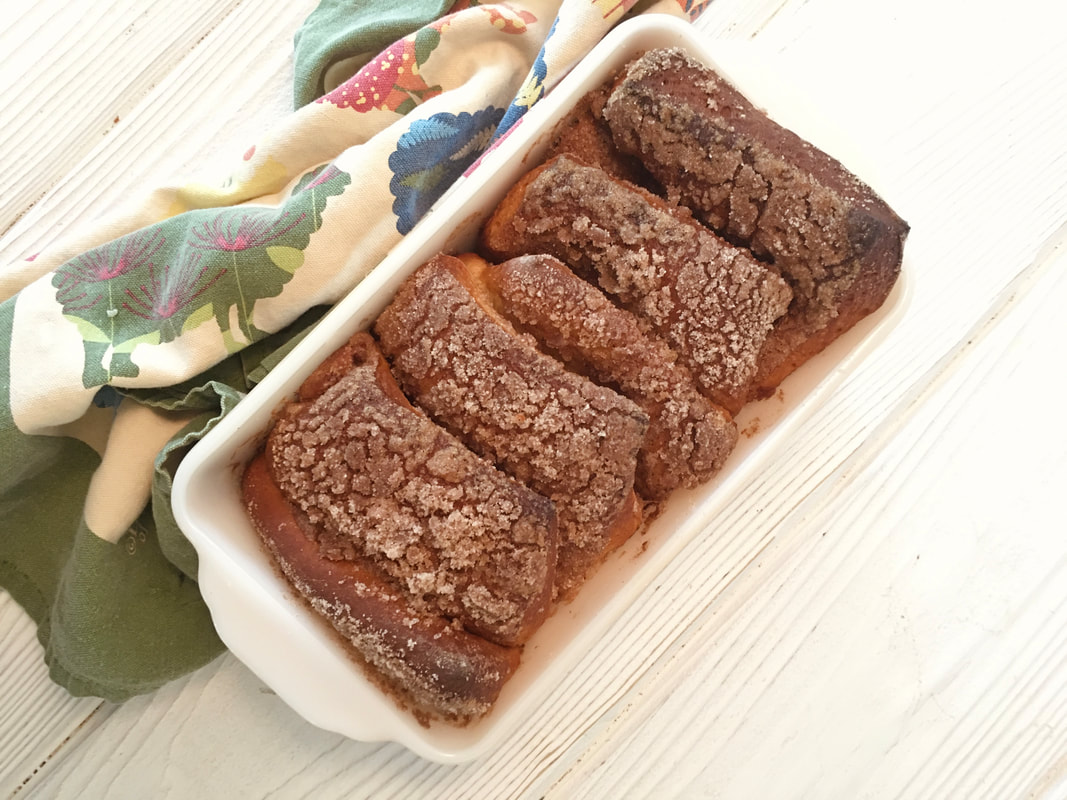
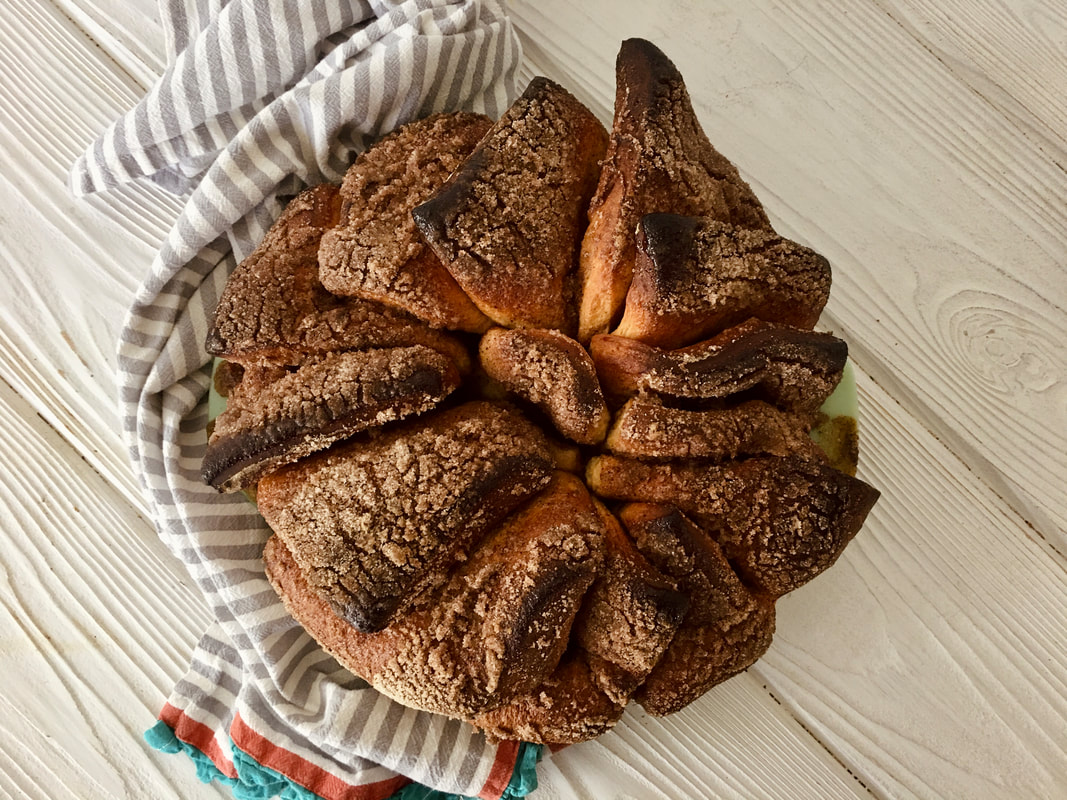
You can also arrange it in a pie pan. I make it for Christmas morning in the shape of a wreath for the kids which is always festive. This one is a little more browned than I would like, but there is no perfection right now with the busyness of four boys at home.
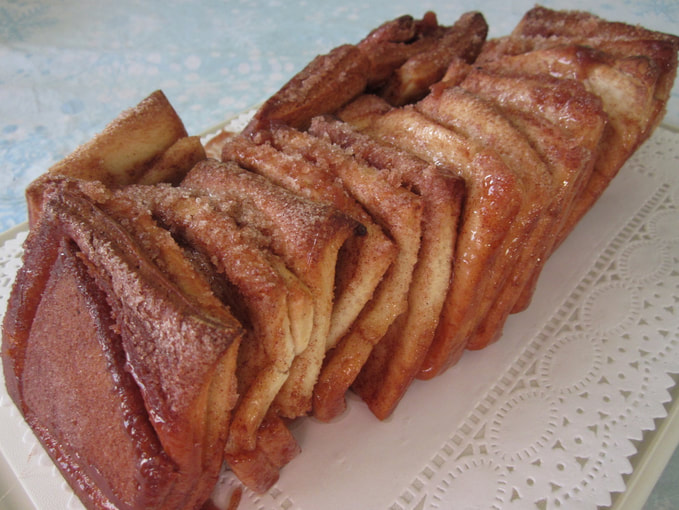
This warm sweet bread with a crunchy sugary coating is the best. The sugar coating reminds me of my favorite indulgence from Panera, the sugar crunch bagel.
Here he is...my littlest kitchen helper. My aunt said "he's a hoot" and he is. He keeps me laughing and keeps me on my toes. In this video, we show you how to roll out and cut the dough to form the layers that make up cinnamon sugar pull-apart bread. Enjoy!
Years ago when I first published this post, I saw this gorgeous recipe at Joy the Baker for Cinnamon Sugar Pull-Apart Bread. I was excited to try it, but after reading the recipe I thought I could convert this to a bread machine recipe and save myself some time. It worked wonderfully in the bread machine. The dough was easy to work with and the bread was delicious. If you don't have a bread machine, you can see the original recipe at Joy the Baker.
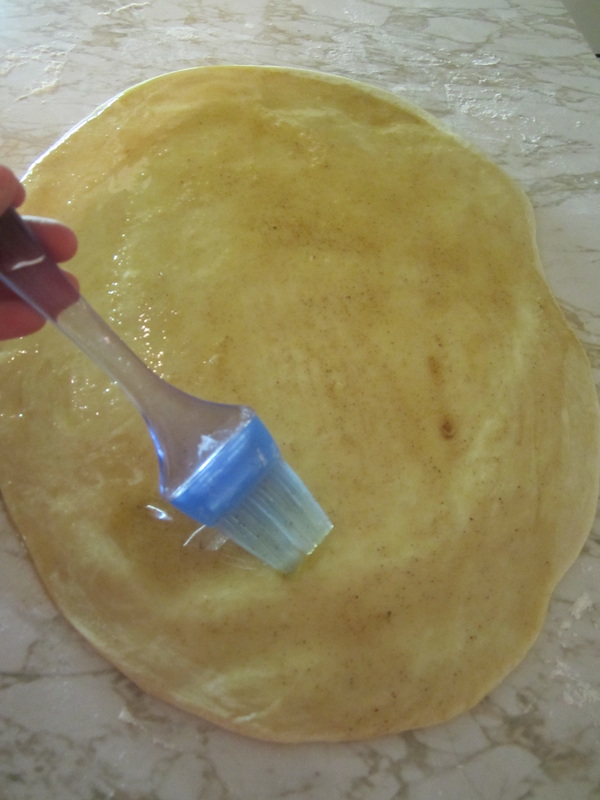
Dough Ingredients: 1/3 cup whole milk 4 Tbsp. butter 1/4 cup warm tap water 1 teaspoon vanilla extract 2 large eggs 3 cups all-purpose flour 1/4 cup granulated sugar 1/2 teaspoon salt 2 1/4 teaspoons (1 envelope) active dry yeast Filling Ingredients: 1 cup granulated sugar 2 teaspoons ground cinnamon fresh ground nutmeg (optional) 4 Tbsp. butter, melted until browned (It smells like warm caramel.) 1. Warm milk and butter in a saucepan until butter melts. Pour this liquid into the bread machine. 2. Add the rest of the ingredients in the order listed. Run the bread machine on the dough cycle for sweet dough. My machine takes about an hour and a half. 3. When the dough is done, roll it out into a big sheet of dough. 4. Brush the dough with the browned butter.
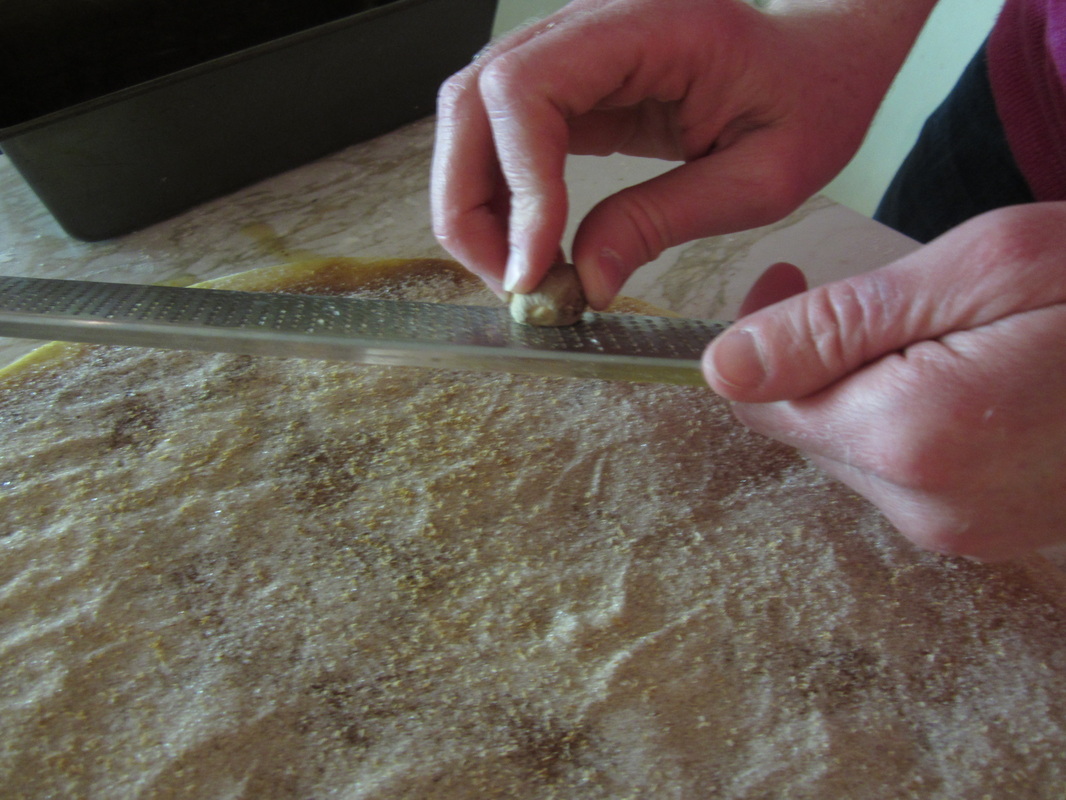
5. Sprinkle with the cinnamon/sugar mixture. Grate some fresh nutmeg over the dough.
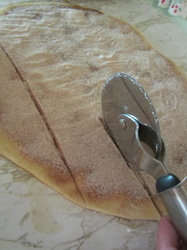
6. Next, cut the dough into long thin strips. A pizza wheel works great for this.
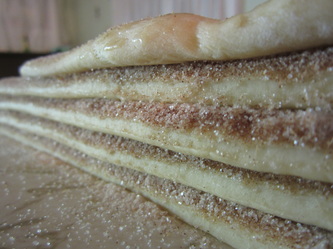
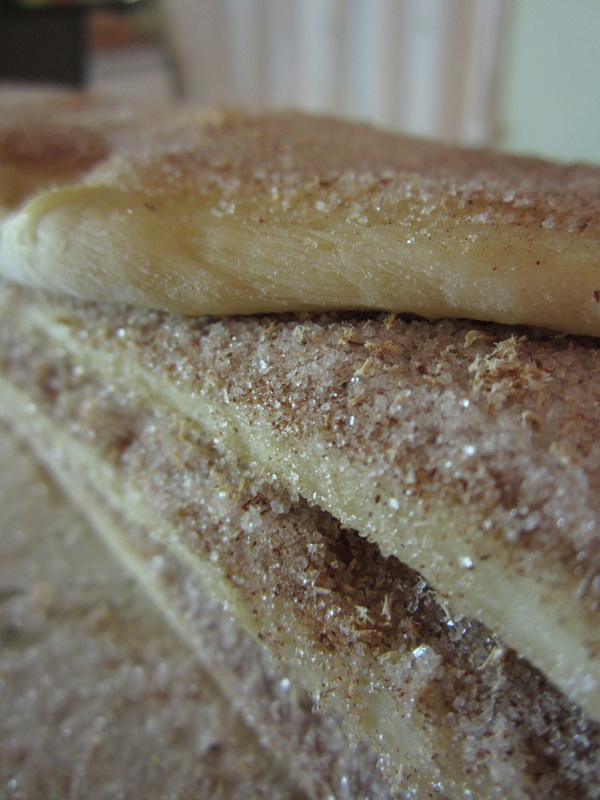
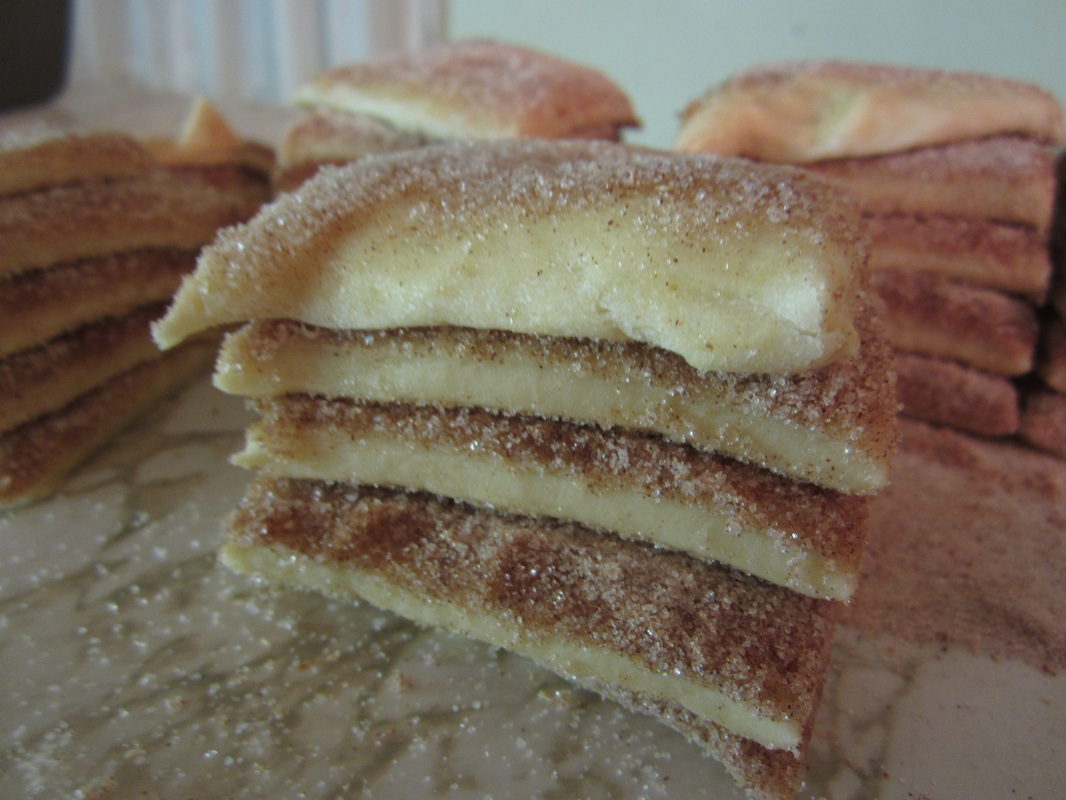
7. Cut the long dough strips into stacks of squares.
8. Place the dough stacks in a greased bread pan.
Pin on Pinterest
|
Welcome to Home Ec @ HomeHi, I'm Faith, a former Family and Consumer Science teacher turned food blogger. I love God, my family, and food. You can usually find me in the kitchen preparing family friendly, homemade recipes and taking lots of pictures. This website uses marketing and tracking technologies. Opting out of this will opt you out of all cookies, except for those needed to run the website. Note that some products may not work as well without tracking cookies. Opt Out of CookiesFan Favorites
 Dehydrating Pears and Apples in the Instant Pot Duo Crisp Dehydrating Pears and Apples in the Instant Pot Duo Crisp
|




 RSS Feed


