|
We are a participant in the Amazon Services LLC Associates Program, an affiliate advertising program designed to provide a means for us to earn fees by linking to Amazon and affiliated sites.
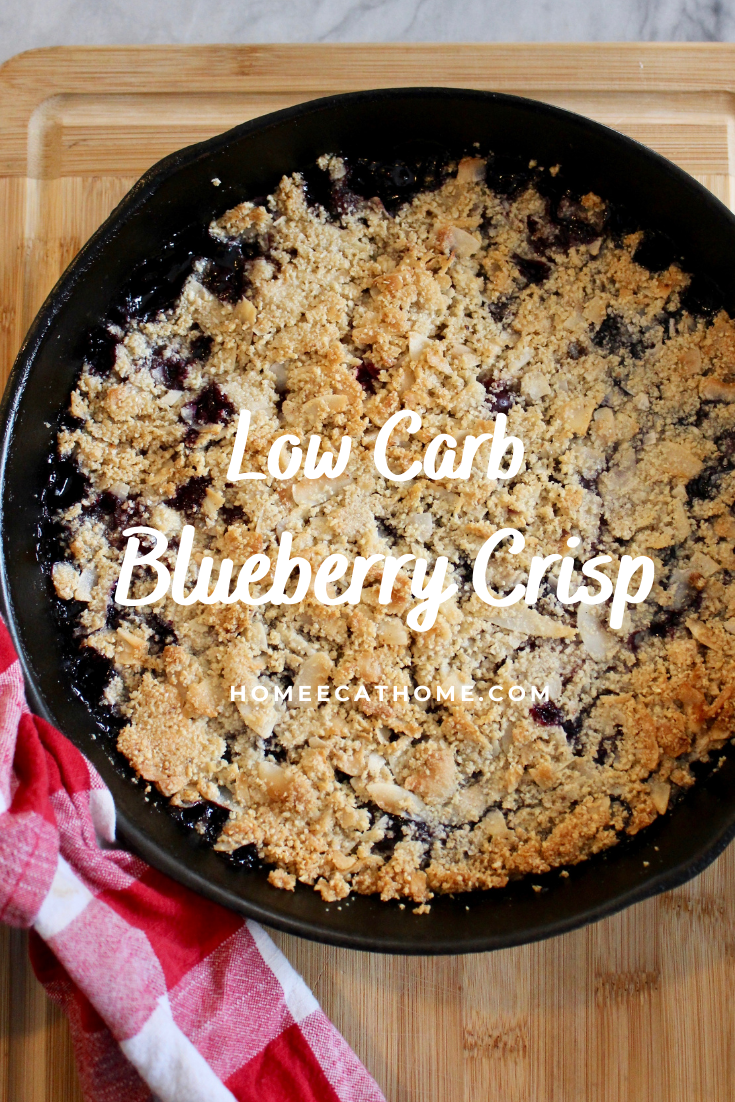
One of the hardest things about adjusting to a low carb lifestyle is learning how to bake with alternative sweeteners and flours. I have started using almond flour more in my cooking and baking over the past year and while some things just aren't the same, some things like this low carb, gluten free blueberry crisp are very good. Just ask my kids, there is never a bite left!
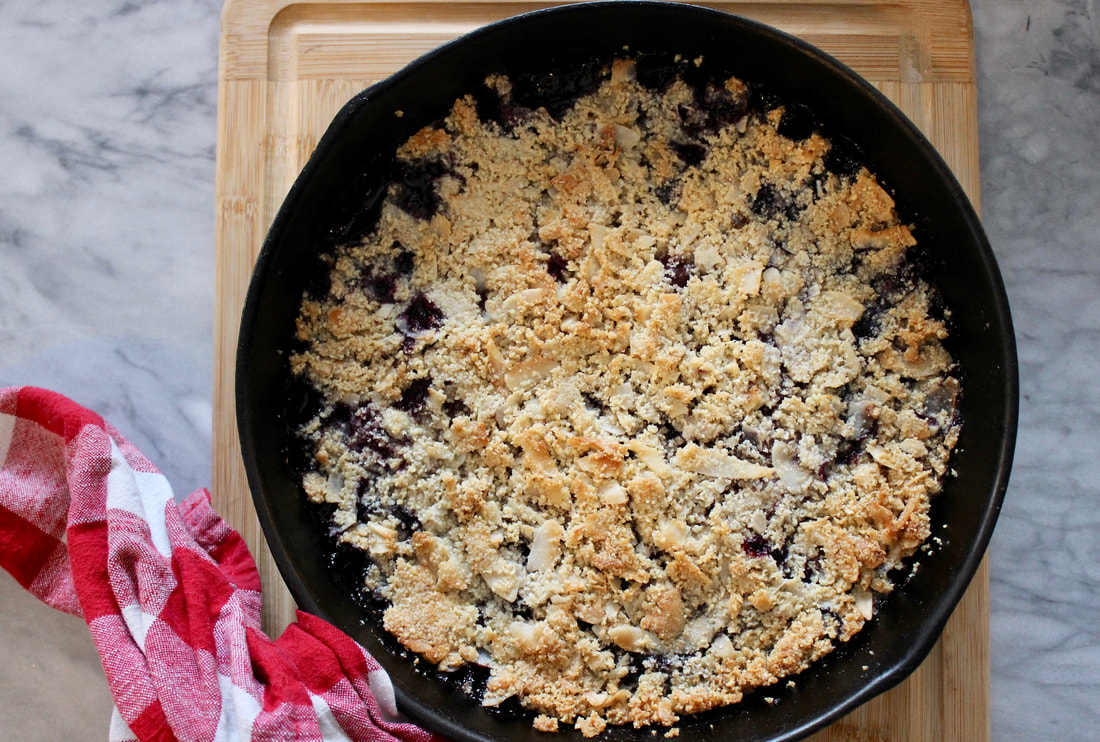
To make this yummy crisp topping low carb, I combined almond flour with unsweetened shredded or chipped coconut and used a low carb sweetener like stevia or monk fruit. I have tried several low carb sweeteners and my current favorite is Sweet Leaf stevia blend for baking. (amazon link) It doesn't have a weird aftertaste like some do and tastes the most like real sugar to me. I actually bought it at my local co-op store for the best price so if you buy it often, I would compare prices.
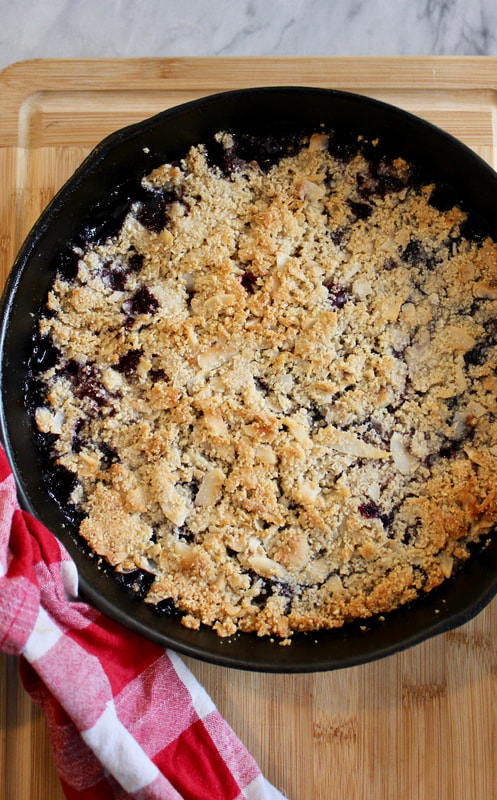
I add xanthan gum (amazon link) which is a lower carb, gluten free thickener to the blueberries to thicken them a little, but if you don't have xanthan gum, you can leave it out. This is the brand I have used (amazon link) which I am really happy with, but it is a lot less expensive at Walmart. It looks like there are lots of other reputable brands on amazon too. I use xanthan gum now to make gravy when I make roast beef and mashed cauliflower. I actually like it better than flour for making gravy. I also use it in place of flour for thickening soups. Read the directions on the package when substituting for flour as a thickener because you use a lot less.
You can use raspberries or blackberries instead of or mixed in the with blueberries too. We love this family friendly, kid approved blueberry crisp and hope you will love it too!
Interested in planting blueberries? Here's how we did it...planting blueberries
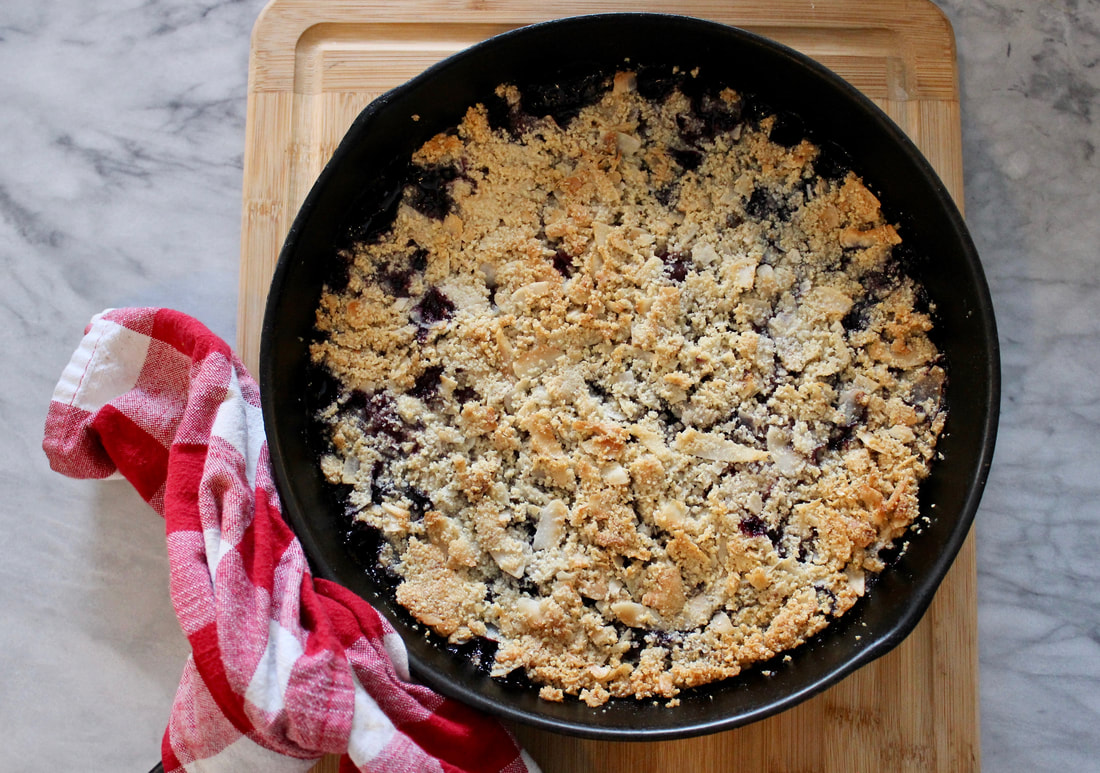
Low Carb Blueberry Crisp
Ingredients: Filling: 4 cups fresh or frozen blueberries 1/4 cup low carb sweetener like stevia baking blend (amazon link) or monk fruit 1 tsp. xanthan gum, (amazon link) optional for thickening the blueberry mixture Juice from 1/2 of a lemon or lime Topping: 1 cup almond flour (amazon link) 1 cup unsweetened coconut shredded or chipped 1/4 cup low carb sweetener like stevia or monk fruit 1/3 cup butter, softened 1/2 tsp. vanilla extract 1/4 tsp. cinnamon 1/2 tsp. salt Directions: 1. Preheat oven to 350 degrees F. 2. Grease a 10 inch iron skillet (amazon link) or 9 X 9 baking pan. 3. Mix filling ingredients together and scoop into prepared baking dish. 4. Combine topping ingredients with a pastry blender (amazon link) and sprinkle over filling. 5. Bake for 30 minutes until filling is bubbling and crisp topping is golden brown.
Pin on Pinterest

0 Comments
I received this product for free from Moms Meet (momsmeet.com) to use and post my honest opinions. Compensation for this post was provided and this page may contain affiliate links.
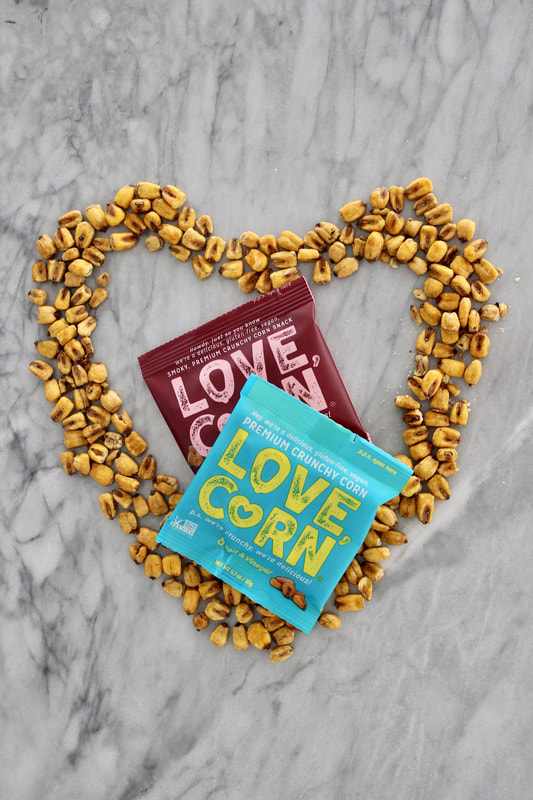
With four kids in the house, we go through a lot of snacks. I make things from scratch and always have fresh fruit for the boys, but we also enjoy salty snacks. I like to purchase healthier snacks when possible so I was happy to try LOVE CORN savory, crunchy corn kernels.

LOVE CORN snacks are made with plant-based ingredients, and are vegan, gluten free, Non-GMO Project Verified, kosher, and sugar free.
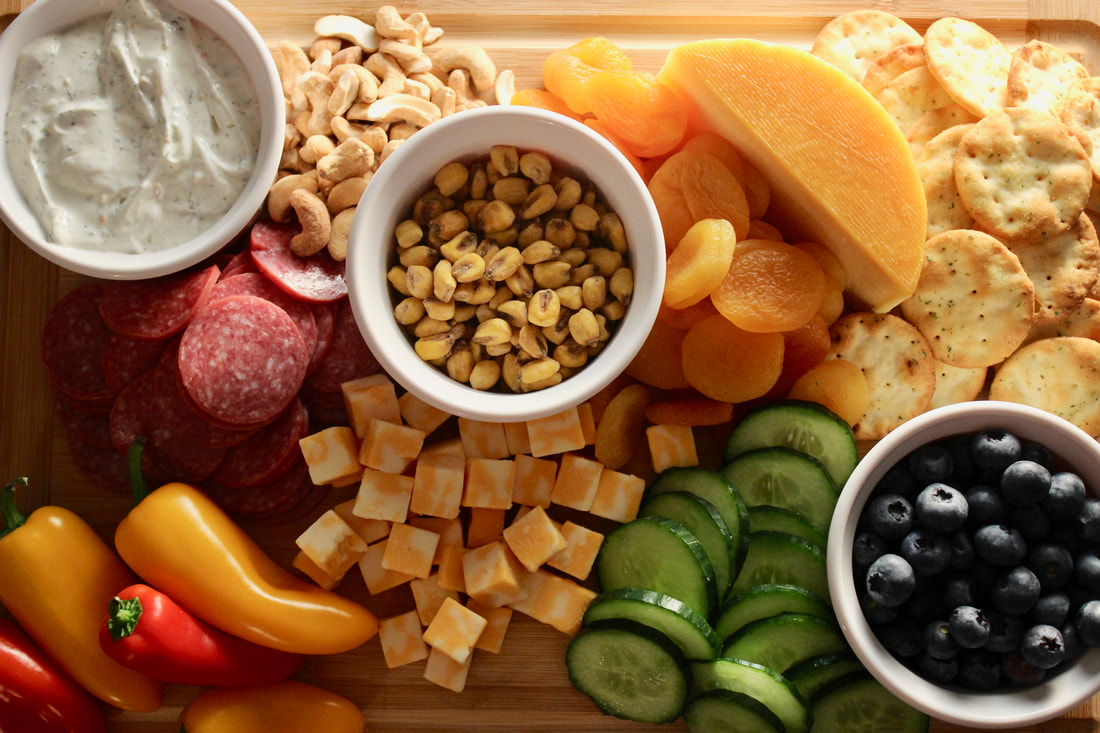
I love to make charcuterie boards for snacking or for snacky, casual dinners on the weekends. I put LOVE CORN crunchy corn kernels on our last snack board and it was a hit. They add the perfect savory, crunchy snack.
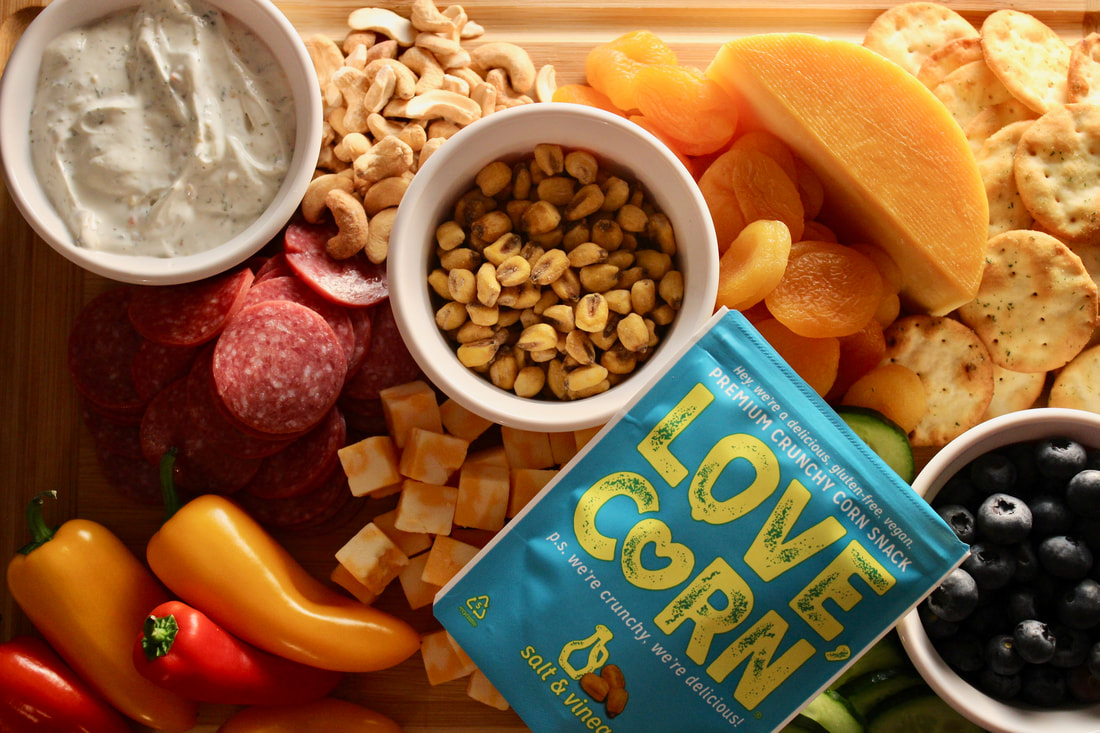

My boys love LOVE CORN! My four year old literally finished half the bag when I took these pictures. My favorite flavor is salt and vinegar. It is so good! In addition to a delicious snack, LOVE CORN would be a great gluten-free alternative to croutons for topping soup and salads.

Use this link momsmeet.link/lovecorn and code MOMSLOVE to save 25% off at LOVE CORN through 10/31/21.

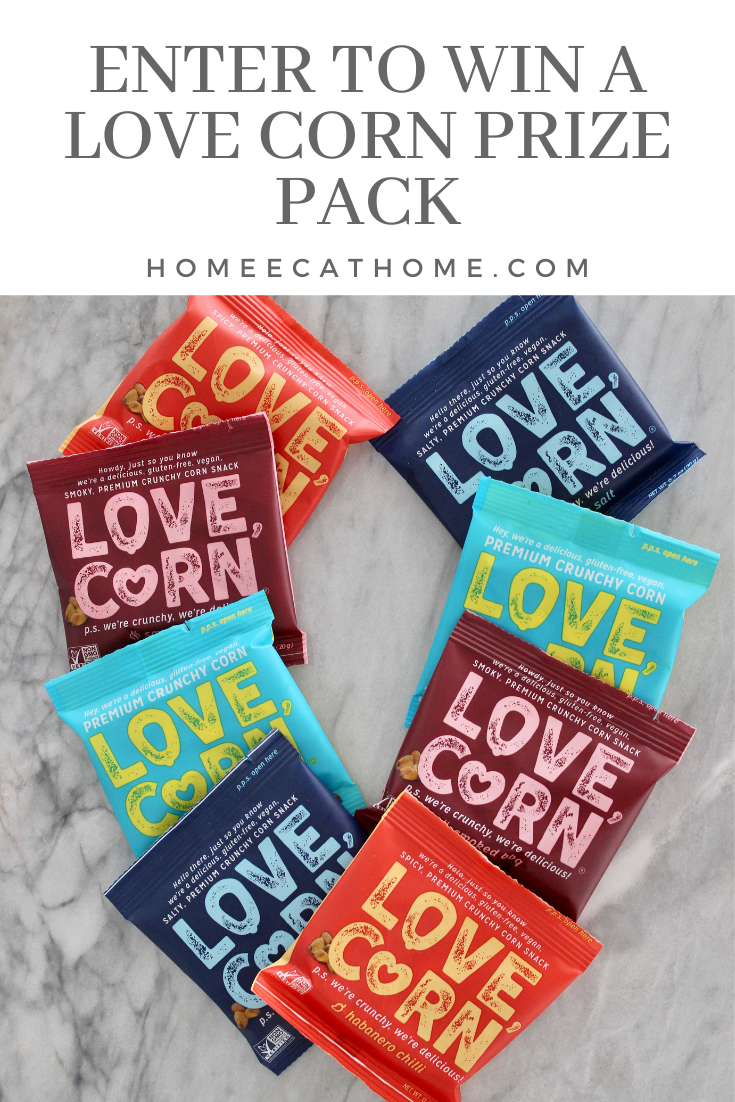
LOVE CORN comes in four flavors including Sea Salt, BBQ, Habanero, and Salt & Vinegar.
Enter to win the LOVE CORN assortment pictured above (8 snack bags) plus a branded reusable bag and a drink cozi on the rafflecopter form below. (I am providing this prize and will send directly to the winner.)
LOVE CORN is available to purchase online at lovecorn.com/kids, and in-store at Whole Foods Market, Target, Sprouts Farmers Market, Kroger, Wegmans, Walgreens, CVS, ShopRite, and more.
I don't know how long this offer will last, but LOVE CORN is currently offering a free snack pack (you just pay shipping costs). You will see this offer on their site.
Pin on Pinterest
We are a participant in the Amazon Services LLC Associates Program, an affiliate advertising program designed to provide a means for us to earn fees by linking to Amazon and affiliated sites
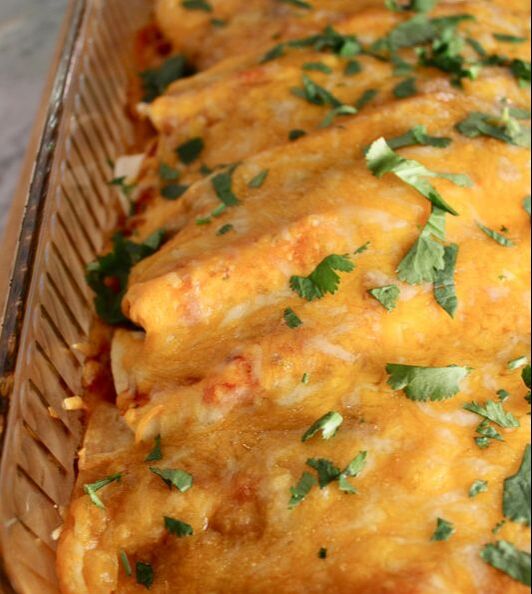
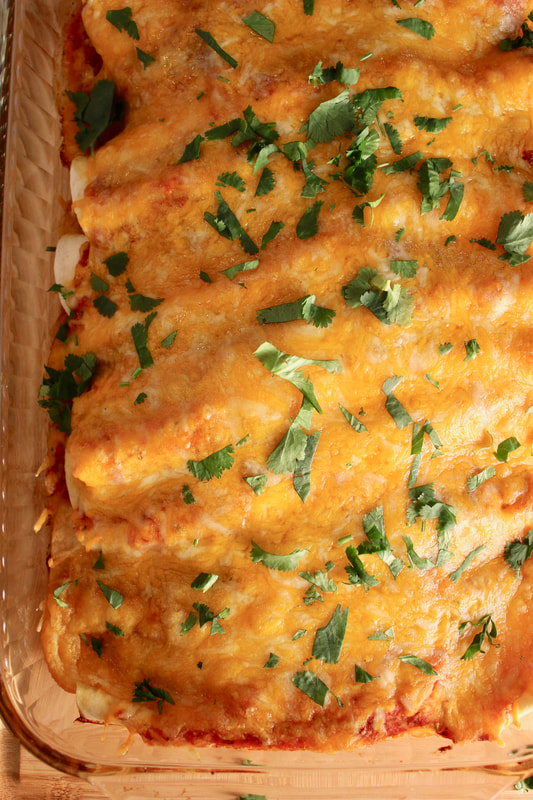
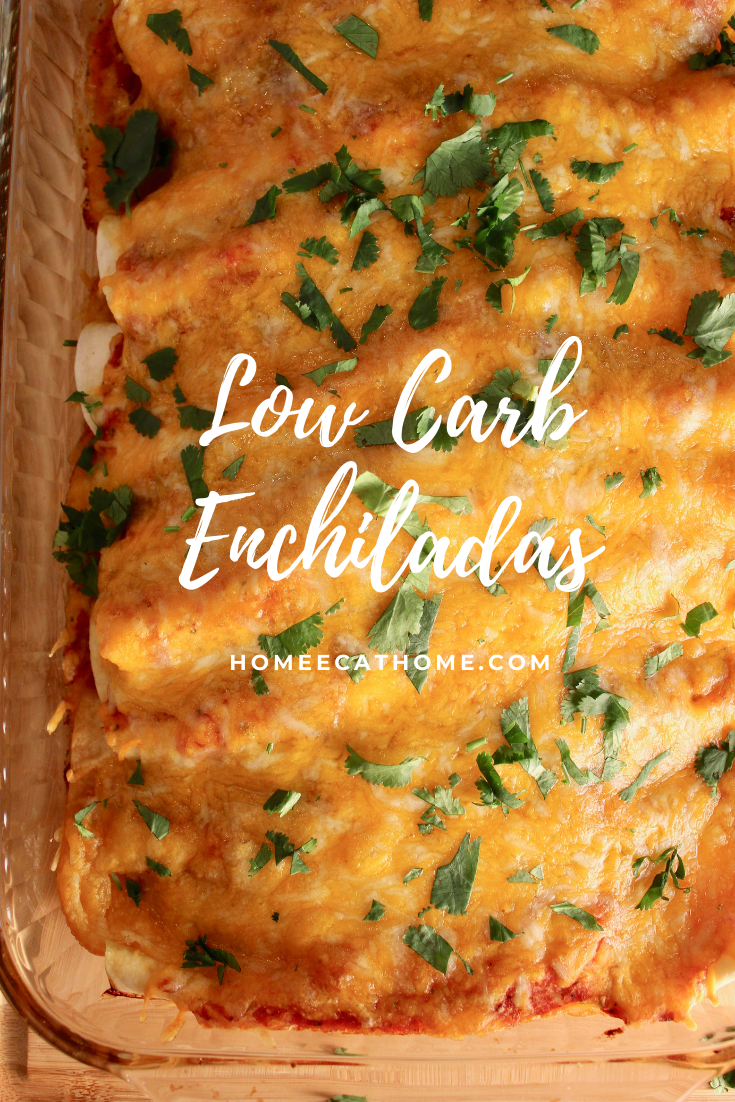
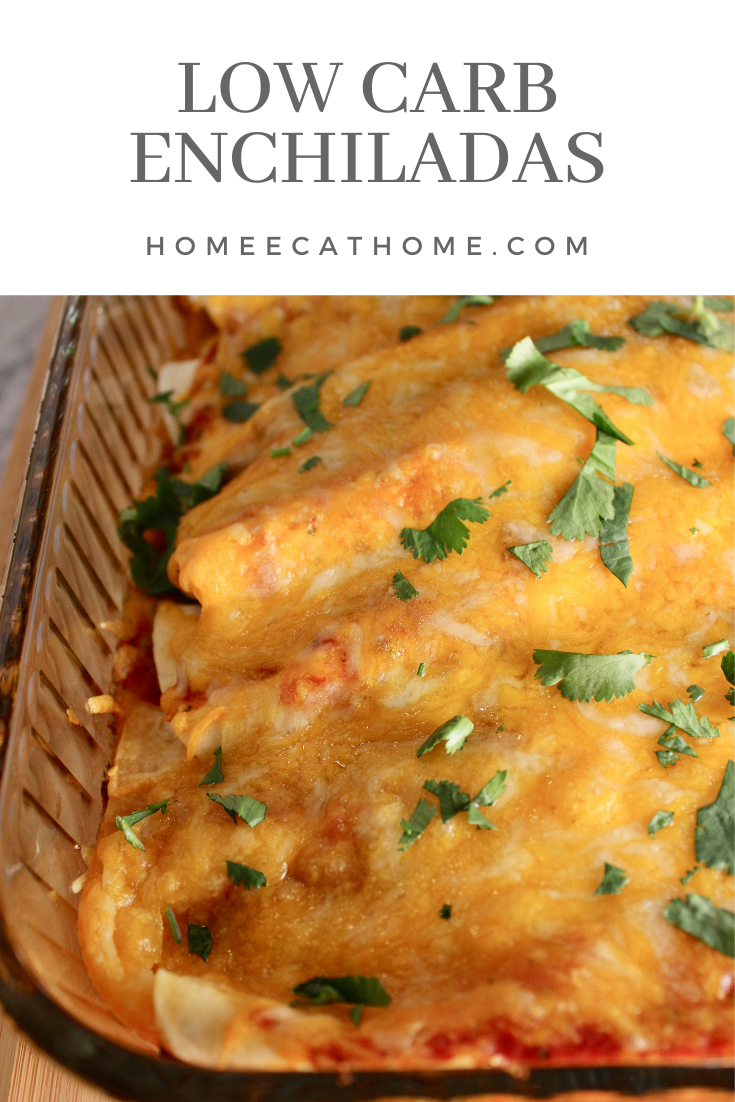
Enchiladas is one of our favorite meals and I love making a big pan of enchiladas as a way to use leftover meat and rice. Since we have been eating more low carb meals, I made these enchiladas with a couple of adaptations to make them lower in carbs.
I posted easy enchiladas a few years ago as a great way to use up leftovers as a "leftover makeover" meal. These are made similarly, but with some tweaks to make low carb enchiladas.
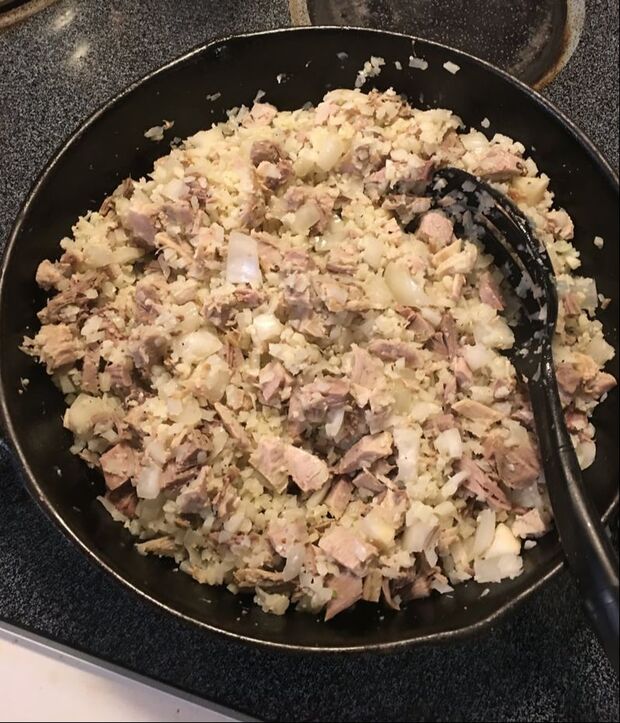
I start by cooking a diced onion in a small amount of olive oil, then adding riced cauliflower and chopped leftover meat. In this case, I used leftover roast pork, but leftover beef or chicken would be good too. You could also use rotisserie chicken, canned chicken, or just dice and sauté a chicken breast or two.
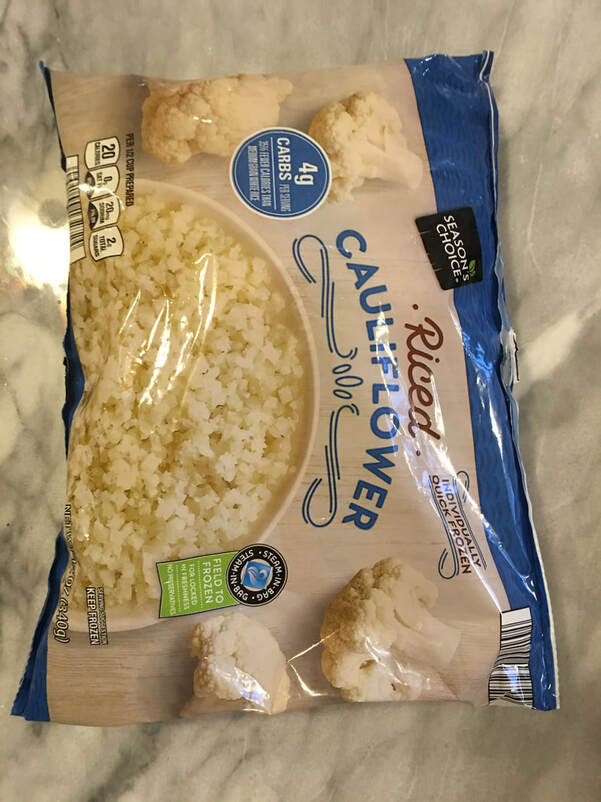
I used one bag of frozen riced cauliflower in place of using rice. If you have a smaller family, you could use half a bag. I steam fresh cauliflower for ricing too, but this frozen riced cauliflower is so convenient for easy meals like this. I buy this at Aldi, but I think it is available in most grocery stores.

I use low carb tortillas to make these lower carb enchiladas. These are very affordable at Aldi.
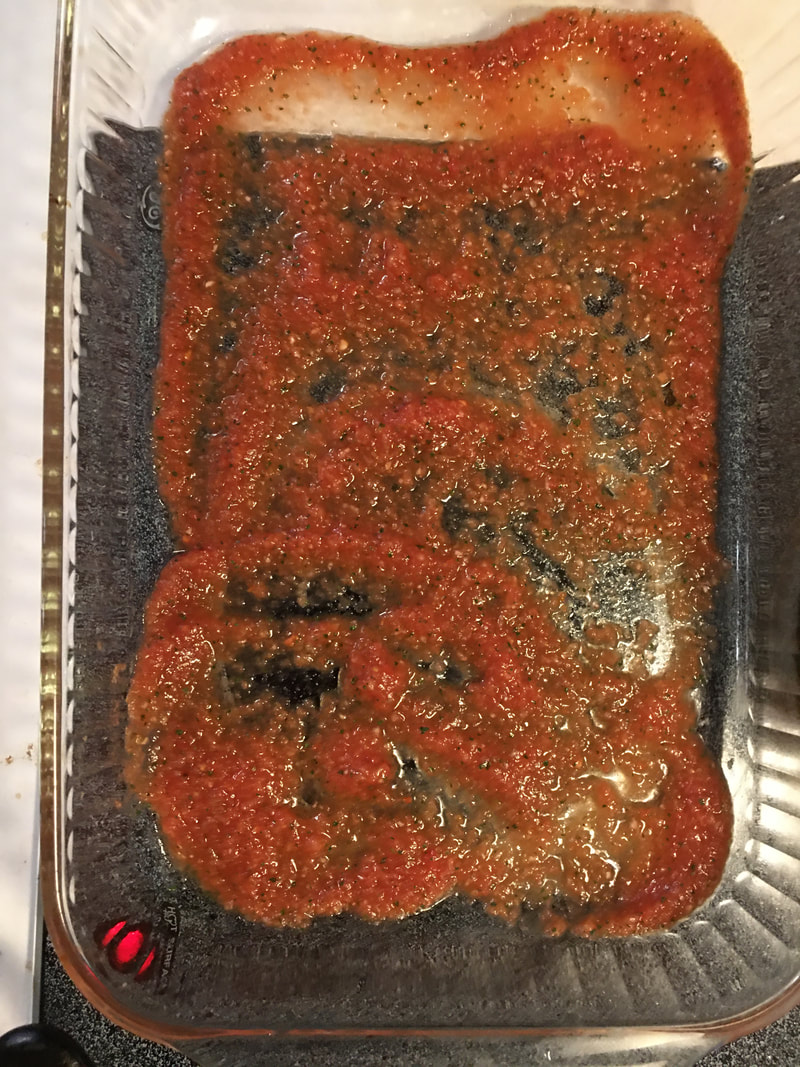
Spread a thin layer of salsa in the bottom of a 9 X 13 baking pan. We love this easy homemade salsa.
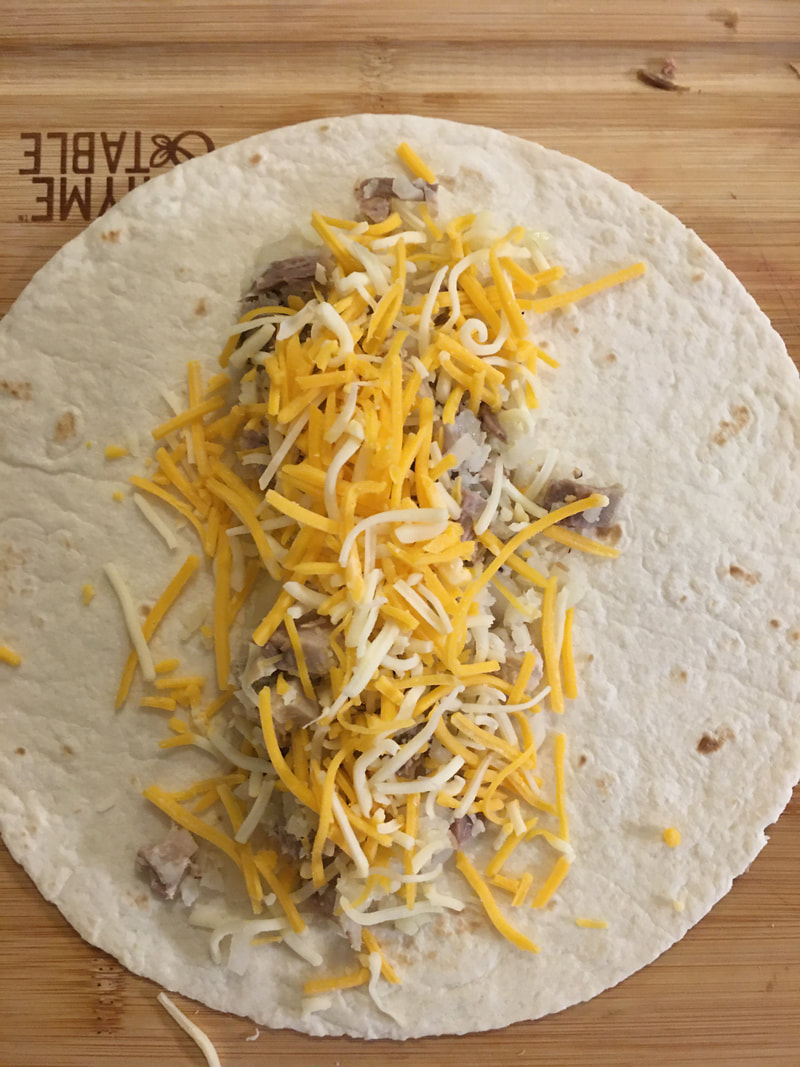
Place meat-cauliflower mixture and shredded cheese in low carb tortillas.
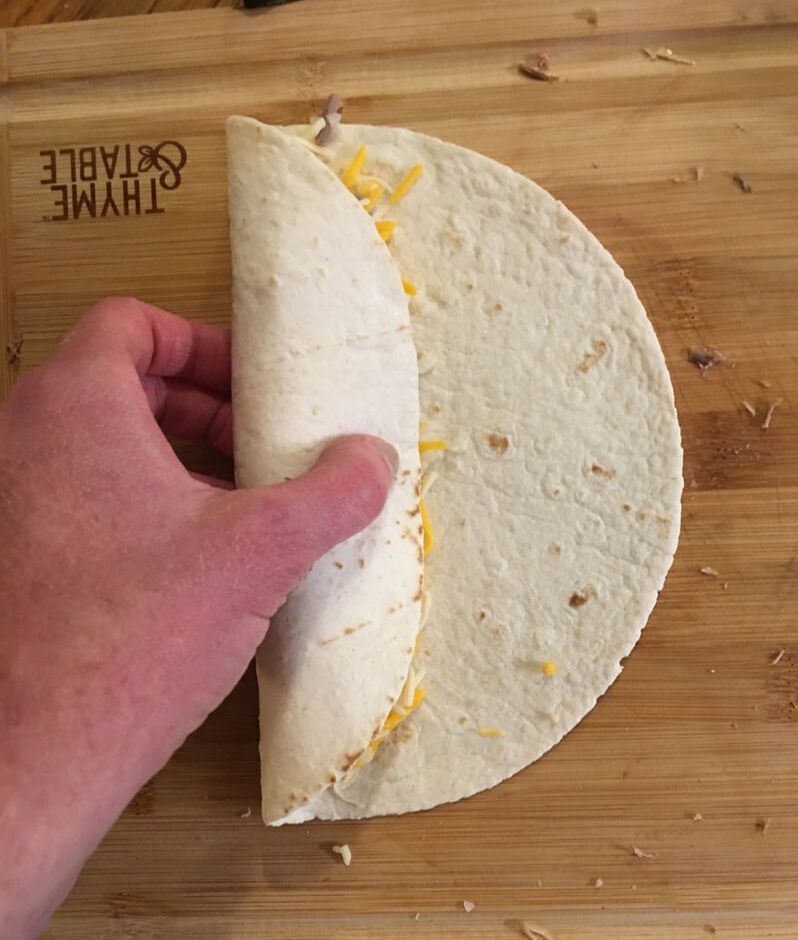
Roll each tortilla up and gently set in pan.
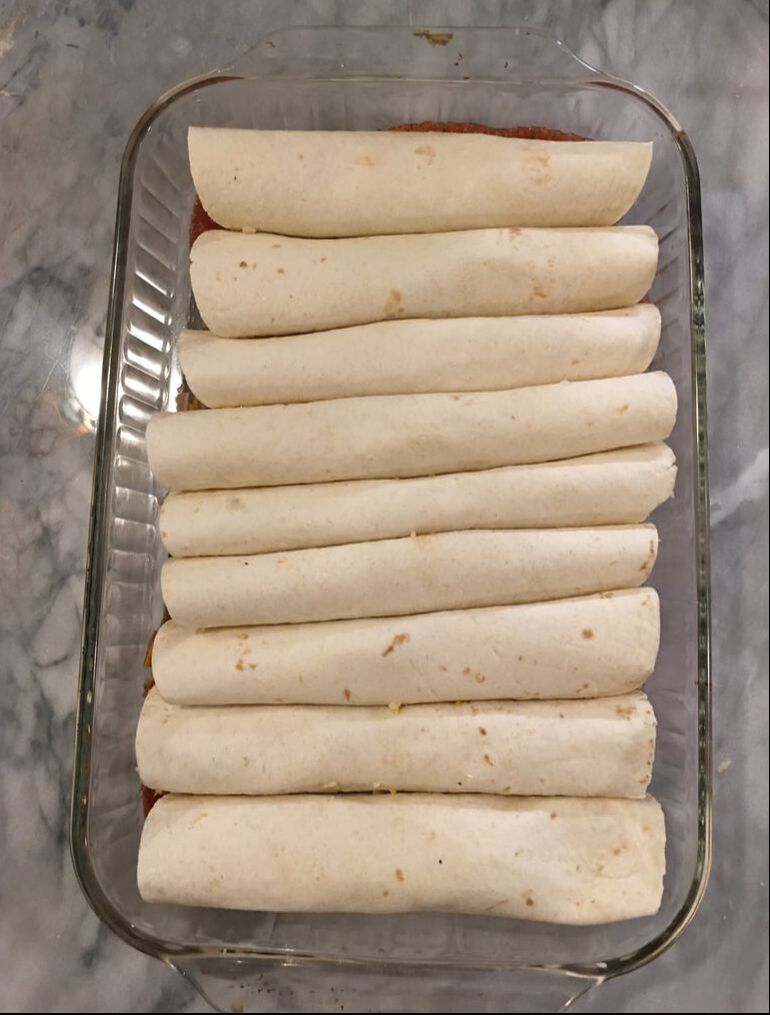
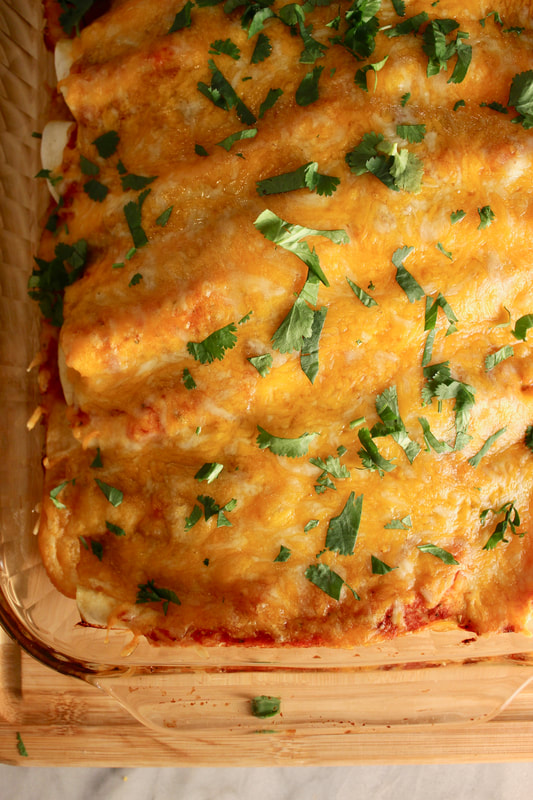
Then cover with more salsa and shredded cheese and bake.
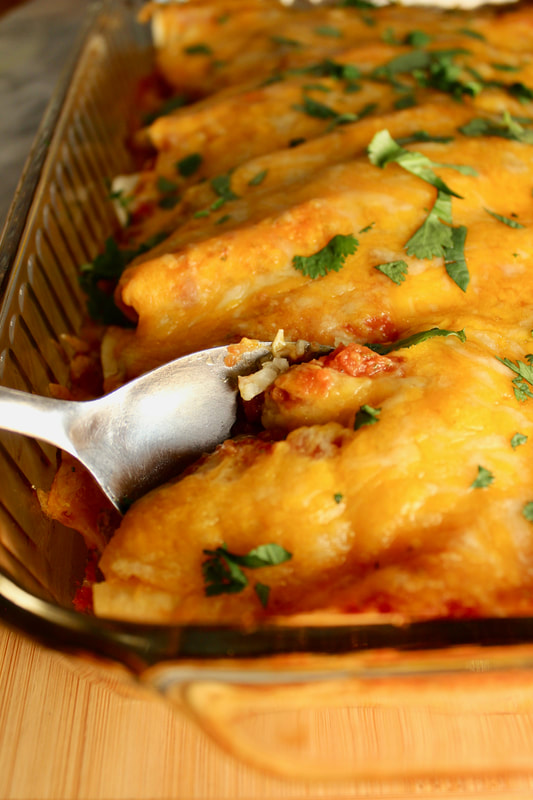
If you like, garnish with fresh chopped cilantro. My family loves enchiladas and they could not tell any difference between these low carb enchiladas and the way I made them previously. They almost finished the whole pan in one night.
Low Carb Enchiladas
Serves 8 Ingredients: (Pick and choose the filling ingredients you like) 1 Tbsp. olive oil 1 onion, diced Shredded chicken, beef, or pork (leftover meat works great) Riced cauliflower Shredded cheese 8 low carb tortillas Salsa and/or Enchilada sauce Salt and pepper to taste 1. Prepare a 9 X 13 pan by spreading a thin layer of salsa or enchilada sauce in the pan. 2. In a large skillet (amazon link), sauté onion in a little olive oil. Then add riced cauliflower and meat. Stir and cook to warm through and salt and pepper to taste. 3. Fill tortillas with cauliflower-meat mixture and shredded cheese. Then roll them up placing them seam side down in the baking pan. Eight to nine should fit nicely in the pan. 3. Drizzle more salsa or enchilada sauce over the prepared tortillas. Then sprinkle more shredded cheese on top. 4. Bake at 350 degrees F. for 25 minutes. Delicious with homemade guacamole and sour cream.
Pin on Pinterest
Yum on Yummly
We are a participant in the Amazon Services LLC Associates Program, an affiliate advertising program designed to provide a means for us to earn fees by linking to Amazon and affiliated sites.
When I think of holidays, I think of baking sugar cookies and Valentine's Day is the perfect excuse to get out the rolling pin and have some fun.

I think baking sugar cookies is a right of passage everyone should get to experience. When I taught Family and Consumer Science, we always baked cut-out sugar cookies for Valentine's Day. Now, my own children get to enjoy the experience at home.

These cookies are not only delicious, they are also fun to make. See the golden cookies with small red hearts on them. I made the Sacred Heart of Jesus cookies for my PSR (Parish School of Religion) students by placing a small heart cut-out on top of a larger heart cut-out and baking them together, then frosting them to look like the Sacred Heart of Jesus.
Cookie baking and decorating is really an art form that anyone can have fun with. I watched my 11 year old rolling out dough and shaping it without using any cookie cutters. He was singing to himself, enjoying shaping the dough on his own and creating. 
I have been using this sugar cookie dough for years and years. At Christmas, I usually add nutmeg, but not for Valentine's Day. This dough makes wonderfully crisp cookies and when you add buttercream frosting on top the cookies are perfection.

These cookies bake for 10-12 minutes, but you can bake them a couple of more minutes to get them extra crispy if you like.

Watch Robert and I baking cookies to see how we make and frost these yummy Valentine cut-out sugar cookies. While you are there, you can subscribe to my YouTube channel too.

Sugar Cookies
½ cup butter (1 stick) ¼ tsp. salt ¾ cup sugar 2 cups flour 1 egg 1 tsp. vanilla extract 1 Tbsp. milk In electric mixer (amazon link), cream butter and sugar together. Beat in egg, then milk and vanilla. Blend salt into flour. Gradually mix the flour mixture into the dough. Put in ziploc bag and refrigerate for about an hour or overnight if you want to bake later. If you don't have a good stand mixer, mix everything by hand and then knead dough on a lightly floured surface a few times before refrigerating. Roll out dough onto lightly floured surface and press with cookie cutters. I roll it out about 1/4 inch thick. Bake at 350 degrees for 10 to 12 minutes. Cool on wire rack. I always double this recipe since I have four little helpers who like to help eat them too:) Make frosting below. Butter-cream Frosting: 1 cup butter (2 sticks real butter not margarine) 1 tsp. vanilla extract 4 cups sifted powdered sugar 2 Tbsp. milk In electric mixer, cream butter, shortening and vanilla. Add sifted powdered sugar and milk. Continue to mix at high speed until icing is blended. Tint with icing color if desired. If you want the icing to be stiffer, you can always add more powdered sugar.
Pin on Pinterest

We are a participant in the Amazon Services LLC Associates Program, an affiliate advertising program designed to provide a means for us to earn fees by linking to Amazon and affiliated sites.
I know I usually write about food, but I thought you would all enjoy seeing our new puppy. Isn't she a cutie! This picture was taken when we first got her.

Since we moved to our homestead, we have had a goal of getting a golden retriever or a golden doodle puppy. I grew up with golden retrievers and we have the space for a bigger dog so we decided to look for a golden retriever.

Since we were traveling to Ohio for Christmas to see family, I started looking for puppies online a couple of weeks before. I was able to arrange a puppy pickup for Christmas day. We drove about an hour south of Columbus to a beautiful snow covered farm where we picked out our sweet puppy. We bought her from the Zook family. If you are in the market for a golden retriever puppy, you can reach the Zook family at (937) 302-6427. We had a wonderful experience and feel confident recommending them.
The boys did not know we were going to pick out a puppy. They thought we were driving to my parents' house and were surprised when we pulled into a driveway that was not their grandparents'. My parents live in the country too so it could easily look like we were on the way to grandma's. We did head to my parents' house after the puppy detour so the boys were able to share the excitement with family. My parents were very helpful since they have had golden retrievers and now have a golden doodle. My parents' had an extra dog crate which they very generously shared with us and loaned us their books on training golden retrievers. 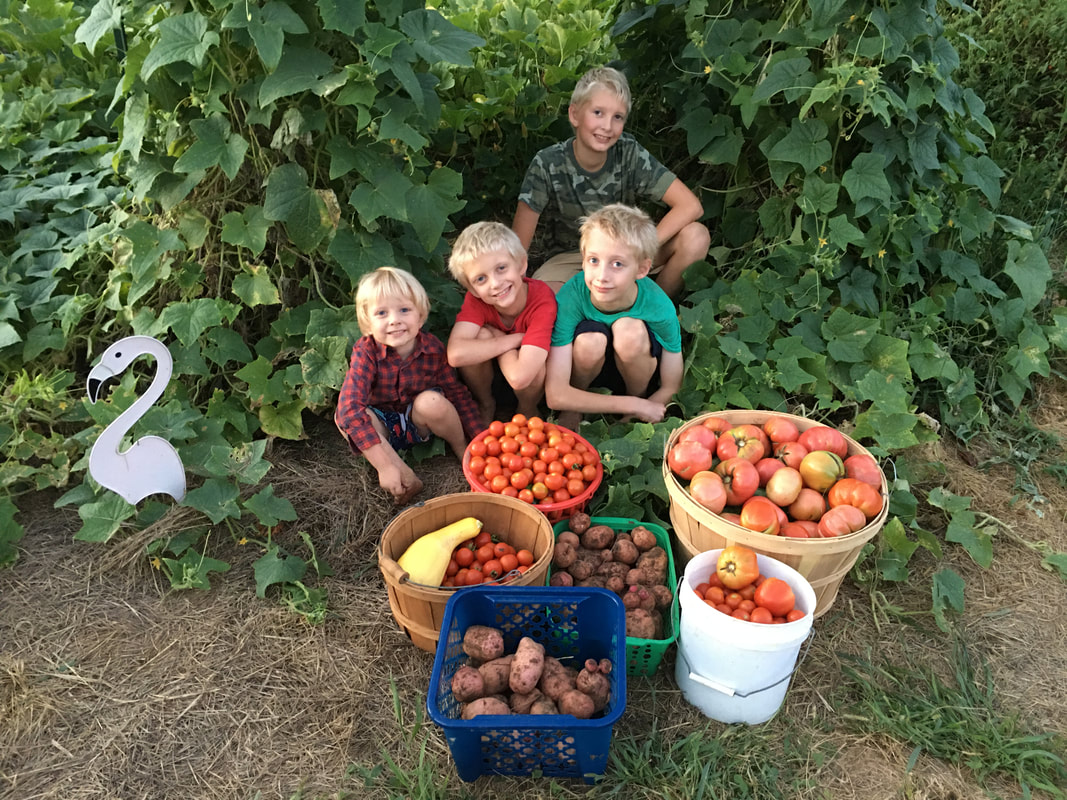
Last summer we raised a huge garden and sold produce at the farmer's market and our own roadside stand. We also raised 4-H market lambs and pigs and baled and sold hay from our pastures. We saved all of the "farm" profits to put towards our new puppy. Amazingly, our puppy cost the exact amount that we had saved from our "farm" proceeds.

It took us a couple of weeks to name the puppy. We wanted a name that the whole family liked and one that was meaningful to us. We thought about Christmas themed names since we got her on Christmas day, but just couldn't settle on anything. Finally, our oldest thought of Marigold. We thought Marigold was very fitting since she is a golden color and our family has strong horticultural interests. In addition, the marigold was originally called Mary's Gold after the mother of Jesus, the Virgin Mary. We loved the name and it's origin and thought it was perfect for our Christmas puppy. Her full name is Marigold Holly so she is doubly representing both Christmas and horticulture, but we just call her Marigold or pup pup.

She is really becoming a part of the family. Our youngest, Robert, tells me all the time that she is his sister.

And like any puppy, you never know what she will do next. I was surprised to walk in and see this.
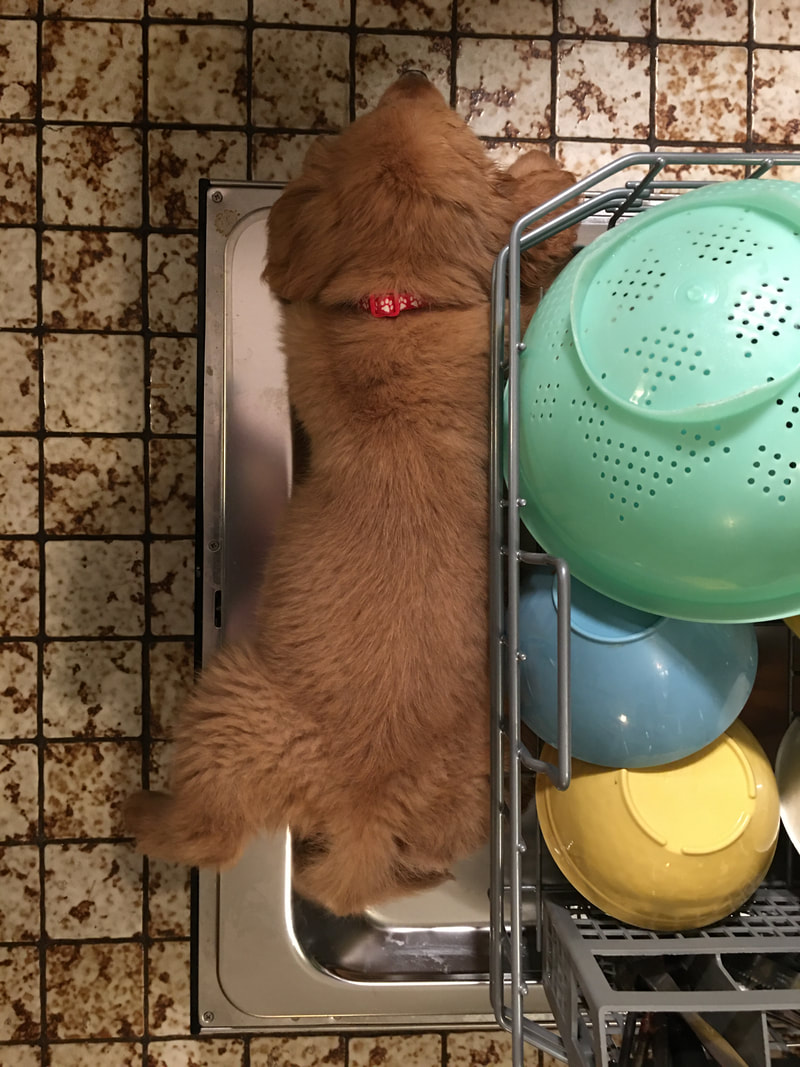
The dishes were clean, but I can't remember if the dishwasher was still warm or cooled down, either way, she liked it.

We are new puppy parents so I don't have a lot to recommend yet, but if you are potty training a puppy, this cleaner is essential! My sister recommended it to us and it really works. I started with this spray bottle and then bought the huge 128 oz. refill which was more economical. I have refilled my spray bottle twice already. This stuff is amazing at cleaning puppy accidents. No stains or gross smells left behind, just a fresh clean citrusy scent.
If you have a favorite puppy toy, treat, etc. please share. We are so new to the world of puppies and could always use recommendations. Our sweet Marigold has us wrapped around her little paw. She just climbed into my lap as I was writing this. It is amazing how much joy a pet can bring to a family!
Pin on Pinterest
We are a participant in the Amazon Services LLC Associates Program, an affiliate advertising program designed to provide a means for us to earn fees by linking to Amazon and affiliated sites.
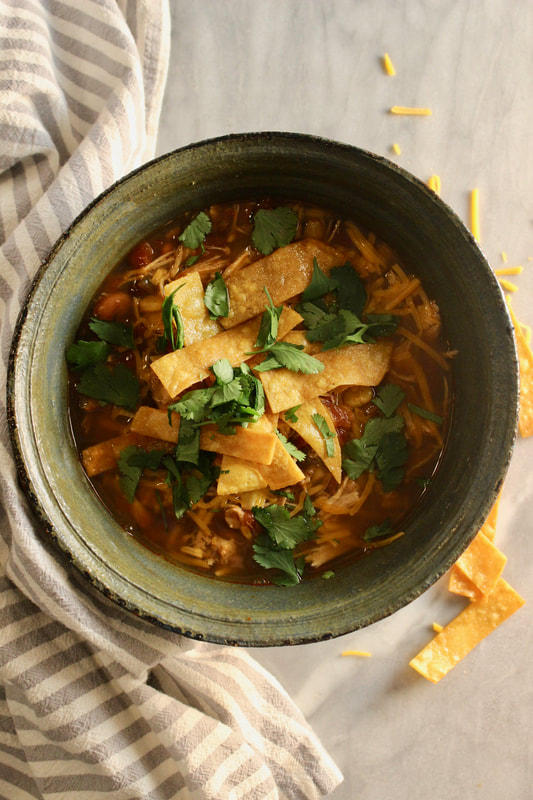
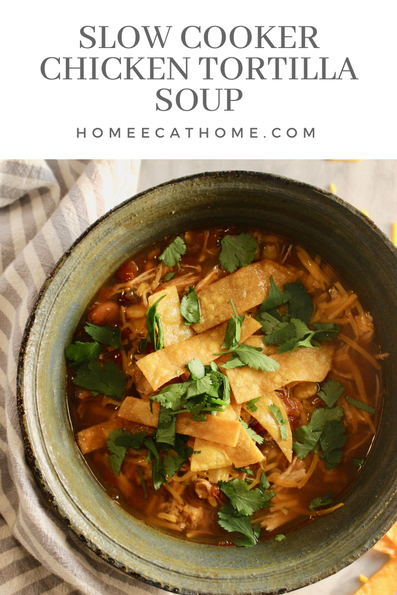
This slow cooker chicken tortilla soup is one of our family's favorite cold weather comfort foods. It is so easy to make, just throw everything in the slow cooker and cook on low all day.
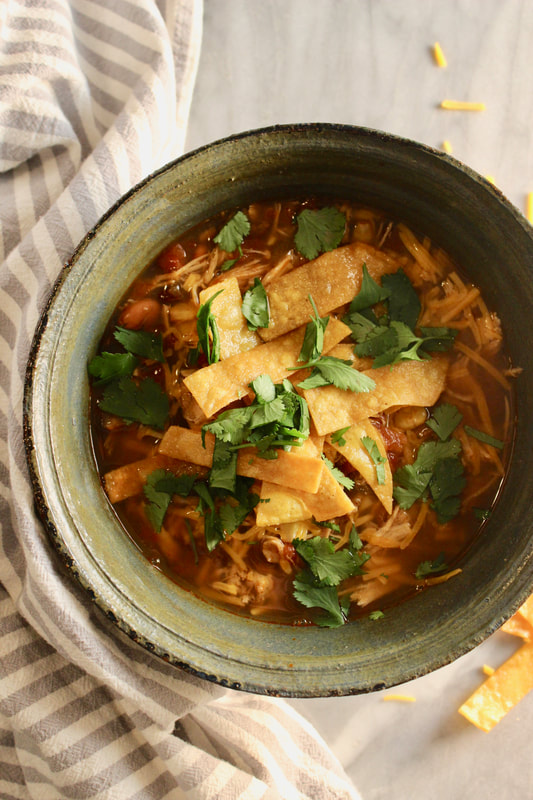
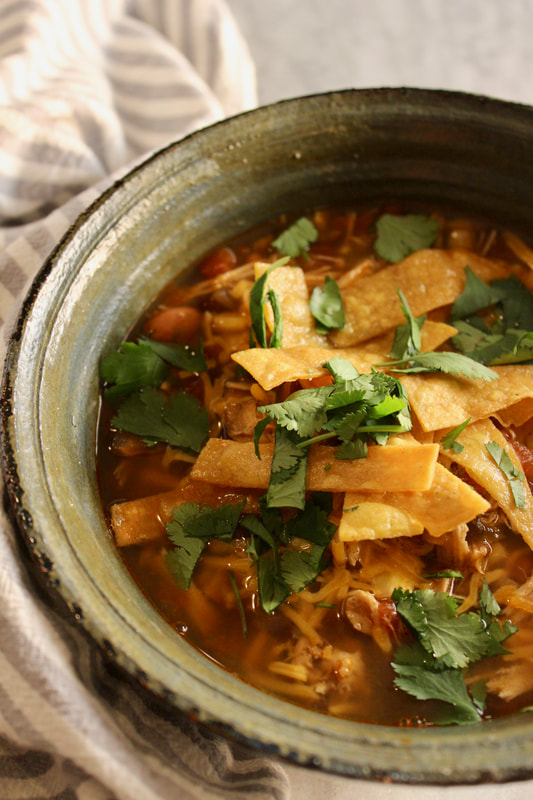
Make it even better with shredded cheese, chopped cilantro, and these crispy homemade tortilla strips. Top it off with a dollop of sour cream if you like.
Ingredients: 2-3 boneless skinless chicken breasts 2 cans diced tomatoes with green chilies (Rotel style)* 1 can cannellini beans, rinsed and drained 1 can kidney beans, rinsed and drained 1 (10 oz.) package frozen corn 1 onion, diced 4 cups chicken or vegetable broth 1 cup water 1 Tbsp garlic powder 1 Tbsp chili powder 1 Tbsp ground cumin 1 tsp. creole seasoning (amazon link for the one I use) Optional toppings: Tortilla strips or chips Sour cream Shredded cheese Chopped cilantro 1. Combine ingredients in a large slow cooker and cook on low 8-9 hours. 2. Before serving remove the chicken breasts from soup and shred. Return chicken to the slow cooker and stir to combine. 3. Serve with optional toppings. *I use one can mild and one can regular diced tomatoes with green chilis. I also use the store brand from Walmart or Kroger which are very good and less expensive than the Rotel brand.
Pin on Pinterest
We are a participant in the Amazon Services LLC Associates Program, an affiliate advertising program designed to provide a means for us to earn fees by linking to Amazon and affiliated sites.
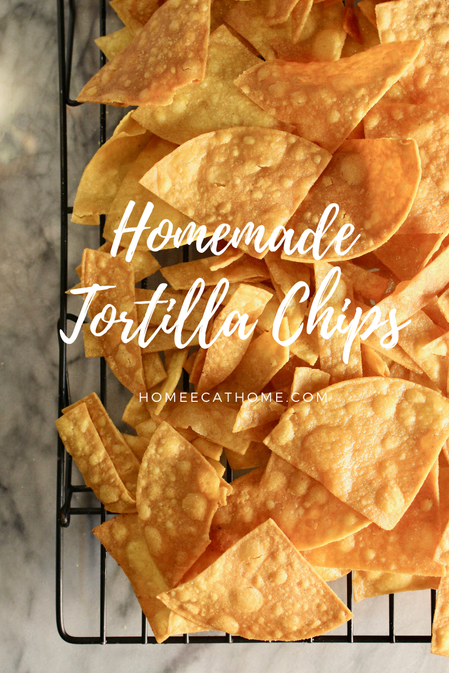
Homemade tortilla chips are such a treat. Fresh and warm, they are great with homemade guacamole or homemade salsa. You can also cut the tortillas into strips to serve with crock pot chicken tortilla soup.
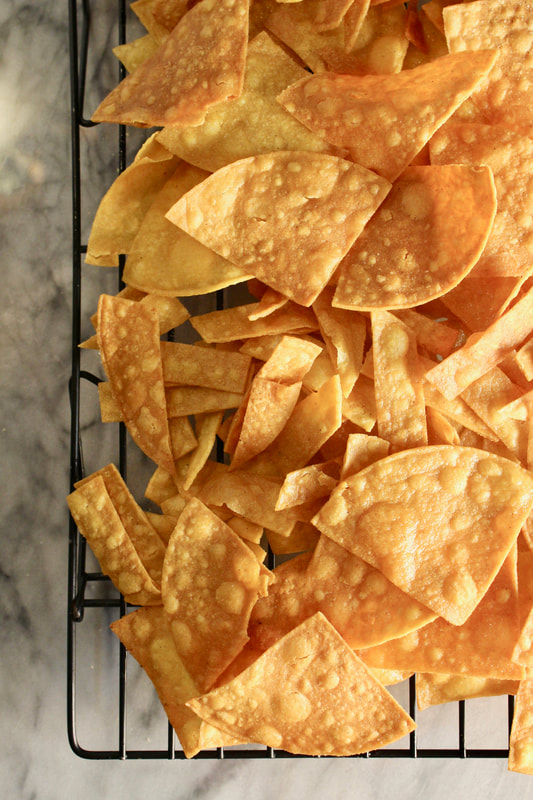
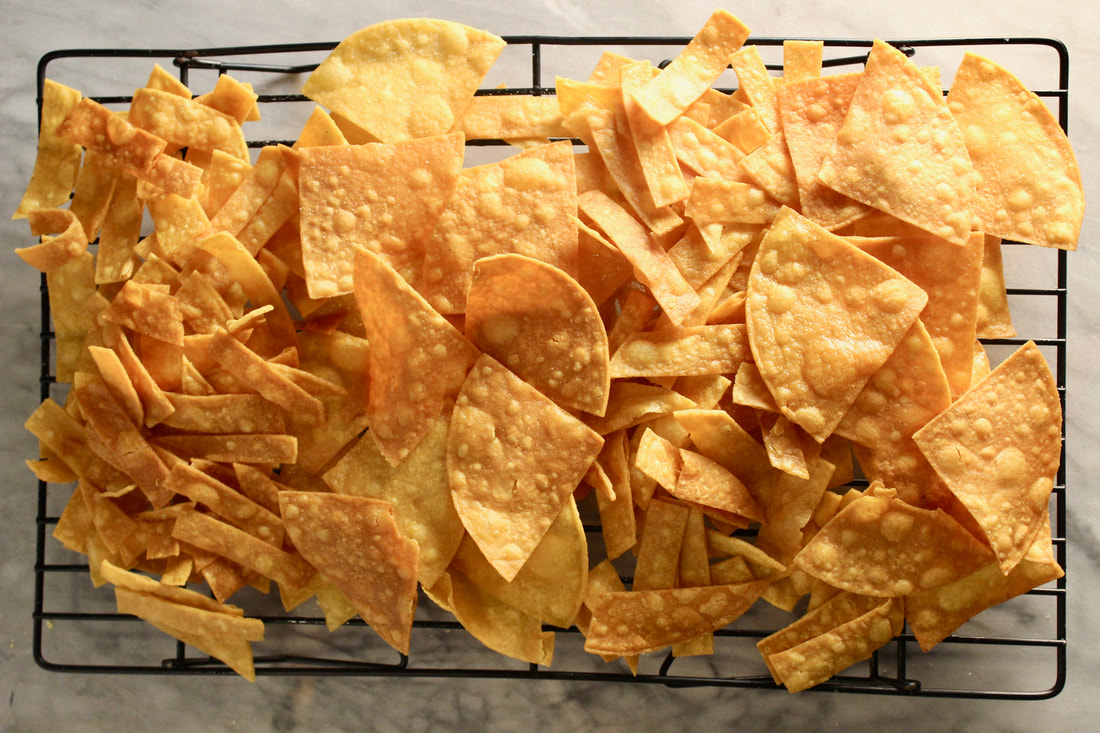
These homemade tortilla chips are so much better than store bought and they will stay fresh for several days in an air tight container.
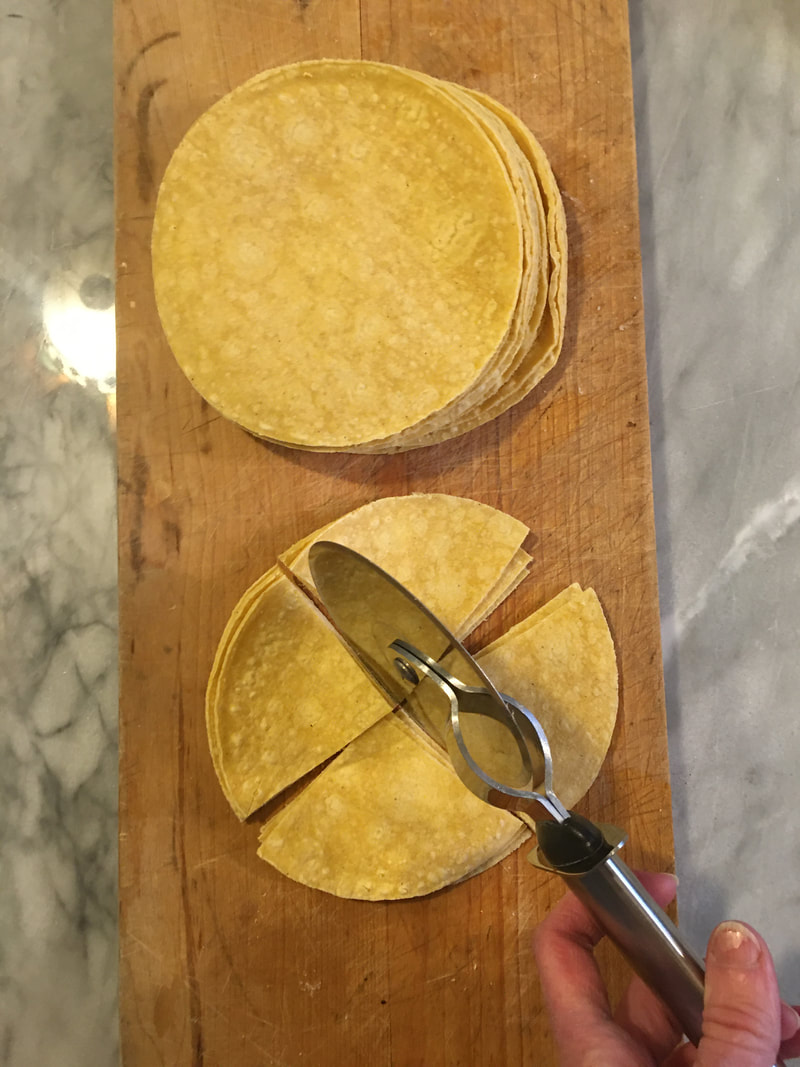
Cutting them into triangles with a pizza wheel.
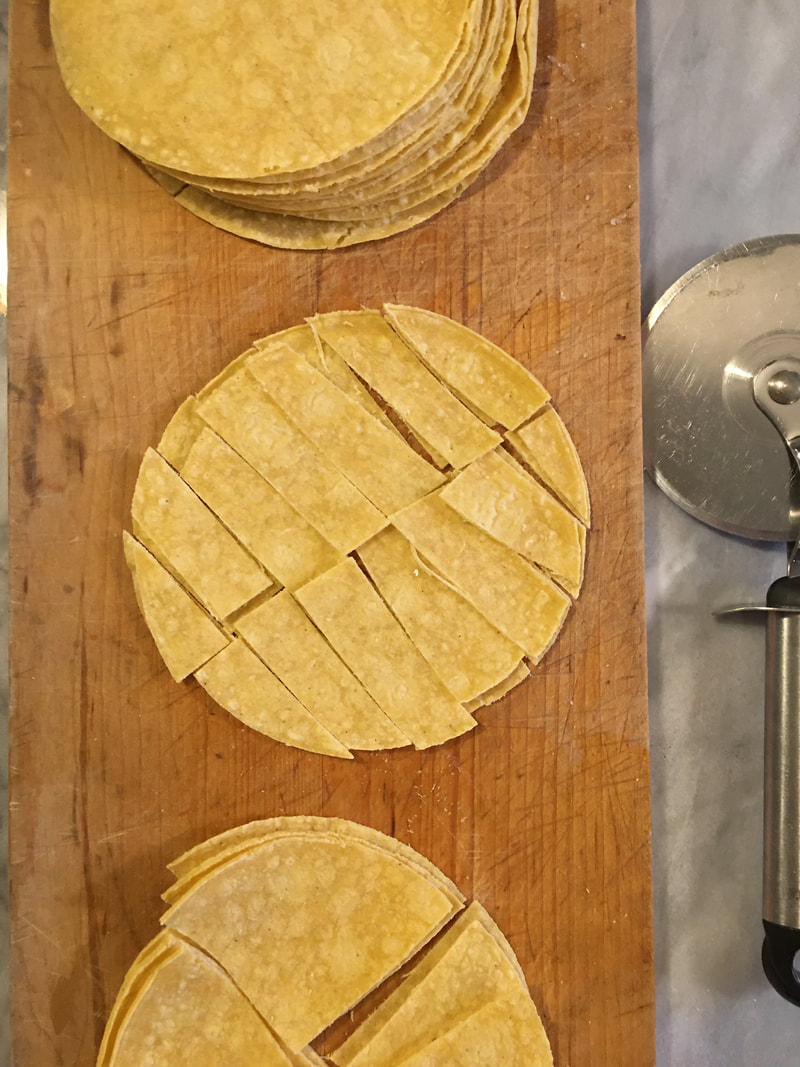
Cutting them into strips for chicken tortilla soup.
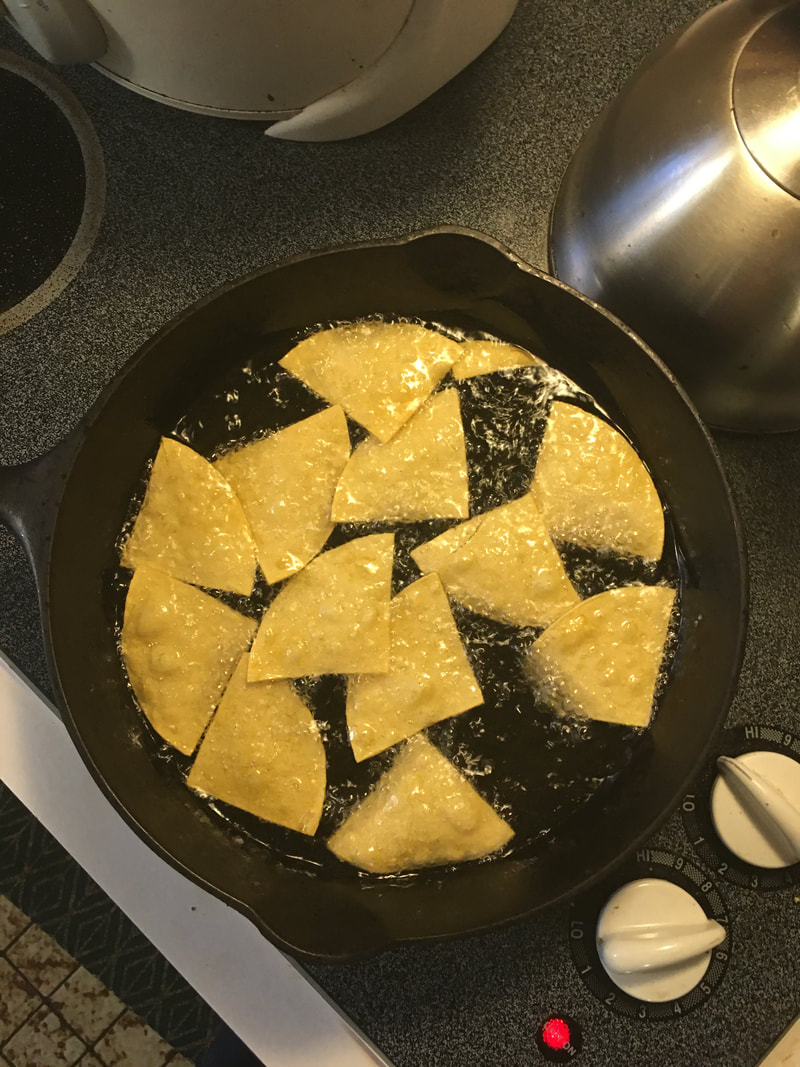
I use peanut oil which works beautifully for frying, but you can use another oil such as vegetable oil if you like.
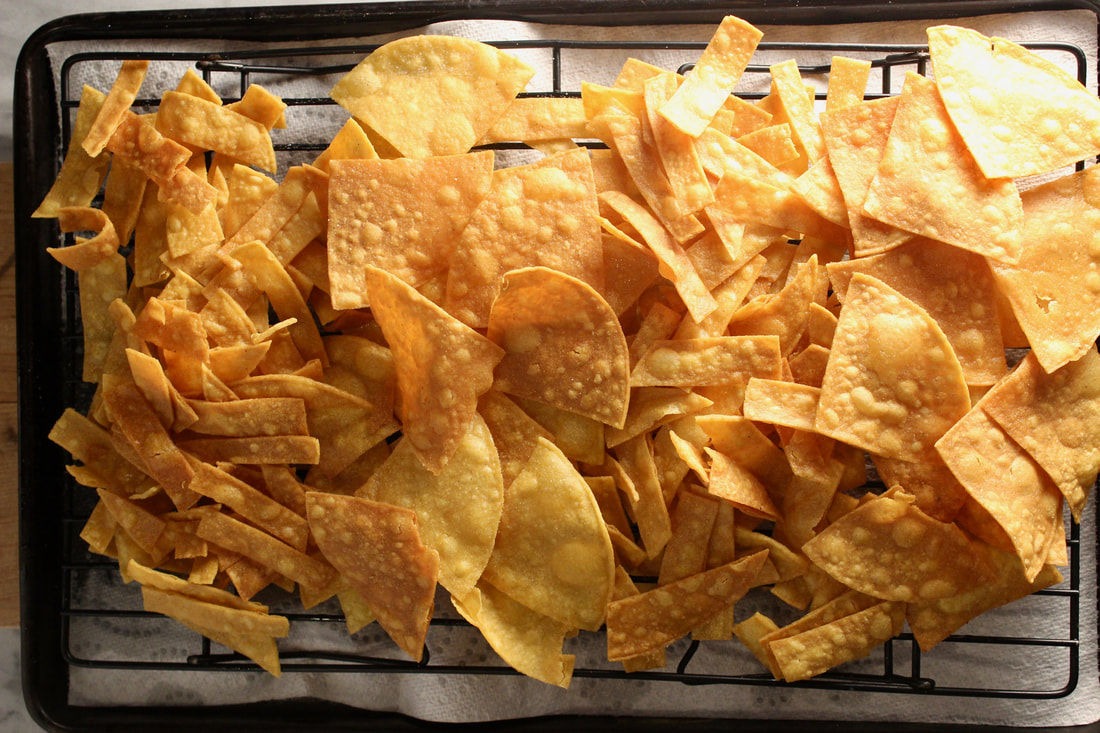
Drain on a cooling rack (affiliate link) over a paper towel lined, sided baking sheet.
Sprinkle with salt and serve.
Ingredients:
corn tortillas peanut oil or oil of choice salt 1. Heat oil in a large pot or iron skillet on high to 375 degrees F. I tested several temperatures and figured out that my optimum temperature was around 375. You do not have to use a thermometer. You can gauge the temperature of your oil by how quickly your chips cook. 2. Using a pizza cutter (amazon link), cut corn tortillas into triangles or strips. 3. Gently slide tortilla triangles into hot oil. I fry about a dozen chips at a time. Fry until they start to crisp and turn golden then gently lift them out onto a cooling rack over a paper towel lined pan. Make sure not to over brown them. They will be done in about a minute or less. 4. Sprinkle chips with salt. Cool for a few minutes on the cooling rack. Repeat with the remaining chips. These chips will stay fresh and crisp in an airtight container for several days (if they last that long). If making for a potluck or school function, use canola or vegetable oil in case if anyone has peanut allergies.
Pin on Pinterest
Yum on Yummly
By posting this recipe I am entering a recipe contest sponsored by Juice Products Association and am eligible to win prizes associated with the contest. I was not compensated for my time.
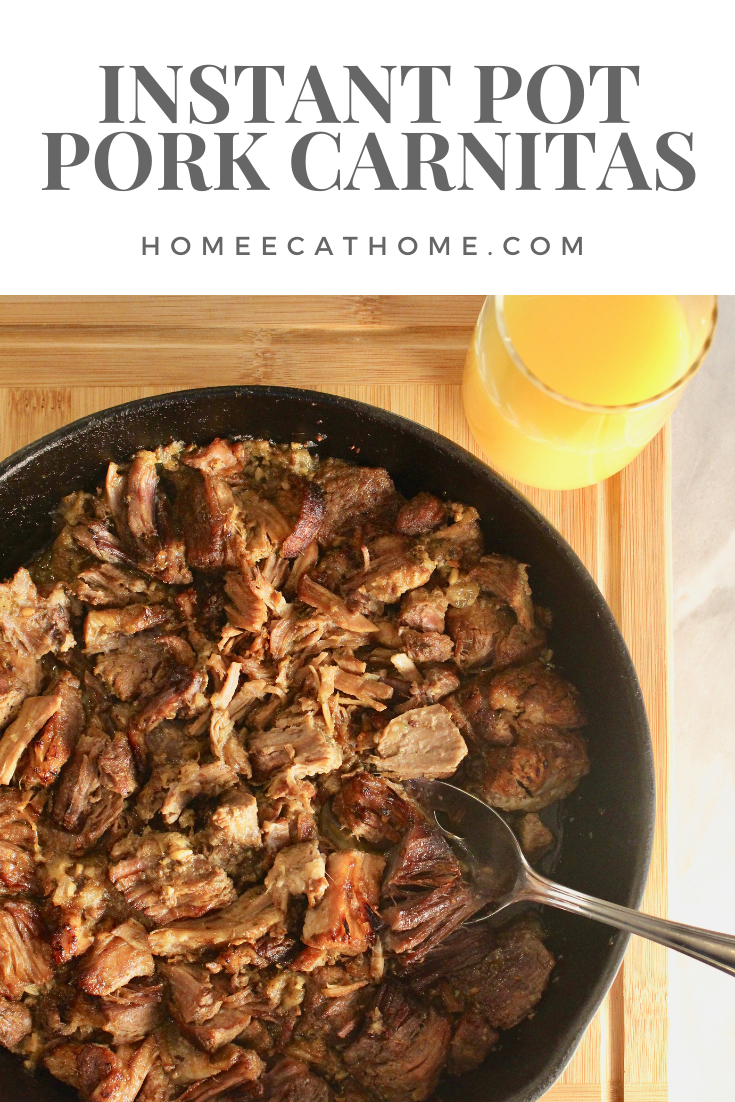
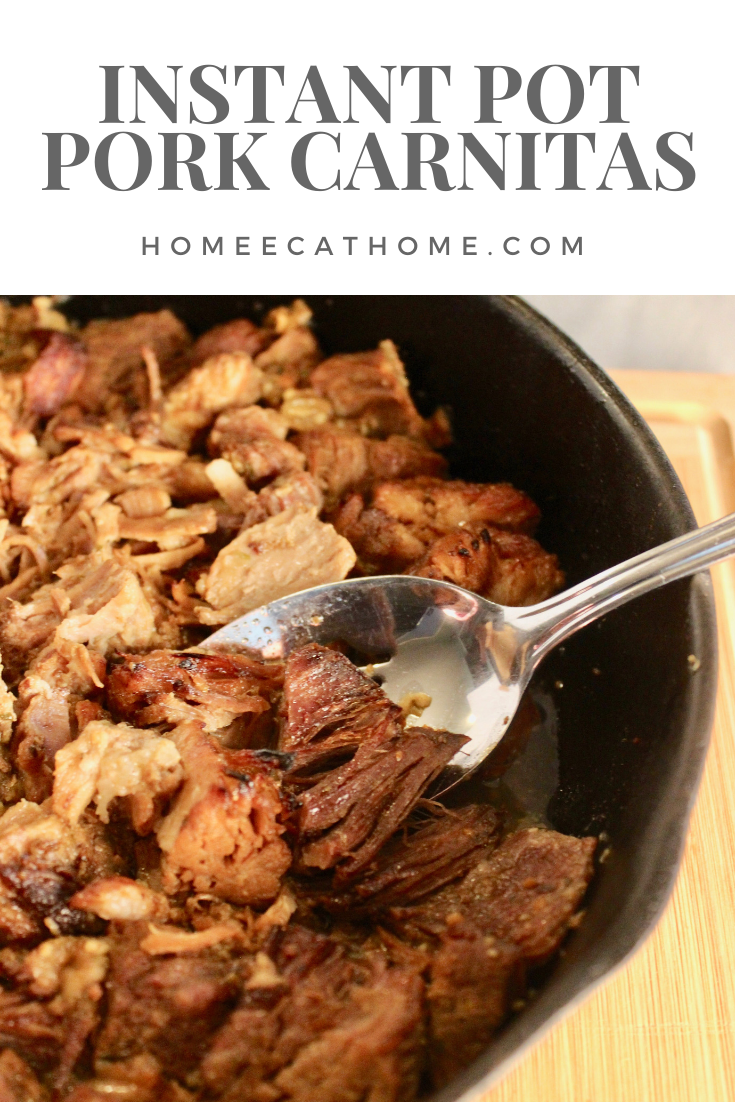
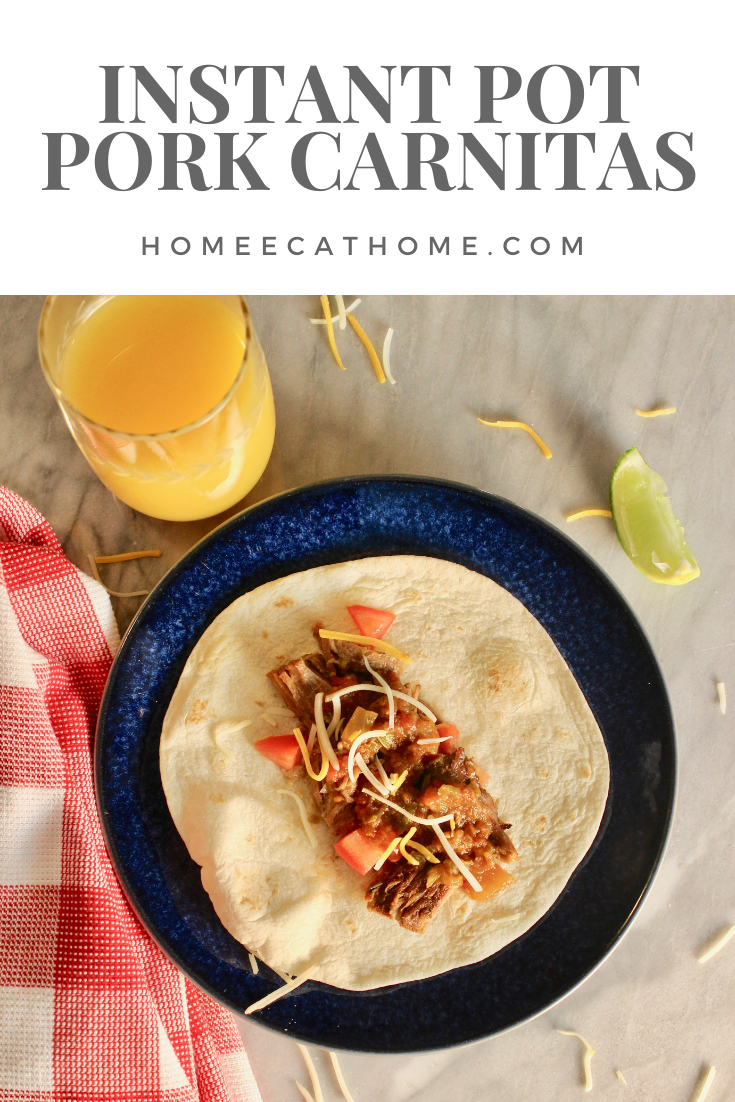
Pork Carnitas is one of our favorite meals. We love it served in warm soft tortillas with shredded lettuce, diced tomatoes, salsa, guacamole, shredded cheese, and sour cream.
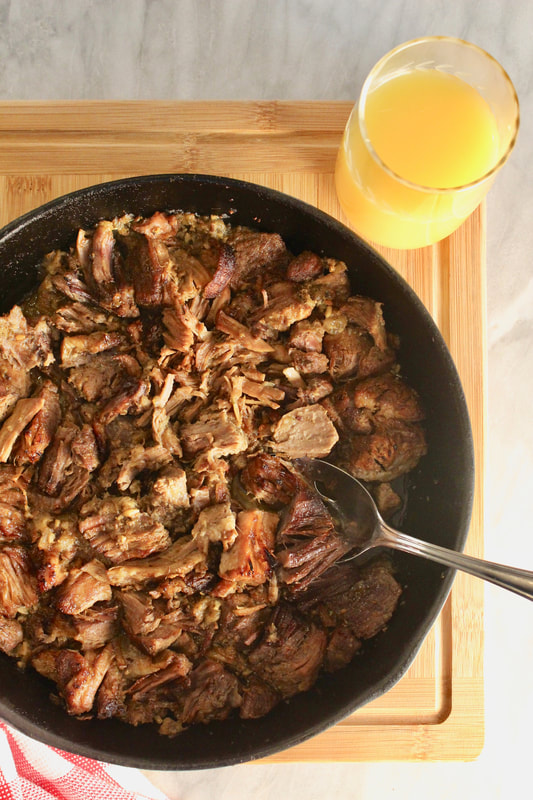
While this is one of our favorite meals, it's usually a long process requiring about three hours of cooking time in the oven. I wanted to speed up the cooking process so I made our favorite pork carnitas in the instant pot.
I also wanted to make them healthier. My original oven recipe for pork carnitas uses real sugar soda which of course is not good for you. So I made these with 100% orange juice instead. The result is perfectly delicious, perfectly flavored meat.

According to the Dietary Guidelines one cup of 100% fruit juice is equivalent to one cup of fruit and contains similar nutrients to the fruit it is squeezed from. Juice complements fruit and when consumed in appropriate amounts, is an easy and affordable way for both children and adults to meet their daily fruit goals.
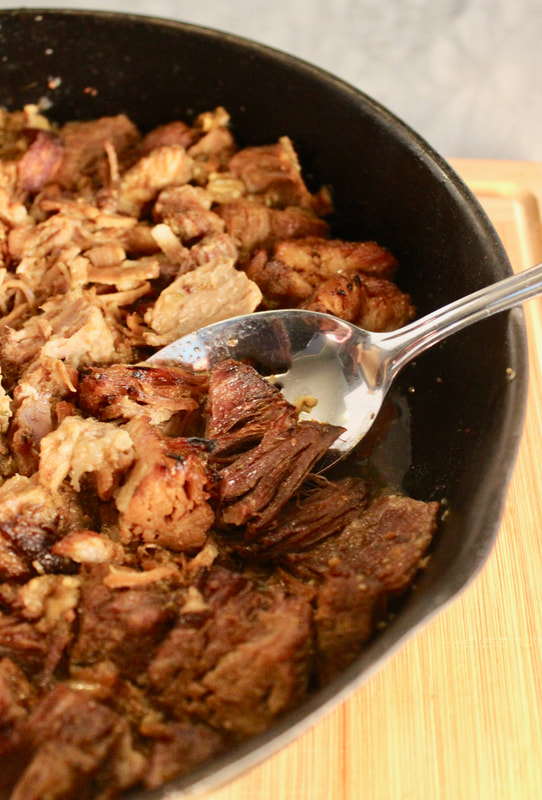
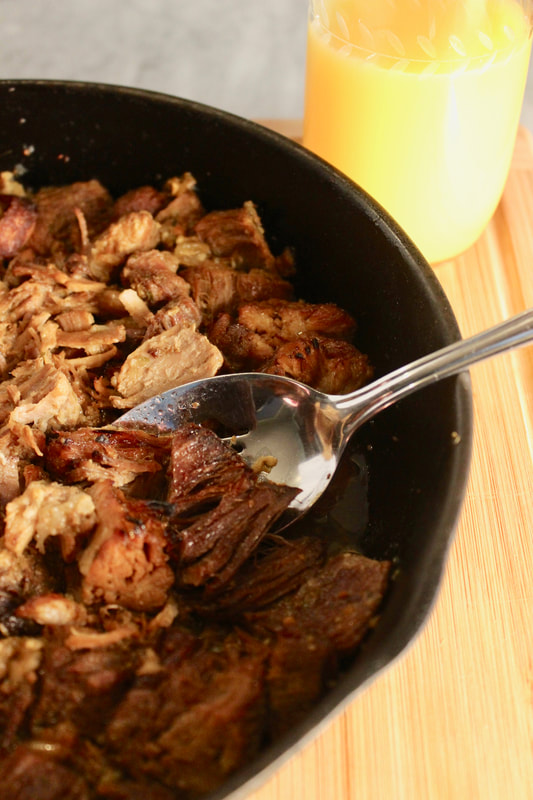
Enjoy these delicious pork carnitas!
Instant Pot Pork Carnitas
Ingredients: 3 1/4 to 3 1/2 lb. pork shoulder (also known as Boston butt) Small amount of oil 1 1/2 tsp. (approximately) fresh ground salt 1 tsp. (approximately) fresh ground pepper 1 T. oregano 1T. cumin 1 sweet onion, diced 6 cloves garlic, minced 1 and 1/2 C. 100% orange juice 1/2 T. coconut sugar (optional for broiling) Fresh squeezed lime juice and more fresh ground salt and pepper for flavoring the finished pork as desired. 1. Cut the meat into chunks and season with salt, pepper, oregano, and cumin. Add the diced onion. Brown the seasoned meat and onion in a small amount of oil. You can do this with the sauté function on the instant pot. You do not use the instant pot lid when sautéing. Stir occasionally to brown on all sides. 2. Add garlic and orange juice. Close the lid and pressure cook on high for 30 minutes with 15 minutes natural release. Then release remaining pressure and carefully open the lid. 3. Remove any bones and shred the meat adding extra cooking liquid back to the meat. If you like you can put the meat under the broiler (in the oven) to crisp the edges for 5 to 10 minutes. I put the meat in my iron skillet and broil with about a 1/2 T. coconut sugar sprinkled over the top to help it caramelize. 4. Salt and pepper to taste and squeeze fresh lime juice over the top. 5. Serve in tortillas with your favorite toppings...shredded lettuce, diced tomatoes, salsa, guacamole, shredded cheese, and sour cream. Any leftovers make delicious quesadillas the next day.
Pin on Pinterest
Yum on Yummly
I received this product for free from Moms Meet (momsmeet.com) to use and post my honest opinions. Compensation for this post was provided and this page may contain affiliate links.
It's that time of year again when we are all transitioning from the holiday food fest to a healthier routine. For our family that means preparing healthy meals, drinking more water, making exercise a priority, sticking to a bedtime schedule (adults too), and using natural products when possible.
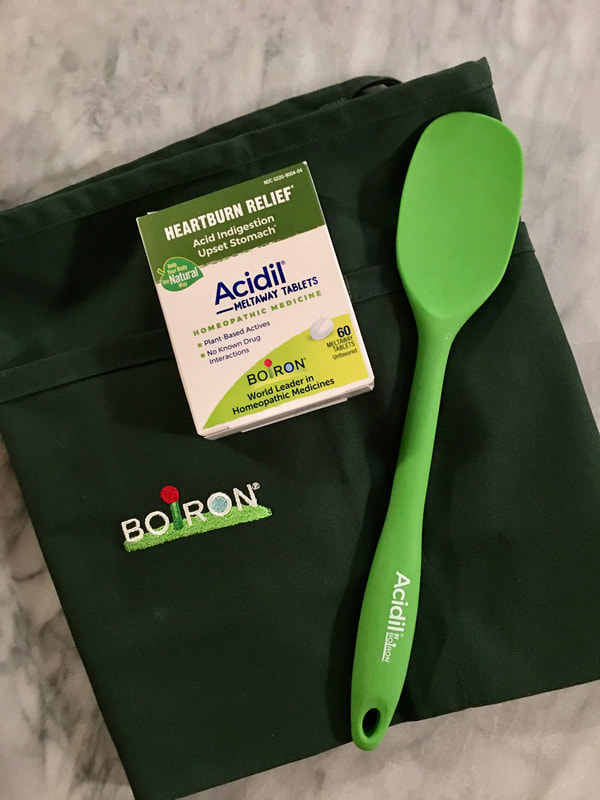
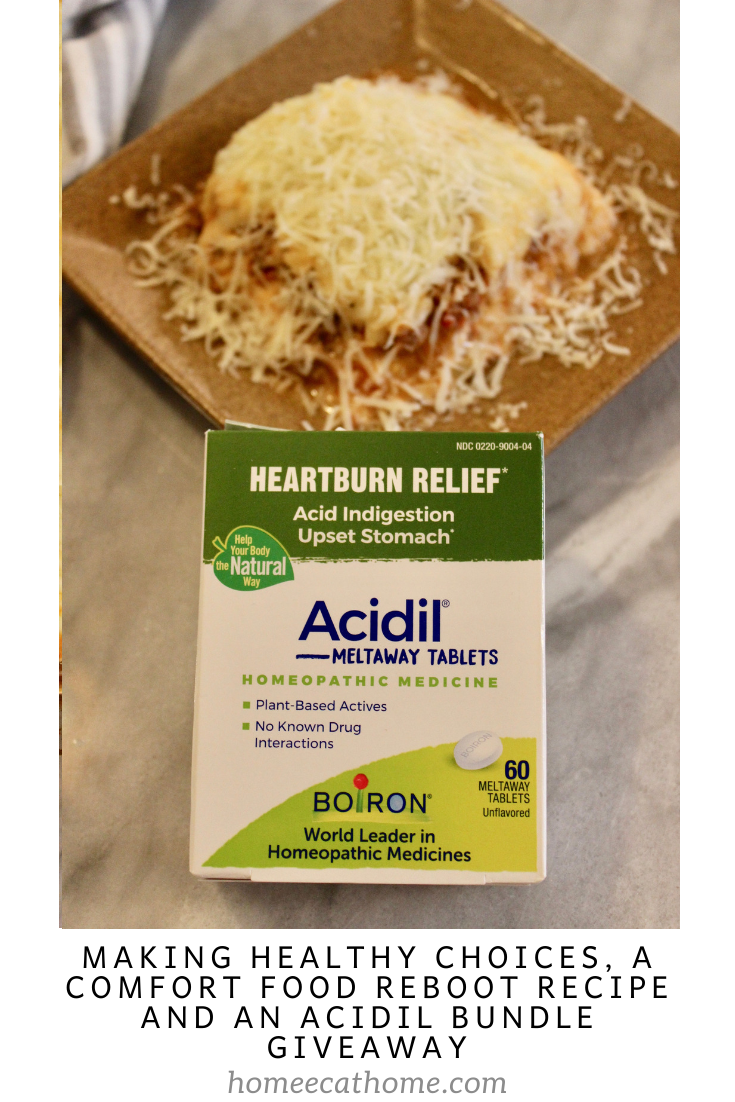
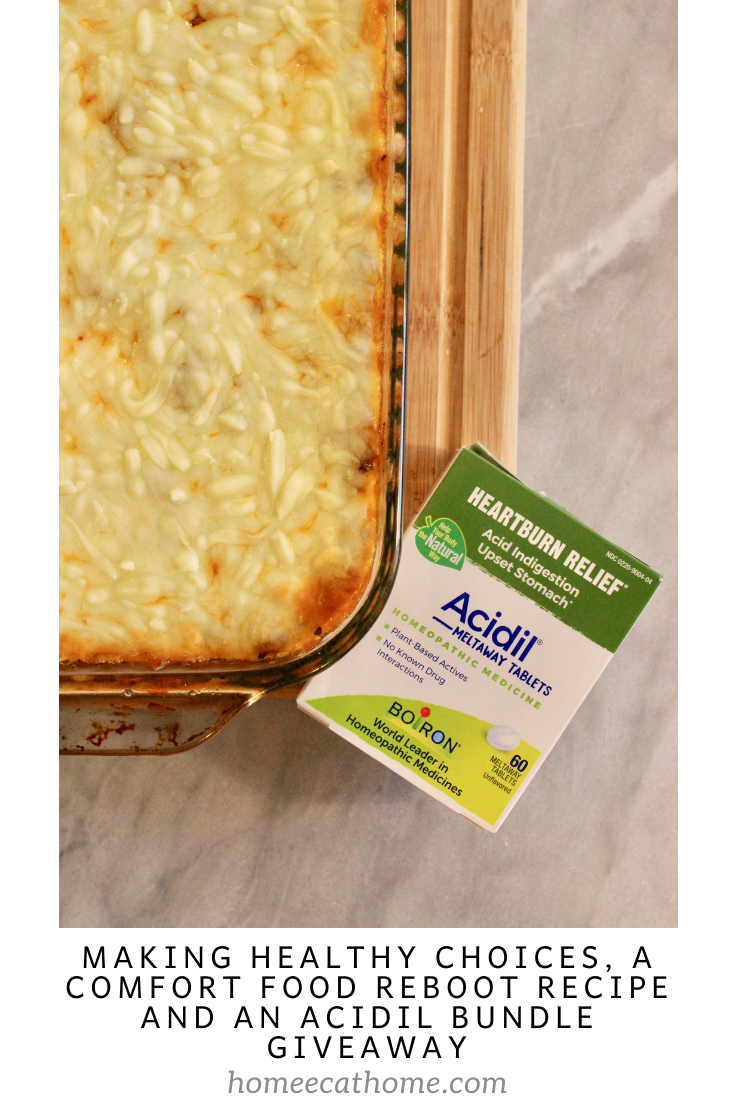
A natural product I have been using is Boiron Acidil, a homeopathic medicine made with sustainably sourced, plant-based active ingredients. 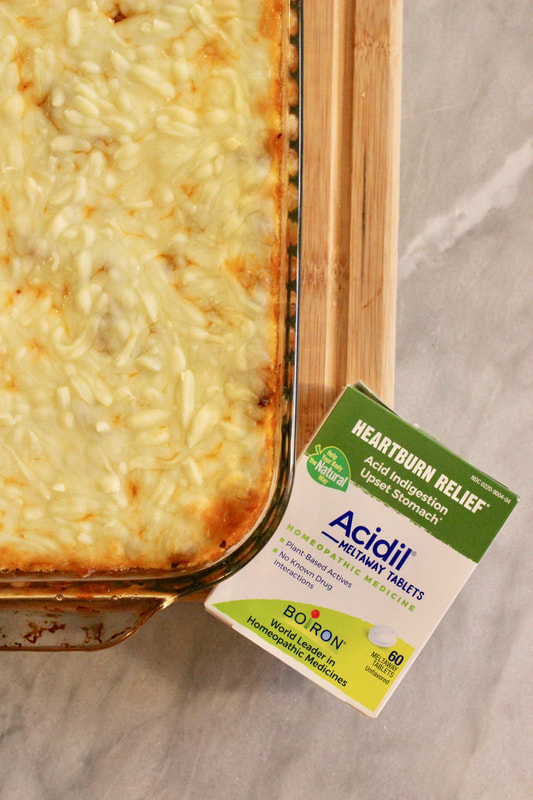
*CLAIMS BASED ON TRADITIONAL HOMEOPATHIC PRACTICE, NOT ACCEPTED MEDICAL EVIDENCE. NOT FDA EVALUATED.
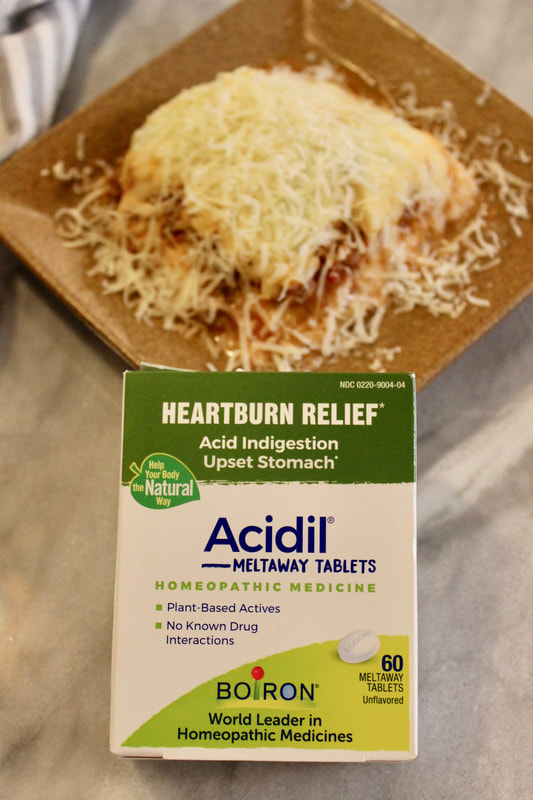
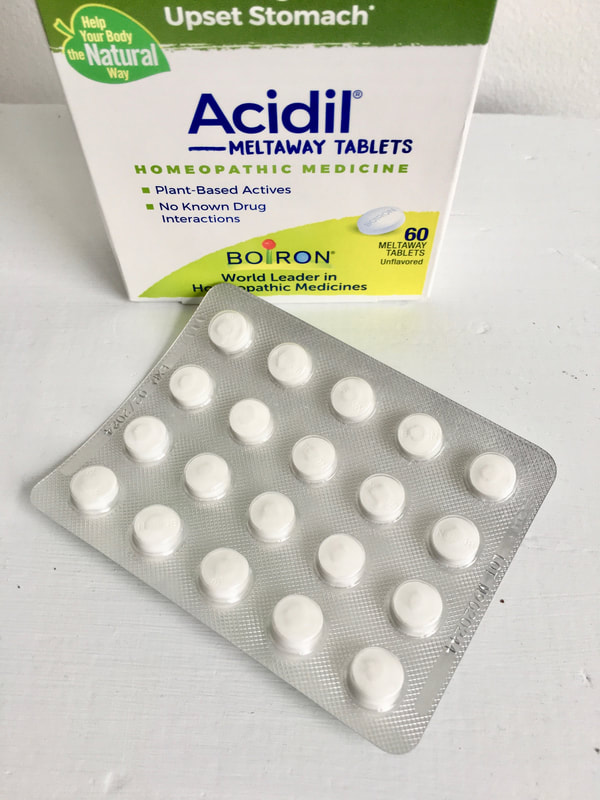
Boiron Acidil is the #1 best-selling heartburn homeopathic medicine in natural food stores. Acidil relieves occasional heartburn, acid indigestion, upset stomach, and bloating.* It's easy to take at home or on the go because you don't need any water. You simply dissolve the tablets under your tongue. They have a pleasant, mild flavor. Adults and children 12 years and up can use Acidil, which I appreciate since I have a 13 year old.
*CLAIMS BASED ON TRADITIONAL HOMEOPATHIC PRACTICE, NOT ACCEPTED MEDICAL EVIDENCE. NOT FDA EVALUATED.
Since we are talking about healthy choices, here is one of my favorite comfort food reboot recipes. I posted this recipe for Million Dollar Spaghetti Squash Casserole last January and it has been one of my most popular recipes on Pinterest ever since.
Remember to keep some Acidil meltaway tablets on hand so you can enjoy your favorite comfort food without the discomfort. 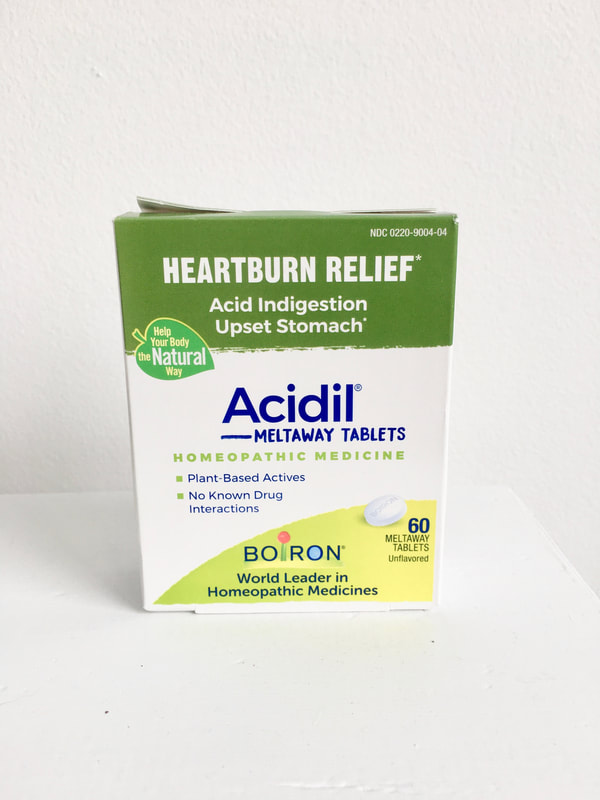
*CLAIMS BASED ON TRADITIONAL HOMEOPATHIC PRACTICE, NOT ACCEPTED MEDICAL EVIDENCE. NOT FDA EVALUATED.
Acidil may be taken before or after meals, whenever symptoms strike. Acidil Meltaway Tablets typically retail for $9.99 to $11.99. You can find them at RiteAid, Walgreens, Sprouts Farmers Market, Whole Foods Market, Vitamin Shoppe, and online at amazon.com, iherb.com, and vitacost.com.
*CLAIMS BASED ON TRADITIONAL HOMEOPATHIC PRACTICE, NOT ACCEPTED MEDICAL EVIDENCE. NOT FDA EVALUATED.
Enter to win an Acidil bundle, which includes a box of Acidil Meltaway Tablets (60 tablets), a branded Boiron apron, and a branded Acidil silicone spoon.
*CLAIMS BASED ON TRADITIONAL HOMEOPATHIC PRACTICE, NOT ACCEPTED MEDICAL EVIDENCE. NOT FDA EVALUATED
Pin on Pinterest
*CLAIMS BASED ON TRADITIONAL HOMEOPATHIC PRACTICE, NOT ACCEPTED MEDICAL EVIDENCE. NOT FDA EVALUATED.
We are a participant in the Amazon Services LLC Associates Program, an affiliate advertising program designed to provide a means for us to earn fees by linking to Amazon and affiliated sites.
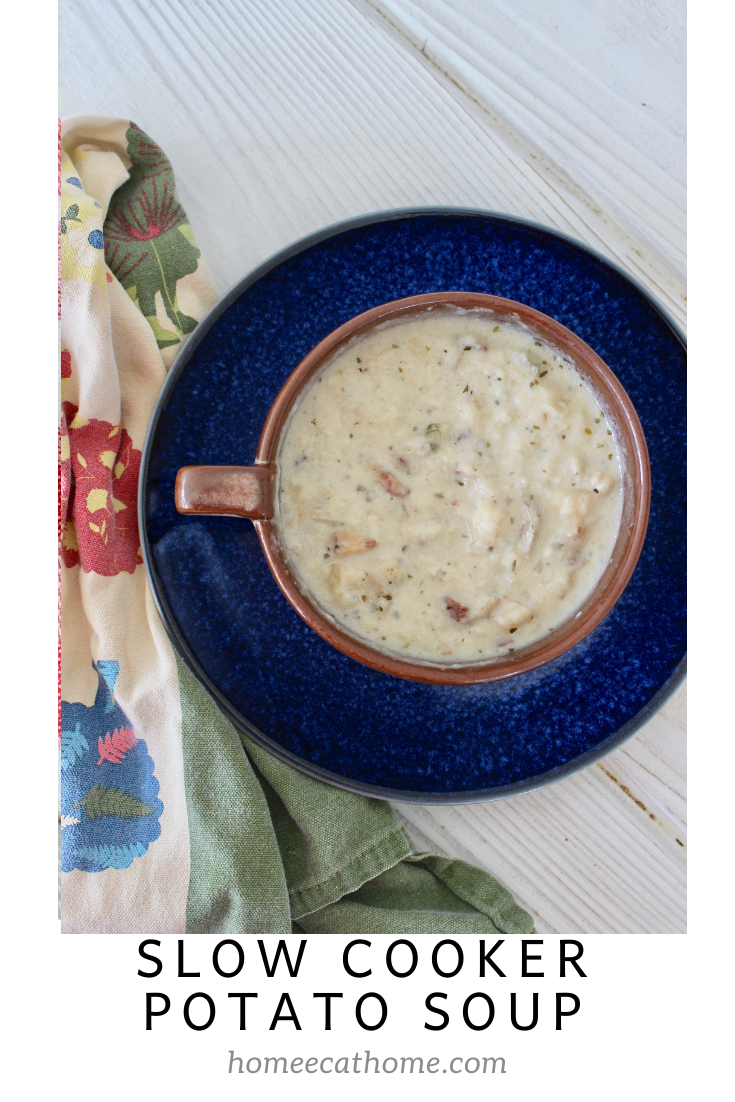
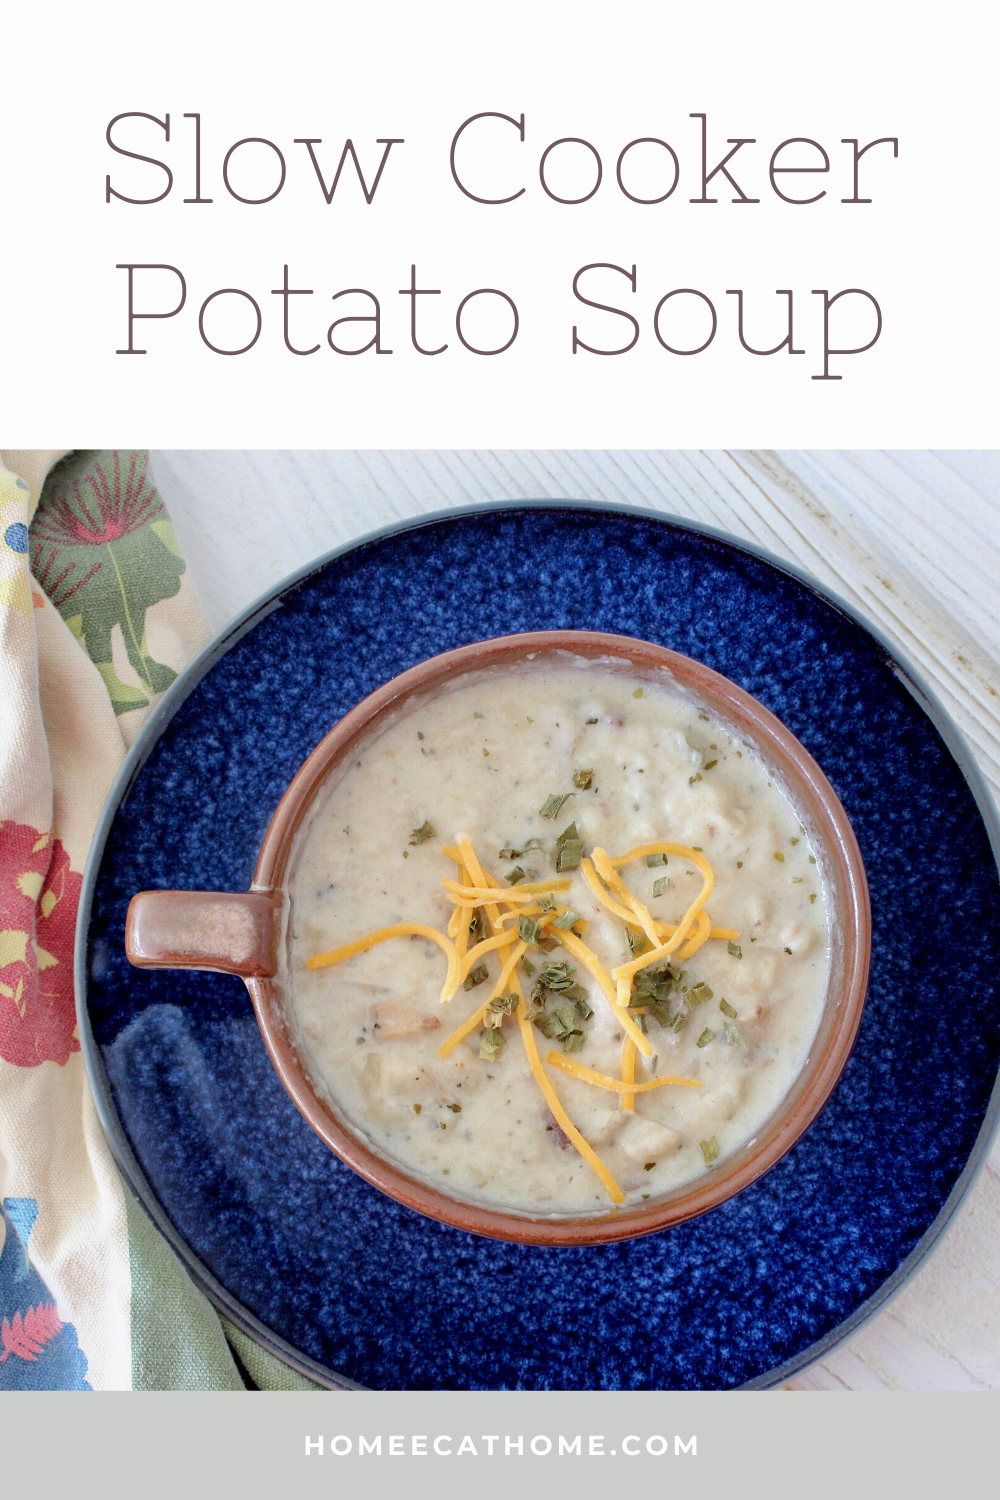
Slow Cooker Potato Soup is one of my favorite meals. I bet I have already made it five times this winter. I always have potatoes and bacon on hand and it's easy to throw this soup together so it has become a regular in our meal rotation. (I keep bacon in the freezer until I need it so I am always prepared for bacon emergencies). Lol.

I have been making slow cooker potato soup for years and my family loves it. Of course, my boys love anything with bacon, but this soup is yummy (even without the bacon). It is buttery, creamy or brothy, depending on how you make it, warming and delicious.
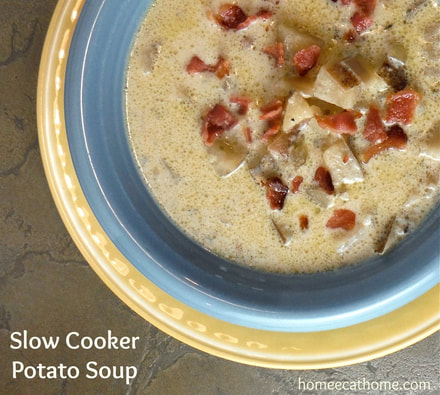
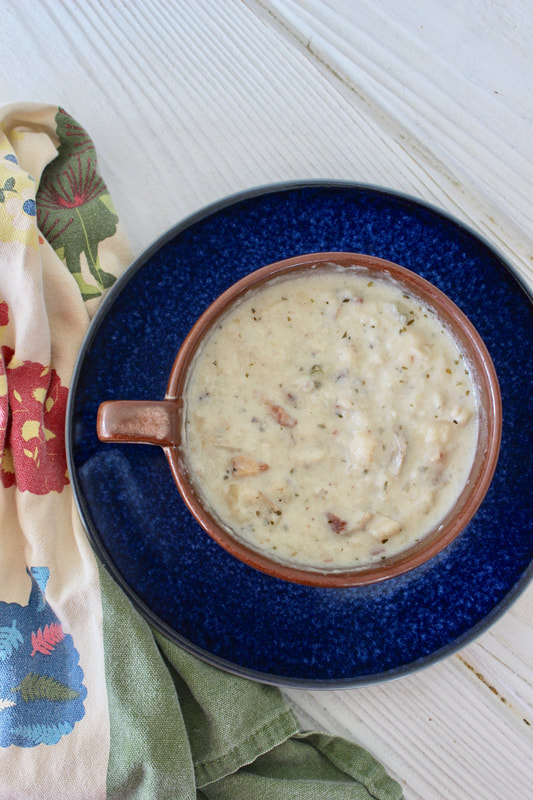
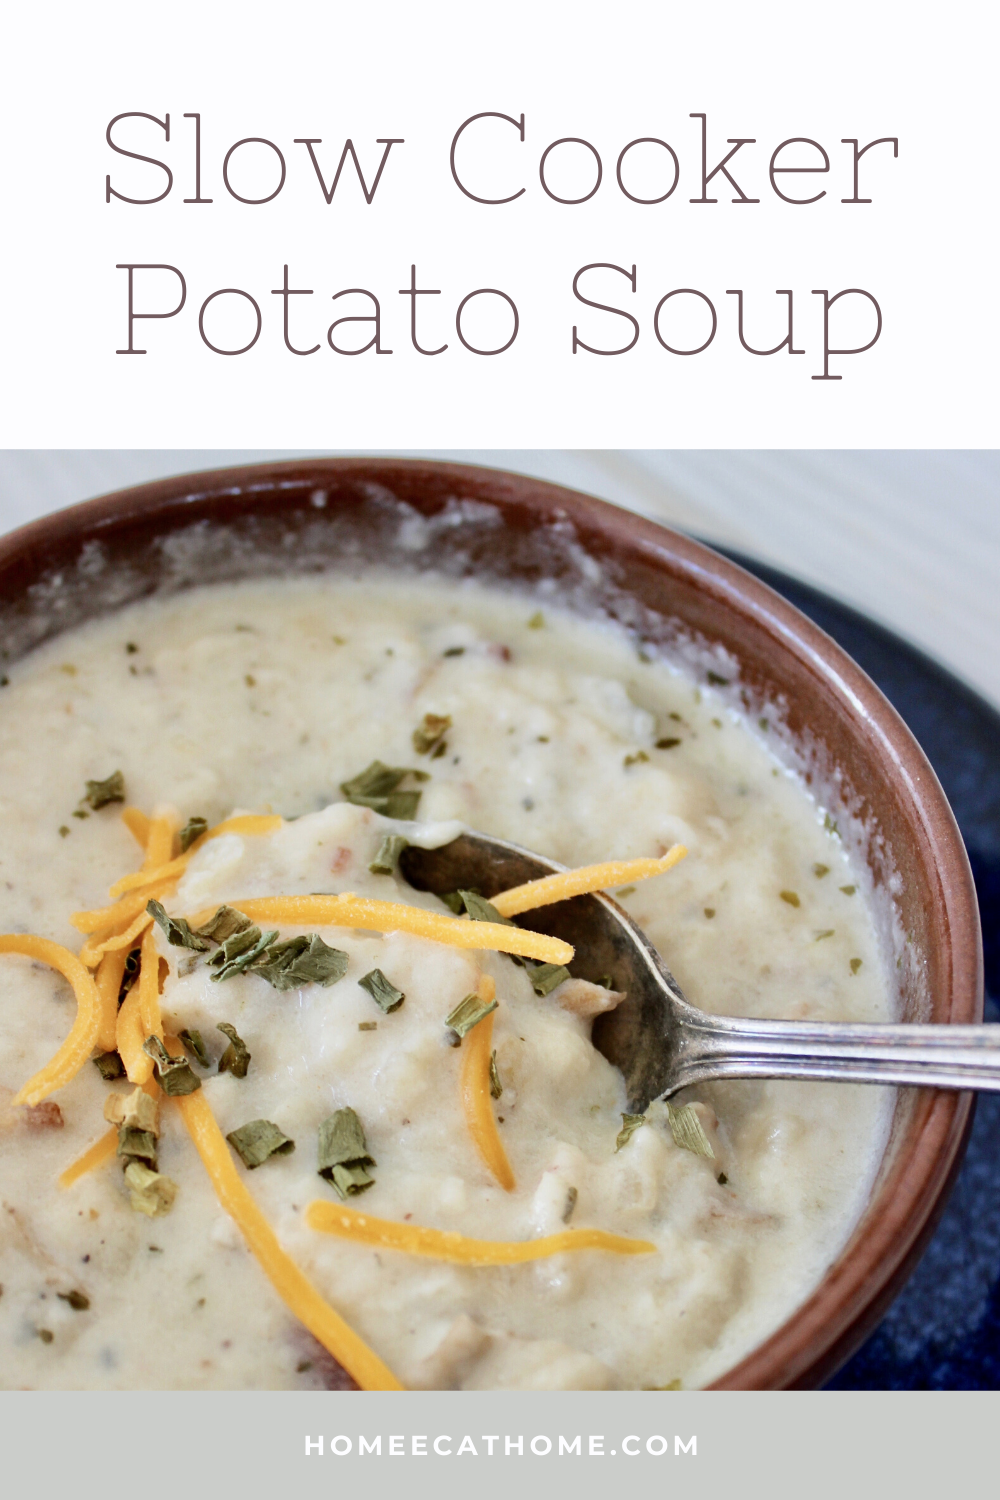
I have been making this soup creamy by mashing it with a potato masher (amazon link) before serving. You could also use an emersion blender (I have this simple 2 speed corded one and it works great, amazon link). I am updating this post with new photos, but as you see in the older photo above, you can also serve the soup brothy style instead of creamy if you prefer.
My favorite thing about this soup of course is that I make it in the slow cooker. I love being prepared and having most of my kitchen work done before the boys come home from school. It just makes my evening so much easier.

If you like serve with shredded cheese, chives and of course extra bacon.
Slow Cooker Potato Soup
Ingredients: 6 large potatoes, cubed (Russet or Yukon Gold work great and I don't peel them) 1-2 onions, diced 1 rib celery, sliced 1/2 lb. or more bacon, cooked and crumbled 4 cups chicken or vegetable broth 1 cup water 1 Tbsp. dried parsley salt to taste* freshly ground pepper to taste 1/3 cup butter 1 3/4 cups half and half chopped chives (optional) shredded cheese (optional) 1. Combine all ingredients except milk and chives in a slow cooker (amazon link) . I actually add half the bacon now and garnish with the remaining fresh crisped bacon at serving time.** 2. Cover. Cook on low 8-10 hours. Stir in half and half during last hour. 3. If you like it brothy, serve as is. If you like it creamy, mash it up with a potato masher or emersion blender. 4. Garnish with shredded cheese, chives and extra bacon if desired. *If using homemade broth you may need more salt than you will with store bought broth. **I cut the bacon up with kitchen shears and fry in an iron skillet (amazon link) for perfectly crisp bacon crumbles. 
YUM!
Pin on Pinterest
|

Welcome to Home Ec @ HomeHi, I'm Faith, a former Family and Consumer Science teacher turned food blogger. I love God, my family, and food. You can usually find me in the kitchen preparing family friendly, homemade recipes and taking lots of pictures. 
Still Goldens, Southern, IL
 Fan Favorites

The Best Dry Brined Turkey with Citris and Fresh Herbs

 Dehydrating Pears and Apples in the Instant Pot Duo Crisp Dehydrating Pears and Apples in the Instant Pot Duo Crisp
 
 |


 RSS Feed