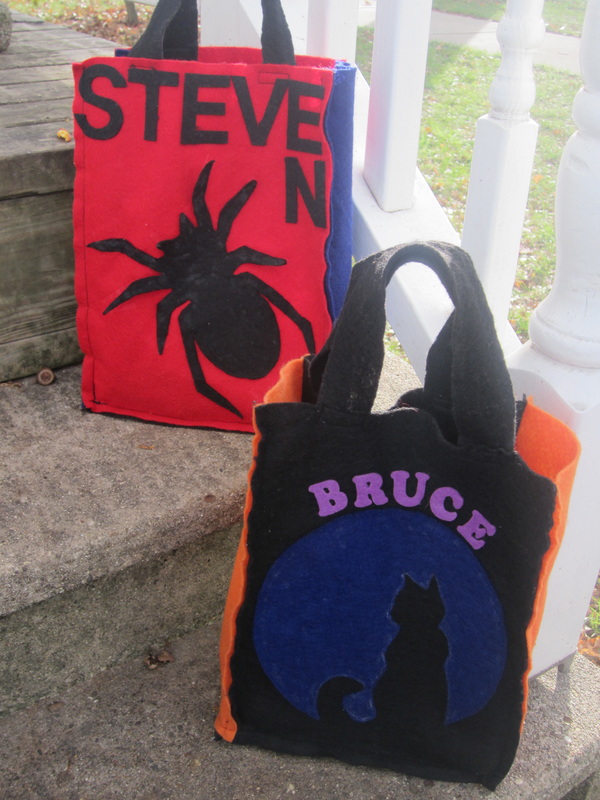

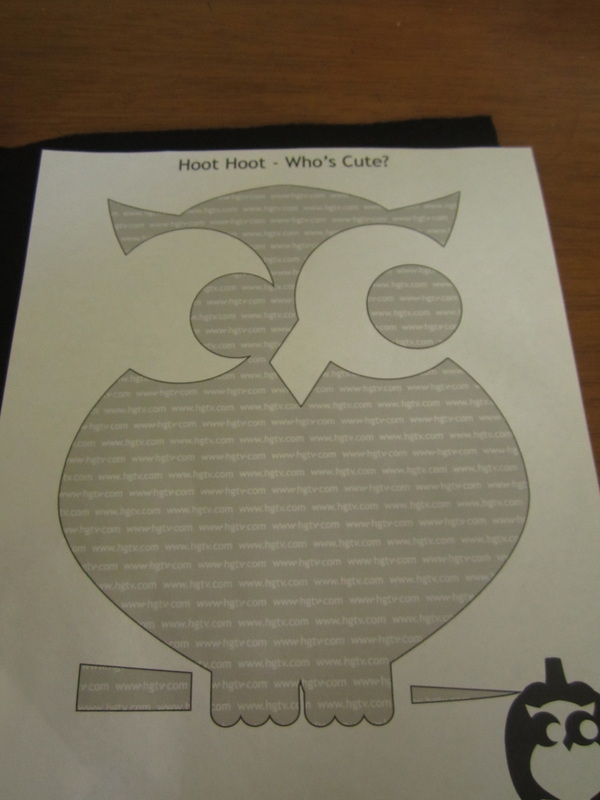
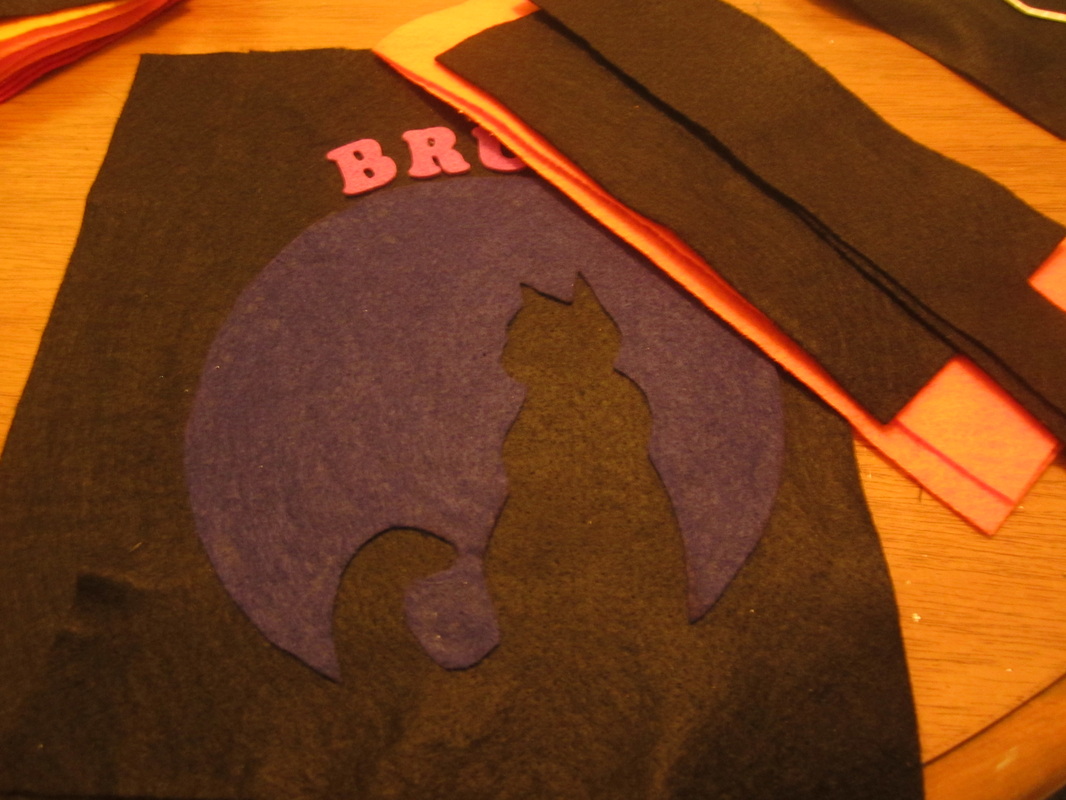
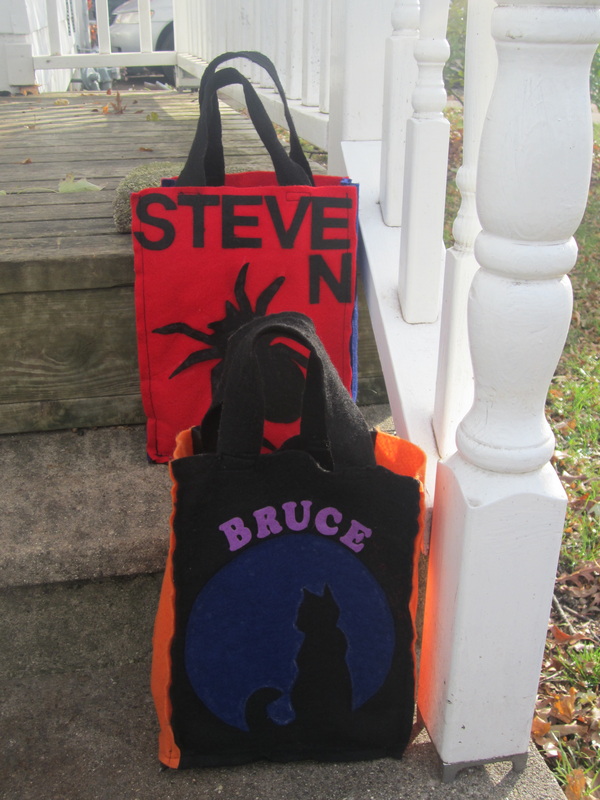
I made the boys homemade trick or treat bags this year. They have already used them a couple of times for Halloween parties and they have held up well. I found some templates for pumpkin carving and used them for stencils to make the Halloween designs on the front of the bags. I bought pre-cut felt letters to make it easy. I love this owl. I am going to make an owl trick or treat bag for our youngest (next year - he's still young for candy so I didn't stress out trying to get three of these done).
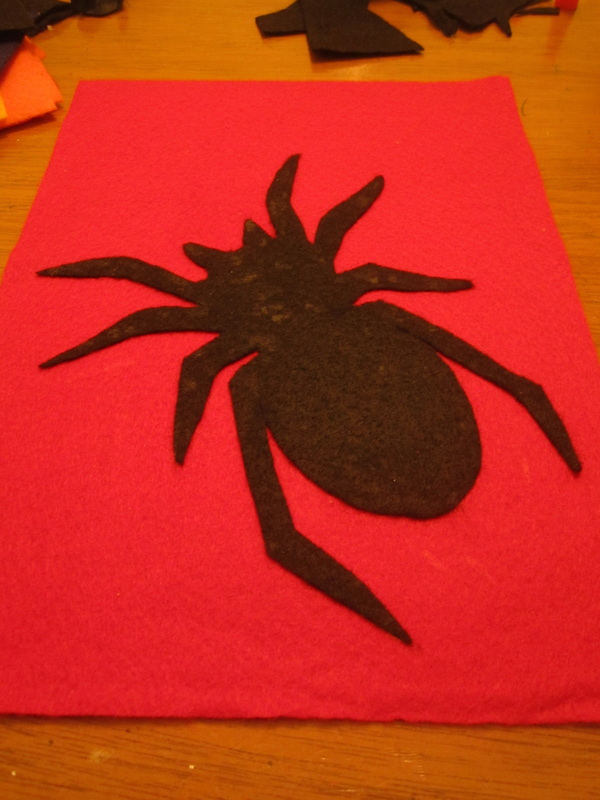
I used a stencil to cut out the design for the front of the bag then I used felt glue to glue the design down.
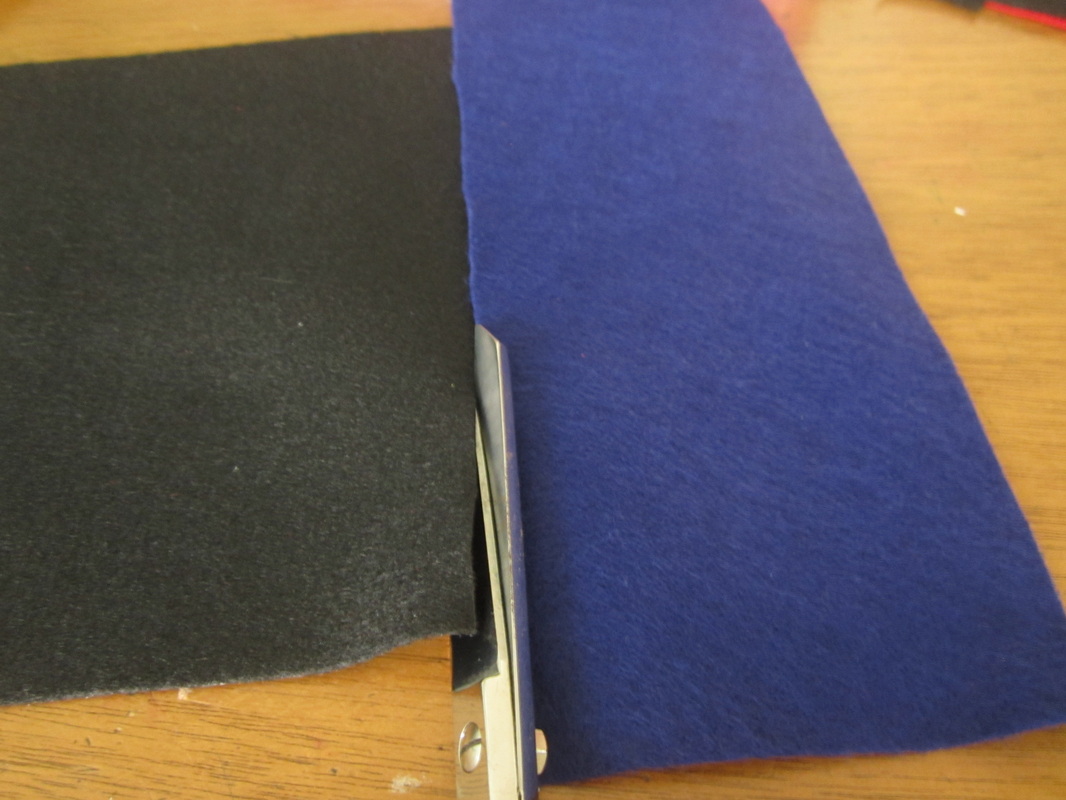
I bought pre-cut felt squares at the craft store. I used a whole square for the front and back. I cut a square in half legnthwise for the sides. Then I placed the cut side piece on a pre-cut square to cut the correct width for the bottom piece.
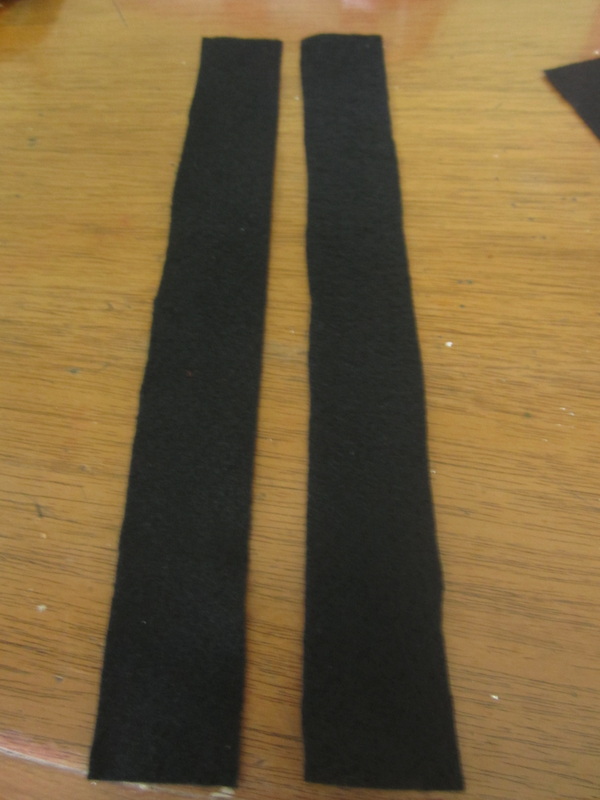
I cut two full legnth strips for the handles.
Once you have all of your cut pieces you are ready to begin sewing. First sew the handles to the inside top portion of your front and back panels.
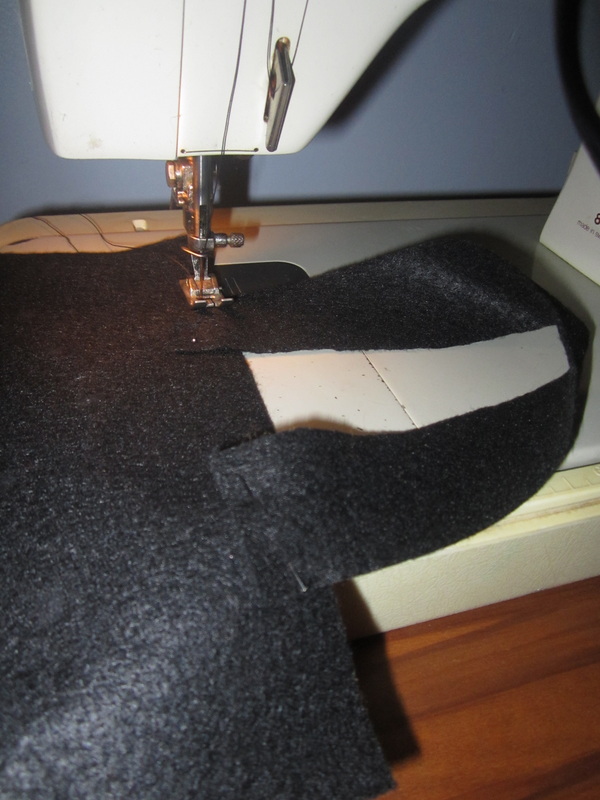
Next sew the sides together leaving a little room at the bottom to sew on the bottom panel.
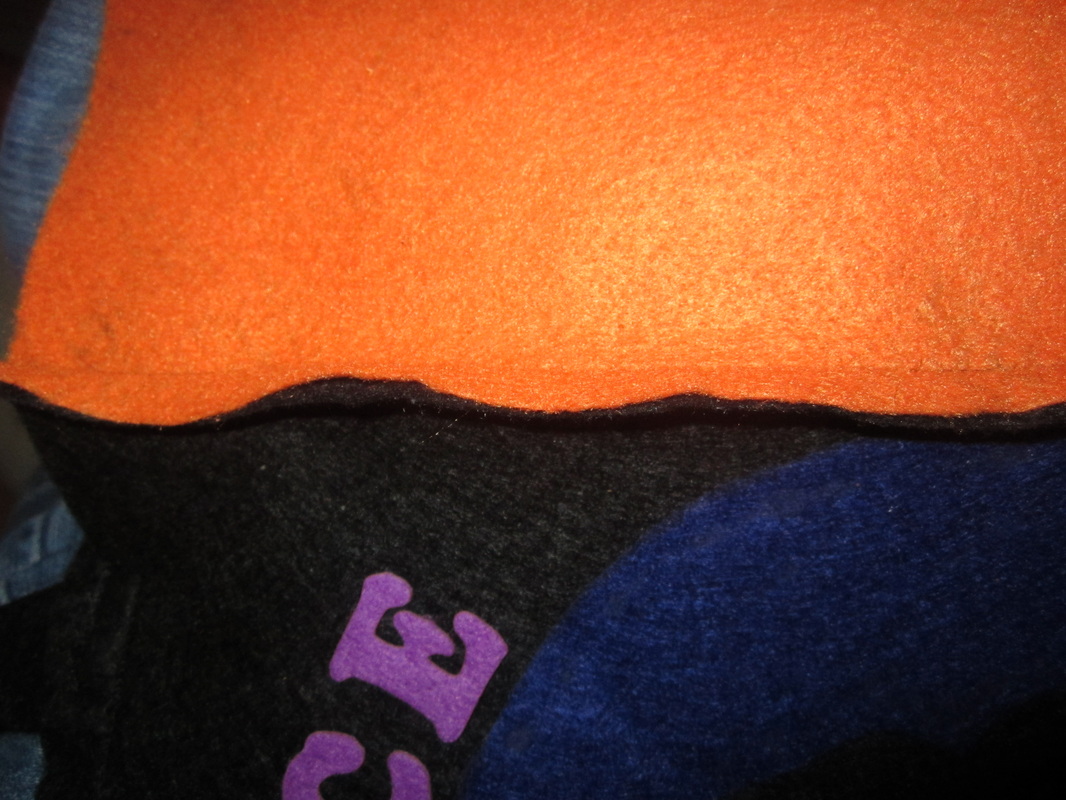
Sew on the bottom panel and you are done. Happy trick or treating!
Linking up at Create With Joy
1 Comment
10/21/2013 05:46:42 am
What a fantastic idea! Sturdier and cuter than the store bought bags. I love them! Your comment will be posted after it is approved.
Leave a Reply. |

Welcome to Home Ec @ HomeHi, I'm Faith, a former Family and Consumer Science teacher turned food blogger. I love God, my family, and food. You can usually find me in the kitchen preparing family friendly, homemade recipes and taking lots of pictures. 
Still Goldens, Southern, IL
 Fan Favorites

The Best Dry Brined Turkey with Citris and Fresh Herbs

 Dehydrating Pears and Apples in the Instant Pot Duo Crisp Dehydrating Pears and Apples in the Instant Pot Duo Crisp
 
 |
 RSS Feed