|
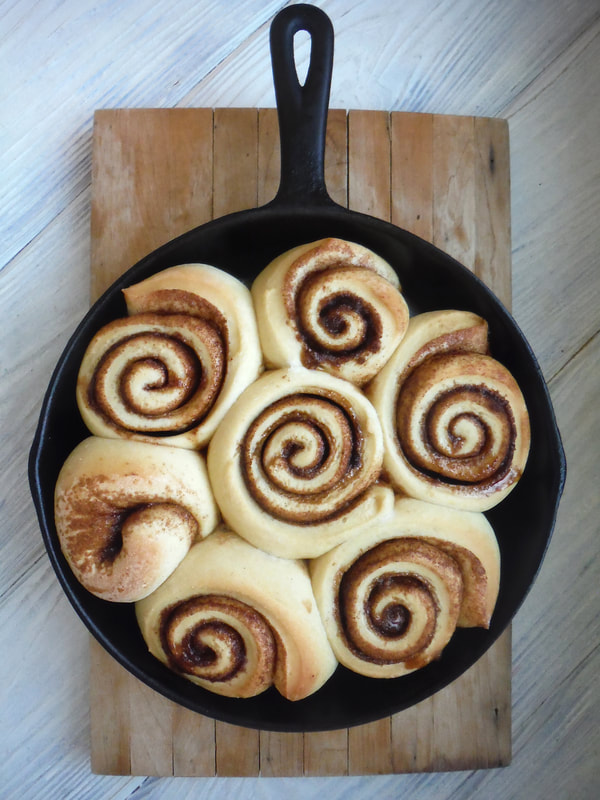
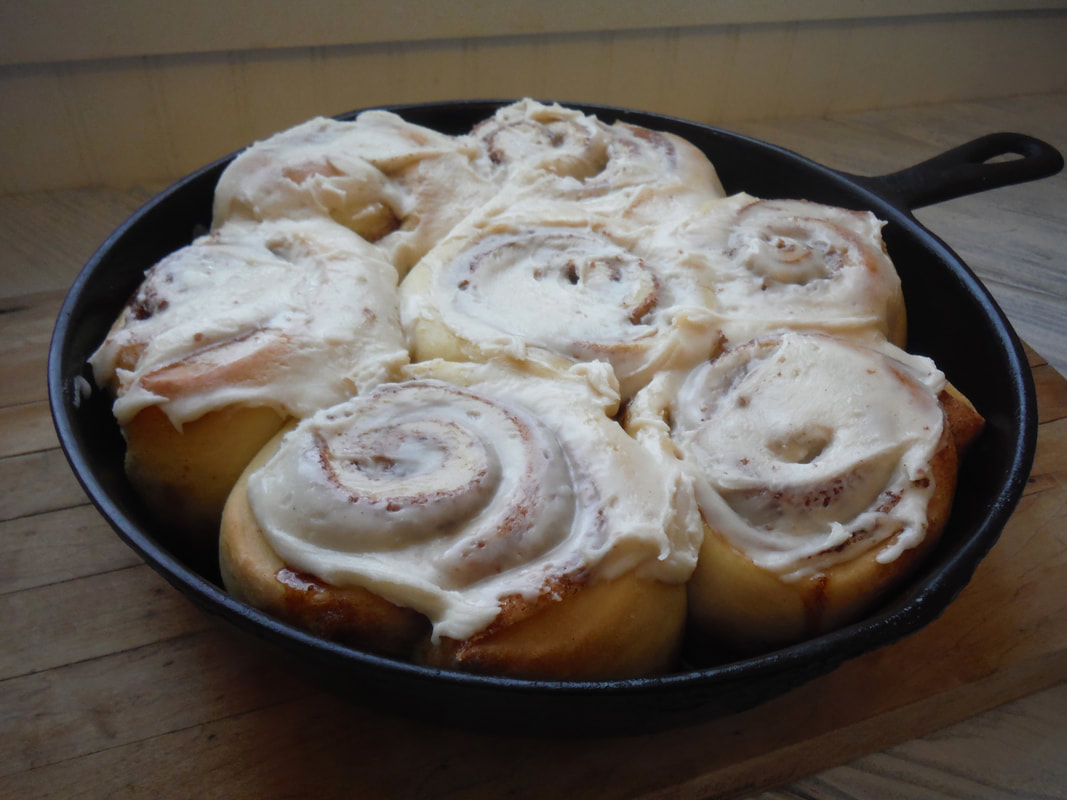
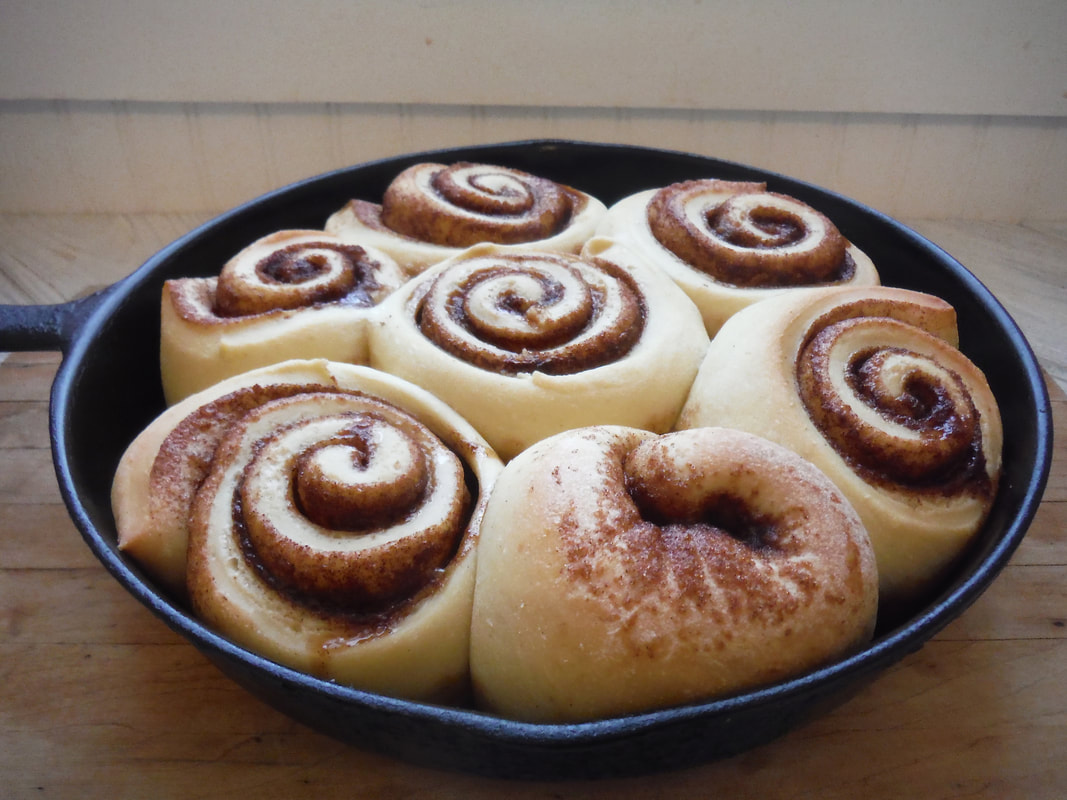
This is one of our all time favorite things to make and eat. I first posted this recipe in 2011 when this little corner of the internet was only 9 months old. I've come a long way since then, especially in how I style and photograph food so when I made these bread machine cinnamon rolls recently, I took new photos. This recipe has evolved some over the years too so I have updated with ingredient changes and hopefully better instructions.
It doesn't get much better than fresh warm cinnamon rolls to start your day or for a cozy sweet treat anytime. Warm sweet dough spiraled with buttery sweet cinnamon. I love the pretty spirals before the frosting goes on and the out of this world amazing flavor once frosted.
My favorite part is that this dough is made in the bread machine. Believe me as a mother of four and a graduate student these cinnamon rolls would never happen if I had to make the dough from scratch. But put ingredients in the bread machine and press the dough cycle button...that I can do. Plus, I always make ahead and refrigerate or freeze the rolls to bake later. Any real hands-on work is usually done when the kids are in bed.
1. Put the dough ingredients in the bread machine in the order listed and run on the dough cycle. 2. After the dough is done, roll the dough into a large rectangle (on a lightly flowered surface) and spread it with 2 Tablespoons melted butter.
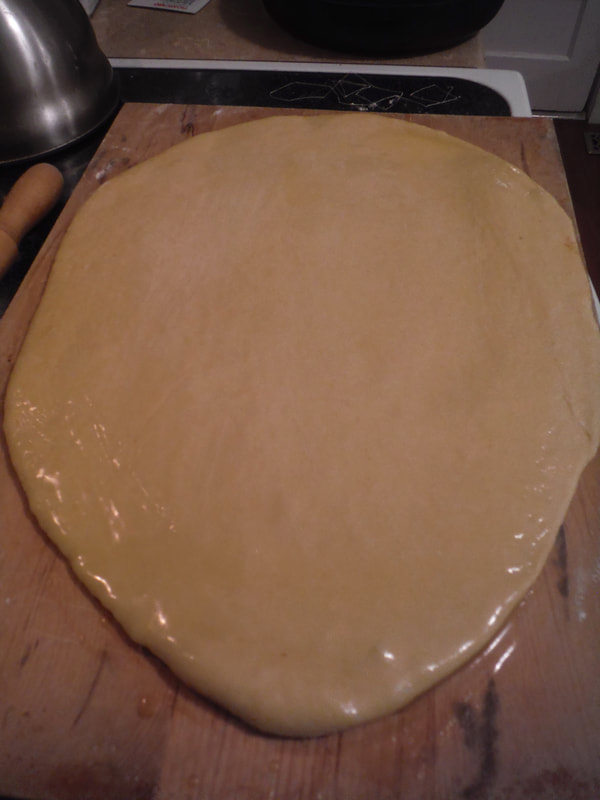
I don't have good lighting in my kitchen for photographs, but I wanted to show you how big I roll out the dough. This dough has been brushed with melted butter and is ready for cinnamon sugar.
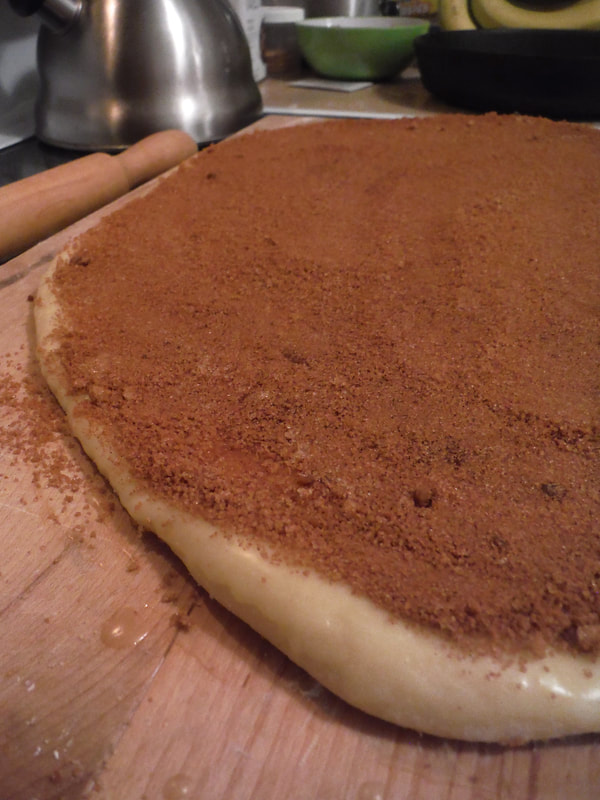
3. Mix together the brown sugar and cinnamon then spread over the melted butter. Make this dough rectangle pretty large so that you can have more surface area covered with cinnamon sugar. Then when you roll it up, you will have more cinnamon sugar spiraled into the dough which makes them so yummy.
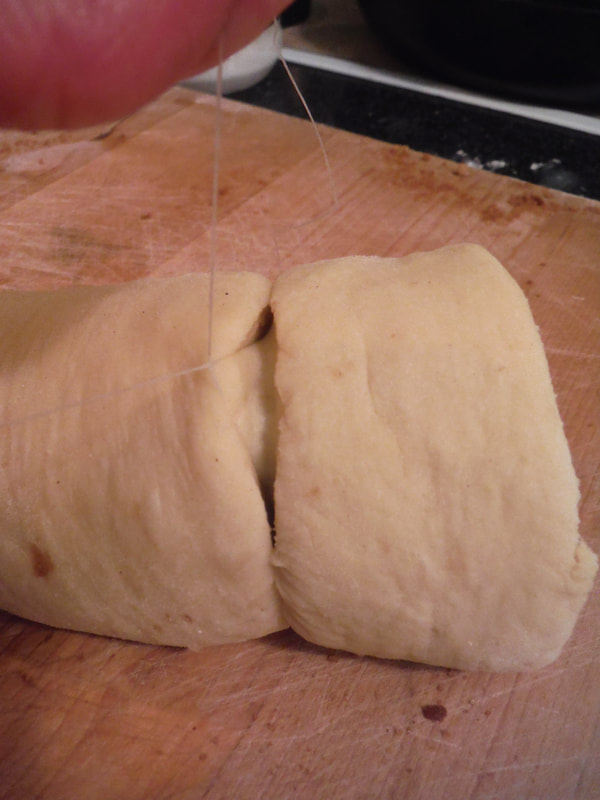
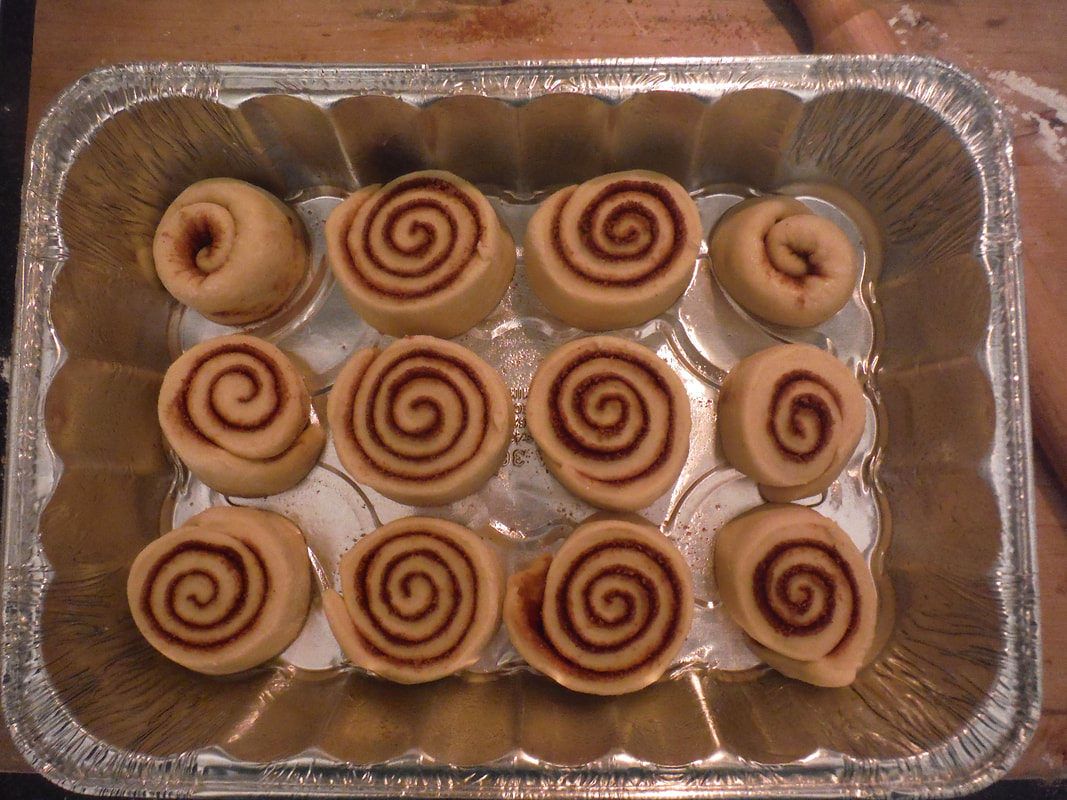
4. Roll up and cut into 10-12 rolls and place in two greased round pans or one large lasagna pan. An easy way to cut the rolls is to use dental floss as seen in the above picture.
You want to space them out a little so they have room to rise.
5. Let rise covered with a tea towel for a while (an hour or so) or cover with plastic wrap and slow rise in the fridge overnight. If freezing, put directly in the freezer without rising. Then let them rise while thawing. Bake at 325 degrees for 20 to 25 minutes or until lightly browned.
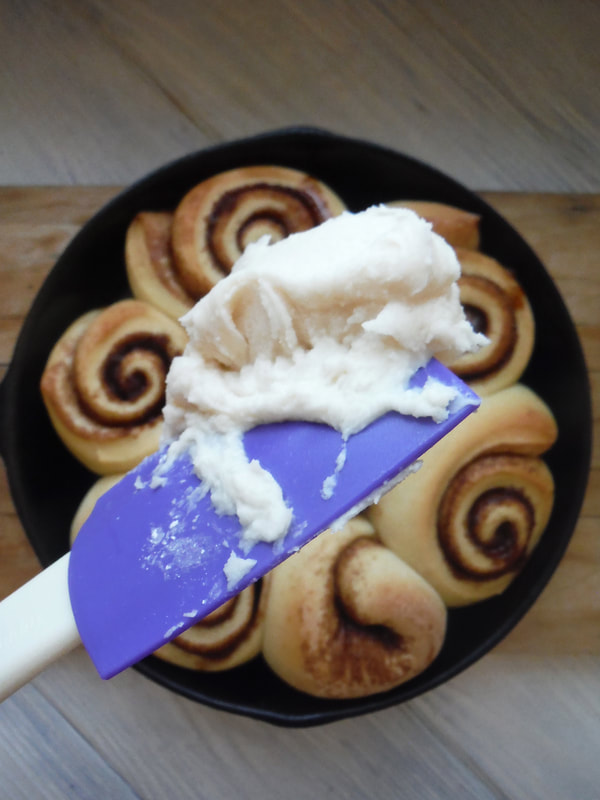
Spread the icing on soon after they come out of the oven. The icing will be thick, but spreads easily on warm rolls.
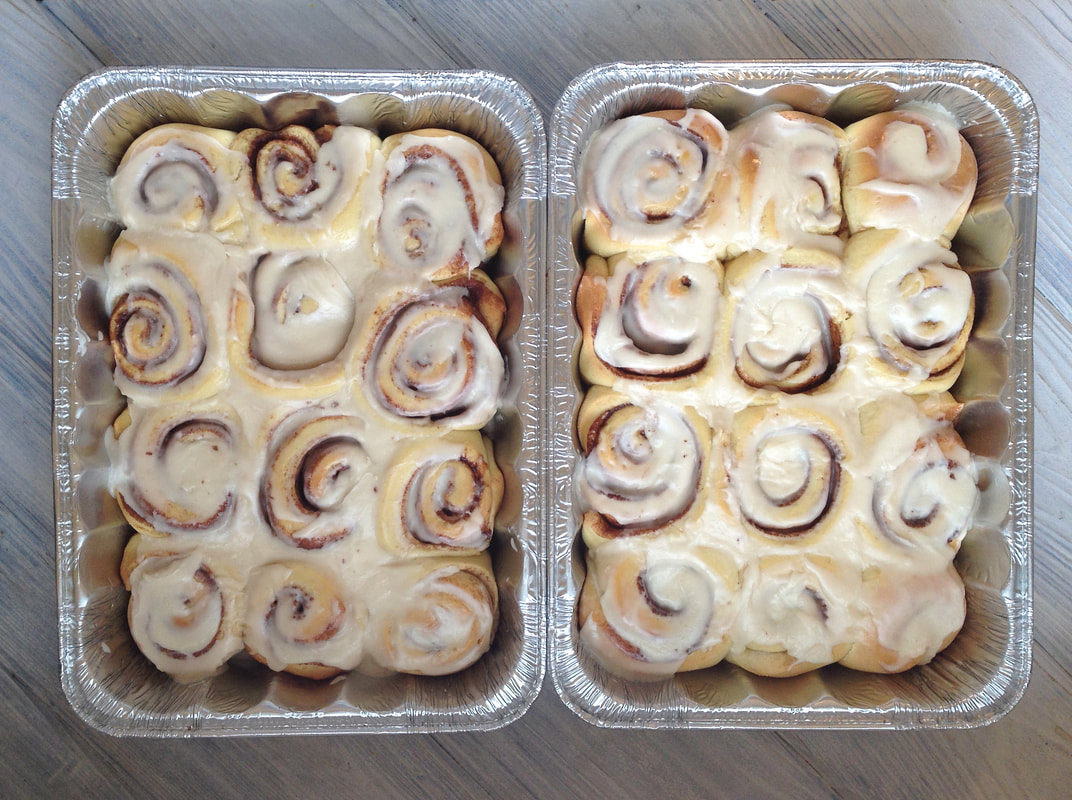
These travel well and are perfect for bake sales and breakfast potlucks. I recently made a double batch for my son's academic quiz team fundraiser.
I like to have my directions in one place, so here you go
Dough Ingredients: 1 cup plus 2 tablespoons warm milk 3 tablespoons olive oil 2 eggs 1/2 cup sugar 4 cups flour 1 teaspoon salt 3 teaspoons yeast Cinnamon Sugar Ingredients: 2 tablespoons butter 2/3 cup brown sugar 1 tablespoon cinnamon Icing Ingredients: 1 to 2 T. milk 1 1/2 cups powdered sugar 3 T. butter, melted 1 teaspoon vanilla Directions: 1. Put the dough ingredients in the bread machine in the order listed and run on the dough cycle. 2. After the dough is done, roll the dough into a large rectangle (on a lightly flowered surface) and spread it with 2 Tablespoons melted butter. 3. Mix together the brown sugar and cinnamon then spread over the melted butter. Make this dough rectangle pretty large so that you can have more surface area covered with cinnamon sugar. Then when you roll it up, you will have more cinnamon sugar spiraled into the dough which makes them so yummy. 4. Roll up and cut into 10-12 rolls and place in two greased round pans or one large lasagna pan. An easy way to cut the rolls is to use dental floss as seen in the above picture. 5. Let rise covered with a tea towel for a while (an hour or so) or cover with plastic wrap and slow rise in the fridge overnight. If freezing, put directly in the freezer without rising. Then let them rise while thawing. Bake at 325 degrees for 20 to 25 minutes or until lightly browned. Spread the icing on soon after they come out of the oven. Makes about one dozen rolls. I cover the unbaked rolls with plastic wrap, stick them in the refrigerator overnight, and then bake in the morning. This makes two pans full. If you can’t eat them all, freeze one pan then thaw in fridge and bake later. If you don’t have a bread machine, you can do this instead: Let the yeast dissolve in the milk, add all but the flour and stir. Then add flour until you have a good consistency to knead. Turn it onto a lightly floured surface and knead for a good 5-10 min- adding flour as needed to keep it from sticking to you. Cover and let rise till doubled. Punch down. roll out and finish as directed above. I bought my bread machine at a thrift store for about $7 and have been using it for years. 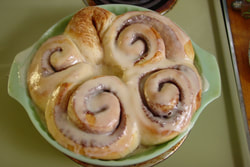
This is what my old photography looked like before reading Tasty Food Photography by Lindsay from Pinch of Yum, a highly successful food blogger. See my affiliate link below if you need to up your food photography game.
10 Comments
4/12/2011 03:11:11 am
Looks so yummy!!Thank you for the recipe. My kids love these rolls but I don't like to buy them at the grocery store.
Reply
4/12/2011 03:53:19 am
Yum, yum, yum!
Reply
4/17/2011 05:37:11 am
My mom used to make cinnamon rolls. That's before she cared about restricting everyone's fat content. Wow!
Reply
2/19/2018 07:46:50 am
These are so beautiful and they look so yummy and delicious!!! :)
Reply
3/4/2018 08:57:08 am
This looks phenomenal!!! I’m craving cinnamon rolls now. As soon as I get home I have to try this recipe!
Reply
Annette
3/23/2018 05:57:46 pm
The rolls were absolutely fabulous. my only suggestion is to make your recipe printable.
Reply
3/26/2018 10:50:02 am
Thank you Annette! I'm so glad you liked them. I have tried to find a way to add easy printable recipes to my posts and haven't found it yet. My blogging platform hasn't made it easy to do. I will have to check into it again. Thanks so much for your comment.
Reply
Your comment will be posted after it is approved.
Leave a Reply. |
Welcome to Home Ec @ HomeHi, I'm Faith, a former Family and Consumer Science teacher turned food blogger. I love God, my family, and food. You can usually find me in the kitchen preparing family friendly, homemade recipes and taking lots of pictures. This website uses marketing and tracking technologies. Opting out of this will opt you out of all cookies, except for those needed to run the website. Note that some products may not work as well without tracking cookies. Opt Out of CookiesFan Favorites
 Dehydrating Pears and Apples in the Instant Pot Duo Crisp Dehydrating Pears and Apples in the Instant Pot Duo Crisp
|


 RSS Feed


