|
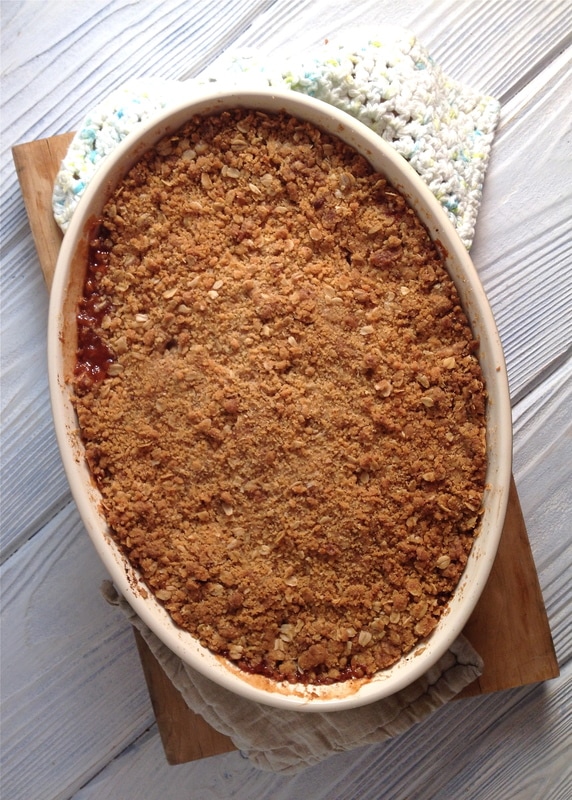
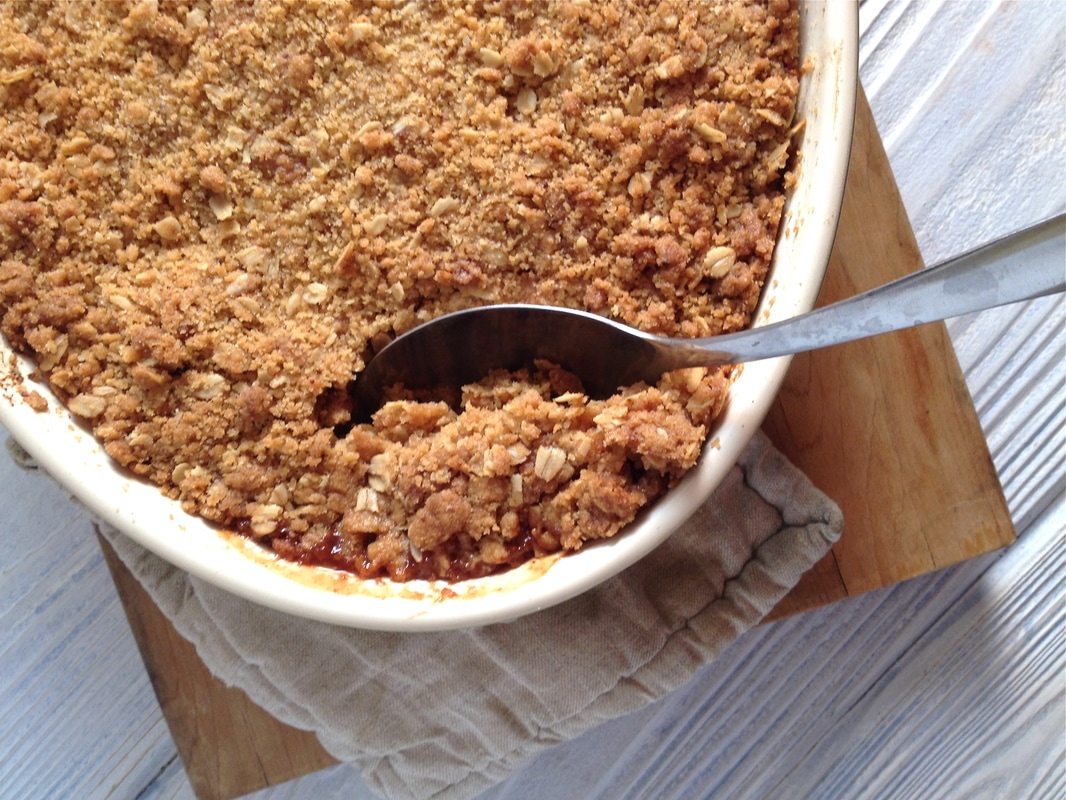
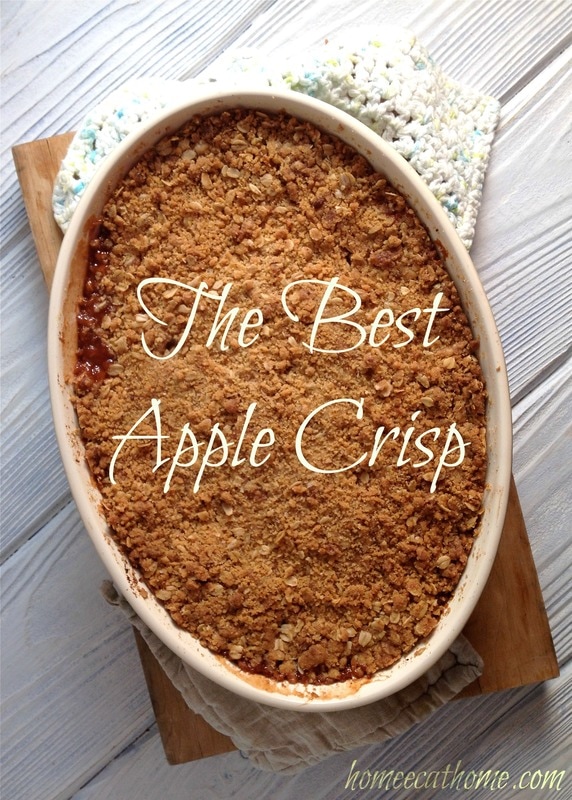
This is one of our favorite desserts ever and since I made an apple crisp last week, I thought it was time to update the photos for this old favorite recipe.
This apple crisp is truly amazing. You can taste a hint of citrus which complements the apples and sweetness perfectly. Honestly, I think it's a little too sweet, but my husband likes the sugary crunchy coating just the way it is. If you are sugar conscience (we really need to work on using less sugar too) you can easily reduce the sugar and try using some coconut sugar as a substitute for some or all of the granulated sugar.
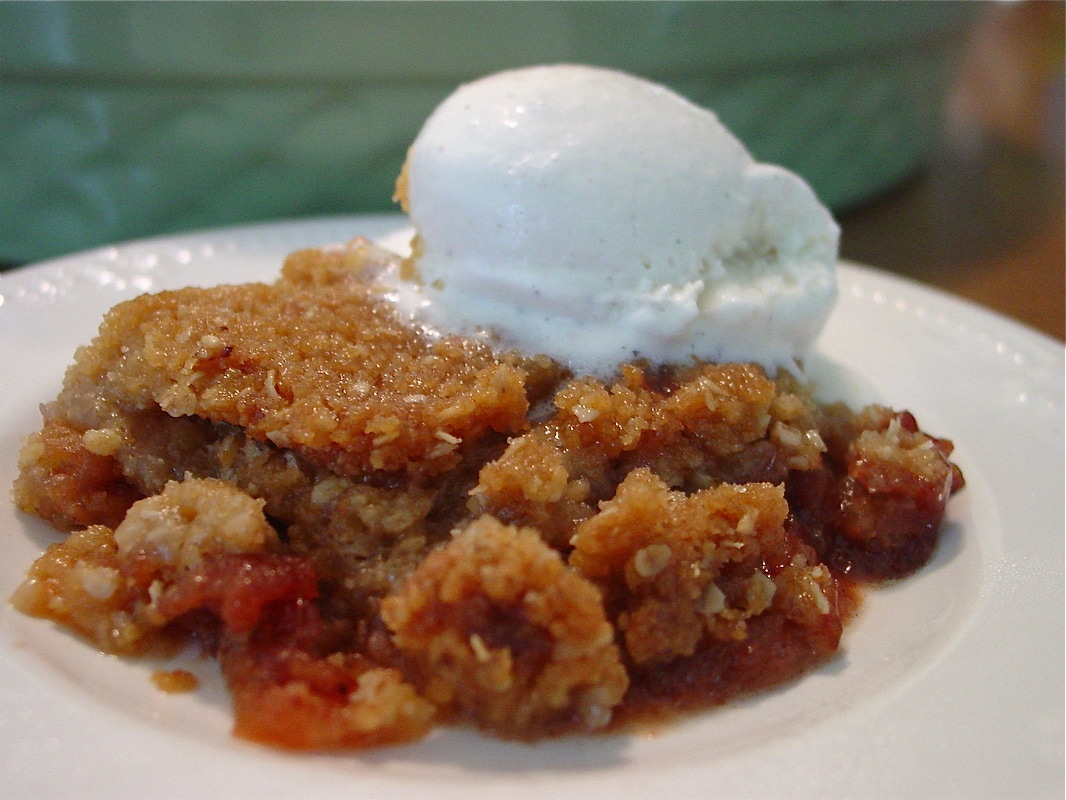
My husband likes his apple crisp unadulterated. I like it served warm with vanilla ice cream. However you like it, this is seriously good stuff. Good enough for company, good enough for potlucks and it serves a crowd. But don't worry if you don't have a crowd to feed, you can easily halve the recipe and bake in a 9 X 9 square pan. This apple crisp will keep nicely in the fridge for several days. You can also prepare ahead and refrigerate to bake later in the day or the next day. I do give myself about an hour to prepare. Prepping the apples and blending the topping takes a little time and effort, but the results are completely worth it.
I think my old photo circa 2013 still deserves a place here on the blog.
Apple Crisp
Ingredients: 4 pounds baking apples 1 tsp. dried orange peel (sold in spices) 1 tsp. dried lemon peel (sold in spices) 2 tablespoons orange juice or apple juice 2 tablespoons lemon juice (in a pinch, you can use lime juice) 1/2 cup granulated sugar 2 teaspoons ground cinnamon 1/2 teaspoon ground nutmeg or just grate some whole nutmeg For the topping: 1 1/2 cups flour 3/4 cup granulated sugar 3/4 cup light brown sugar, packed 1/2 teaspoon sea salt 1 cup oatmeal 1/2 pound cold butter, cubed (2 sticks) Directions: 1. Preheat the oven to 350 degrees F. Butter a 9 X 14 by 2-inch oval baking dish. (A 9 X 13 rectangular baking dish will work just fine too.) 2. Peel, core, and slice the apples. Combine the apples with the zests, juices, sugar, and spices. Pour into your buttered baking dish. 3. To make the topping, combine the flour, sugars, salt, oatmeal, and cold butter in a large bowl. Use a pastry blender or two butter knives to cut the butter into the dry ingredients until the mixture is crumbly and the butter is the size of peas. Sprinkle evenly over the apples. 4. Bake for about an hour or until the apple filling bubbles and the crisp topping is golden brown. Adapted from a Barefoot Contessa recipe.
3 Comments
3/17/2017 09:02:46 pm
Thank you and yes I take my own photos. The key is to have good lighting and good composition. I use a really inexpensive camera or my iphone camera. These were taken with my iphone. It's an old hand-me-down iphone and it still works great. It takes a lot of practice, but I find I have the best results with shooting overhead and using my lowell light. I learned so much from reading Tasty Food Photography (link above) and really recommend it. It helped me improve my photography and many of my photos now get accepted on foodgawker and tastespotting. If you go to my blogging tips link above, you will see some articles I wrote about improving my photography.
Reply
Your comment will be posted after it is approved.
Leave a Reply. |
Welcome to Home Ec @ HomeHi, I'm Faith, a former Family and Consumer Science teacher turned food blogger. I love God, my family, and food. You can usually find me in the kitchen preparing family friendly, homemade recipes and taking lots of pictures. This website uses marketing and tracking technologies. Opting out of this will opt you out of all cookies, except for those needed to run the website. Note that some products may not work as well without tracking cookies. Opt Out of CookiesFan Favorites
 Dehydrating Pears and Apples in the Instant Pot Duo Crisp Dehydrating Pears and Apples in the Instant Pot Duo Crisp
|






 RSS Feed


