|
We planned a train party for my son's 3rd birthday. This is such a fun theme. We found our paper products, Thomas stickers, table cloths, adorable train track table runners, train centerpiece, Thomas favor pack for the pinata, a red divided tray, and train suckers for cupcake toppers at Oriental Trading Company.
Disclosure: I received products for review purposes only. Any opinions are honest and are my own.
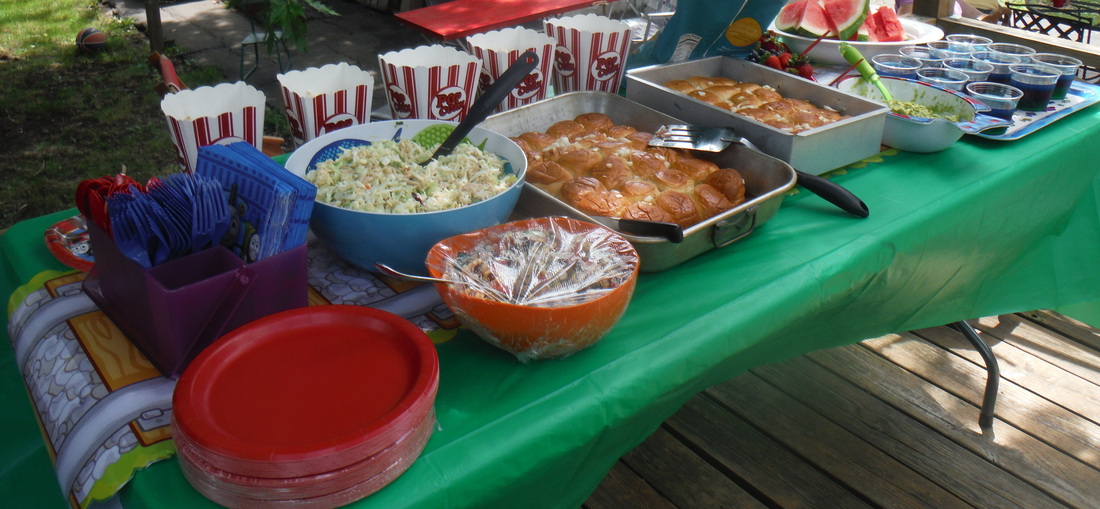
The Food:
I didn't really have a theme as far as food was concerned. Just good food that would be enjoyed.

It was a really hot day so it was nice to have a cold offering. The jello cups were a hit and were easy to make. In keeping with the train theme, I layered green, then red, then blue jello in each cup letting each layer firm up in the fridge before making the next layer. I chose green, red, and blue since they are common colors from Thomas and his Friends.
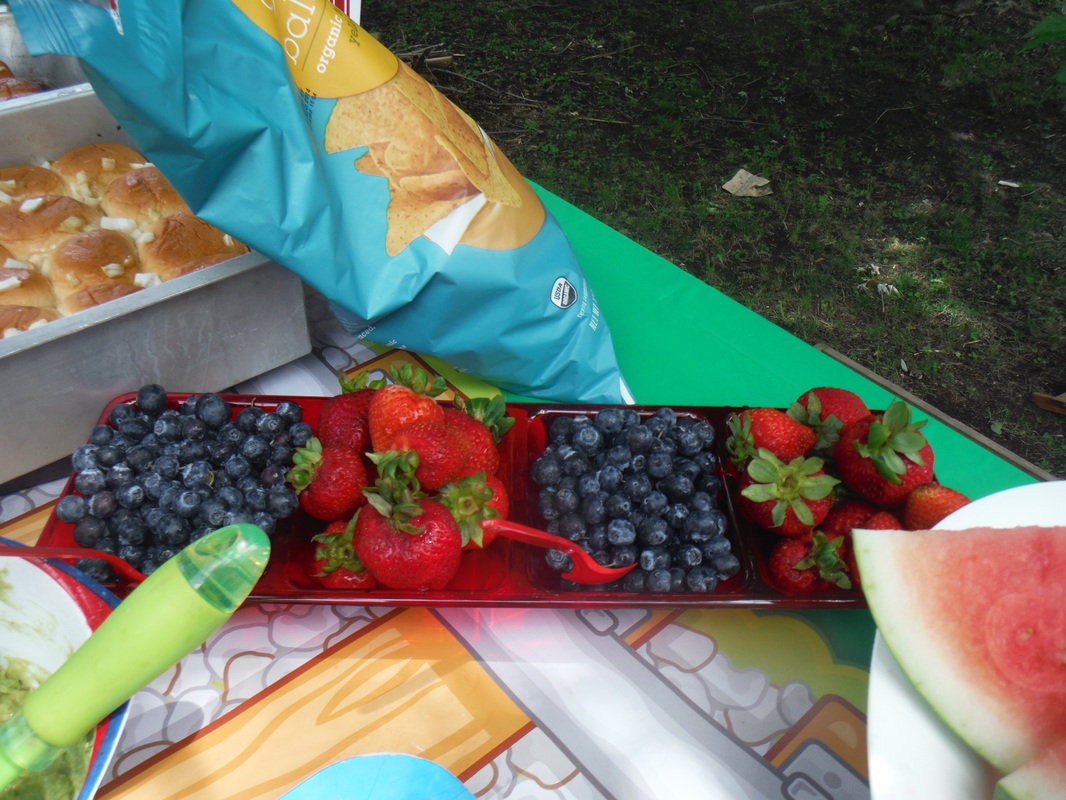
Loving this red serving tray from Oriental Trading Company. I'm sure I will use this a lot when entertaining. And look at the train track table runner peeking through. So cute!
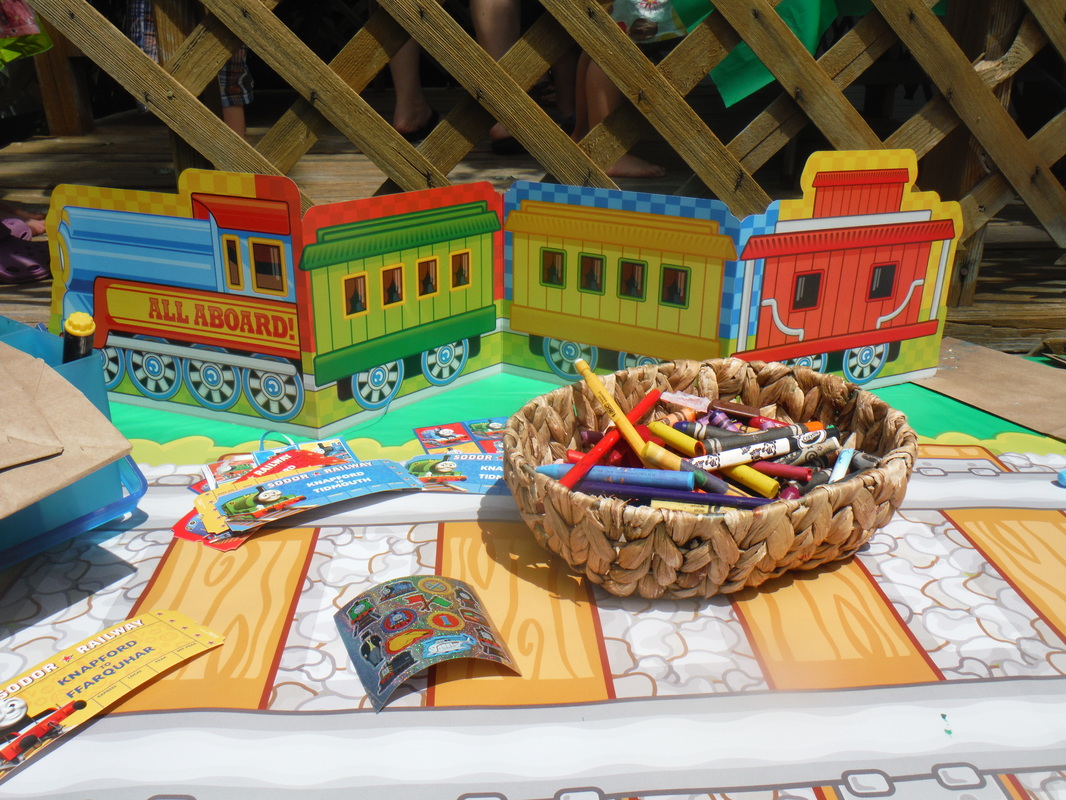
I set up an art table for everyone to decorate their loot bags. You can really see the train track table runner here. It might be my favorite party decoration ever and it makes a great table weight holding the table cloth down in the wind. The train centerpiece was perfect for the art table. And the train tickets came in the favor pack. I just set them on the table for kids to put in their loot bags. So much cute stuff all from Oriental Trading Company.

Full view of the awesome train track table runner.
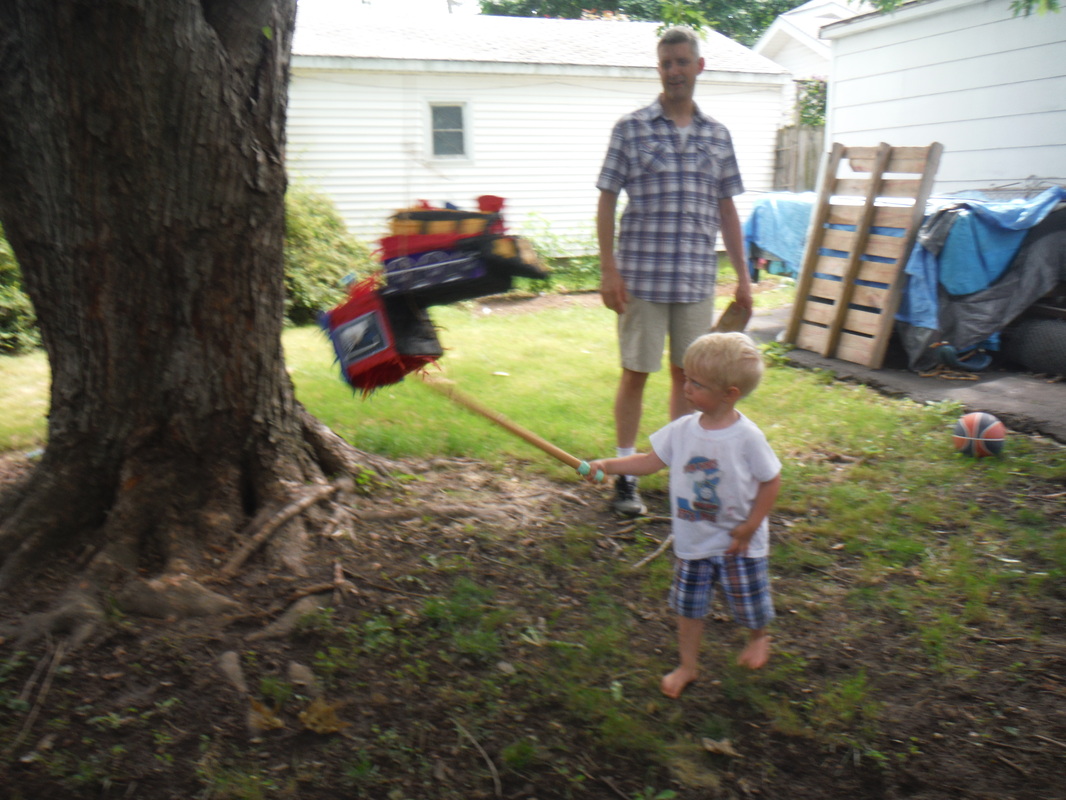
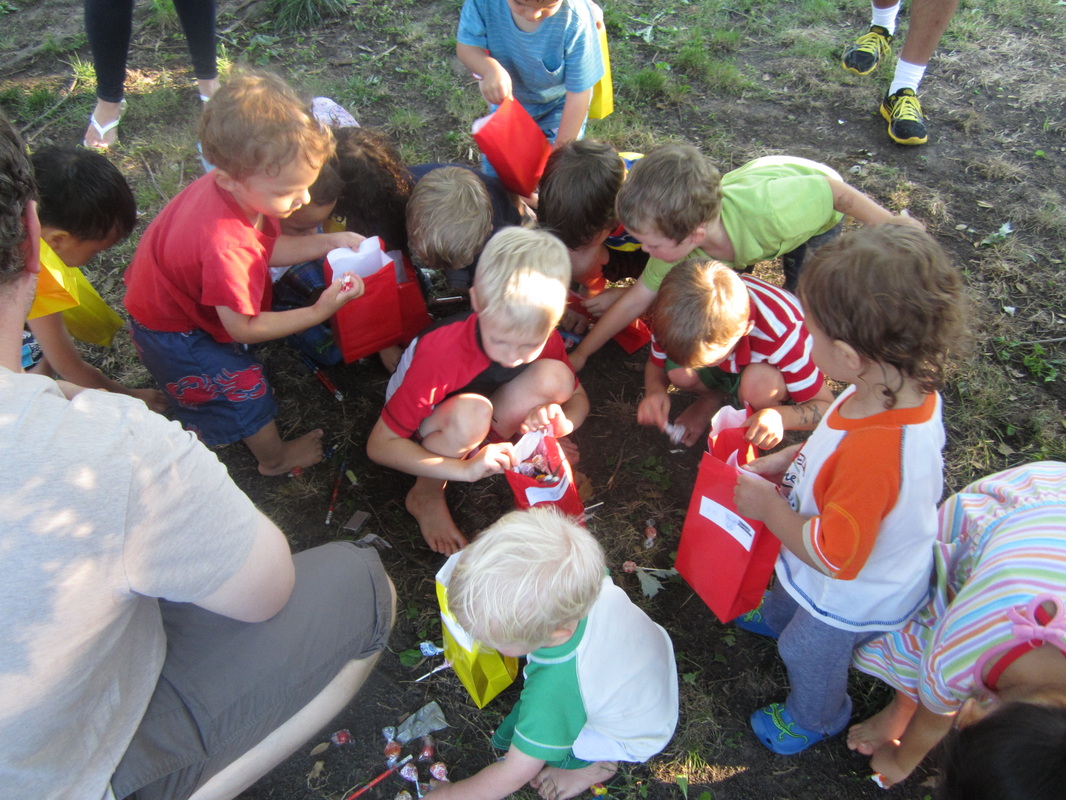
Our pinata was so heavy with candy and party favors that it only took one blow to bring it down. The kids didn't care. They excitedly gathered up candy and Thomas toys (from the favor pack from Oriental Trading Company) to fill their loot bags.
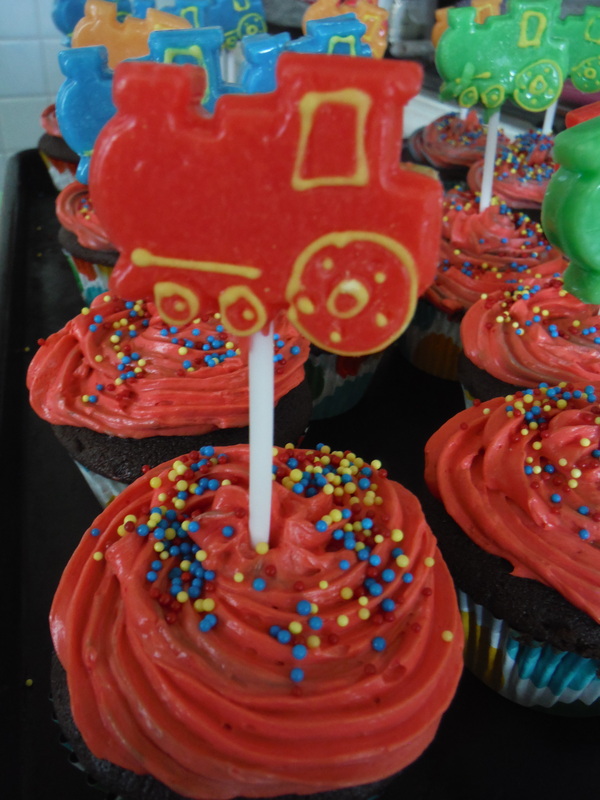
I decided on cupcakes because they are so easy and I knew these train suckers from Oriental Trading Company would make great cupcake toppers. Look at the detail, they are amazing. They came individually wrapped and in tiny bubble wrap too so that they wouldn't break during shipment.

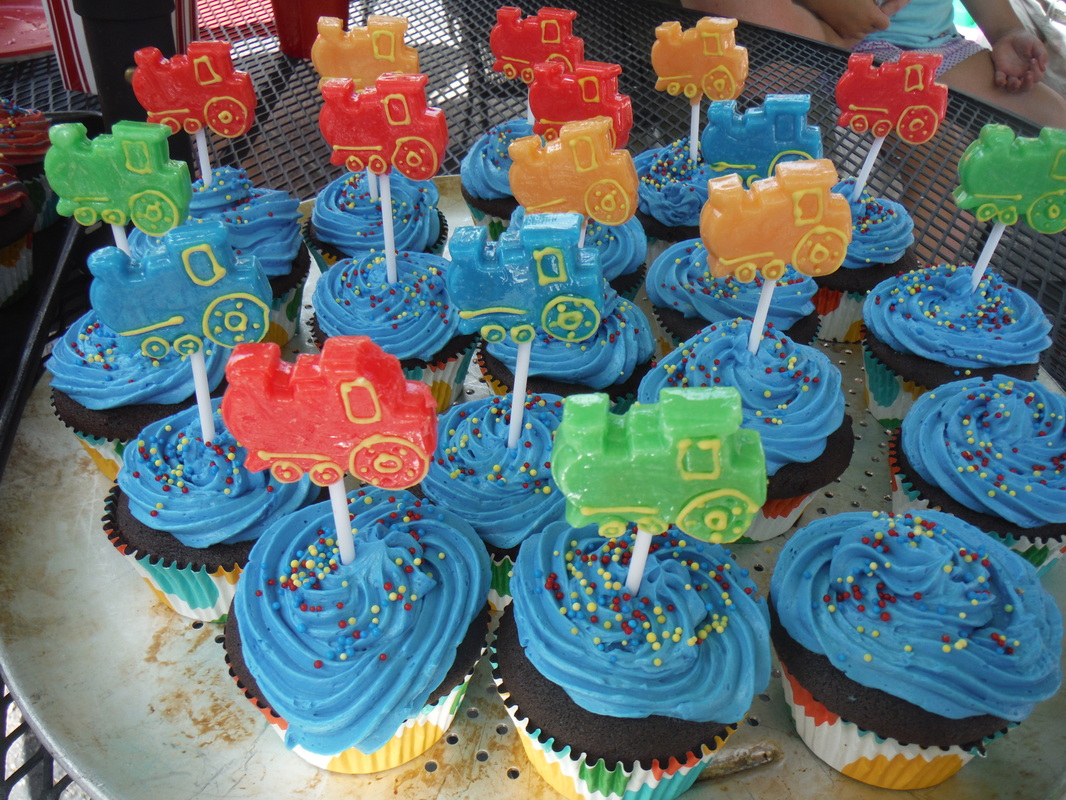
Red and blue cupcakes to fit in with the Thomas theme. I made this cupcake recipe with vanilla frosting which was delicious, but the icing started melting quickly in the heat.
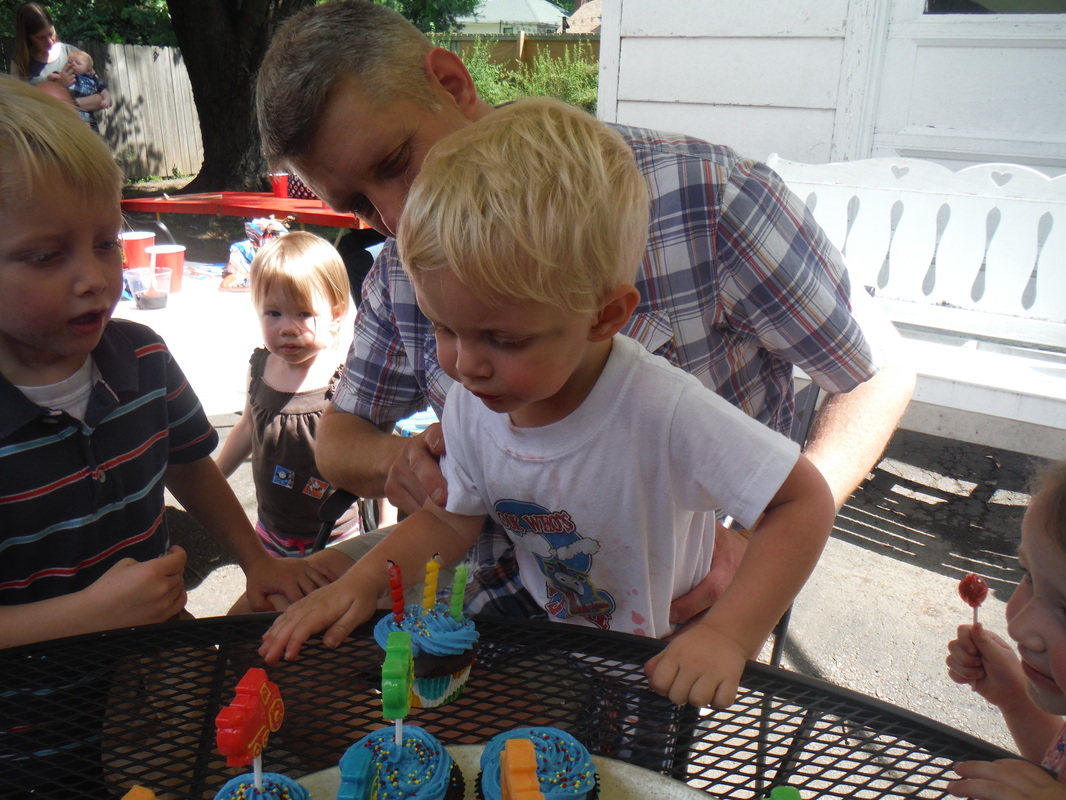
1, 2, 3 birthday candles!
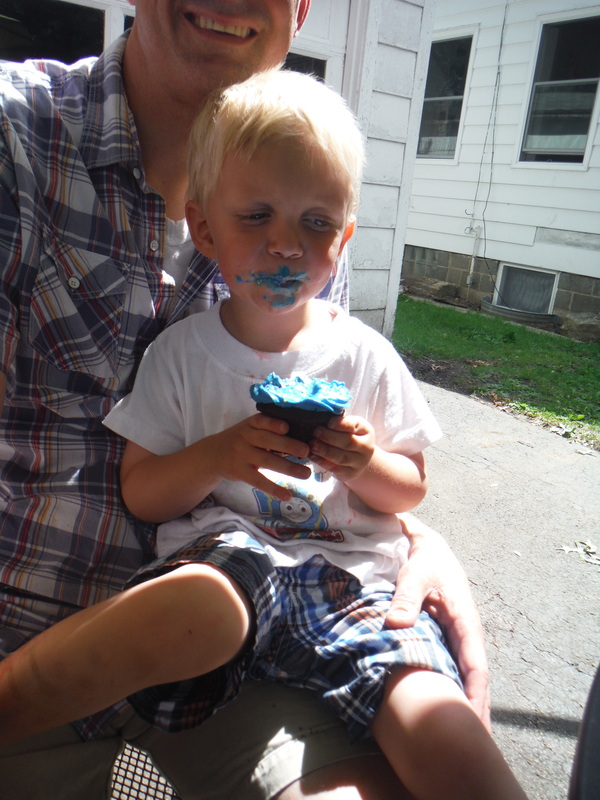
Blue icing bliss... What more could you want?

2 Comments
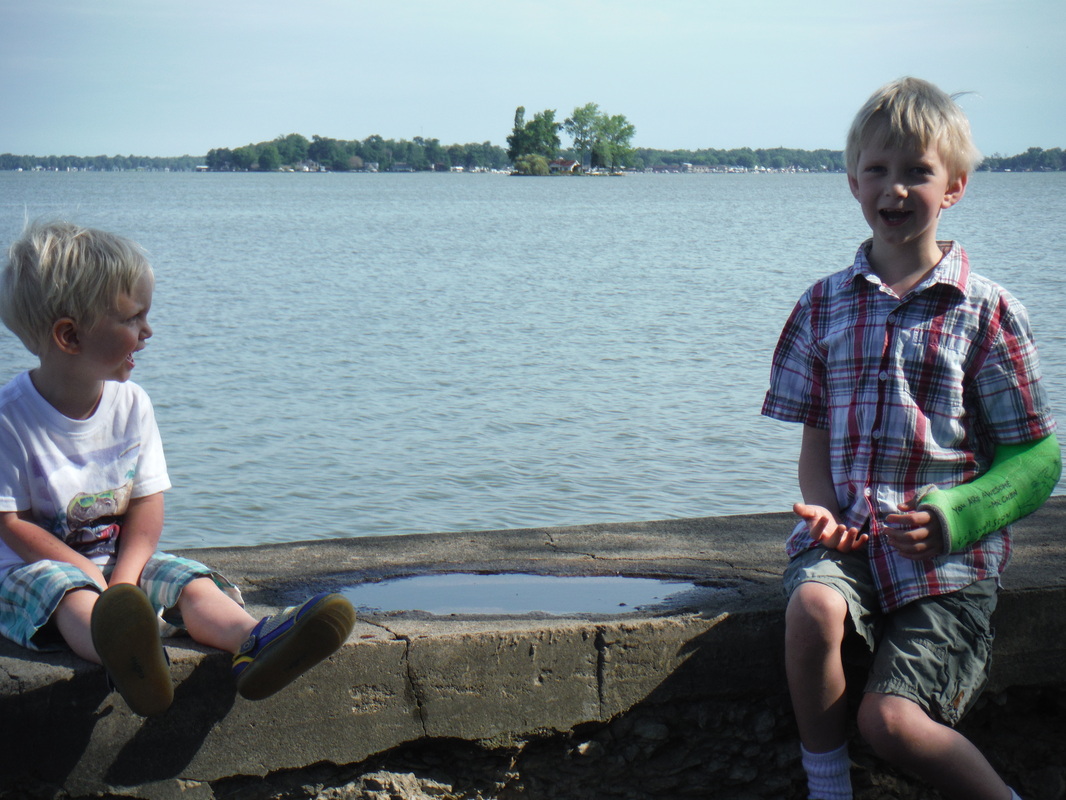
We spent some time traveling and visiting family a couple of weeks ago. My husband got up early one morning and took the early risers to see the lake.

We had a great time at my 20th class reunion. I love this silly picture. They had a great photographer, Creative Edge Photography.
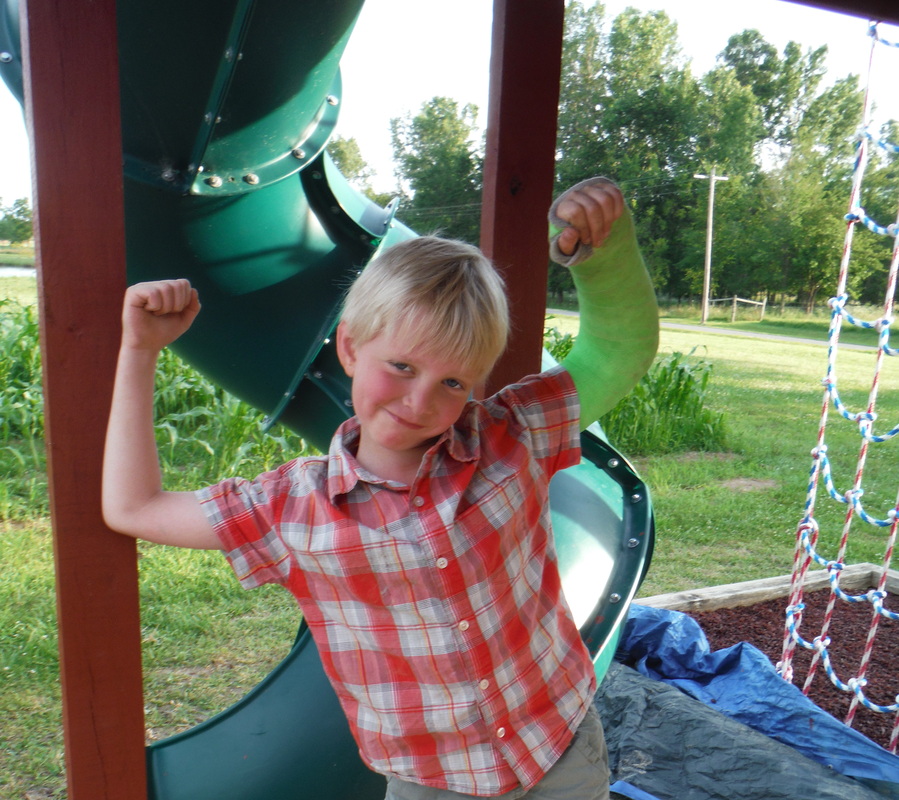
Best cast picture ever. This tough little guy continues to amaze me. He caught lots of fish, rode the 4-wheeler, and ran rampant on Grandpa's new play-set.
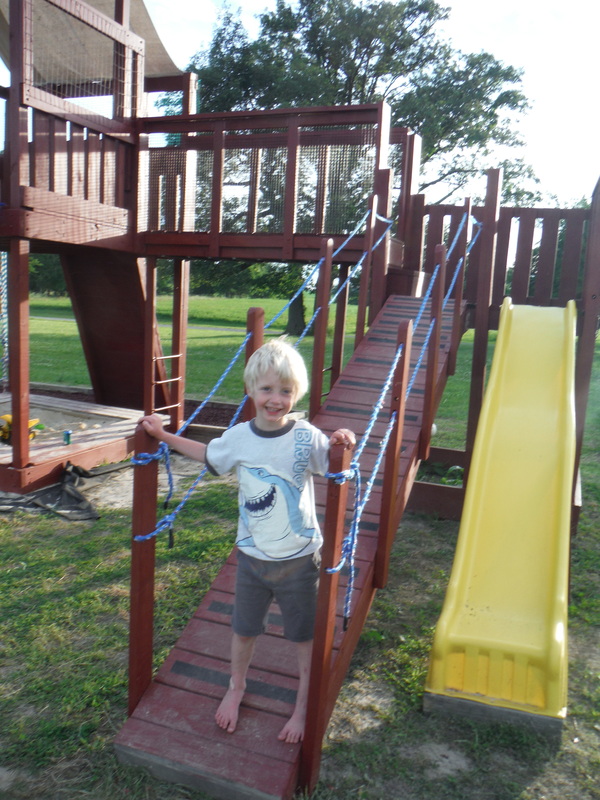
So much fun playing on Grandpa's playground!
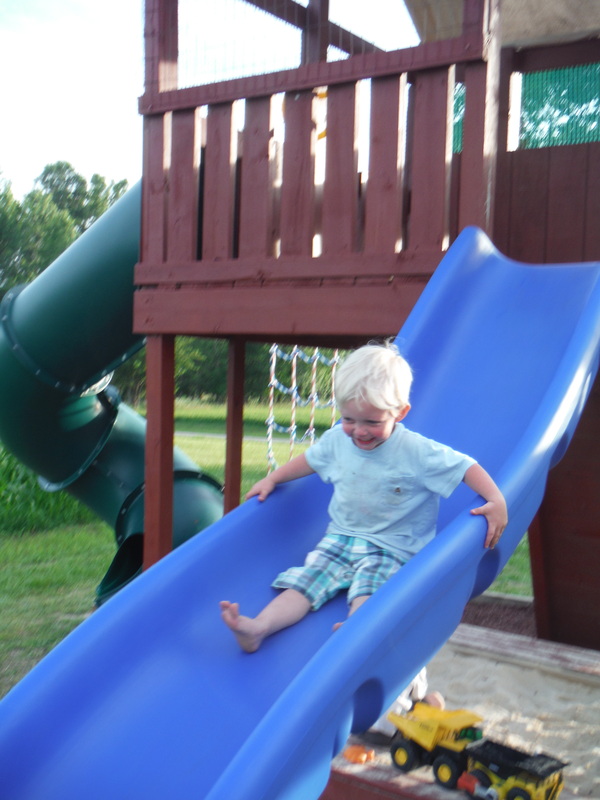
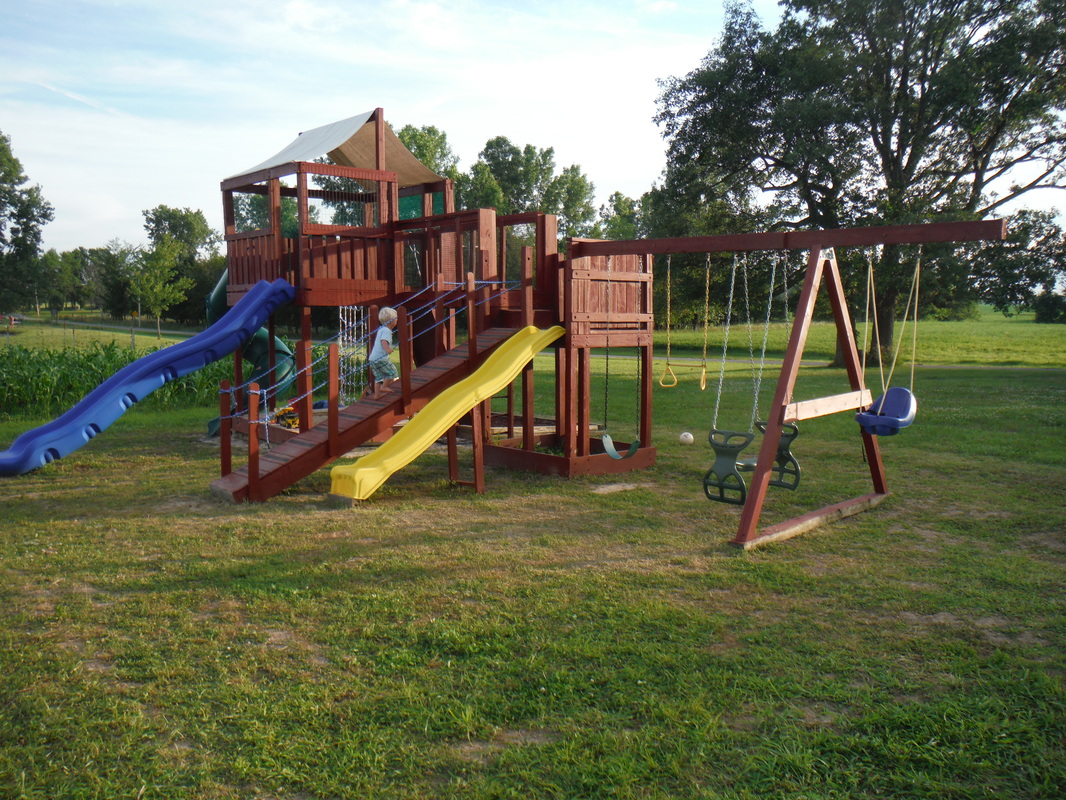
My Dad started building this amazing playground two years ago for his grandkids and finished it this summer. The boys had so much fun playing with their cousins.
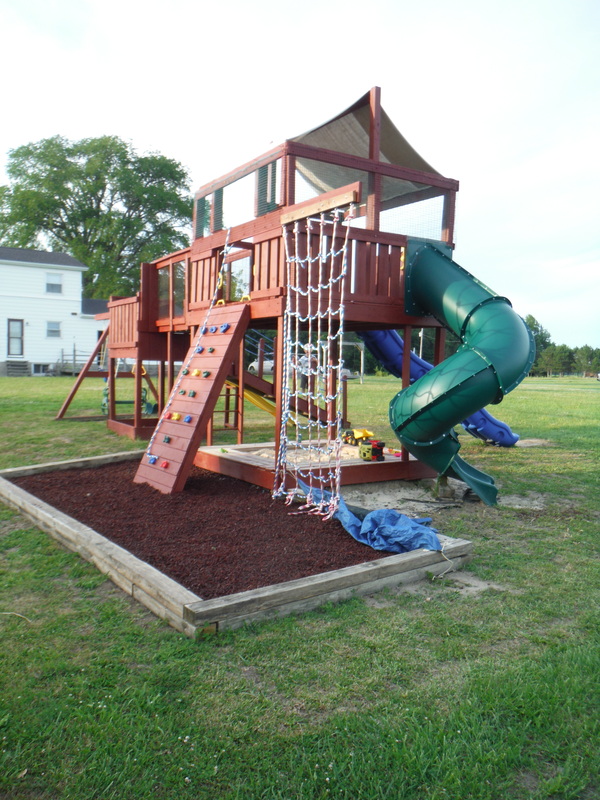
You are amazing Dad!
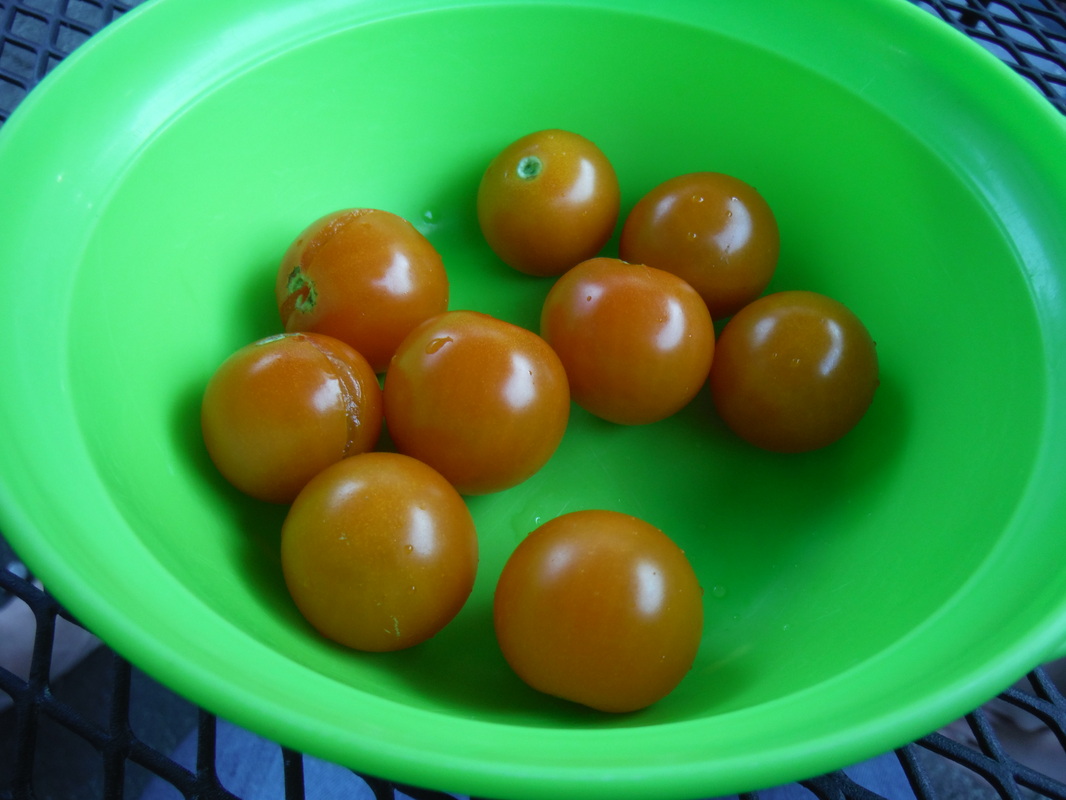
Our first tomatoes of the season.
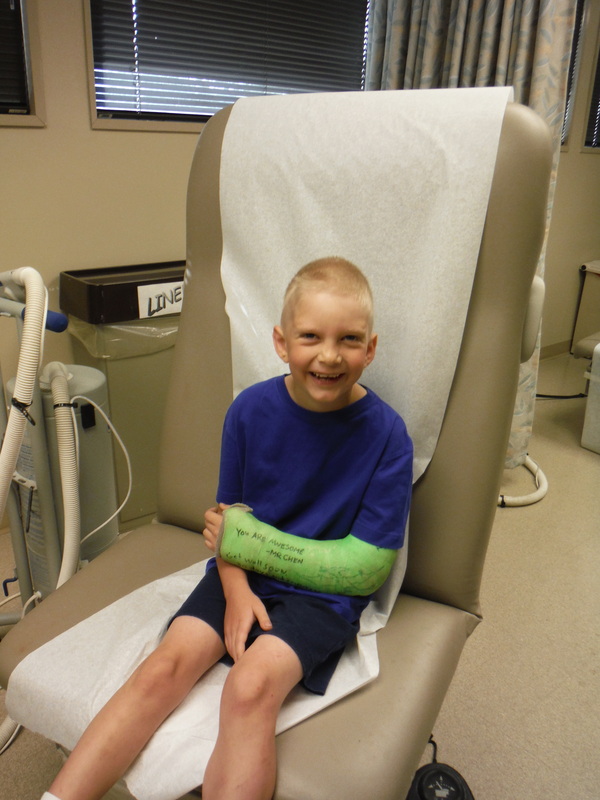
Getting the cast off on his birthday!
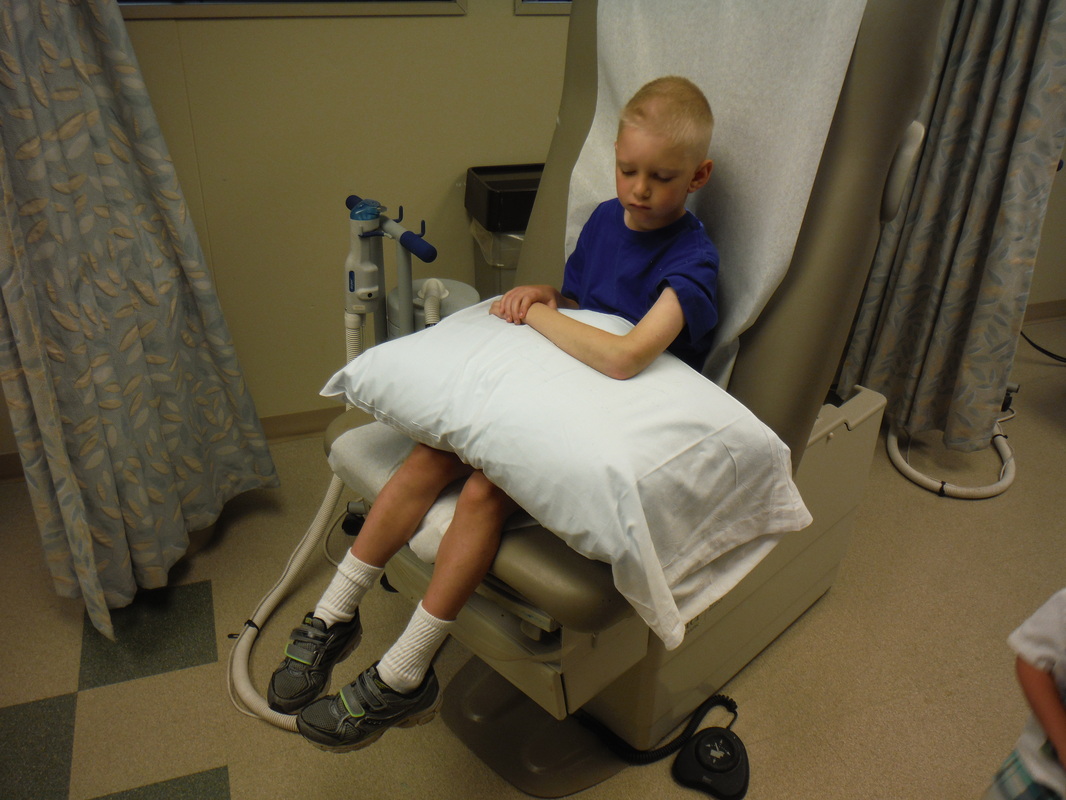
Looking a little unsure after the cast came off. It didn't take long for him to get back into the swing of things though.
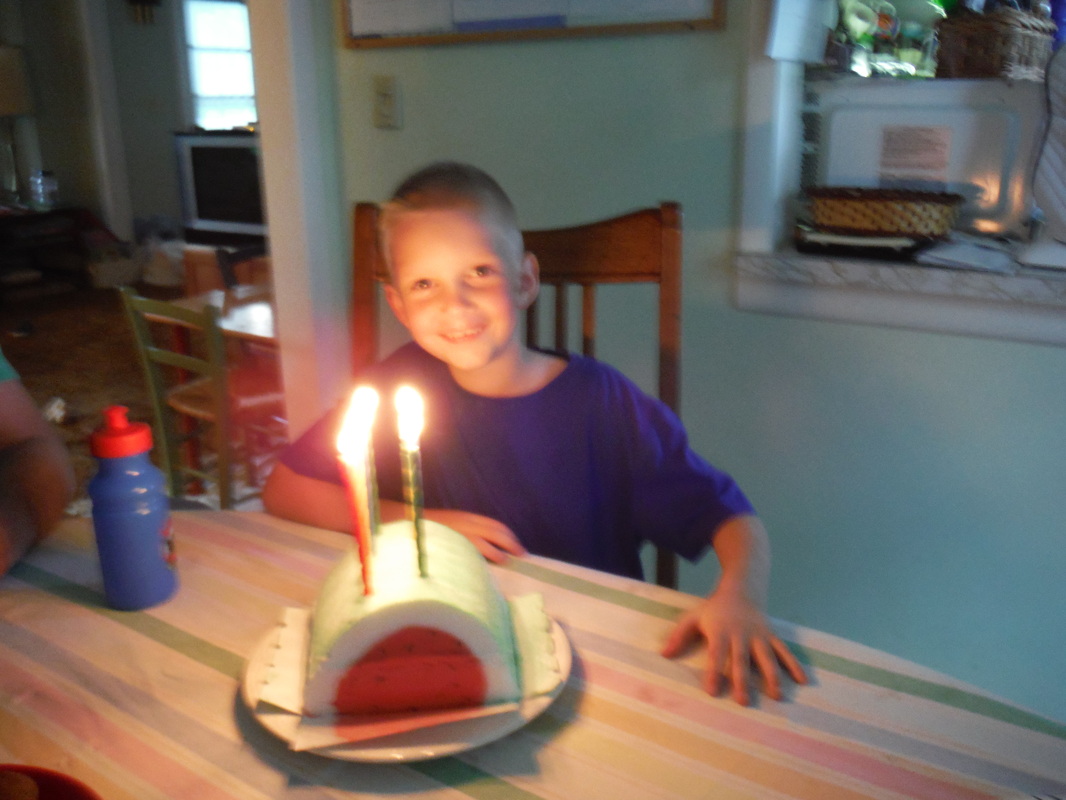
We celebrated a big 7th birthday. Wow, 7 seems so big.
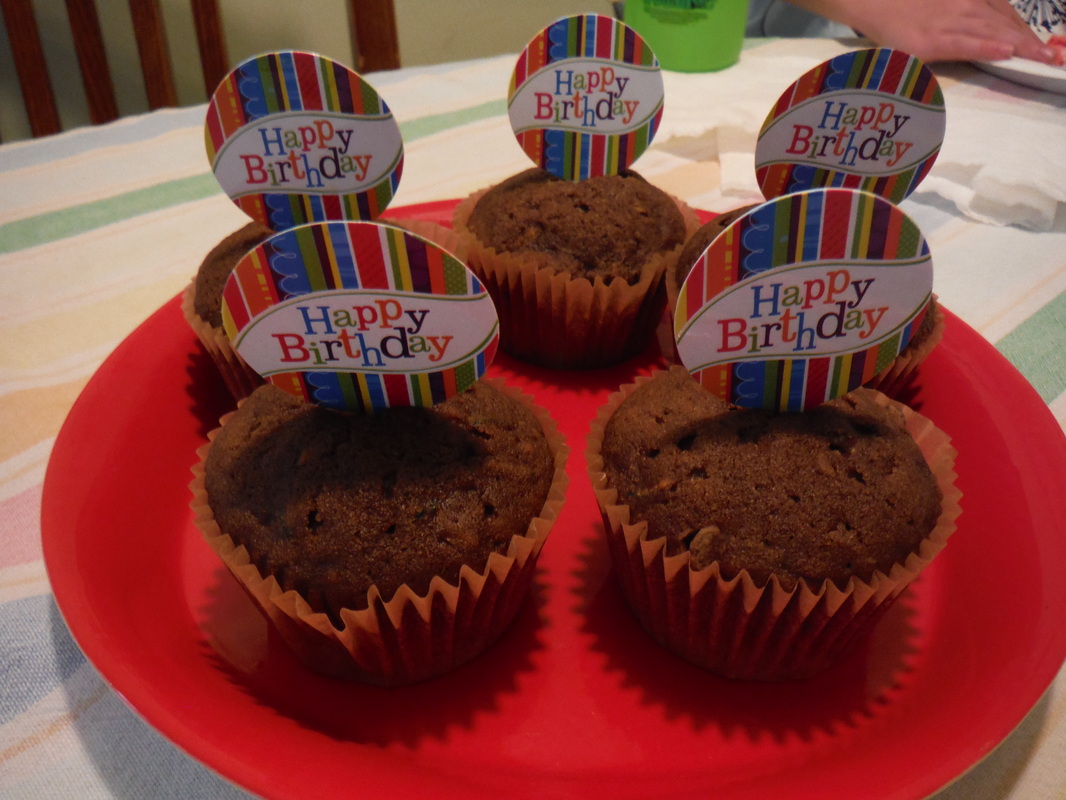
I baked Zucchini Chip Cupcakes for an extra camp snack on his birthday. The boys said they all sang Happy Birthday.
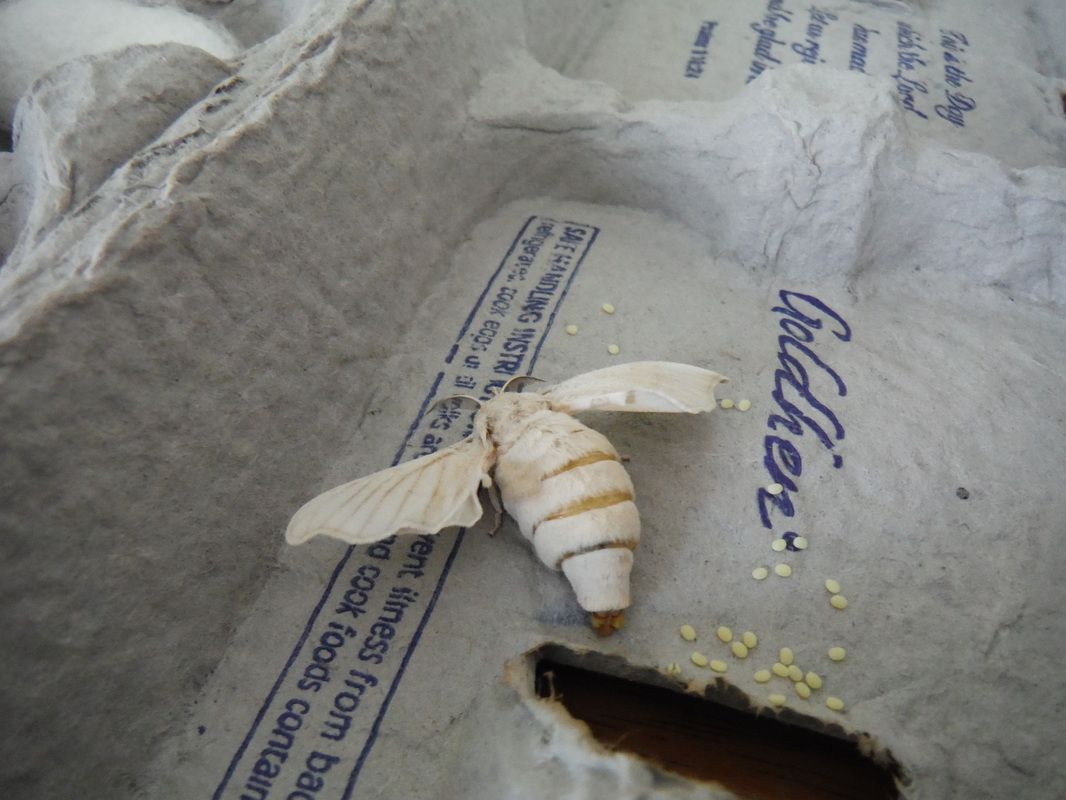
One of our silkworms came out of its cocoon and started laying eggs.
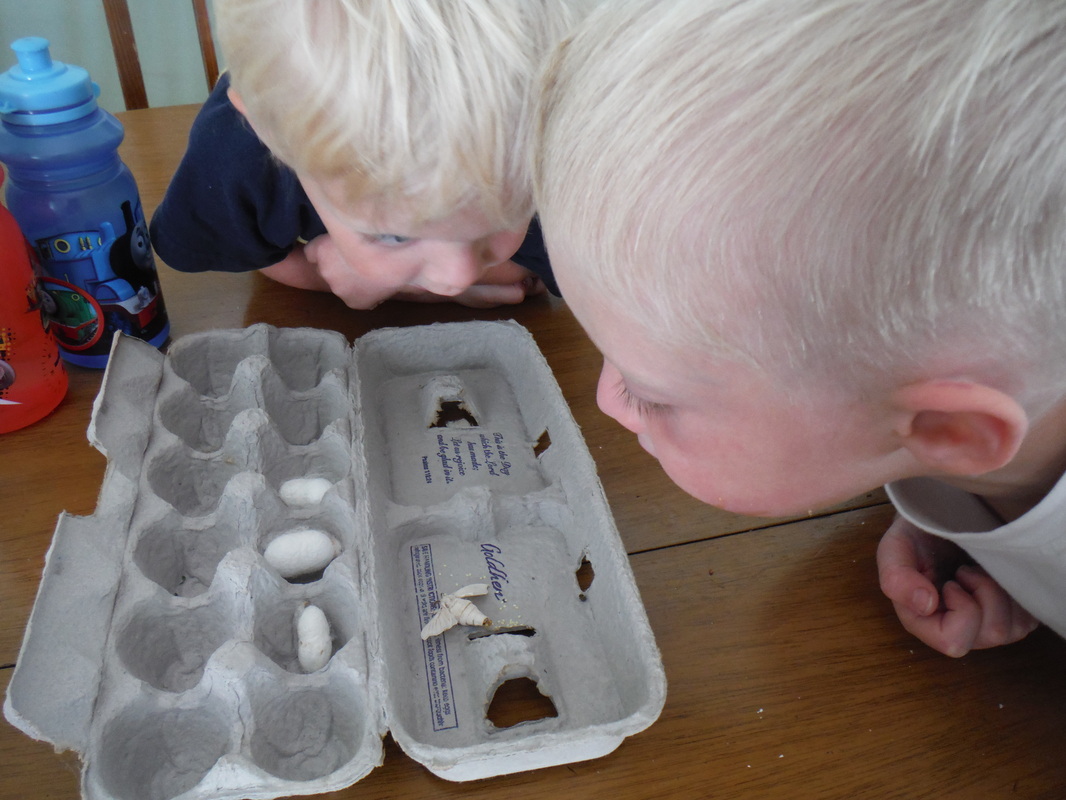
The boys were fascinated.
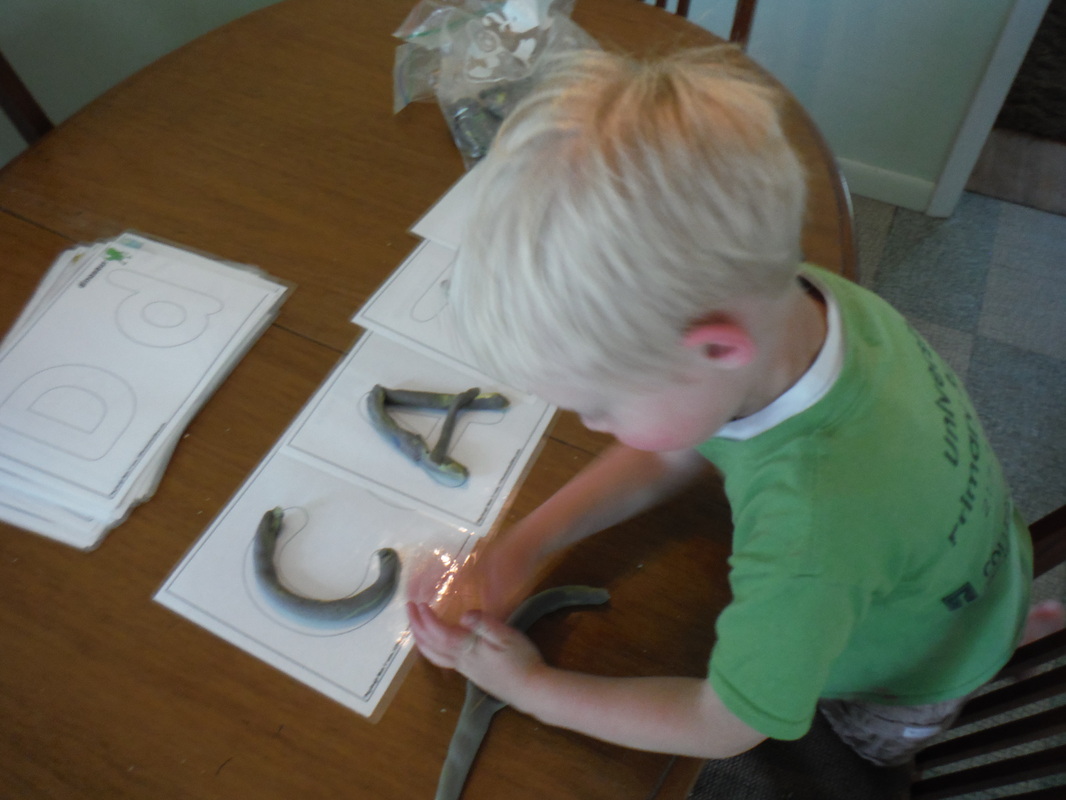 I found these play-dough mats at 123 Homeschool 4 Me. You can print them for free and use them for other activities like bean or noodle mosaics or coloring pages or laminate them and use them with play-dough. 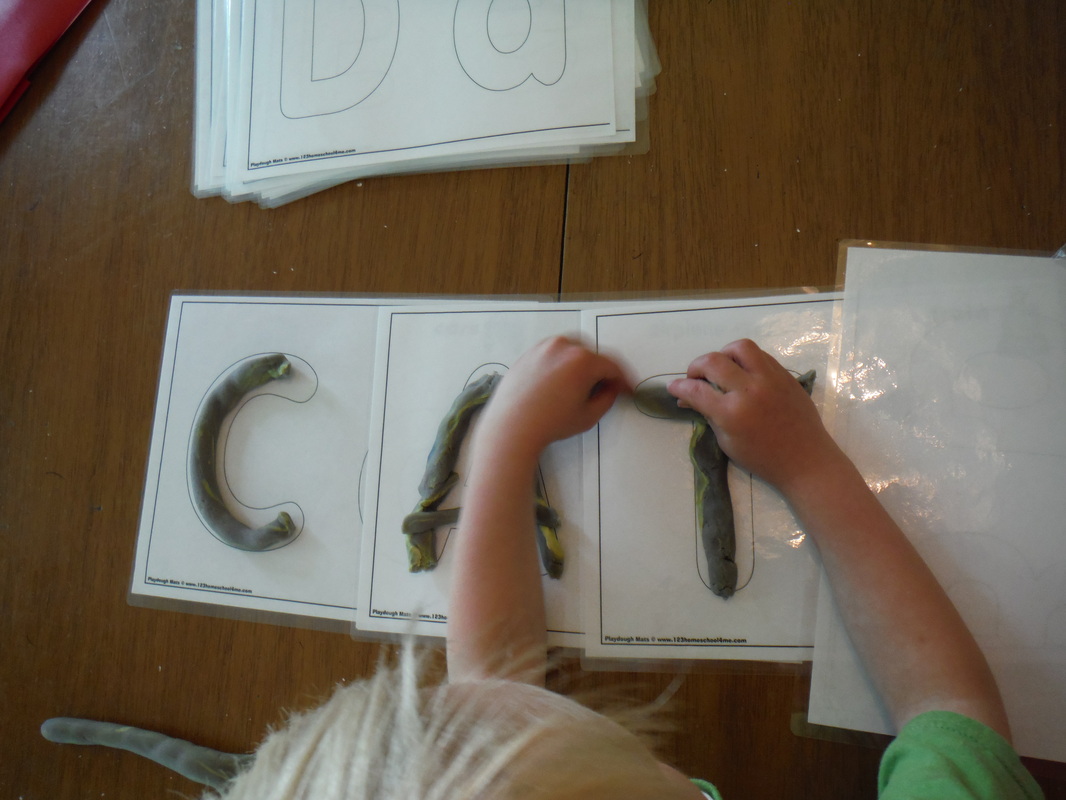 They are a great way to improve fine motor skills, letter recognition, and if you overlap them like this, you can practice simple words with your preschooler. Here is an easy recipe for homemade play-dough. 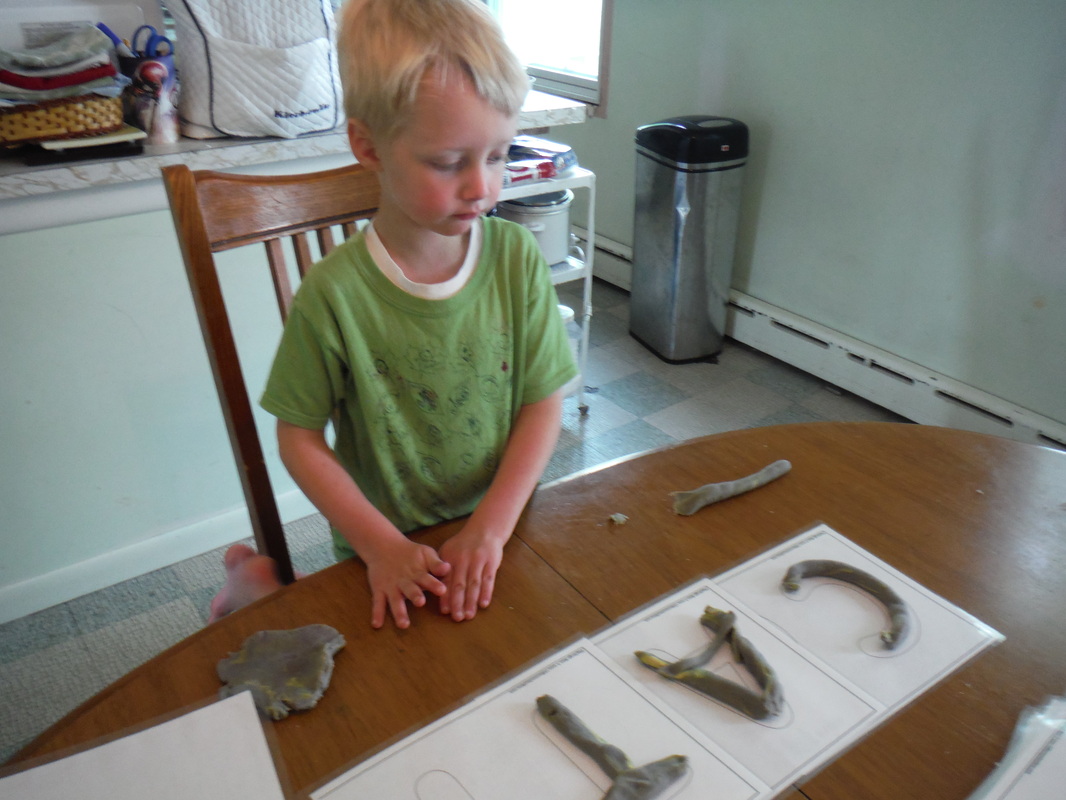 I experienced some major sticker shock when I took my printed letter mats to several office supply stores only to find out that laminating them would cost $35-$38. Instead I purchased a Swingline laminator from Amazon for around $20. I don't remember what I spent on laminating sheets, but I got 100 of them for way less than $15. My laminator works great and I can laminate a lot more for less than I could have paid at the office supply store. 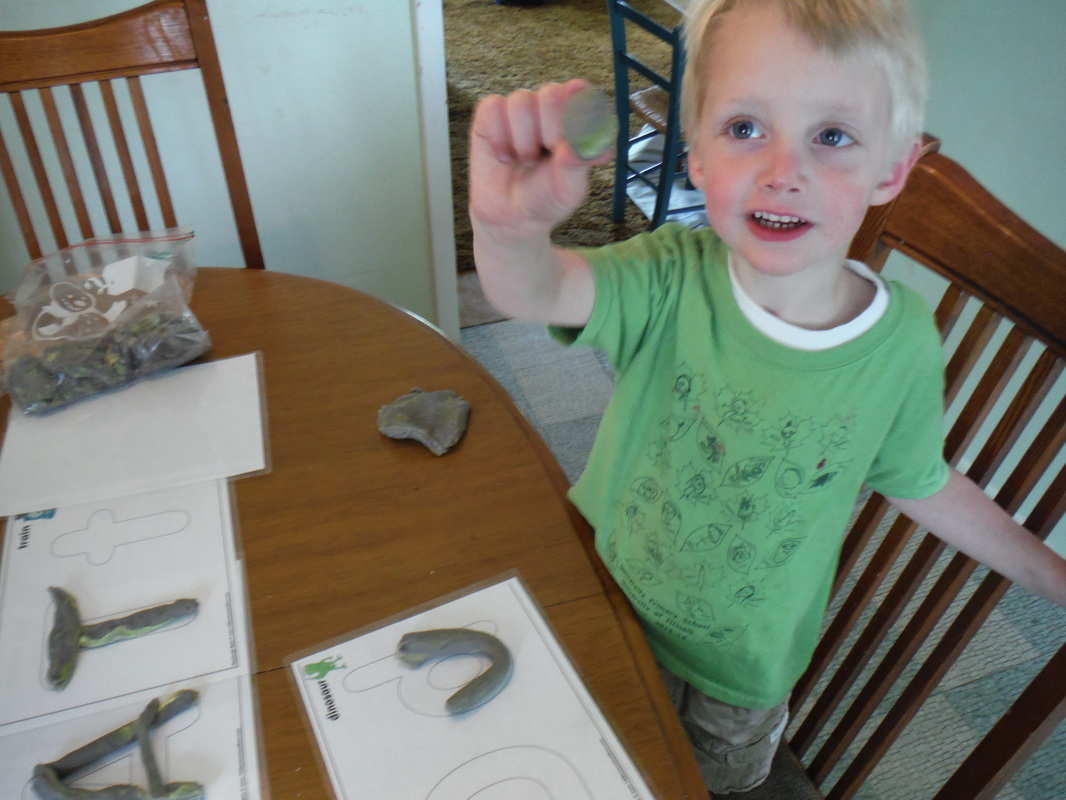 The boys have enjoyed playing with these mats (while learning too ...but don't tell them, they just think its fun).
Disclosure: I received products for review. All opinions are honest and are my own. 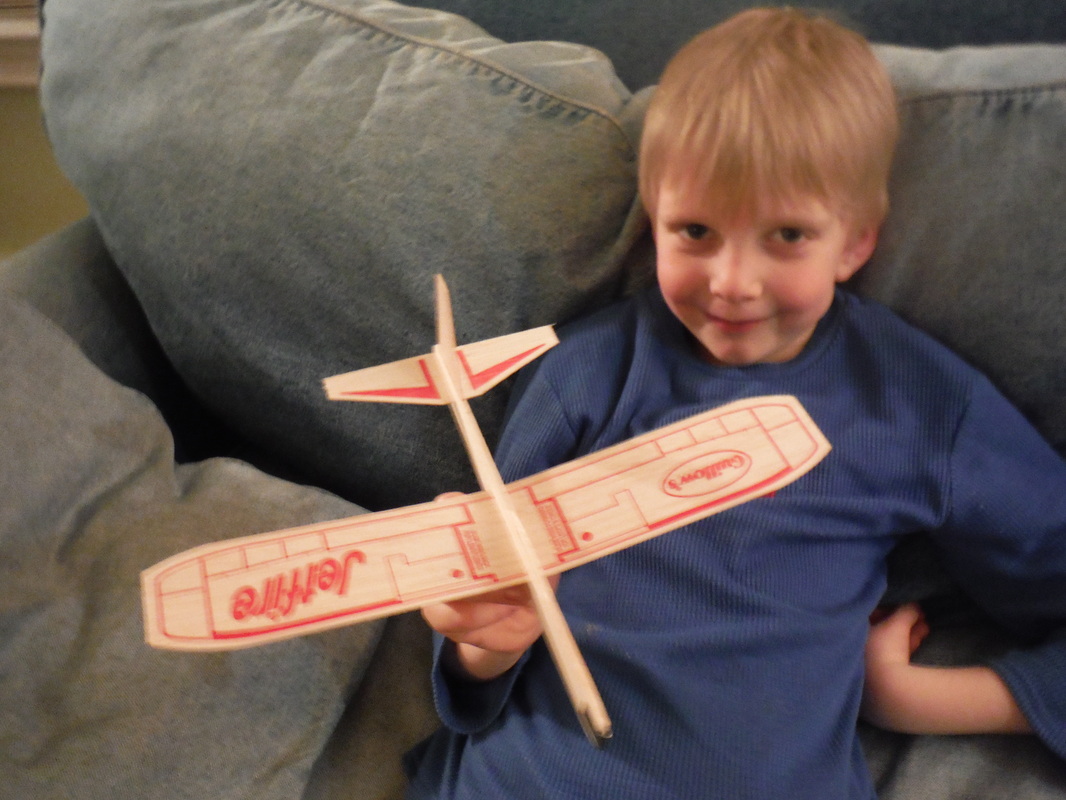
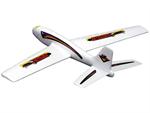
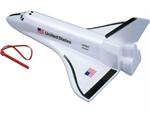
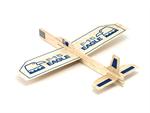
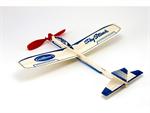
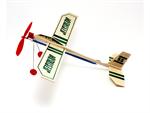
The boys have been enjoying their new Guillow's toy airplanes. We received a collection of balsa wood and foam airplanes which have provided so much fun both indoors and outdoors. It was fun to have the whole family outside playing together last weekend, for the first time in months. (It was a long winter.) Our youngest was so excited to play with Daddy's help. 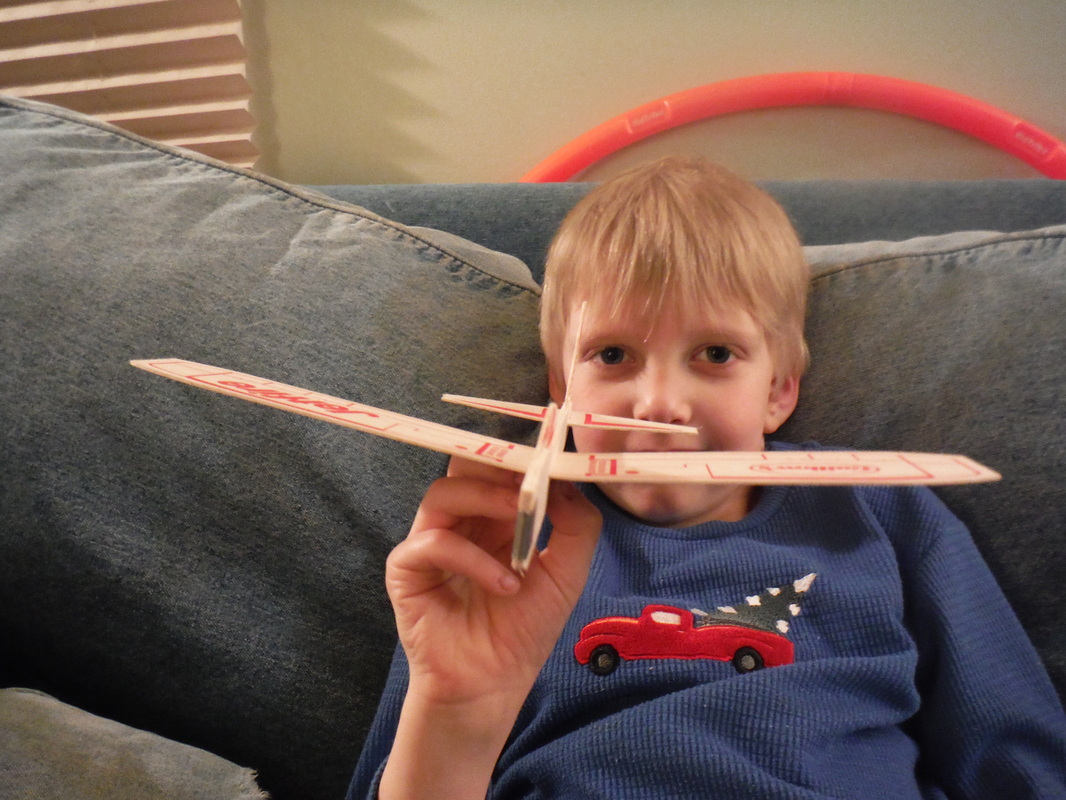
Our new Guillow's airplanes only took about 5 minutes to assemble and are very affordable with prices starting at $1.79. You can watch my son fly the Sky Raider in slow motion. Time to make some lasting family memories with Guillow's Toy Airplanes. For 88 years Guillow's has sparked wonder in childhood. Visit your local hobby store and ask for Guillow's Toy Airplanes. Enter to win a collection of Guillow's foam and balsa wood airplanes. Collection includes: Delta Dart ($3.99), Sky Raider ($6.99), Space Shuttle ($7.19), Eagle ($1.79), Jetfire ($2.09), Sky Streak ($3.09), Jetstream ($3.59). US only Disclosure: I received products for review. All opinions are honest and are my own.
Last summer we gave our oldest a fun backyard birthday party. He picked a Transformers theme and we had a lot of fun with it.
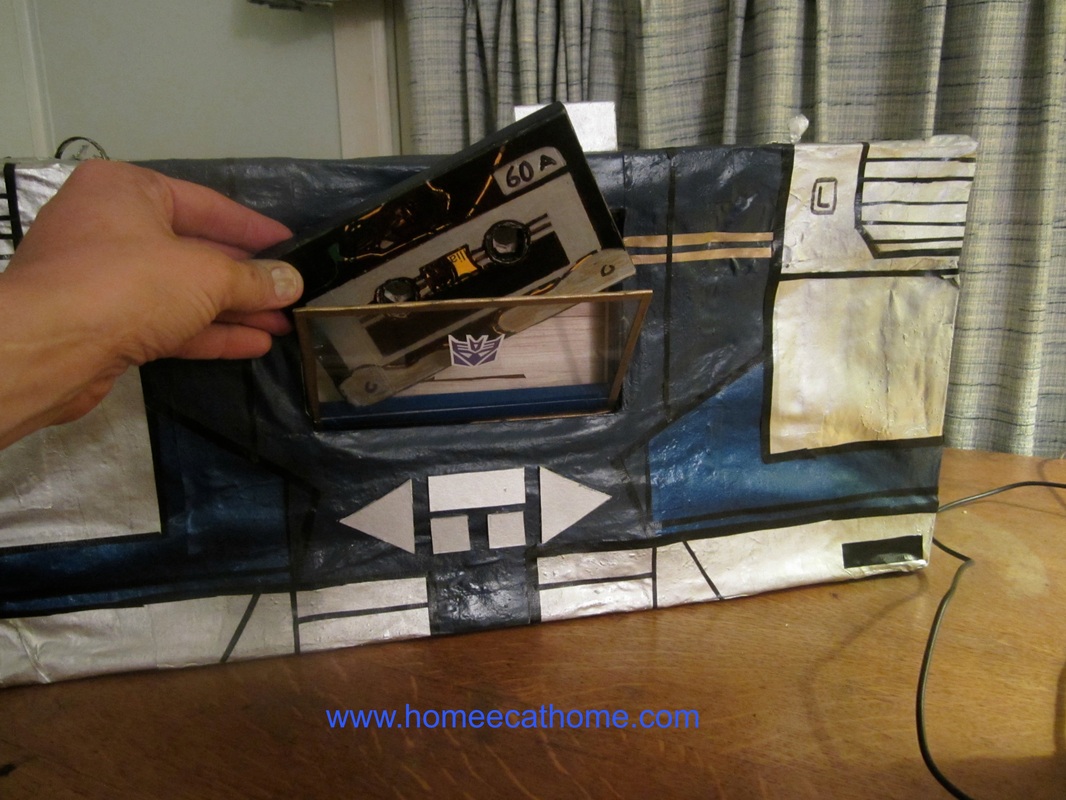
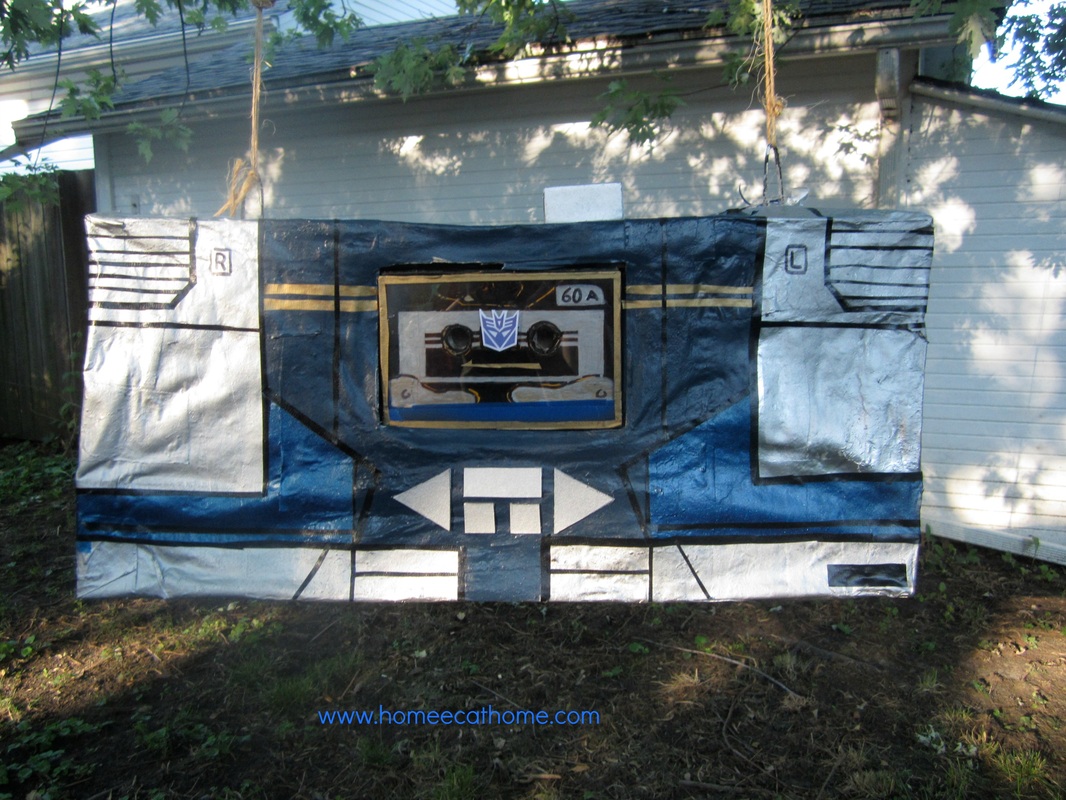
My husband has become quite the pinata maker. The year before, he made a Dr. Octopus pinata for a Spiderman themed birthday party and then he made this amazing Soundwave pinata for the Transformers birthday party. He used balsa wood to construct a frame and covered it in paper mache. He put so much detail into making this pinata. He even made a "cassette tape" and "tape deck" that opened. Finally, he painted the pinata to look like Soundwave. Well done, Honey!

Who's ready for some pinata action? I don't know much about Transformers, but apparently Soundwave is a Deceptacon which means that he is a bad guy so he is a perfect candidate for a pinata (since pinatas get beat up).
Dive in!
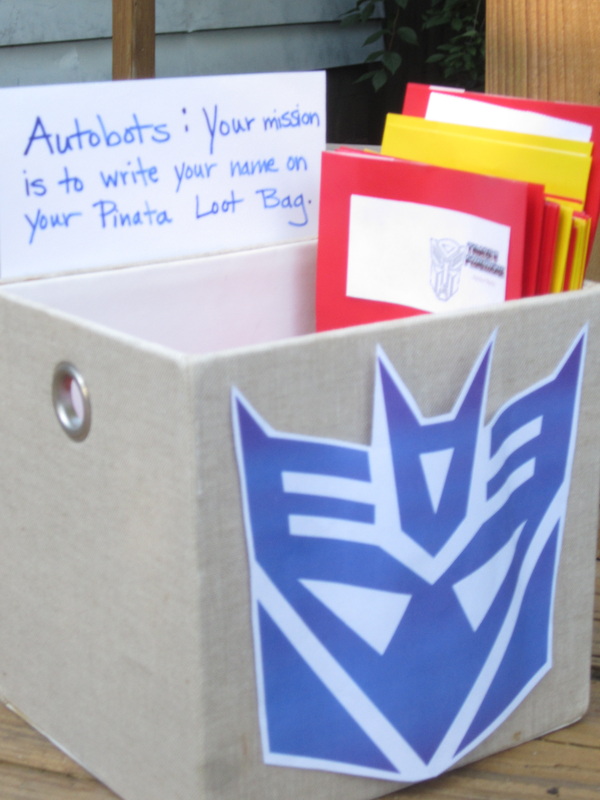
I was trying to be clever here, but I am not educated in the language arts of Transformers. Also, I didn't realize at the time that I put a Deceptacon (bad guy) image on the container. It was however, a nice way to distribute loot bags and make sure that names were on the bags. I bought solid color bags at Dollar Tree and glued on a transformer image that I found online. The bags were sold in 10 packs for $1.
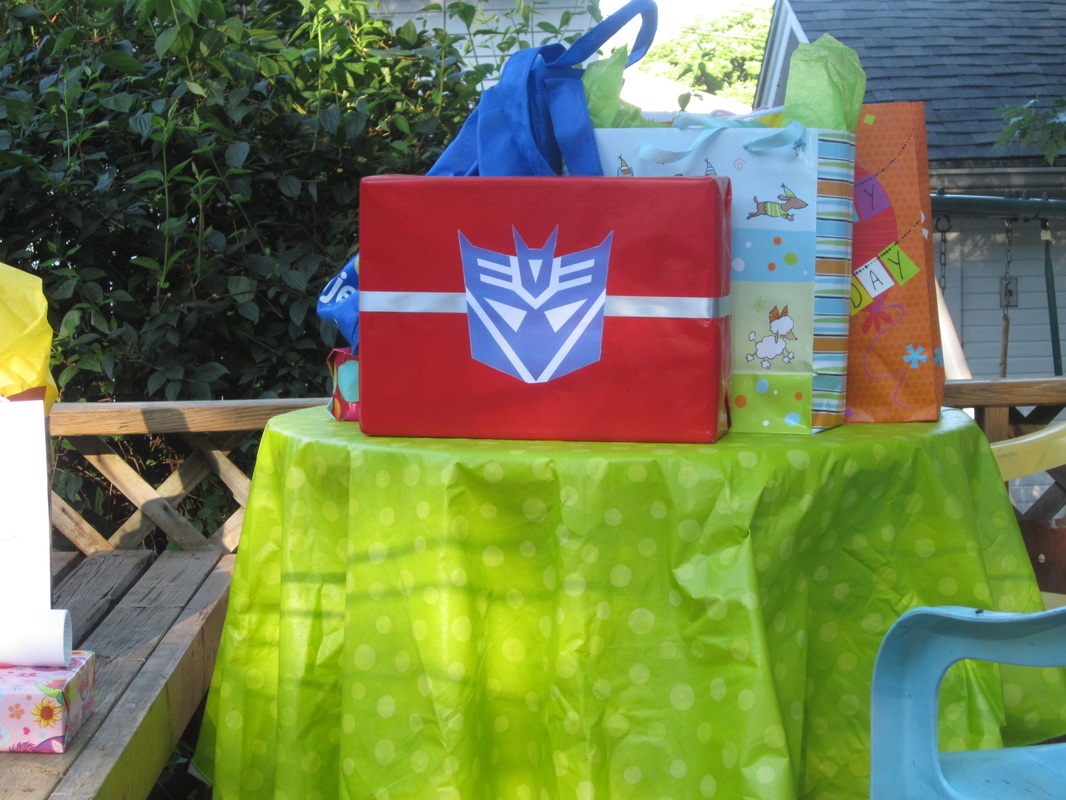
I was really proud of my Transformer wrapping job and then found out that I unknowingly glued a Deceptacon on the package instead of an Autobot. Oh well, the colors are really pretty together.
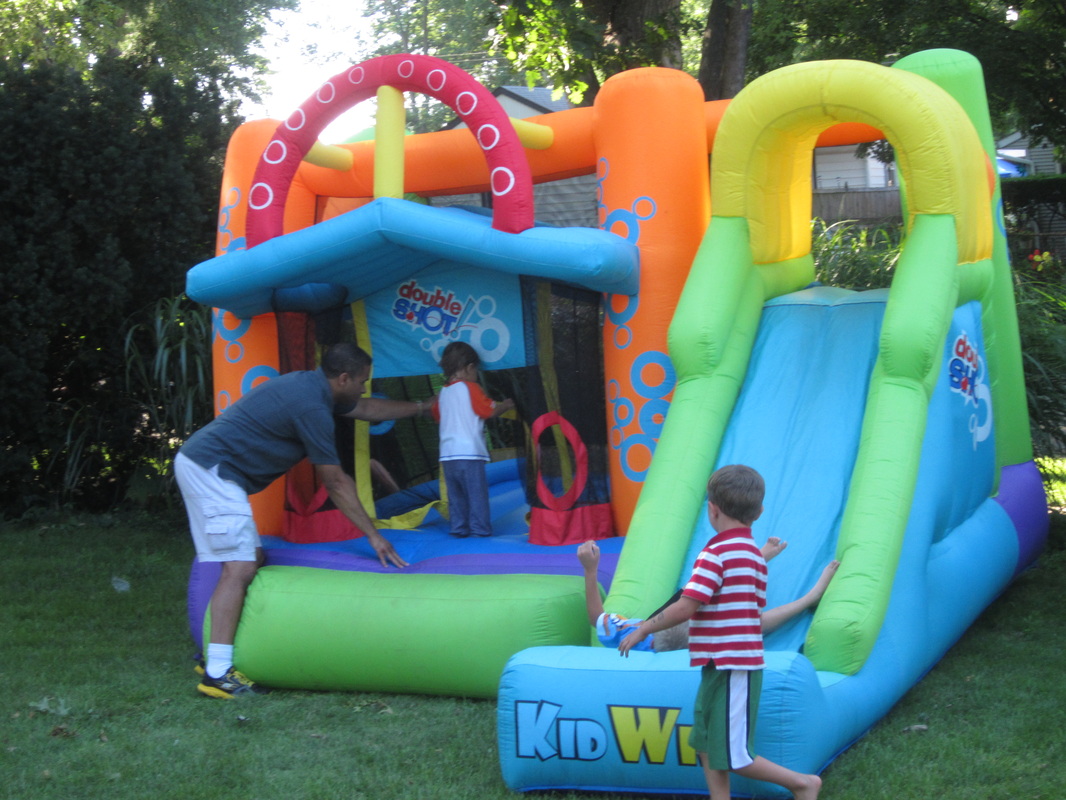
My cousin loaned us this awesome bounce house for the party. The kids loved it and played for hours.
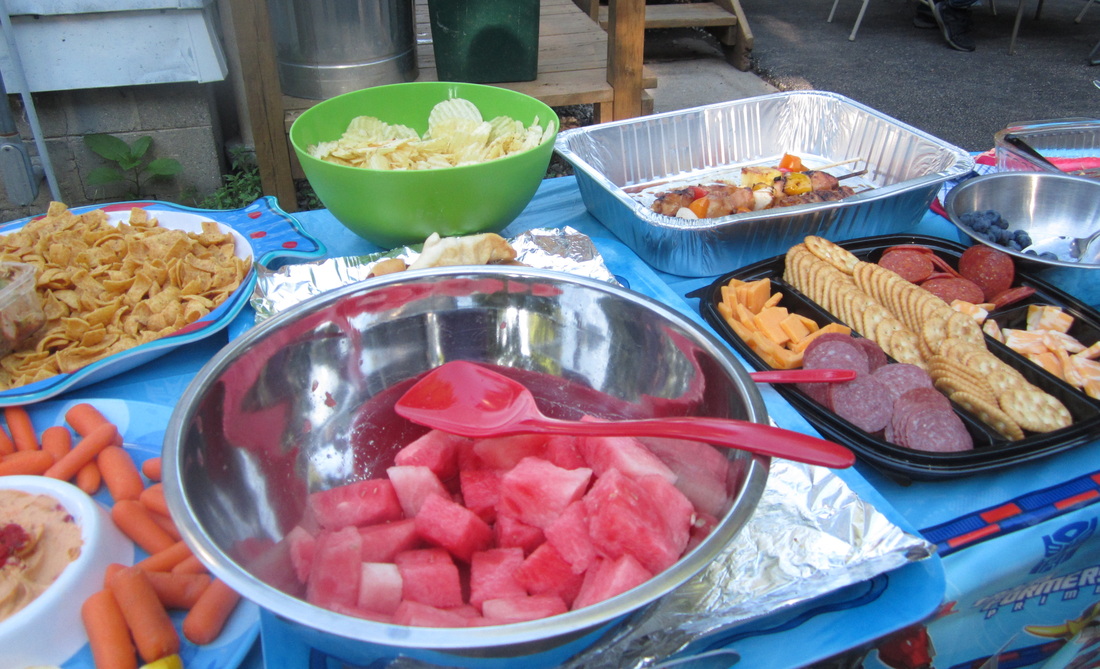
And lastly the menu... I don't have any fabulous food pictures to share. To simplify things, I combined a few homemade dishes with some easy store bought snacks. I used paper products form Oriental Trading Co. Another fun blog post if you haven't read it already. Oriental Trading Co. sent me some great Transformers products to review. They have a nice selection and my son was thrilled.
The menu: Chips and Dip Vegetables and Hummus Watermelon Blueberries Cheese and Cracker tray Honey Chicken Kabobs Pigs in a Blanket Hot Ham Sandwiches Corn and Black Bean Salad 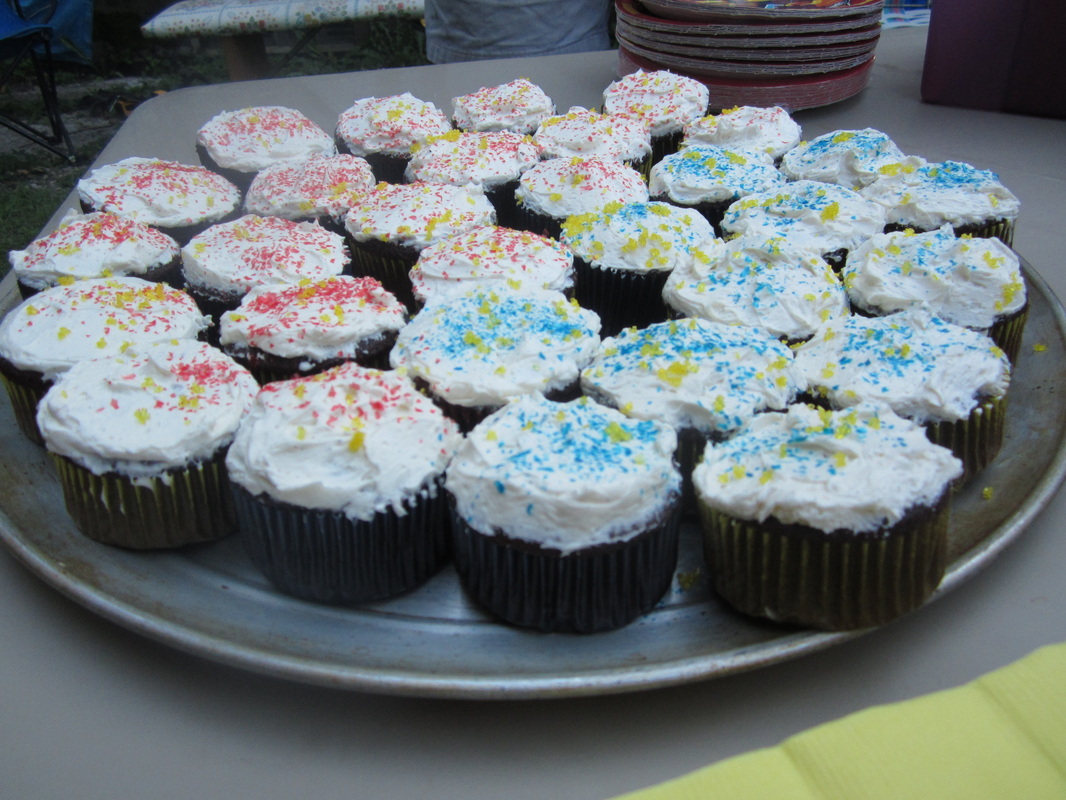
I went really easy with the cake for this party. I made chocolate cupcakes and frosted them with vanilla bean icing and sprinkles in the party theme colors. The link to the recipe is for a chocolate cake, so if you bake the recipe as cupcakes, bake for a lot less time. I think these took around 20 minutes.
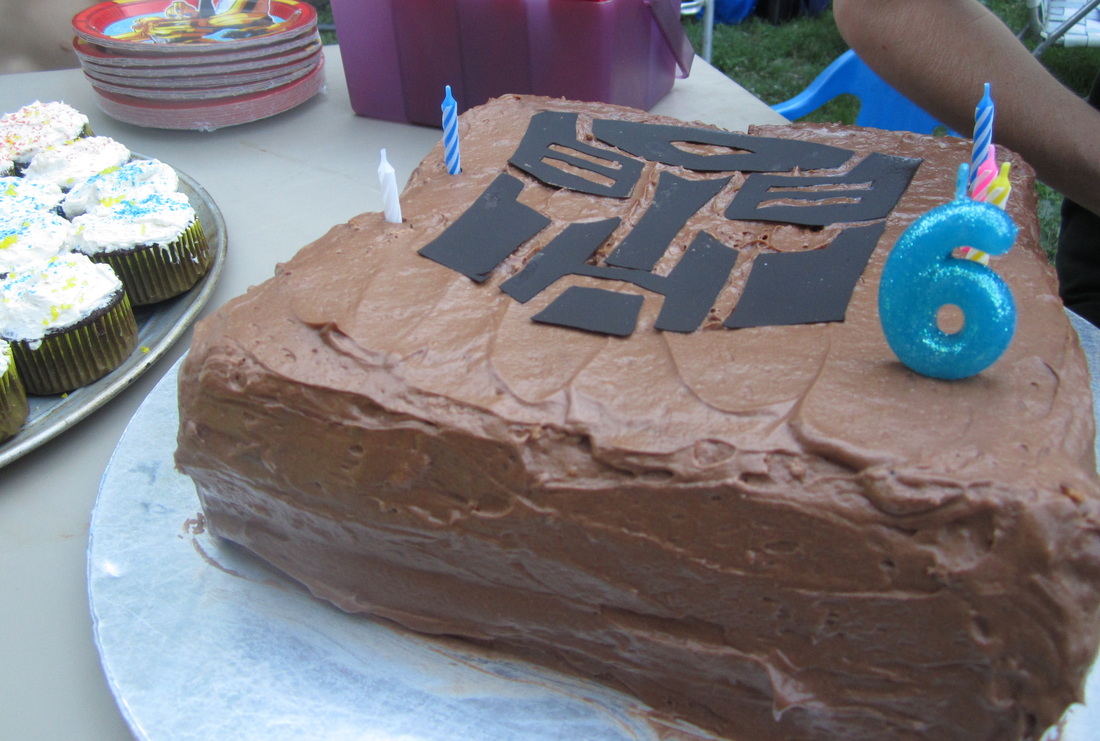
We also made an Angel Food cake in a 10" square pan. This is two Angel Food Cakes stacked together to get the desired height. My sister-in-law actually frosted this for me (It's nice having help on party day.) with chocolate frosting. I cut the autobot symbol out of a black sugar sheet I purchased at Walmart. I used a print-out as a stencil and cut the design out with an exacto knife on a cutting board.
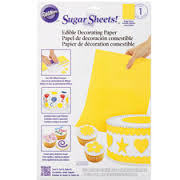
Sugar sheets come in this packaging and are usually sold one sheet to a package. I have seen them in craft stores, Walmart, and Meijer. They are versatile, edible, and come in handy when cake decorating.
Disclosure: I was not compensated for anything in this post. All opinions are honest and are my own.
Disclosure: The Crayola product, gift card, information, and additional gift pack have been provided by Crayola. However, any opinions are honest and are my own.
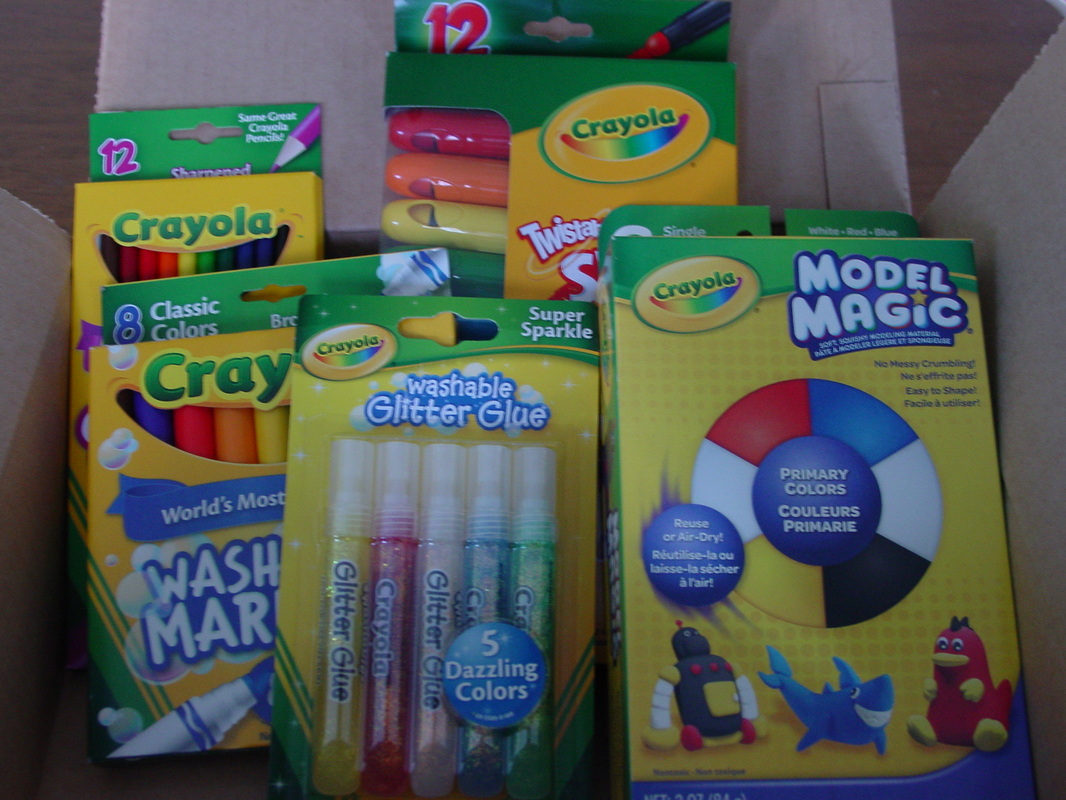
We received these Crayola products to make some Holiday crafts and have had such fun crafting as a family. My husband who is pretty artistic made some pretty cool decorations and the boys got really creative too. The boys made all kinds of things out of Model Magic this afternoon. There is quite a collection of small ornaments and creatures drying in the kitchen.
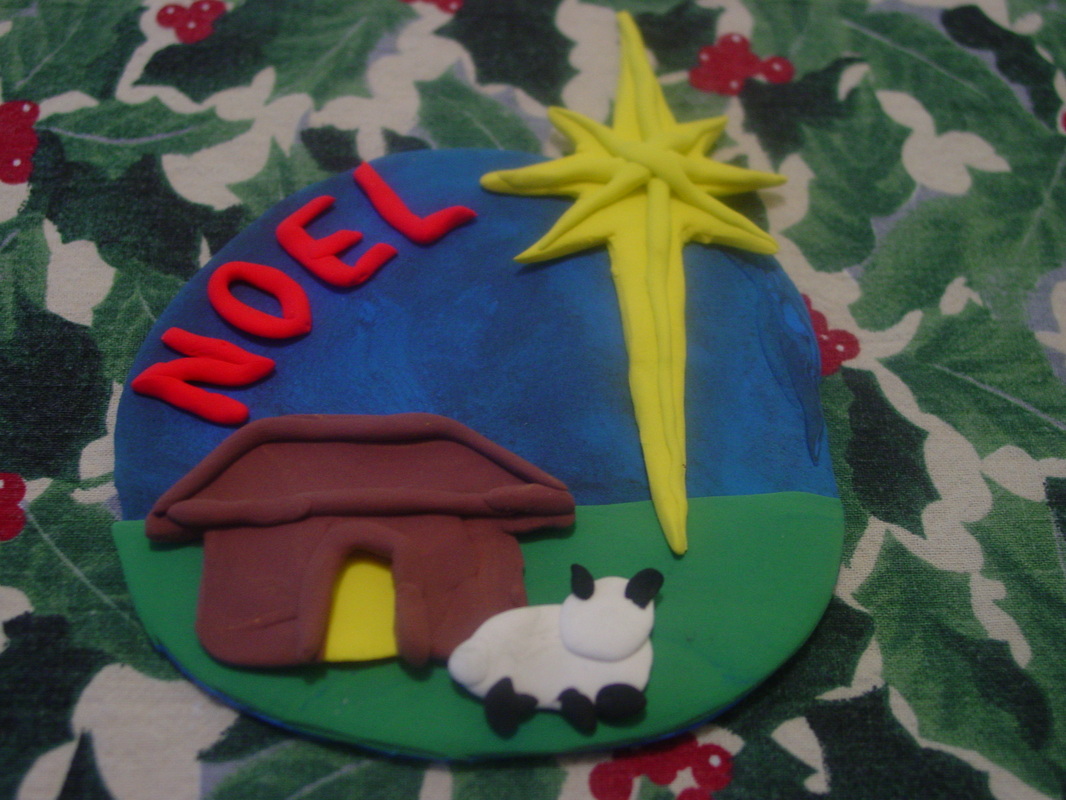
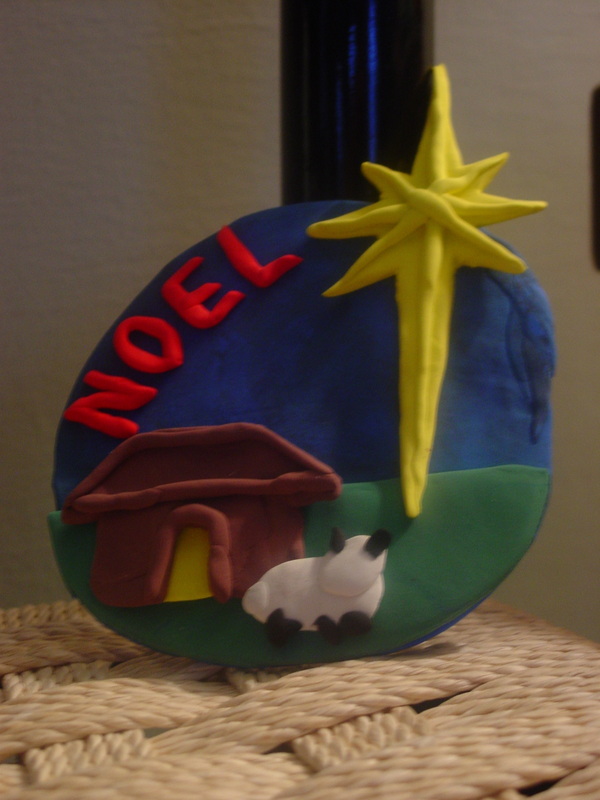
My husband made this Noel ornament last night with Model Magic. It is drying now, but will look lovely on the tree.
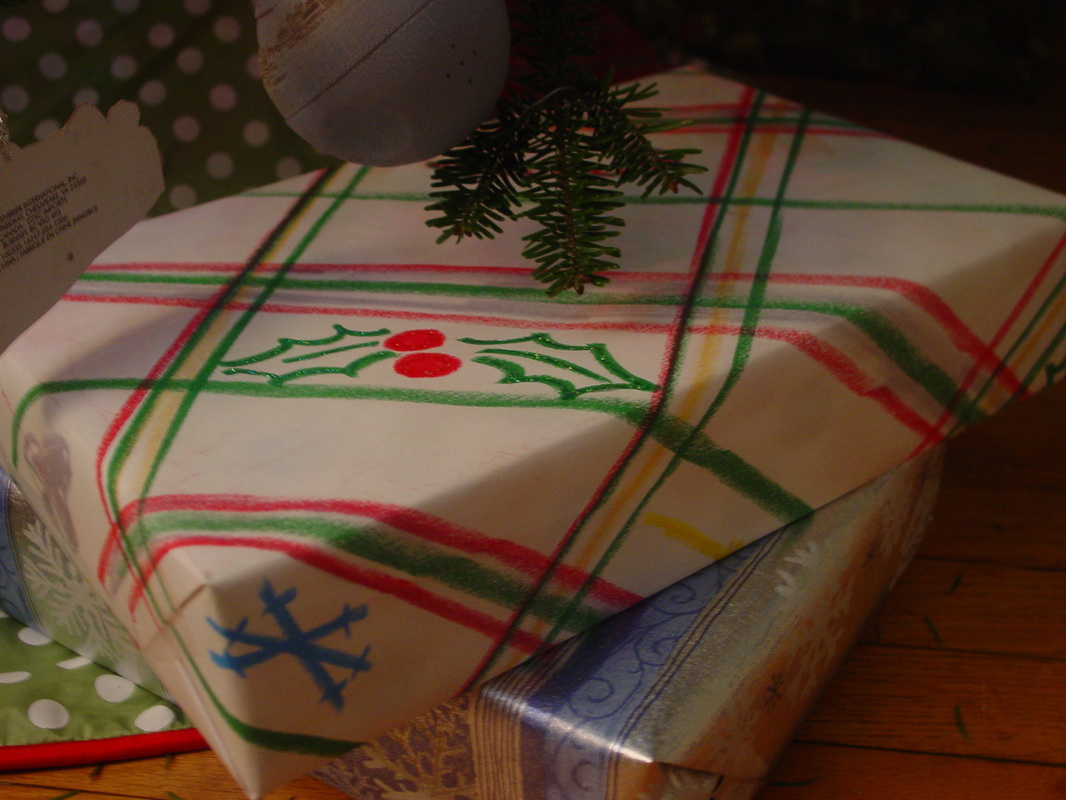
My very creative husband also made this charming homemade wrapping paper with Crayola Slick Sticks on poster paper.
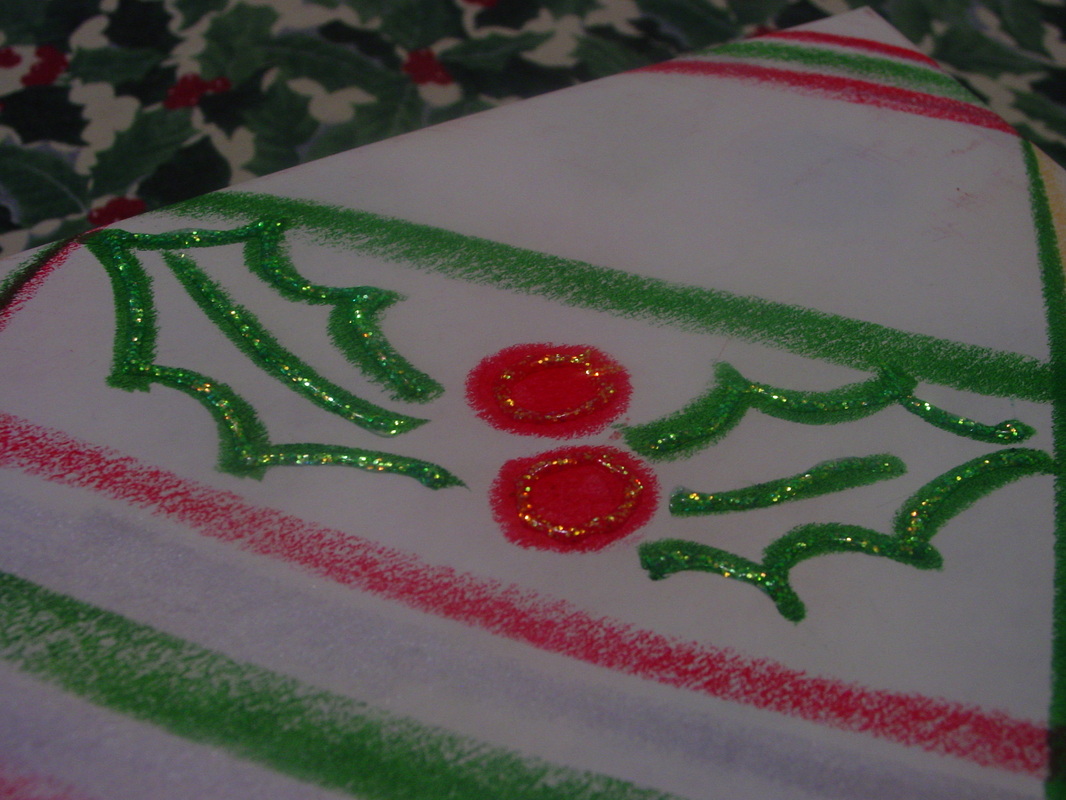
I added some Glitter Glue to some of the embellishments after wrapping this package. I love the subtle sparkle.
So have fun and get crafty this holiday. Enjoy crafting together as a family. Check out the Crayola Holiday Crafts Pinterest Board for more ideas.
Disclosure: The Crayola product, gift card, information, and additional gift pack have been provided by Crayola. However, any opinions are honest and are my own.
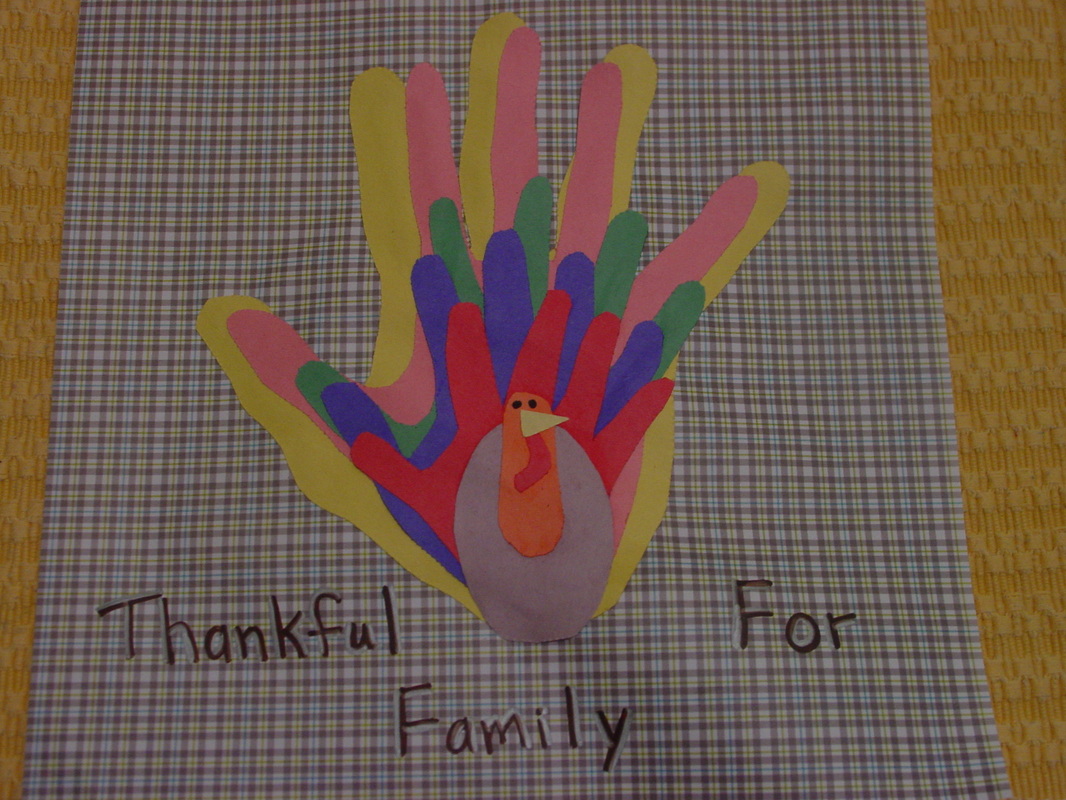
We made these family hand turkey crafts at my Catholic Moms group last week and I thought they were so cute I had to share. This is a really easy craft that you can make as a family. Just cut out everyone's handprints on different colored construction paper and layer the handprints to look like the turkey's feathers. Cut out the turkey's body, head, beak, waddle, and draw on the eyes. We mounted them on 12 X 12 scrapbook paper with Elmer's glue, but you could use whatever you have on hand. Thanks for sharing this fun and festive craft Joslyn.

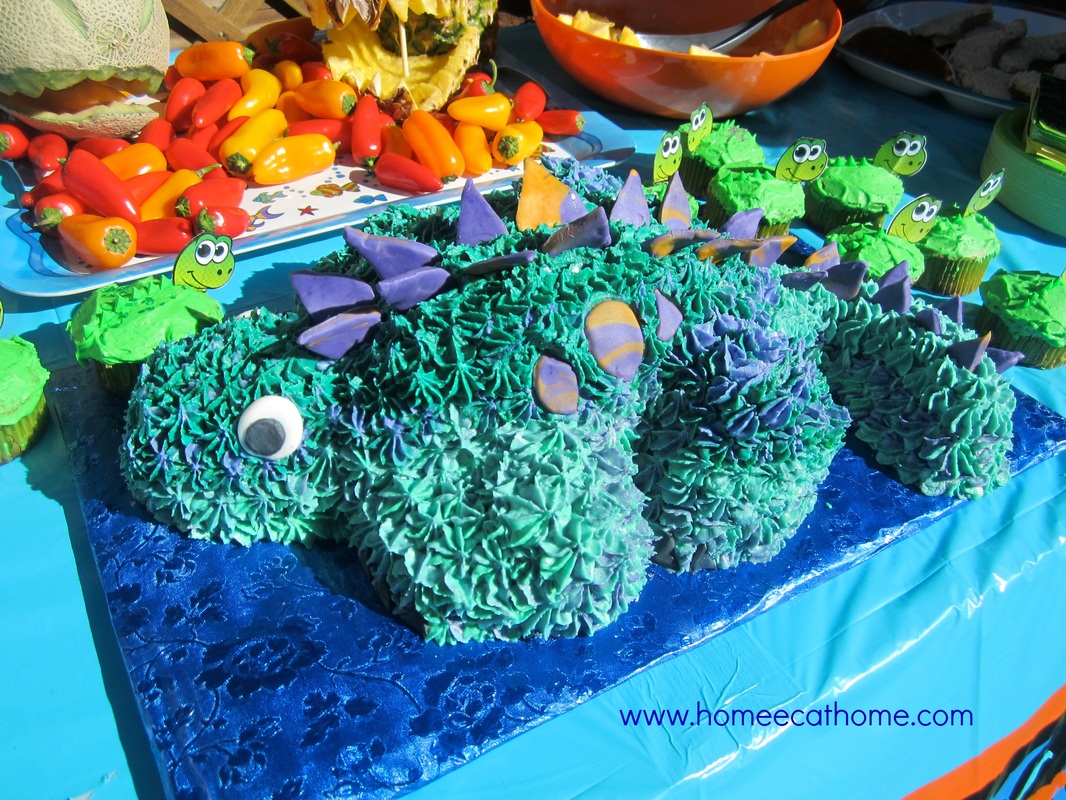
We gave our four year old a dinosaur birthday party this year. To make it extra special, I made a 3-D dinosaur birthday cake. To make sure I had enough cake (we invited my son's entire preschool class), I also made the green dinosaur cupcakes. They were super easy because I found a dinosaur cupcake kit at Meijer. (Thank you Mom for staying up late with me and putting dinosaur heads and spikes on the cupcakes.)
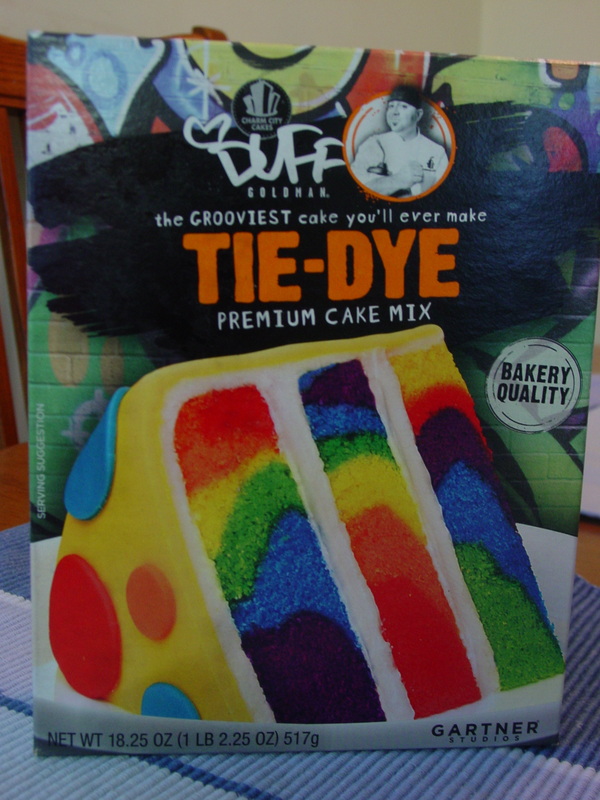
We were in Target a couple of days before the party and I had not decided on a cake recipe yet, when I saw these fantastic cake mixes from Duff Goldman of Charm City Cakes. I decided a cake mix sounded great at this point and let my son pick out his favorite. He chose this really cool tie-dye cake. I didn't realize at the time that I needed two boxes of this cake mix to make two 9 inch cakes that would be thick enough to create a 3-D dinosaur. I baked two very skinny cakes and went back to the store and bought 2 cake mixes. I then used one cake mix for each 9 inch cake pan. This cake mix worked well for the cake, just make sure and use 2 boxes.
My husband found the instructions for making a 3-D dinosaur cake years ago and printed them out and we still had them 5 years later. 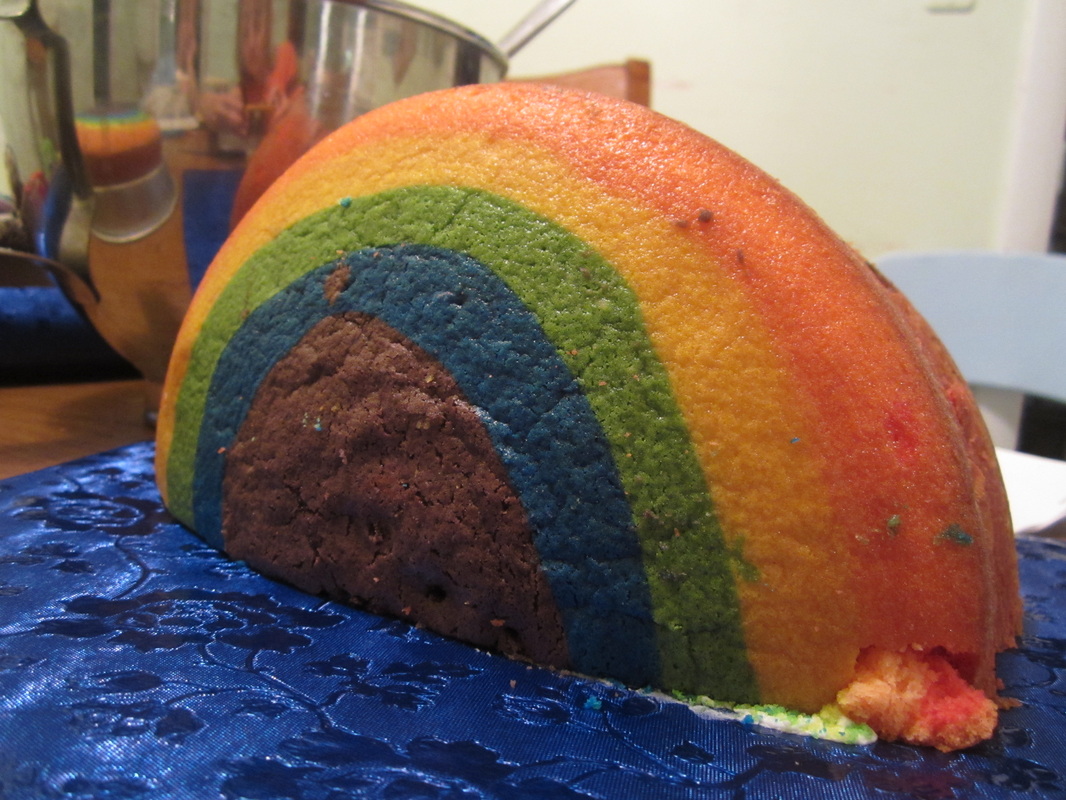
I love the way the tie-dye looks. You start with a body, by cutting one 9 inch cake in half and putting the flat sides together. Spread a little icing in between to help hold it together and put some icing on your cake board to help it stay in place.

Make a template following the instructions for making a 3-D dinosaur cake. I used the bottom of my cake pan as a stencil and cut out a 9-inch circle of wax paper, then penciled in the cutting lines from the guide online. I then cut out the wax paper pieces and placed them on the cake. I very carefully cut the pieces and assembled them into a dinosaur shaped cake.
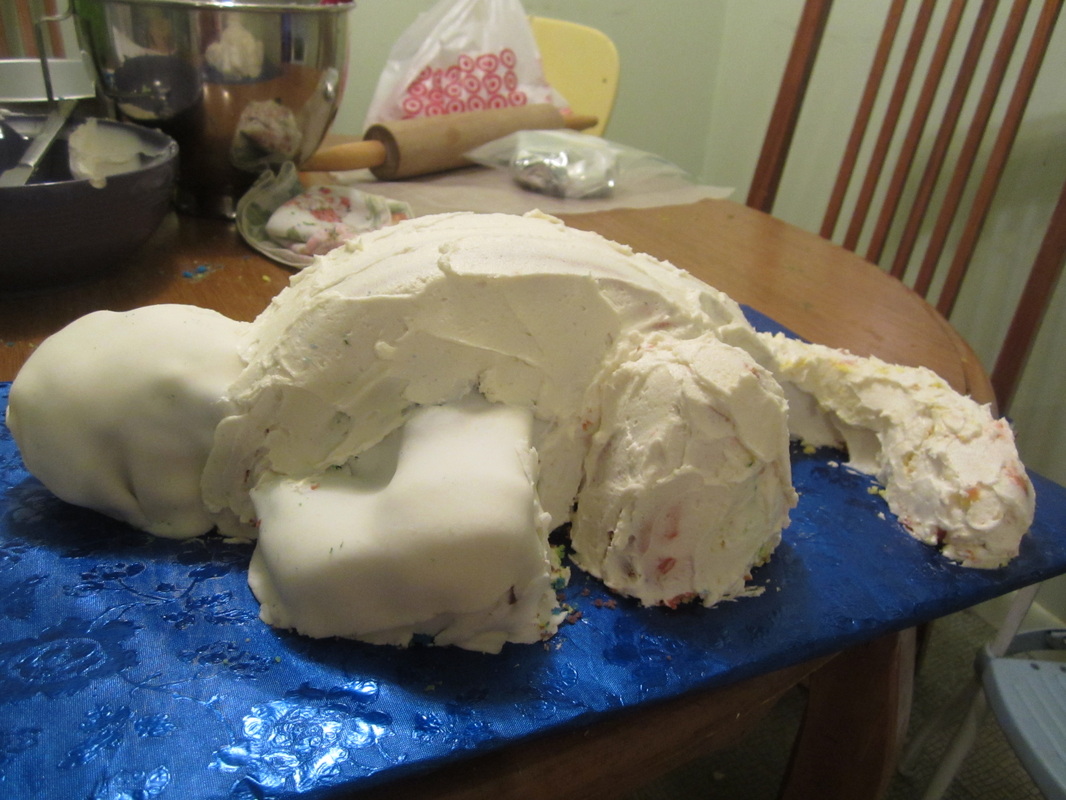
The head/neck and front legs were the hardest parts to assemble. I found them difficult to hold in place even with toothpicks so I covered the whole cake in a crumb coat of buttercream frosting and covered the difficult areas with a layer of fondant to help keep them in place.
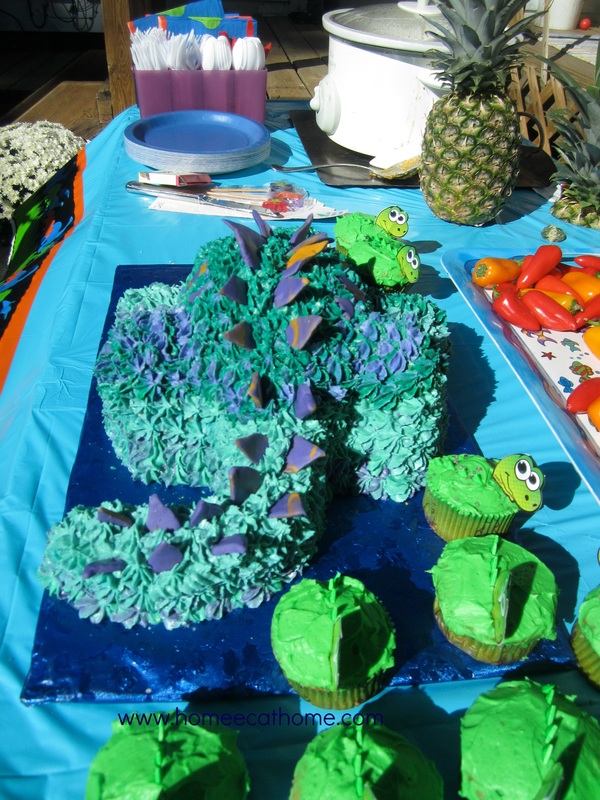
I used a large star tip to cover the cake with green and purple icing. I mixed purple and green icing in my icing decorator to get a nice mottled look. My favorite decorating tool is a pampered chef icing decorator that I have used for years. It has large tips and is great for cupcakes and less detailed work like this. I ran out of green before finishing the cake and when I made a second batch my green came out much darker, but I decided that was ok because it gave some variation in the color.
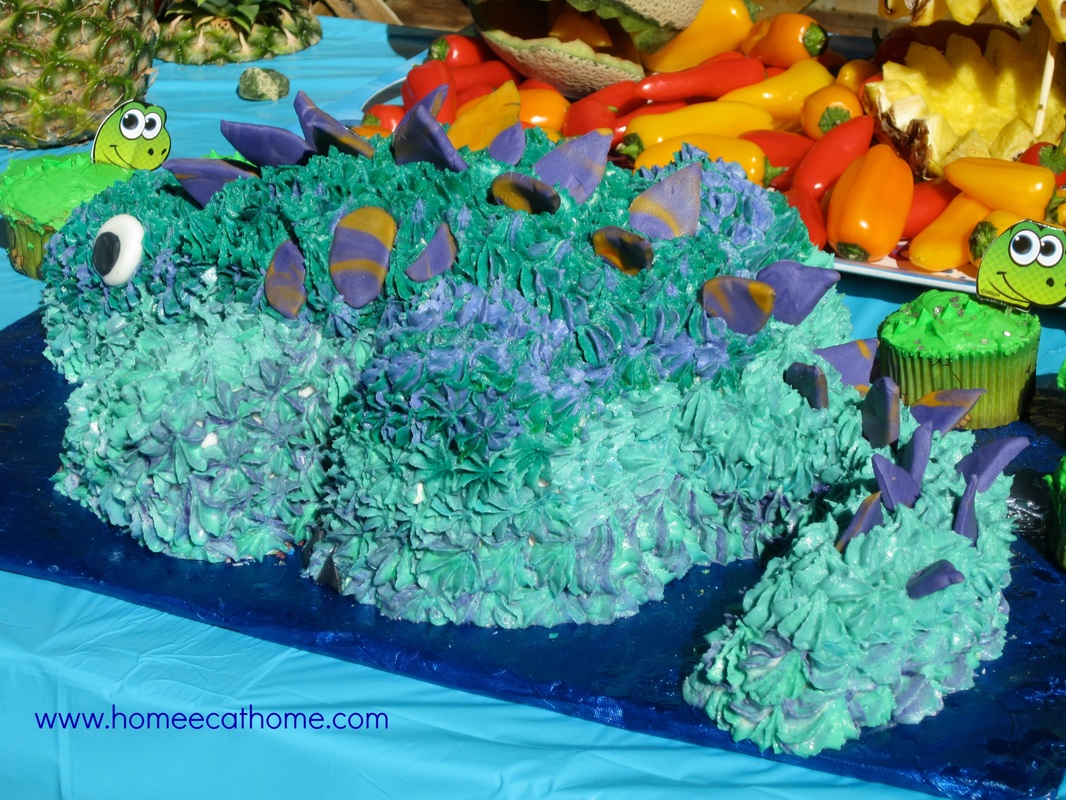
I colored some fondant gold and purple and cut out simple triangles for the spikes and random shapes for spots. The eyes are also cut from fondant. I did not leave my fondant pieces out to dry, I just put them directly on the icing while it was still moist and they held in place nicely.
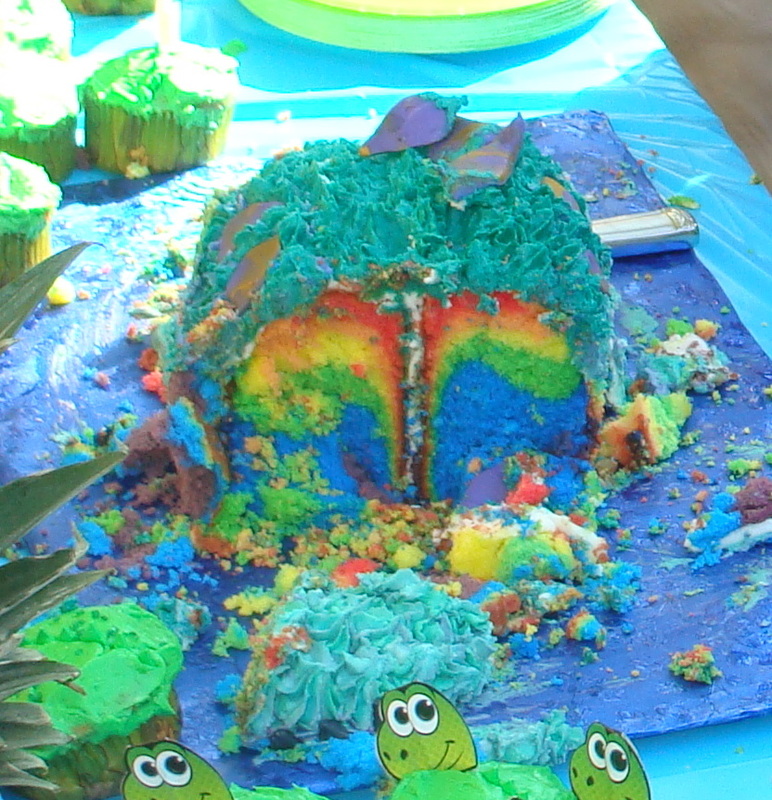
How cool is this? The tie-dye cake was most impressive. So fun for a kids party.
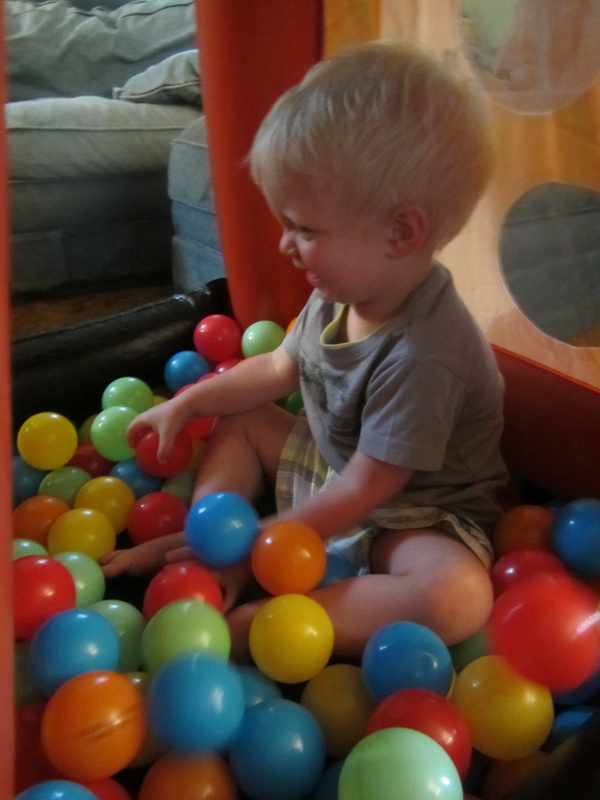
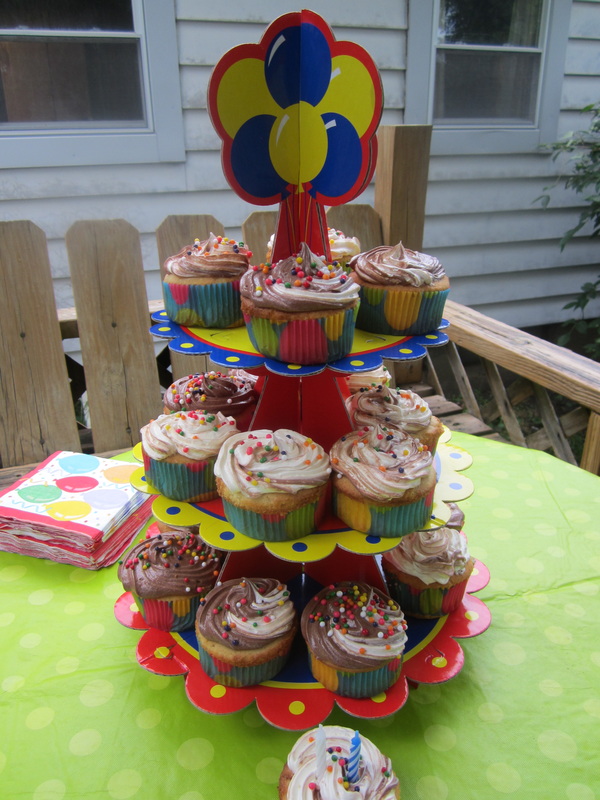
My son like most two year olds loves to play with balls so we threw him a ball birthday party for his second birthday. We kept it really simple by keeping the guest list small. We didn't do a pinata or any party favors.
I did find this blow-up ball pit with multi-colored balls in a second hand children's store and my 6 year old said we had to buy it for the party. It was a hit. Unfortunately, the ball pit did not survive the wild party boys (it sprung a leak), but the balls have provided hours of fun on their own. 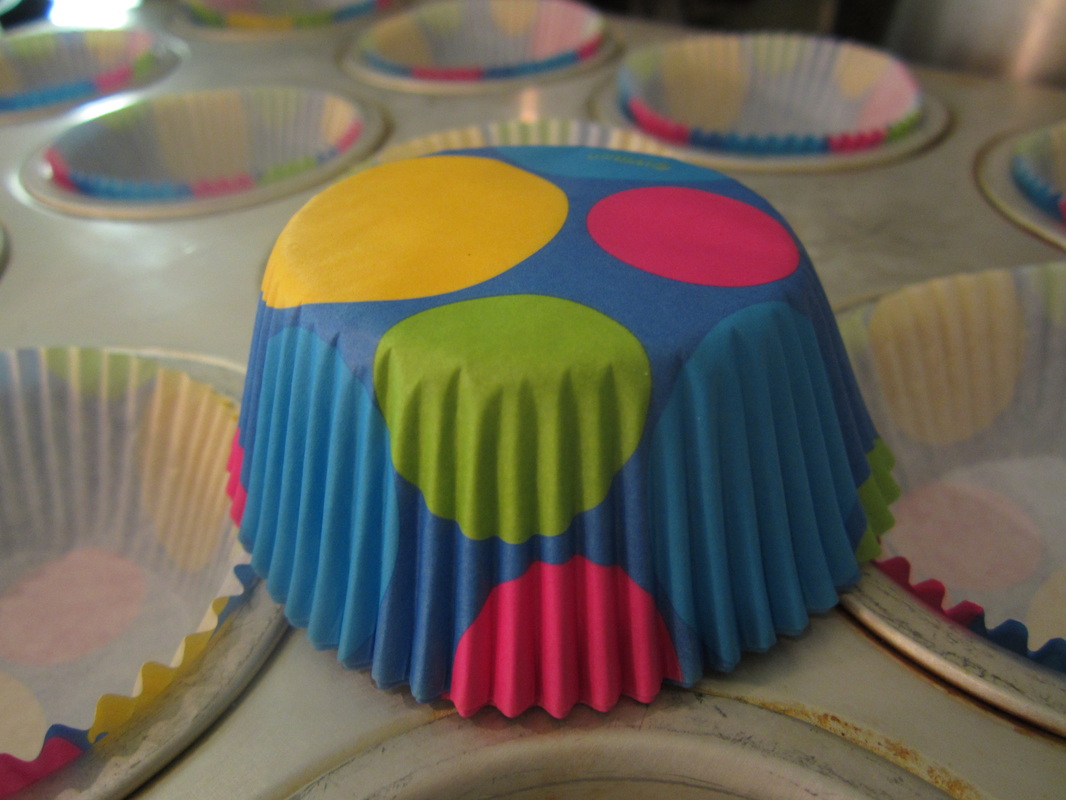
I found these adorable cupcake liners at Meijer and thought they were perfect for a ball themed party.
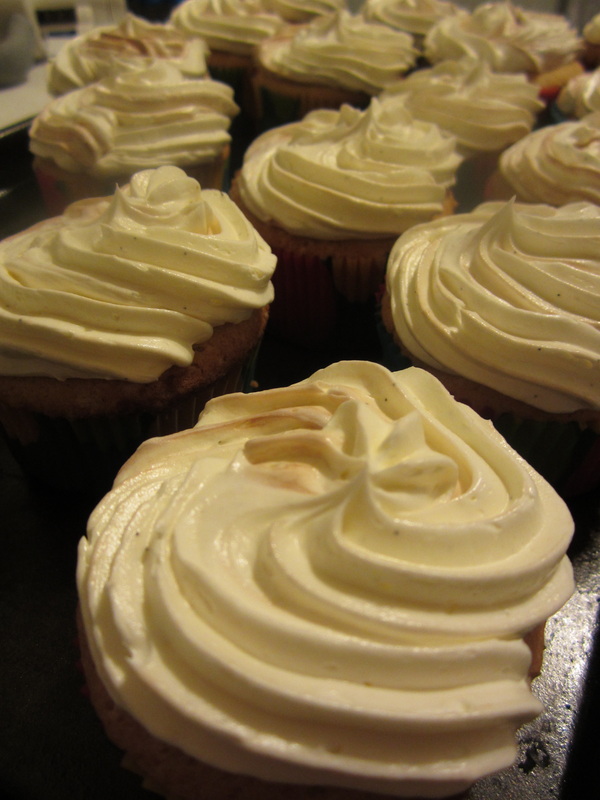
I made these vanilla cupcakes with chocolate buttercream and frosted some of them with vanilla bean icing.

I swirled some of them with chocolate and vanilla icing. I loved both icing recipes and would make them again. I found the cupcake recipe good, but a bit challenging.
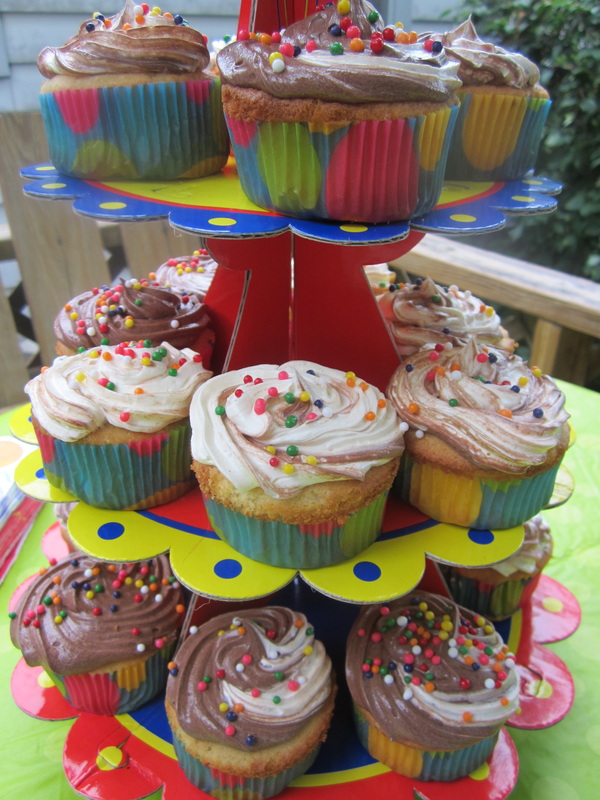
I used these large ball sprinkles (also from Meijer) to coordinate with the party theme.
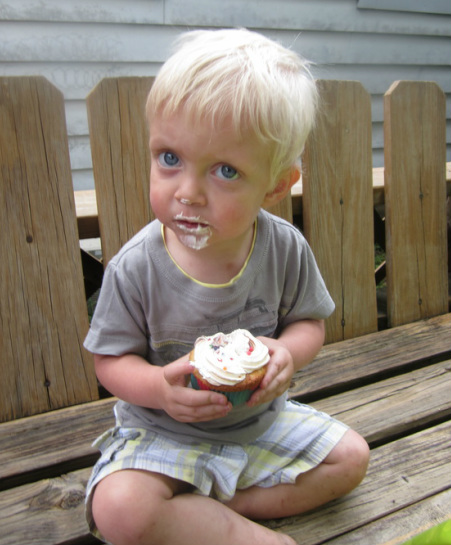
This boy is serious about his icing.
I tried to keep the menu both manageable and delicious.
The Party Menu: Guacamole and Homemade Tortilla Chips Pulled Pork and Cole Slaw Hot dogs Black Bean and Corn Salad Fresh Berries Cheese Balls (our only ball themed food) Cupcakes and Homemade Ice Cream Pop, Water, Juice
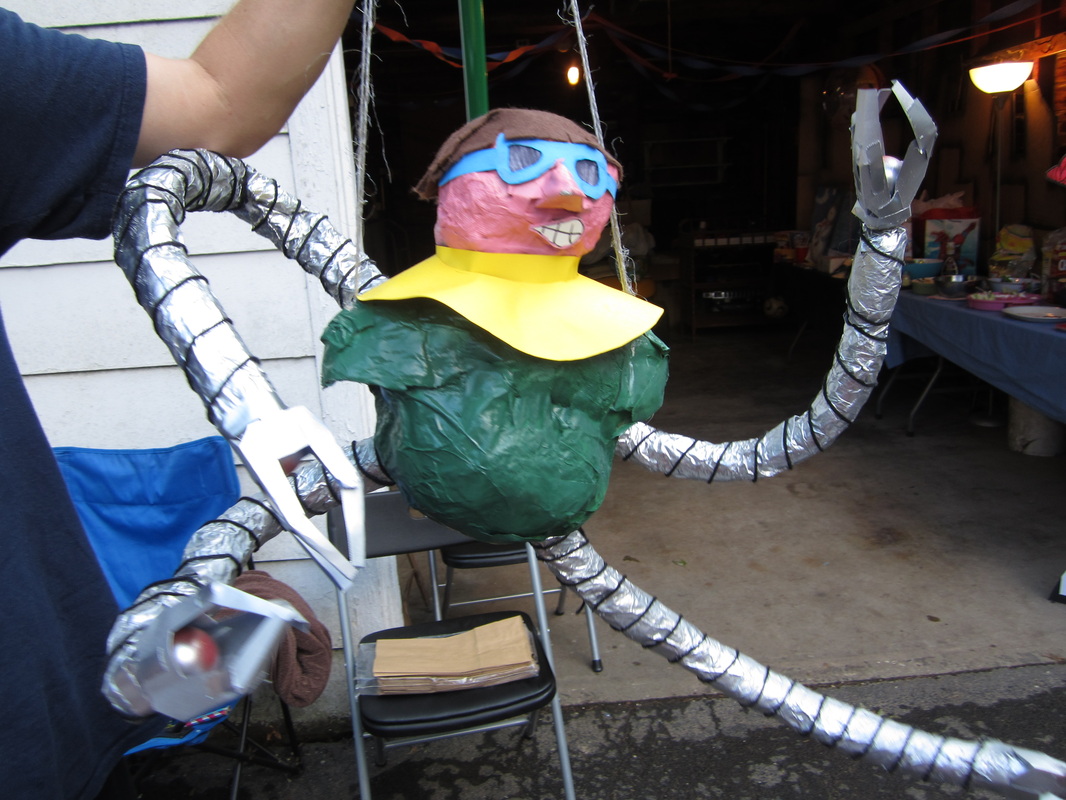
Last summer my husband made this amazing Dr. Octopus pinata for our son's Spiderman birthday party. He used balloons and homemade paper mache. He used long thin balloons to make the tentacals and then covered them in paper mache. He used round balloons for the head and body and did the same. Once he had all of the parts, he connected them and painted and decorated the pinata to look like Dr. Octopus. 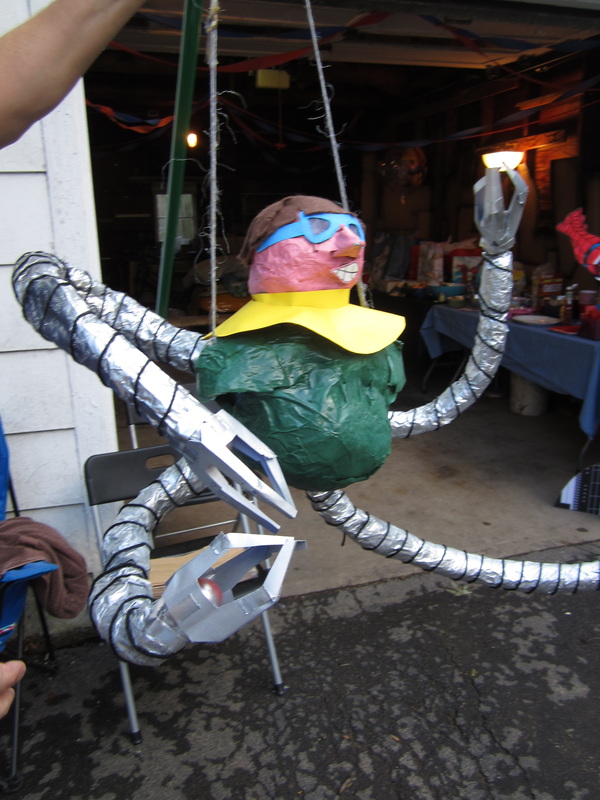
This pinata was the hit of the party. 
Dr. Octopus was a very strong pinata. It took a while to break him, but our little Spiderman fans prevailed and reaped the rewards of their hard work. 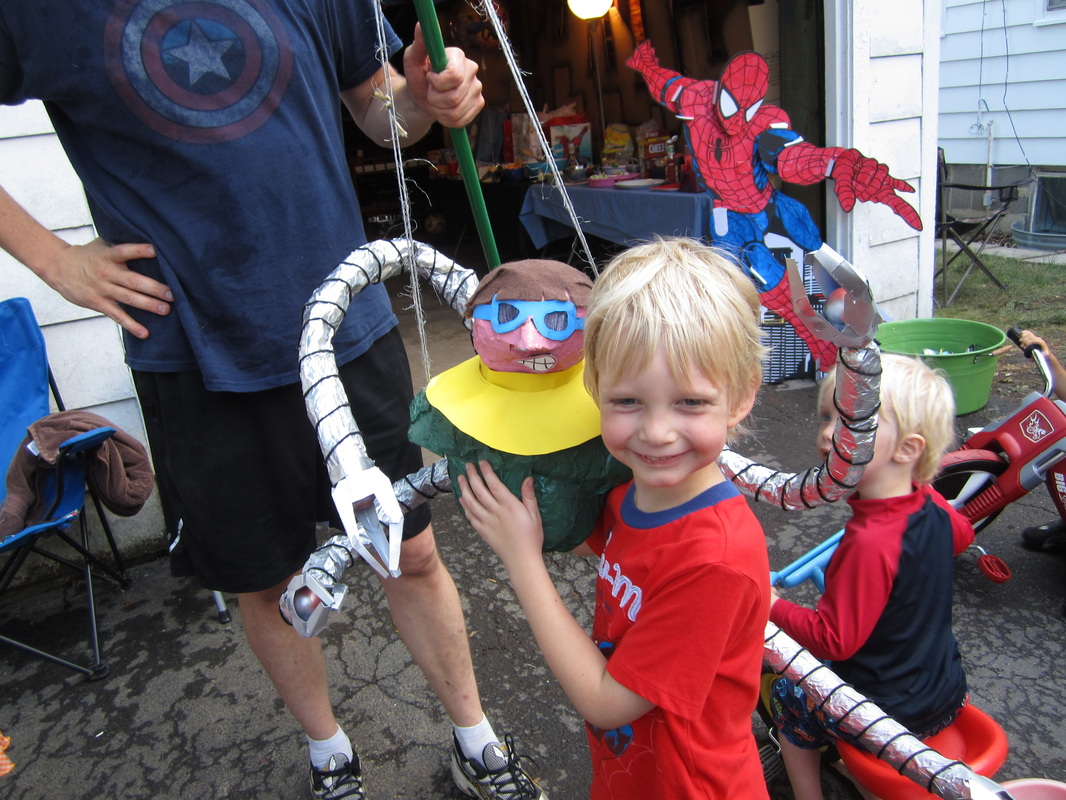
A very happy birthday boy with his Dr. Octopus pinata.
|

Welcome to Home Ec @ HomeHi, I'm Faith, a former Family and Consumer Science teacher turned food blogger. I love God, my family, and food. You can usually find me in the kitchen preparing family friendly, homemade recipes and taking lots of pictures. 
Still Goldens, Southern, IL
 Fan Favorites

The Best Dry Brined Turkey with Citris and Fresh Herbs

 Dehydrating Pears and Apples in the Instant Pot Duo Crisp Dehydrating Pears and Apples in the Instant Pot Duo Crisp
 
 |


 RSS Feed