
We love these hot ham sandwiches. They are easy to prepare ahead of time and just pop them in the oven when ready. You can make a half recipe in a square baking pan or a full recipe in a 9 X 13 pan. I made six half size pans of these rolls at our last freezer cooking party and my friends loved having a pan to take home. You can make ahead and freeze them. Just thaw in the fridge before baking.
I first tried these when visiting with relatives and had to have the recipe. Thanks for sharing Glenda. This recipe makes a 13 X 9 pan of small sandwiches so I usually save it for entertaining (It makes too much for us) or make a half recipe. I buy ham in bulk and freeze it to save money and I love the convenience of always having ham in the freezer when I need it for a recipe. This is easy to take to potlucks and kids love them too so it works well for play-dates and birthday parties. 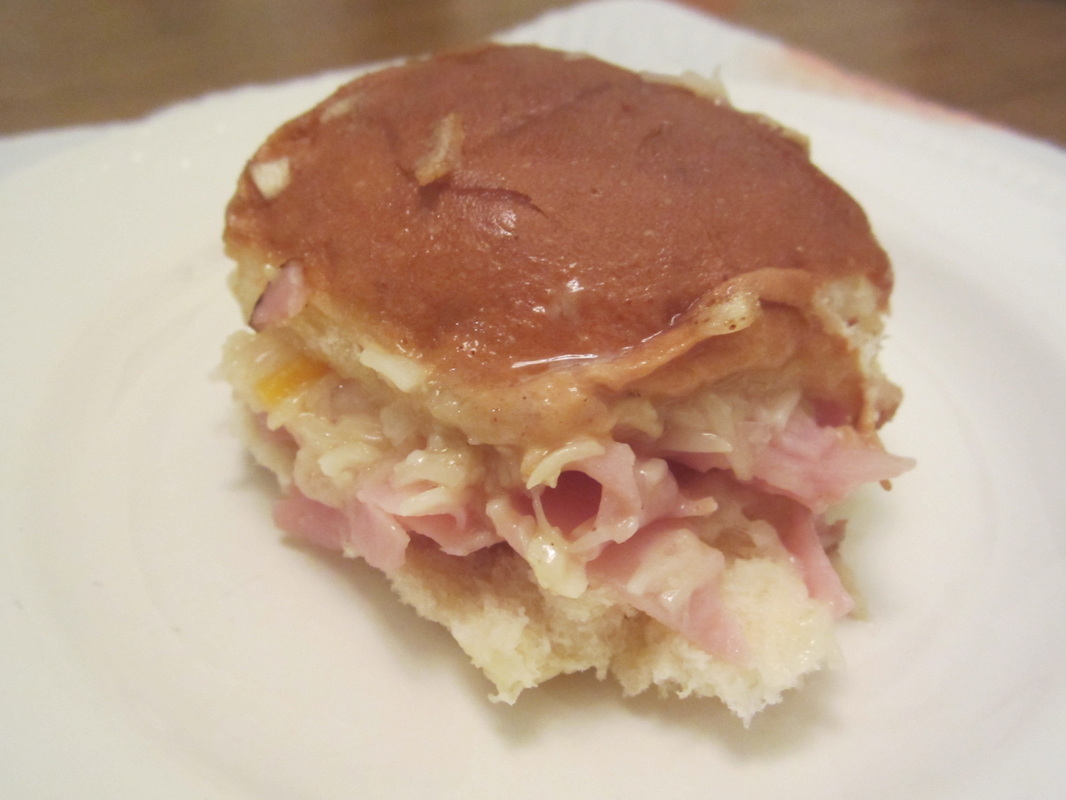
Ingredients:
2 pkg. Hawaiian Rolls 1 lb. Sliced ham 1/2 to 1 lb. provolone cheese (I just use an 8 oz. package) 1 1/2 sticks butter, melted 1 1/2 tsp. dijon mustard 1 1/2 tsp. Worcestershire sauce 1 Tbsp. fresh minced onion 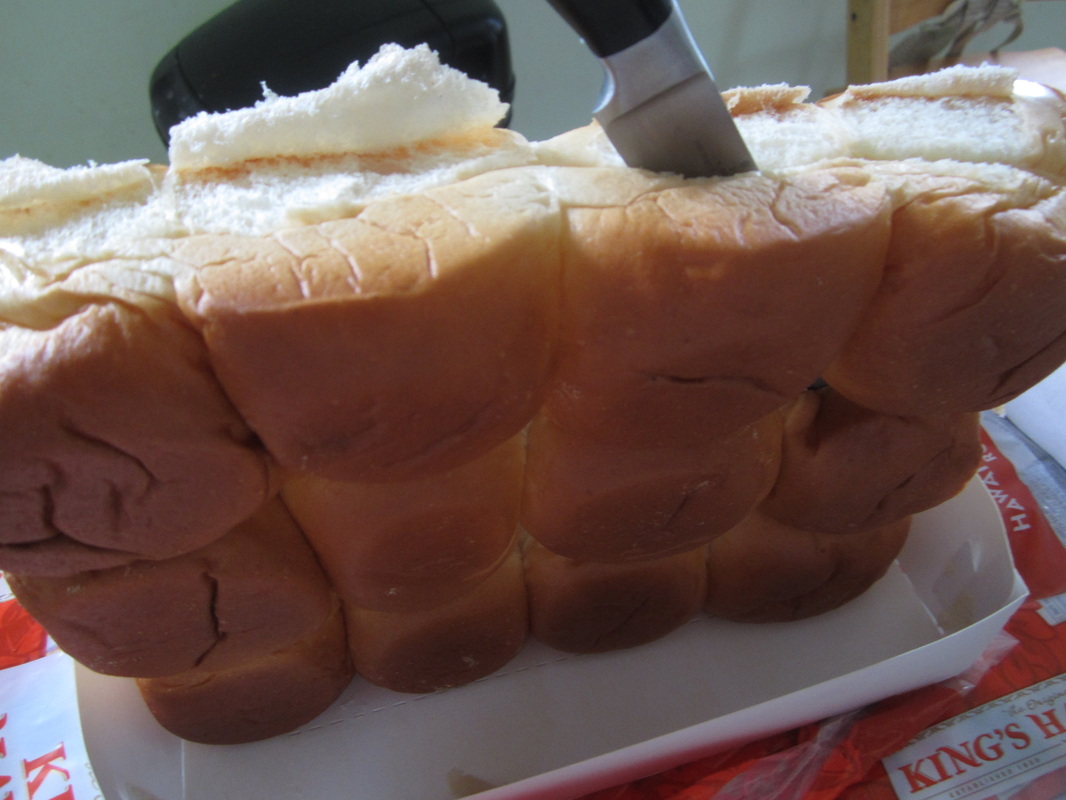
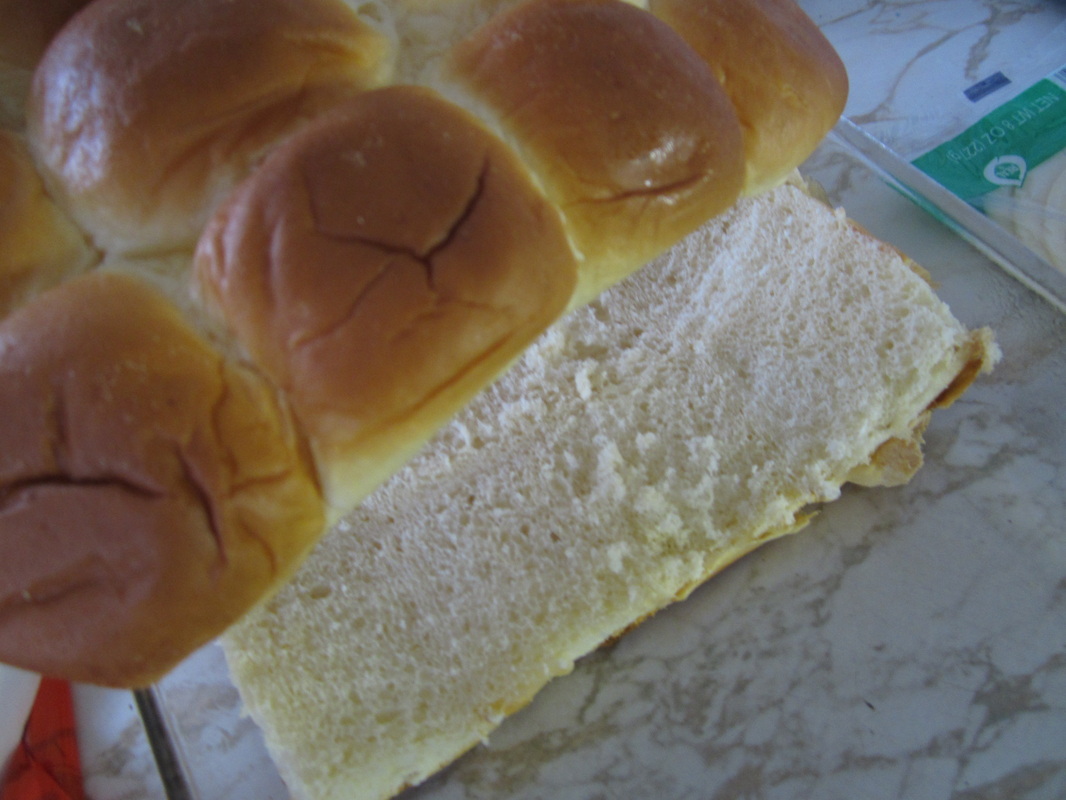
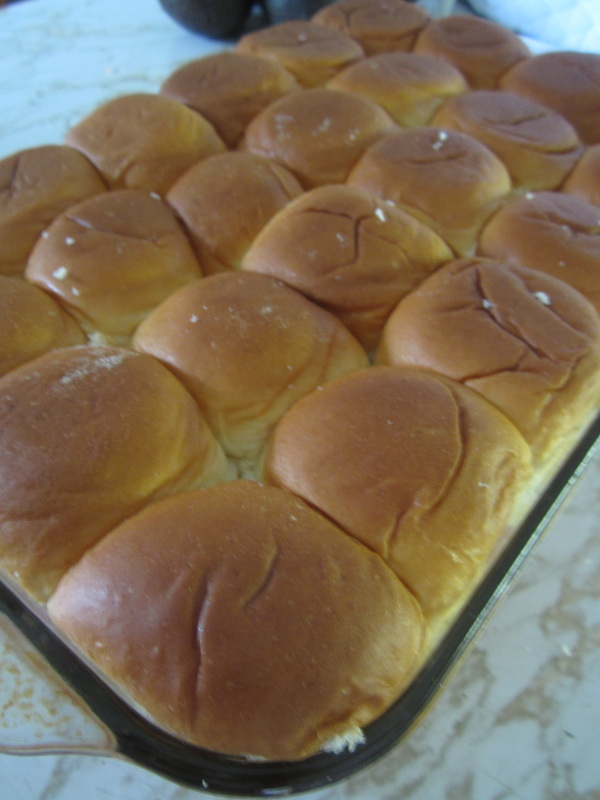
Slice each pkg. of Hawaiian rolls in half so that you have a big top sheet and bottom sheet of rolls.
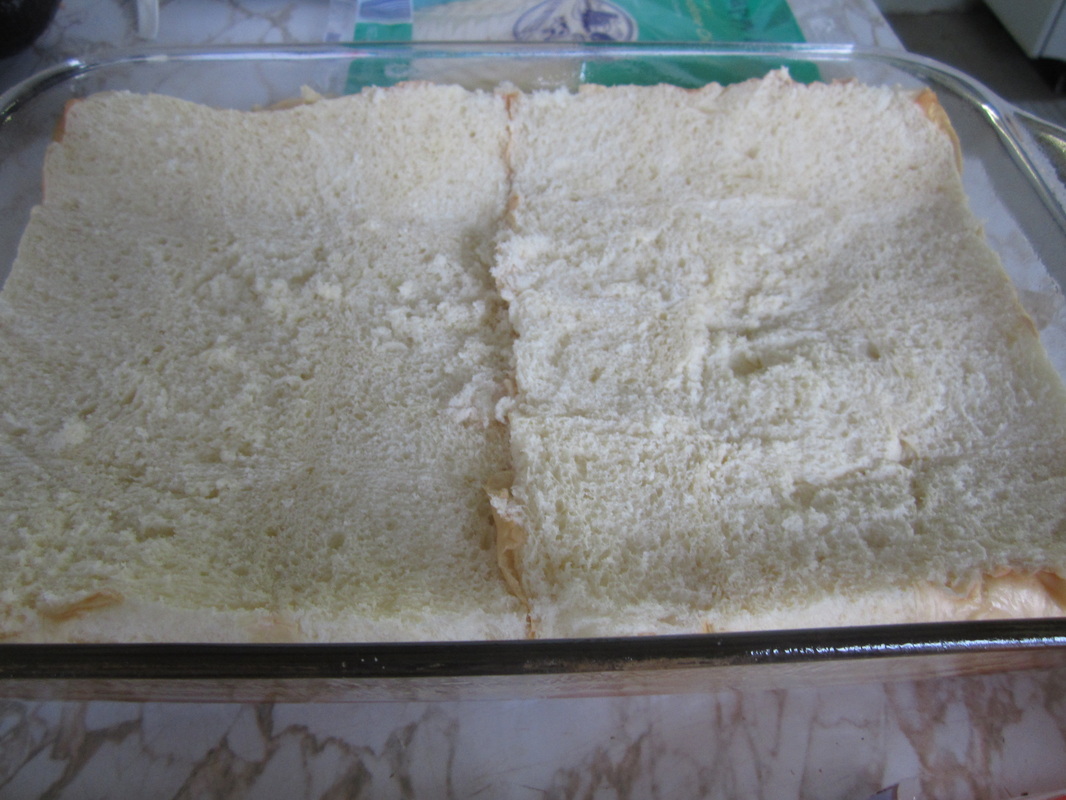
Spray a 9 X 13 pan with nonstick cooking spray. Put the bottom layer of rolls in the pan.
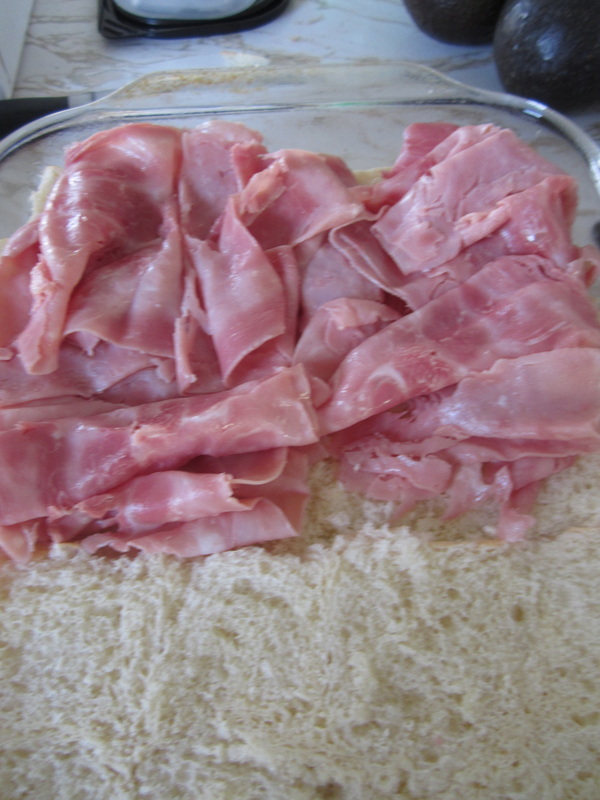
Layer the ham on top of the rolls. I sometimes chop the ham to make the finished ham sandwiches easier to cut apart.
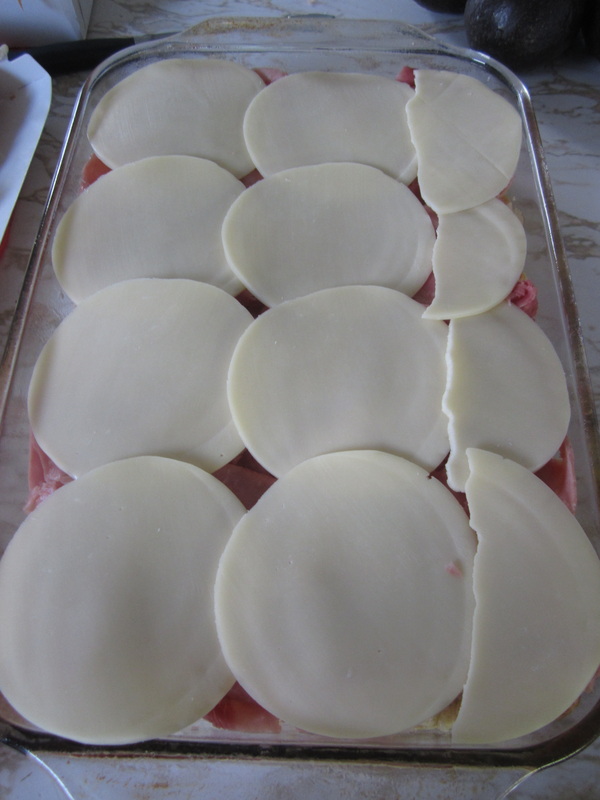
Put a layer of provolone cheese on top of the ham.
Put the 2nd layer of rolls on top.

Mix the melted butter with the worcestershire sauce and dijon mustard and pour over the top of the sandwiches. Sprinkle with the minced onion.
You let them sit for awhile covered in the fridge or even overnight before baking, but I have made them right before baking and thought they were just as good. Cover with foil and bake for 20-30 minutes at 350 degrees, removing the foil half-way through. Be careful not to burn the tops of the rolls by checking them frequently after removing the foil. 
Linking up at Create with Joy
2 Comments
Enchiladas are a hit in our house. They are one of my go-to meals when I have leftover shredded meat and rice to use up. My husband and I are pretty good about eating leftovers, but it is a lot easier to sit down as family when there is a hot meal on the table. The kids aren't as good about leftovers so whenever I can turn the leftovers into something new, I do it.
Easter Sunday we had a fresh ham roast (uncured) that was rather large so we had lots of leftover pork roast. I made "new meals" throughout the week using the leftover pork. We had pork fajitas, pork carnitas, and pork enchiladas all from the same leftover ham roast. This easy enchilada recipe has actually been on the blog for a while, so you may have seen it before. Most of these old posts need some updating so I decided to do just that. 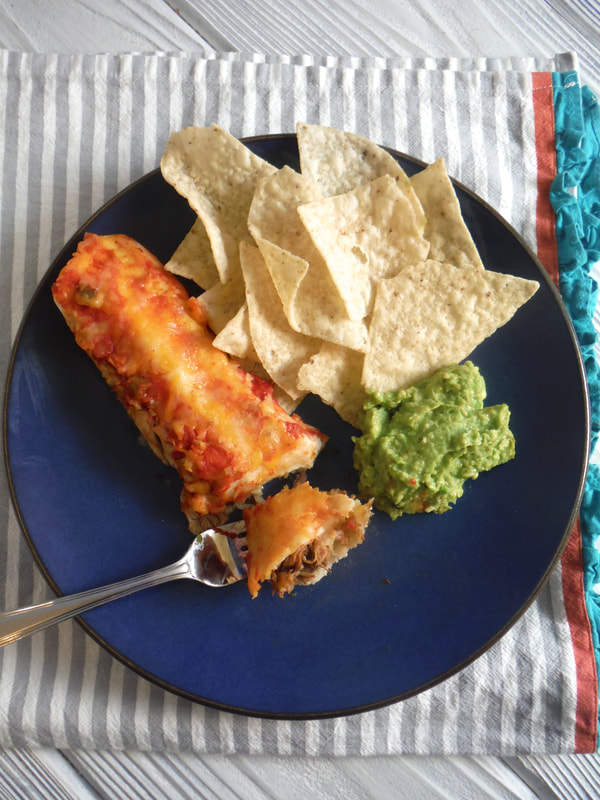
I made pork fajitas just like my chicken fajitas recipe, I just added chopped cooked pork to the vegetable saute after the vegetables had mostly cooked. To make pork carnitas, I just put the leftover pork in the crockpot with 2 cans of real sugar soda on high all afternoon then shredded it to make pork carnitas. Inspired by this recipe. I then used the leftover shredded pork from the pork carnitas and leftover rice that I served with pork fajitas to make easy enchiladas.
We enjoyed our Easter fresh ham roast, then had three new meals from the leftover pork roast throughout week. We had four different meals from the same pork roast for a family of six.
For convenience I use canned refried beans or black beans when making enchiladas. They work well in this recipe, just make sure to rinse the black beans first. It's super easy to make your own shredded chicken too. Just put a couple of boneless skinless chicken breasts in a small crockpot on low all day (covered in water) then take them out and shred them for this recipe. Add your favorite seasonings to the chicken after shredding if you like.
Actually this is a great use for leftover chicken or beef too. Leftover shredded meat = easy enchiladas. 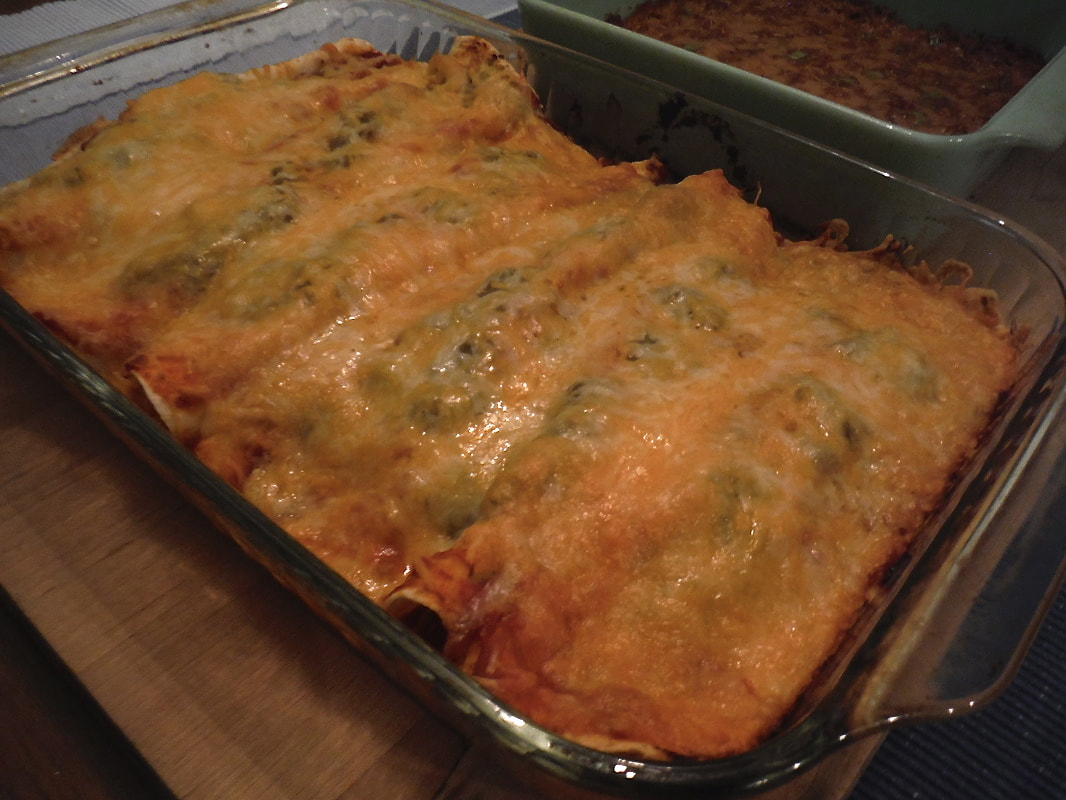
When updating this post, I didn't get a picture of the pan before dinner (hungry crew) so the old photo will have to do for now.
Ingredients:
(Pick and choose the filling ingredients you like) Shredded chicken, beef, or pork (leftover meat works great) Refried beans Black beans Cooked rice Shredded or crumbling (queso) cheese 6 to 8 large flour tortillas (burrito size works well) Salsa and/or Enchilada sauce 1. Prepare a 9 X 13 pan by spreading a thin layer of salsa or enchilada sauce in the pan. 2. Fill tortillas with shredded chicken, refried or black beans, rice, shredded cheese, etc. and roll them up placing them seam side down in the baking pan. Sometimes I fold two sides in a little before rolling up to help keep everything inside. Sometimes I just roll them up so whatever suits you. Six to eight should fit nicely in the pan. 3. Drizzle more salsa or enchilada sauce over the prepared tortillas. Then sprinkle more shredded cheese on top. 4. Bake at 350 degrees F for 25 minutes.
Pin on Pinterest

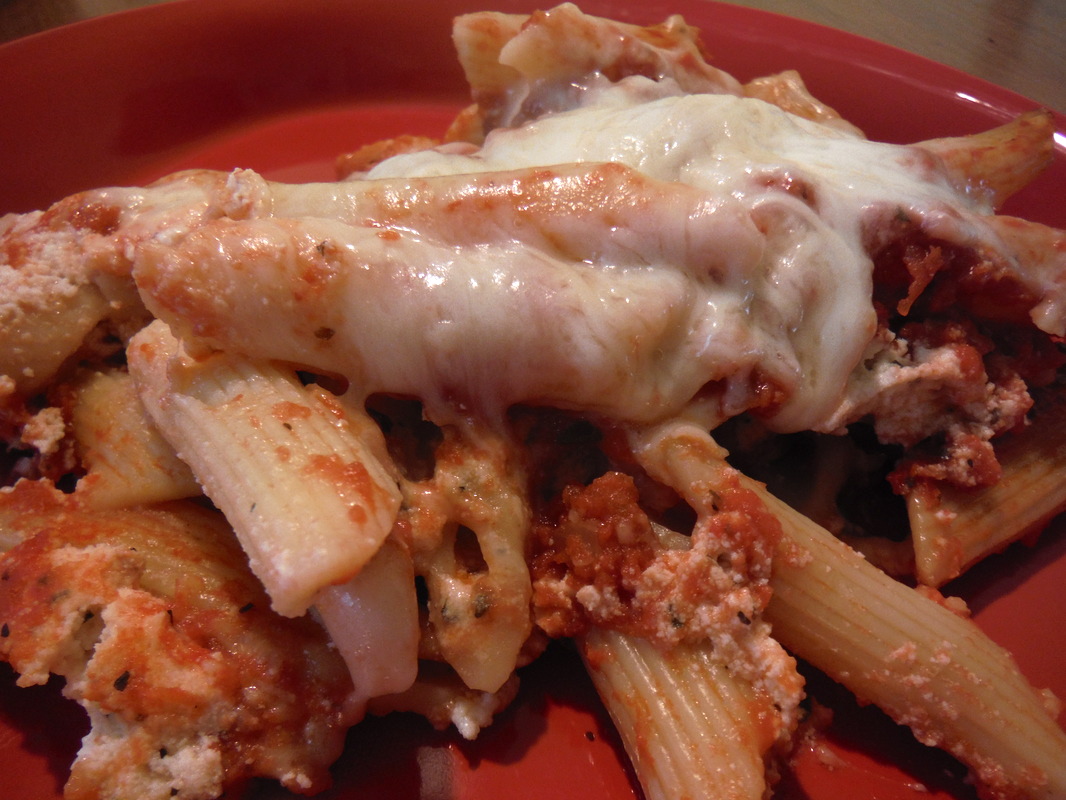
I love this recipe for several reasons. It is so easy to make and can even be made ahead and chilled or frozen until ready to bake. (If frozen, give it some time to thaw in the fridge before baking.) In addition to being super easy to prepare, it's delicious. Goes well with salad and breadsticks. This is an easily portable meal for pot lucks and meal trains too.
16 oz. Penne Pasta
1 egg 24 oz. container ricotta cheese 1/2 cup grated Parmesan cheese, divided 1 & 1/2 (25-28 oz) jars meatless pasta sauce 3 cups shredded mozzarella cheese 1. Cook pasta according to package directions. Drain pasta and set aside. 2. Combine the egg, ricotta cheese, and 1/4 cup Parmesan cheese. 3. Spread about 1 1/2 cups pasta sauce in a greased 9 X 13 pan. , and 4. Top with a third of the cooked pasta, half of the ricotta mixture, 1 cup mozzarella cheese, 1 T. Parmesan cheese, and 1 1/2 cups pasta sauce. 5. Repeat layers of pasta, ricotta mixture and mozzarella cheese. 6. Sprinkle with 2 T. Parmesan cheese. 7. Top with remaining pasta, sauce, mozzarella cheese and Parmesan cheese. 8. Cover and bake at 375 degrees F. for 45-50 minutes or until heated through. (Serves 12) Linked up at Create with Joy
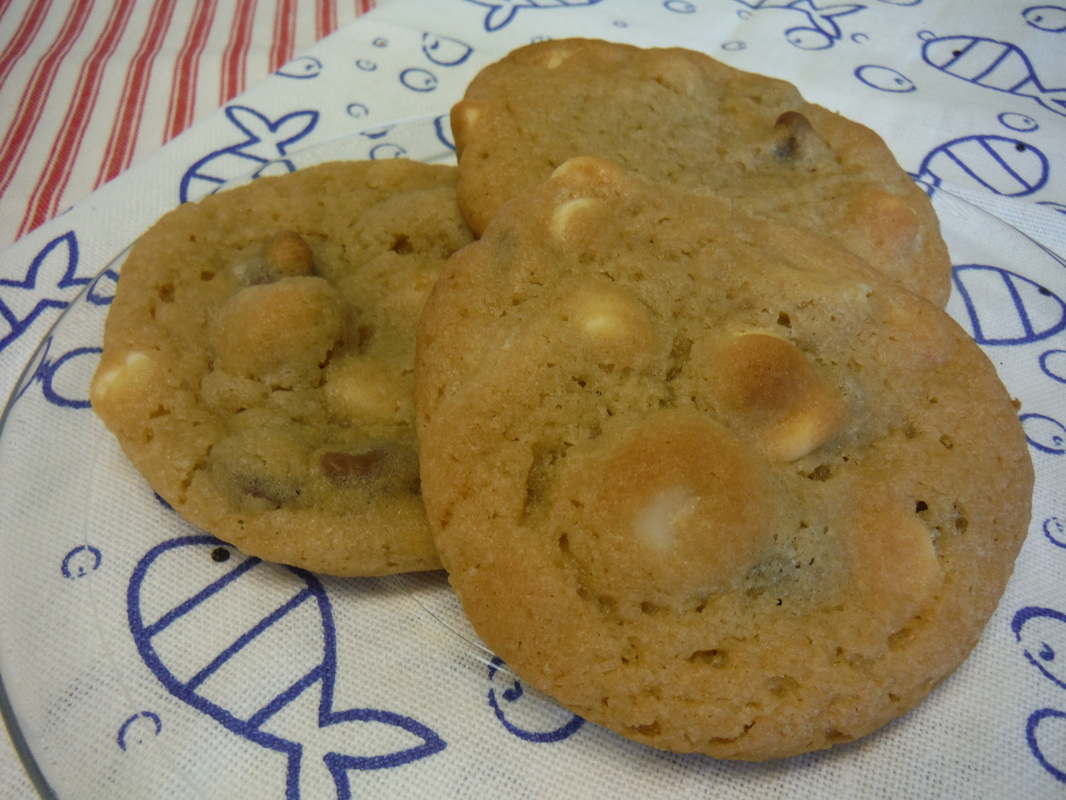 I made a double batch of these cookies for our big 4th of July party at my parent's house. I filled the cookie tray three times throughout the day and each time the cookies vanished. I received many compliments on these cookies which were delicious. They are a variation of my favorite chocolate chip cookie recipe. Honestly, I like these even better. 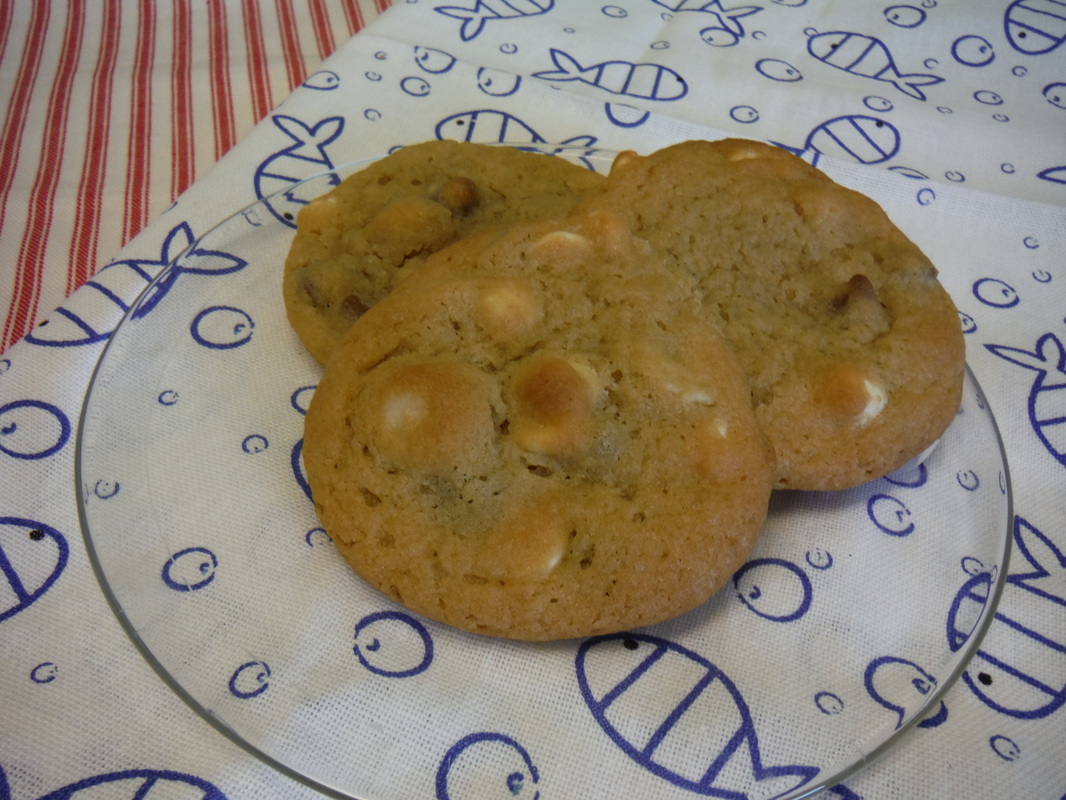 Ingredients: 2 ¼ c flour 1 tsp. baking soda 1 tsp. salt 1 c butter (2 sticks softened) ¾ c sugar ¾ c brown sugar 1 tsp vanilla 2 eggs 1 cup milk chocolate chips 1 cup white chocolate chips 1/2 cup chopped macadamia nuts parchment paper 1. Combine flour, baking soda, and salt in a small bowl. 2. Combine in your mixer bowl: butter 2 eggs sugar brown sugar vanilla 3. Beat at low speed until creamy. 4. Slowly add flour mixture and continue to beat until combined. 5. Hand stir in chocolate chips and macadamia nuts. 6. Line cookie sheet with parchment paper 7. Pre-heat oven to 375 degrees. 8. Drop dough by rounded spoonfuls onto cookie sheet. (12 cookies per sheet) 9. Bake for 9 to 11 minutes. Remove cookie sheet from oven and let cookies rest on cookie sheet for 1 to 2 minutes. Then remove cookies to cooling rack. Recipe makes about 4 dozen cookies. Linking up at Create with Joy  Simple and delicious. You will love these moist and tender grilled pork chops. Marinate for a few hours in the fridge and then grill to perfection.
Combine the marinade ingredients in a ziploc bag. Then marinate the pork chops for a few hours in the fridge. Grill for 6-8 minutes on each side until done. (Cooking time will vary depending on thickness of pork chops) 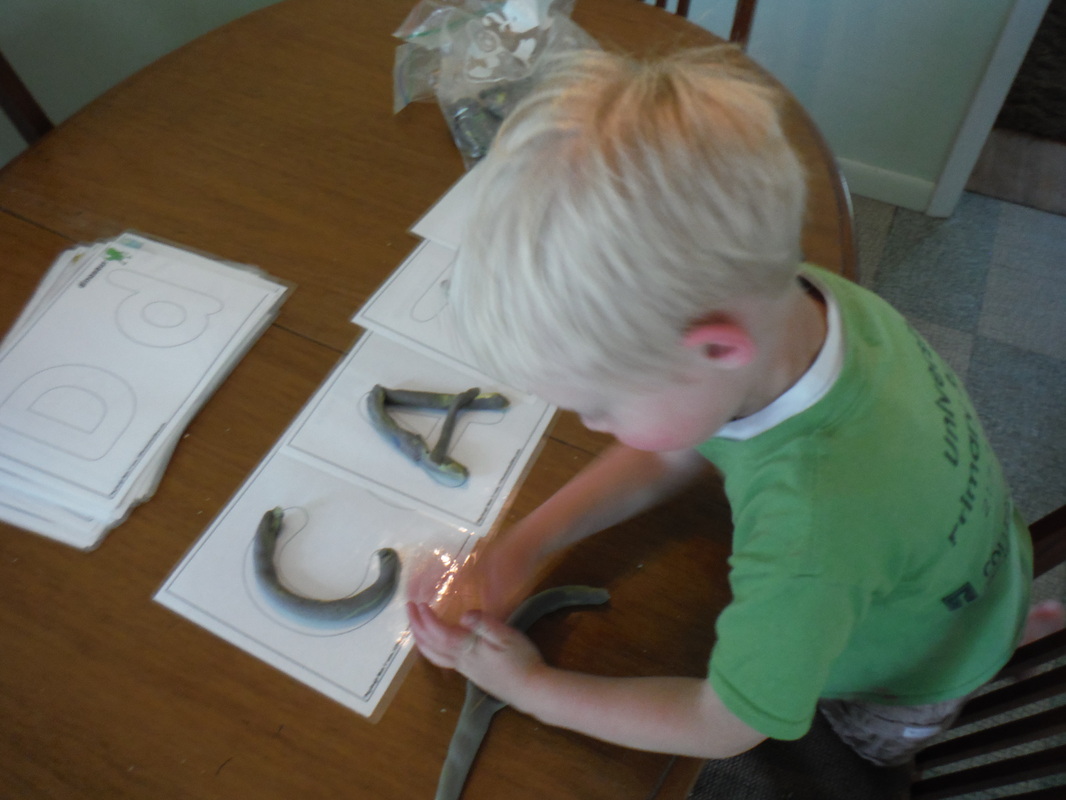 I found these play-dough mats at 123 Homeschool 4 Me. You can print them for free and use them for other activities like bean or noodle mosaics or coloring pages or laminate them and use them with play-dough. 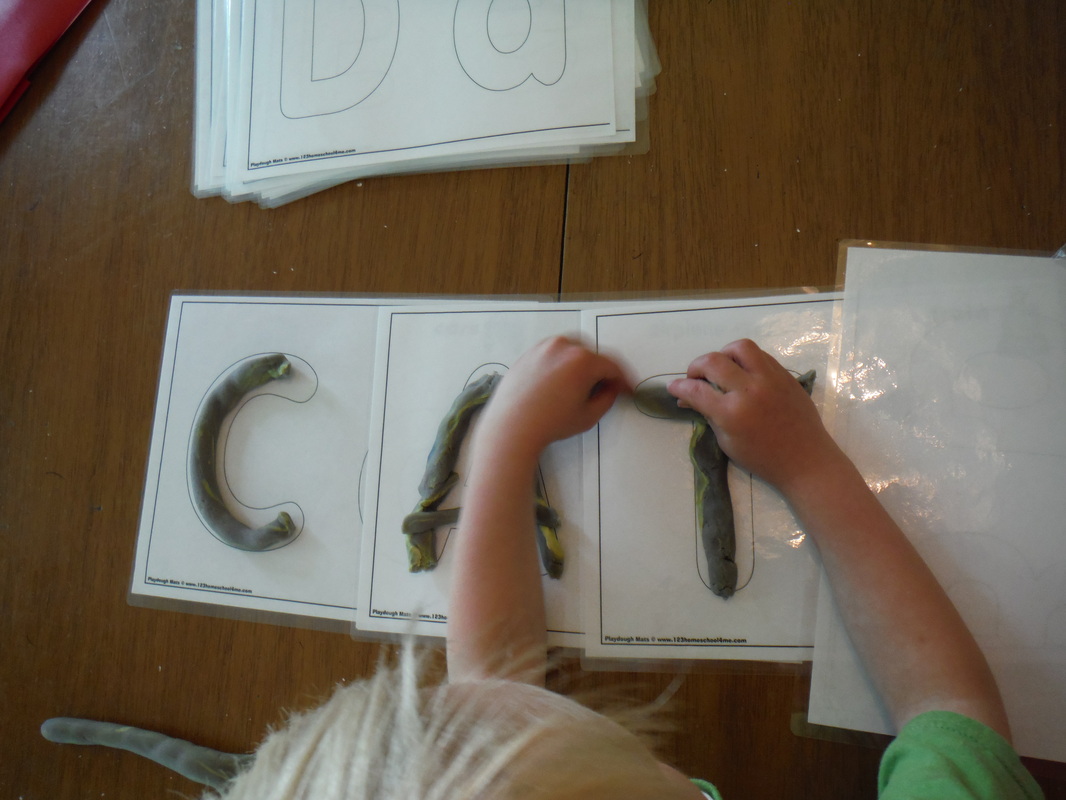 They are a great way to improve fine motor skills, letter recognition, and if you overlap them like this, you can practice simple words with your preschooler. Here is an easy recipe for homemade play-dough. 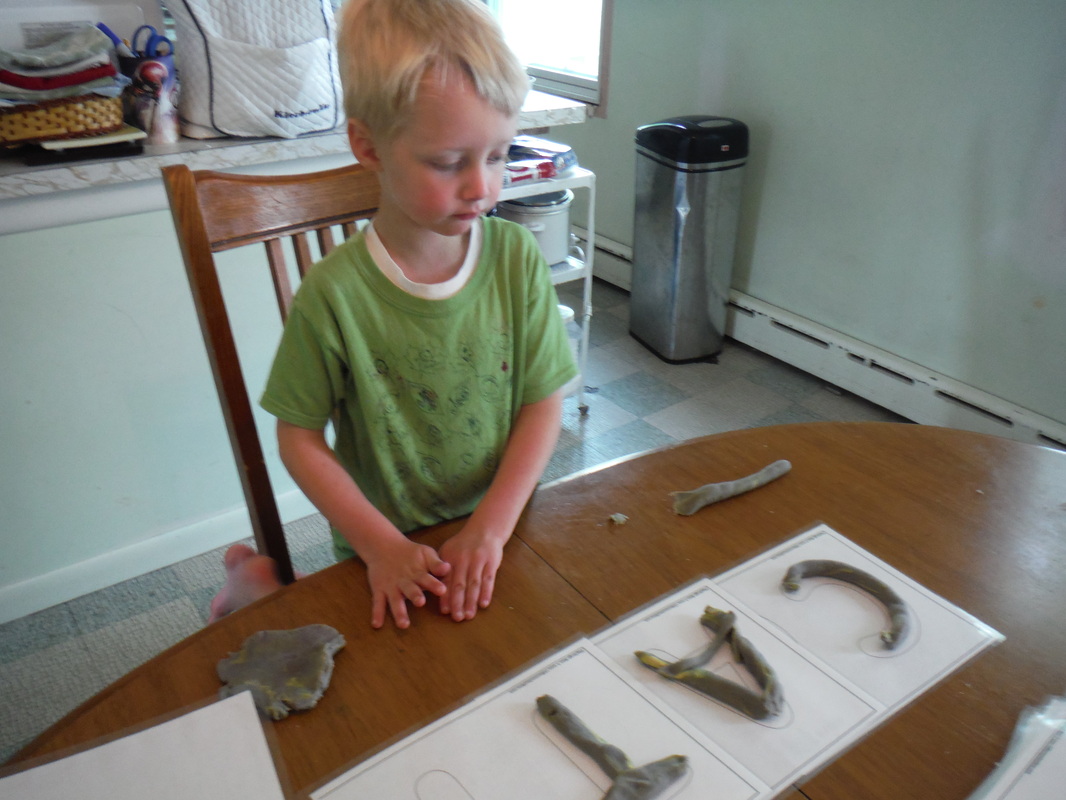 I experienced some major sticker shock when I took my printed letter mats to several office supply stores only to find out that laminating them would cost $35-$38. Instead I purchased a Swingline laminator from Amazon for around $20. I don't remember what I spent on laminating sheets, but I got 100 of them for way less than $15. My laminator works great and I can laminate a lot more for less than I could have paid at the office supply store. 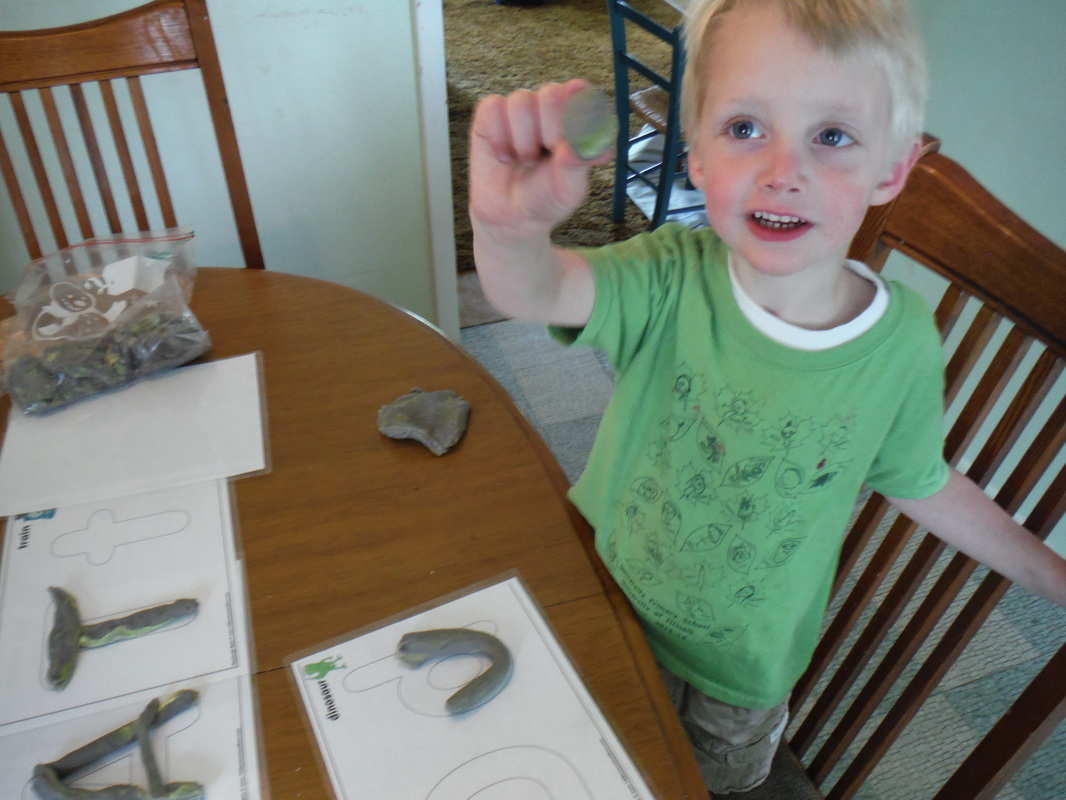 The boys have enjoyed playing with these mats (while learning too ...but don't tell them, they just think its fun).
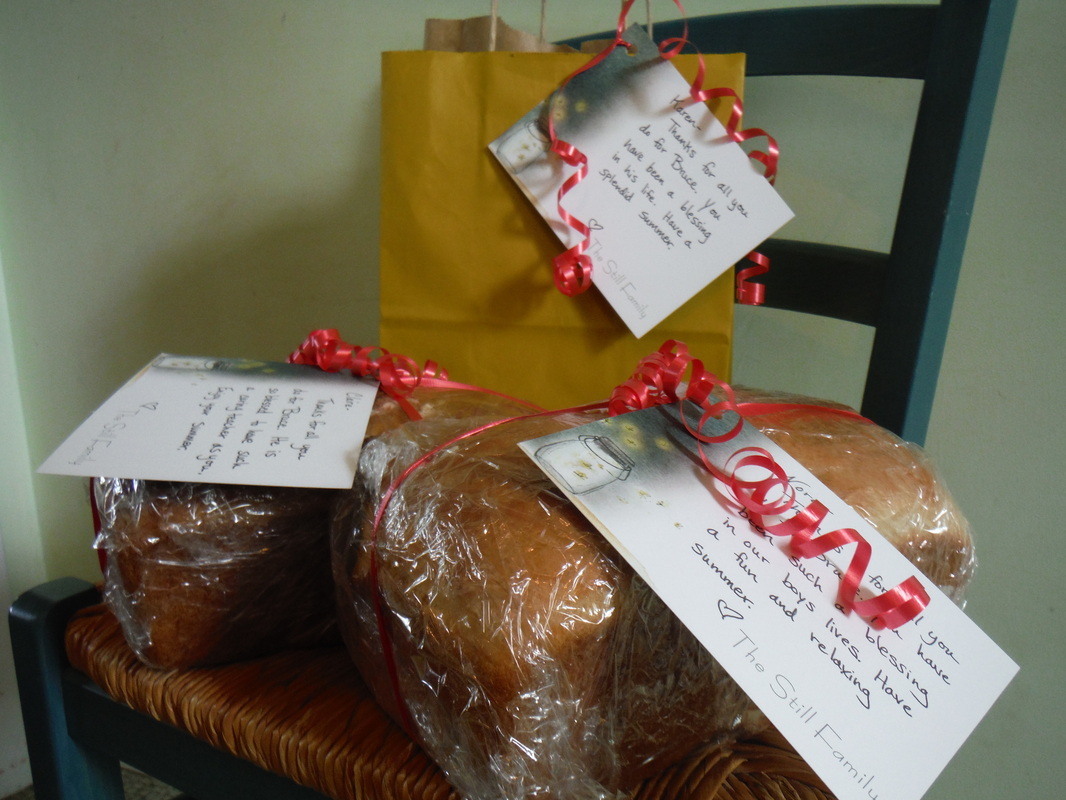 I always wait to the last minute and realized yesterday that today was my son's last day of preschool and I didn't have anything ready for teacher gifts. My son has three teachers in his classroom and being the frugal girl that I am I always try to come up with something nice, but inexpensive. Last year I made these really simple coffee and tea pouches for teacher appreciation week. One nice thing about these gifts is that they are consumables so my son's teachers aren't getting things that will add clutter to their lives. With one day to prepare, I got my bread machine out and made homemade bread for each teacher. It took several hours to make three loaves, but since the bread machine did most of the work, it wasn't too difficult. I even programmed the bread machine to start early this morning before anyone was awake. I packaged the loaves in plastic wrap and curling ribbon and attached hand written notes. One of the loaves was still warm so I placed it in a brown paper lunch bag inside of a gift bag. What are your frugal homemade teacher gift ideas? 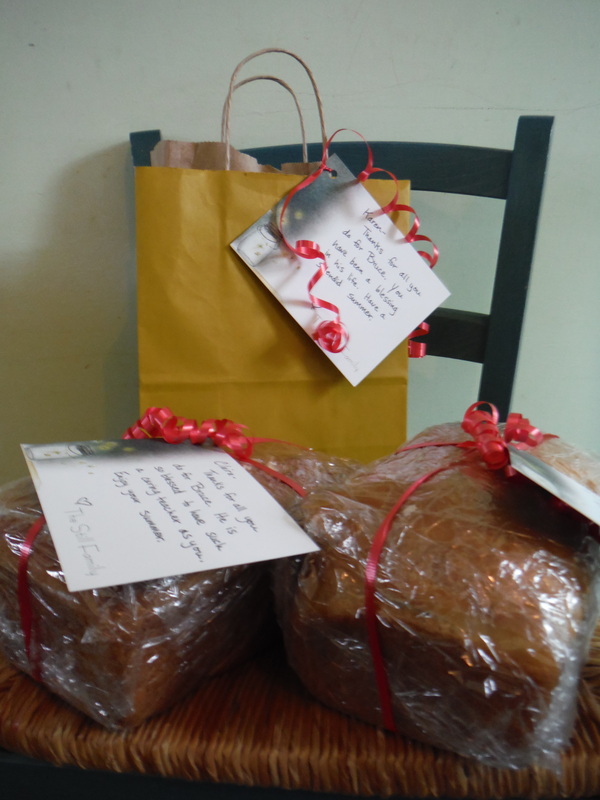 Linked up at Create with Joy and I Can Teach my Child.
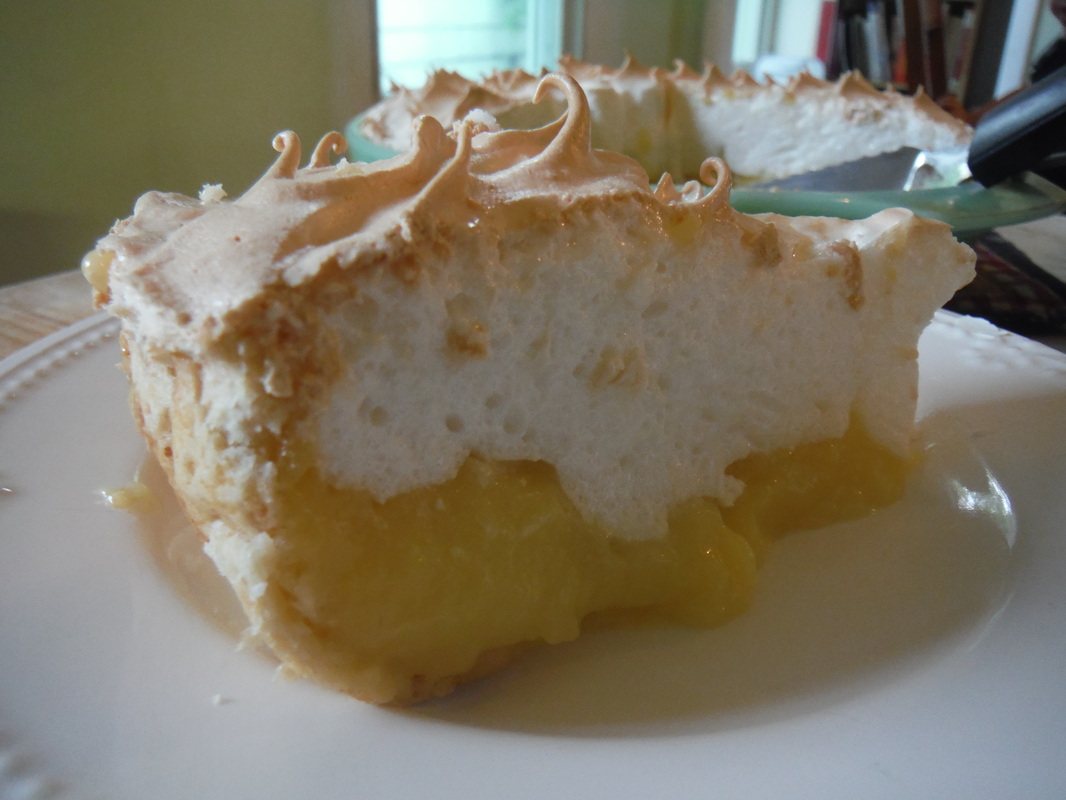
It doesn't get much better than a cool slice of lemon meringue pie on a hot summer evening. Give me a glass of iced tea and a slice of pie and I'm a happy girl. 
For the crust: All Butter Crust for Sweet and Savory Pies or your favorite crust 1/2 cup graham cracker crumbs (optional) Make your dough using your favorite recipe or this All Butter Crust for Sweet and Savory Pies (Pâte Brisée). It's fantastic and fairly easy. I make the first recipe in the link. If you use this recipe, make a half recipe or freeze half the dough for future use since we are making a one crust pie. 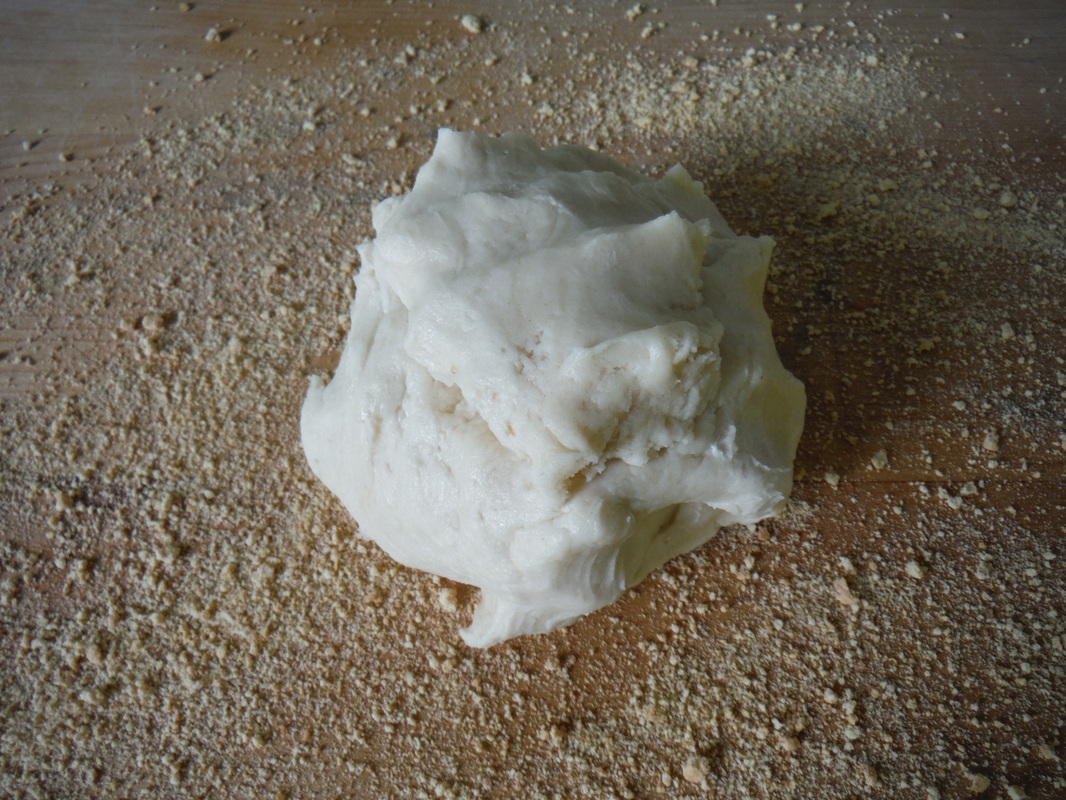
To help keep your crust nice and crispy, you can roll your dough out on graham cracker crumbs. Sprinkle with more crumbs while rolling out the dough. Custard pies often create soggy crusts and graham cracker crumbs added to the crust can help keep them crisp. 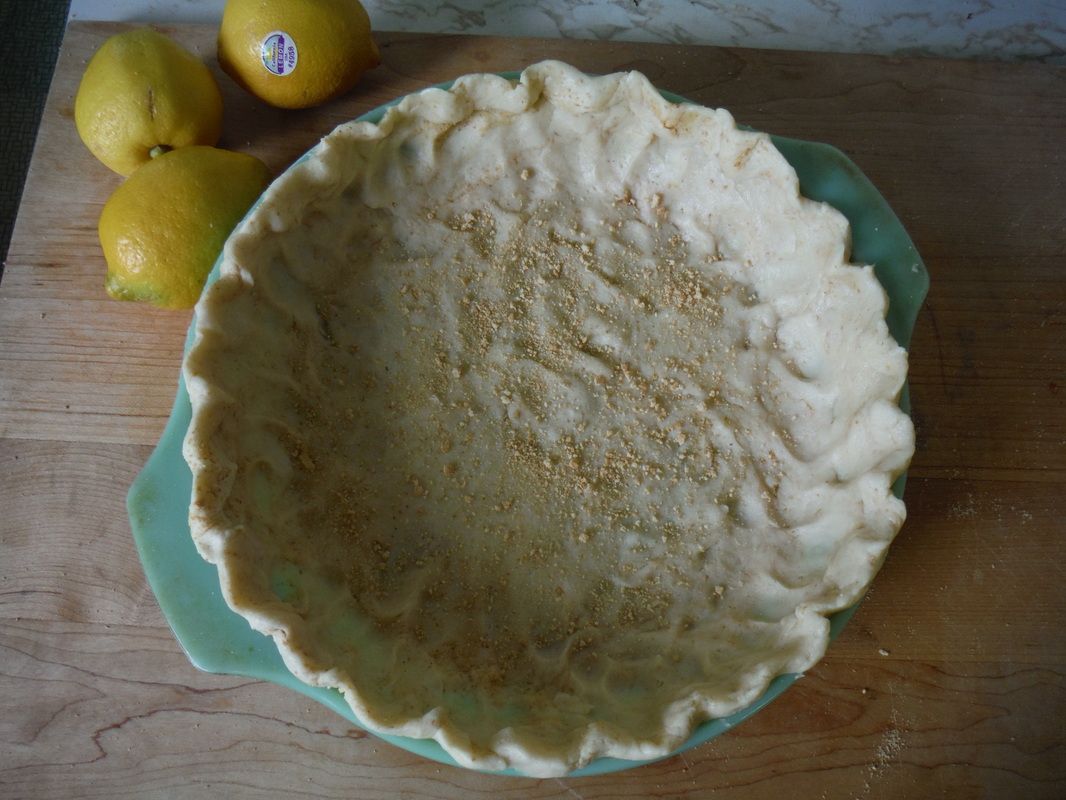
Follow the instructions to Pre-Bake a Pie Crust. You will pre-bake with pie weights or dry beans as shown. 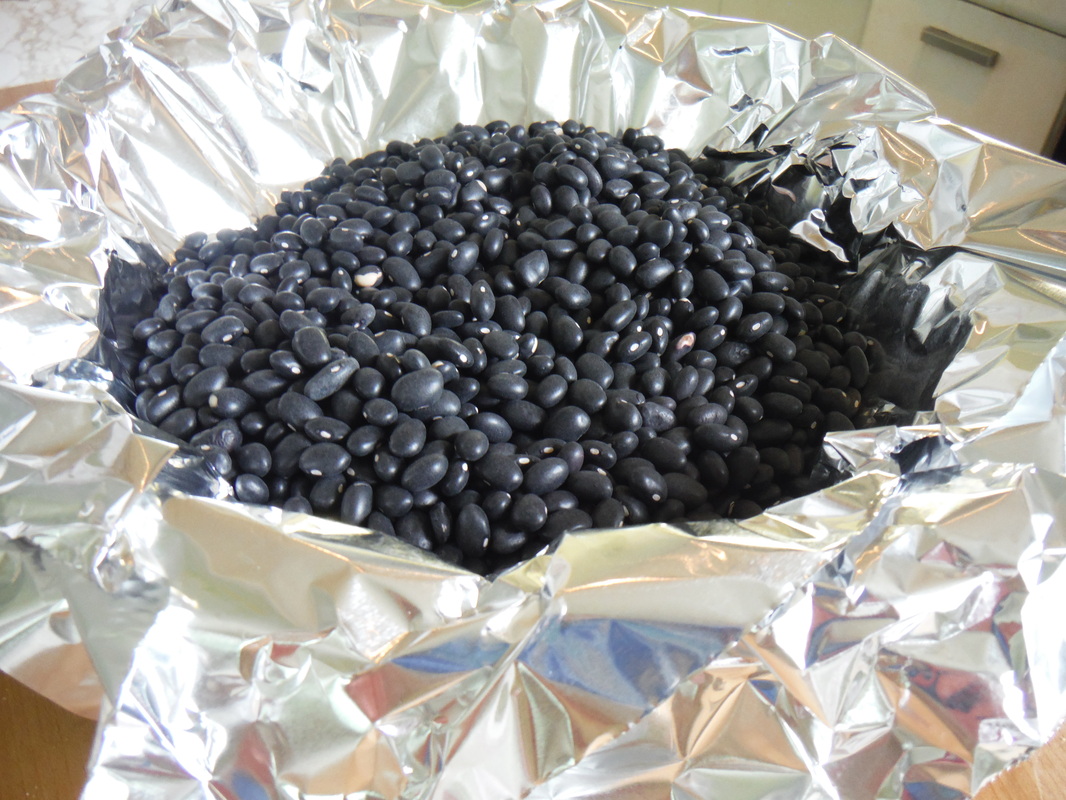
For the filling: 1 1/2 cups cold water 1 cup sugar 1/4 cup cornstarch 1/8 tsp. salt 6 large egg yolks 1 T. grated lemon zest 1/2 cup fresh lemon juice (3-6 lemons, depending on size) 2 T. butter 
Once you have baked a crust and let it cool, you can make the filling. It is a good idea to juice and zest your lemons and separate your eggs ahead of time. Since you are using 6 eggs, but only 4 egg whites, you can freeze the extra two egg whites for future use like in an Angel Food Cake. To make the filling: 1. Combine the water, sugar, cornstarch and salt. Cook and stir over medium heat with a whisk until simmering. 2. When the mixture starts to thicken and look clear, add the egg yolks, two at a time. 3. Stir in the zest, lemon juice, and butter. Return to a full simmer, then remove from the heat. Next you will prepare the meringue. For the meringue: 4 large egg whites 1/4 tsp. cream of tartar 1/2 tsp. vanilla extract 1/2 cup sugar 1. Beat egg whites with cream of tartar until frothy. 2. Add vanilla extract. Then gradually beat in sugar, a little at a time. 3. Continue beating until stiff and glossy. 
Pour the hot filling into a pie crust. 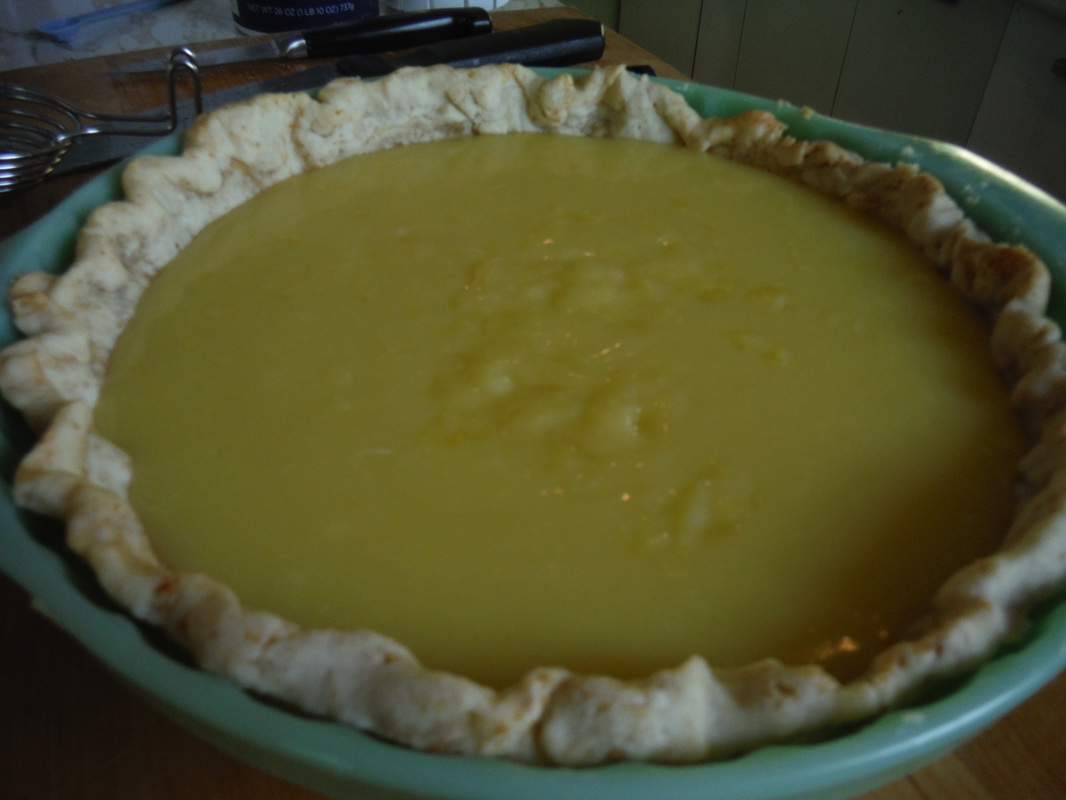
Place large dollops of meringue on top of the lemon filling. Then gently smooth the meringue to the edges sealing the meringue to the crust to prevent shrinking. 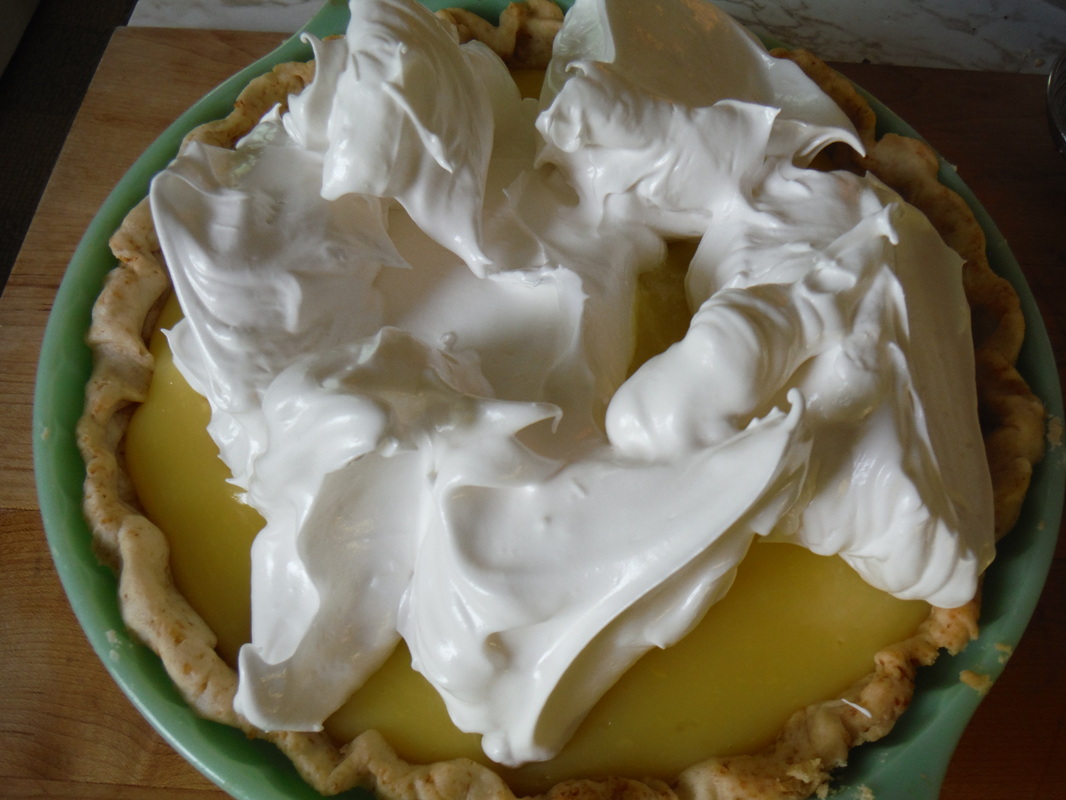
Use a scraper or the back of a spoon to form pretty little peaks in the meringue. 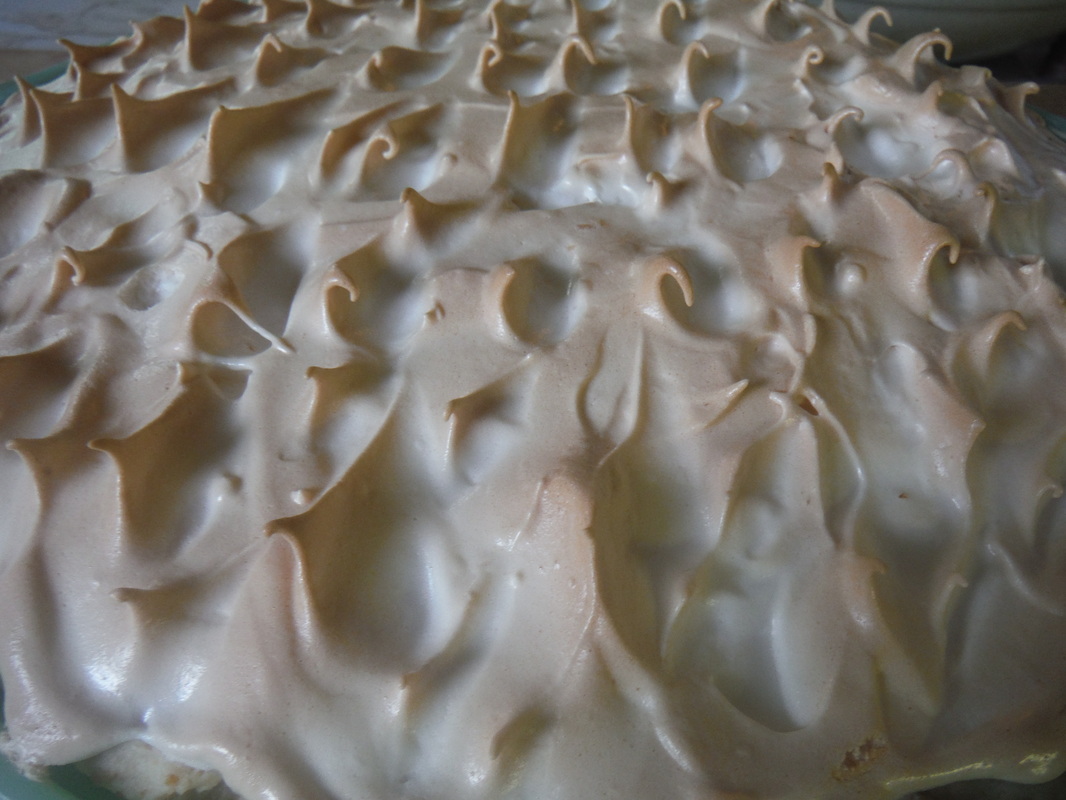
Bake in a 325 degree oven for about 20 minutes until lightly browned. Cool to room temperature in a slightly warm place. Refrigerate any leftovers.
The lemon filling recipe is adapted from the America’s Test Kitchen Family Cookbook Copyright © 2006. Published by America’s Test Kitchen. All Rights Reserved. 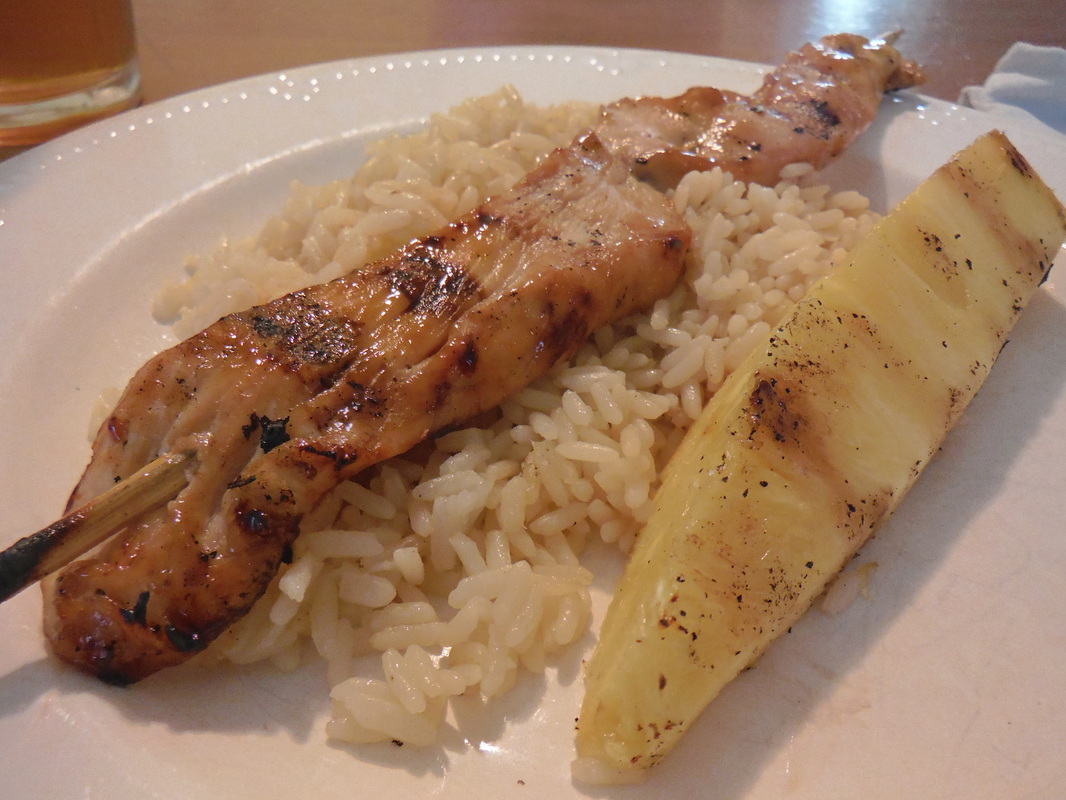
I saw a recipe for baked teriyaki chicken in a weekly menu plan at Clover Lane. I tried it and thought it was ok, but then came up with this idea. I substituted honey for the sugar in the sauce and grilled the chicken on skewers. The boys loved the chicken so much, they ate it all. I only made a pound of chicken to start (about 2 chicken breasts), not realizing how much they would eat. So I made more for my husband and I and we ate dinner after the boys went to bed. Someday, I'll be making double recipes of everything for my growing boys. I suspect when they are teenagers my second home will be the supermarket. 1 Tablespoon cornstarch 1 Tablespoon cold water 1/2 cup honey 1/2 cup soy sauce 1/4 cup apple cider vinegar 1 clove garlic, minced 1/2 teaspoon ground ginger 1/4 teaspoon freshly ground black pepper 4-6 boneless skinless chicken breasts Bamboo Skewers* 1. In a saucepan over low heat, combine the cornstarch, cold water, honey, soy sauce, vinegar, garlic, ginger and ground black pepper. Let simmer, stirring frequently, until sauce thickens and bubbles. 
2. Slice chicken breasts into long strips about an inch wide. Thread meat onto skewers using two chicken strips per skewer. Brush with honey teriyaki sauce. Grill until cooked through. Enjoy!
*When using bamboo skewers on the grill, it is a good idea to soak them in water for a while first to prevent them from catching on fire. Sauce adapted from All Recipes. 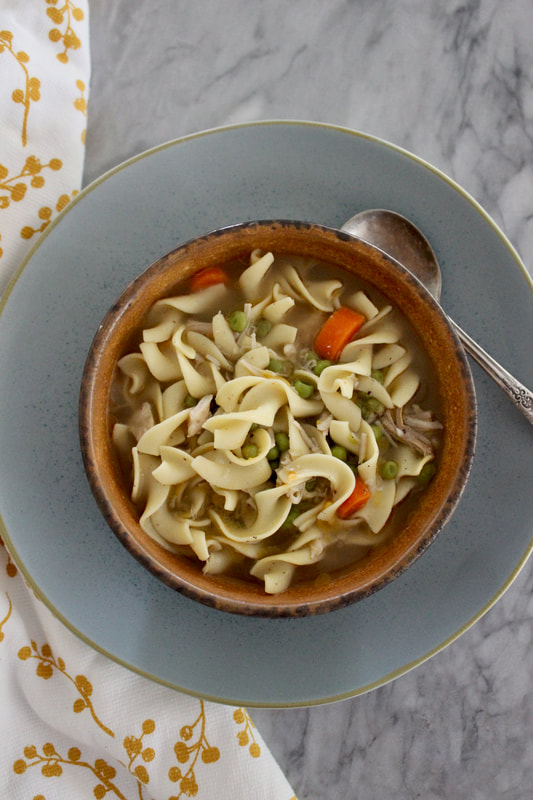 I have a sick child today. Nothing serious, just a cold so I decided to make chicken noodle soup. I usually make this easy chicken soup recipe, but wanted the added benefits of bone broth so I used whole bone-in chicken pieces. I basically followed my Turkey Noodle Soup recipe using bone-in chicken instead. After some chicken noodle soup, lots of fluids and rest my little guy will be back to good health in no time. Ingredients:
1 onion diced 3 cloves garlic minced 1 stalk celery diced 2 T. butter 8 C. chicken or vegetable broth 6 C. water 1 chicken carcass or 3-4 bone-in chicken pieces, skin removed 1 t. salt 1 t. Cajun or Creole seasoning Fresh ground pepper 1 10 oz. bag frozen peas and carrots* 12-16 oz. Amish home-style egg noodles 1. In a large pot, sauté onion, garlic and celery in butter until tender and slightly caramelized. 2. Add water, chicken base, chicken carcass or pieces, salt and Cajun seasoning. You can add a little fresh ground pepper to taste. Cover and cook on low for 1 1/2 to 2 hours. 3. Remove carcass or chicken pieces from the pot and pull meat off the bones with a knife and a fork. Cut up the meat and return it to the pot. Add frozen peas and carrots and bring pot to a low boil. 4. Add noodles and continue to cook uncovered until noodles are tender. (Check noodle package for cooking time.) *You can substitute frozen peas and 1 to 2 large sliced carrots. |

Welcome to Home Ec @ HomeHi, I'm Faith, a former Family and Consumer Science teacher turned food blogger. I love God, my family, and food. You can usually find me in the kitchen preparing family friendly, homemade recipes and taking lots of pictures. 
Still Goldens, Southern, IL
 Fan Favorites

The Best Dry Brined Turkey with Citris and Fresh Herbs

 Dehydrating Pears and Apples in the Instant Pot Duo Crisp Dehydrating Pears and Apples in the Instant Pot Duo Crisp
 
 |
 RSS Feed