|
You may have already seen this on facebook and instagram because this proud mama posted it everywhere. My husband who tends to be really creative made a fairy garden last week with the boys to enter in the Murray Woman's Club Floral and Iris Show.
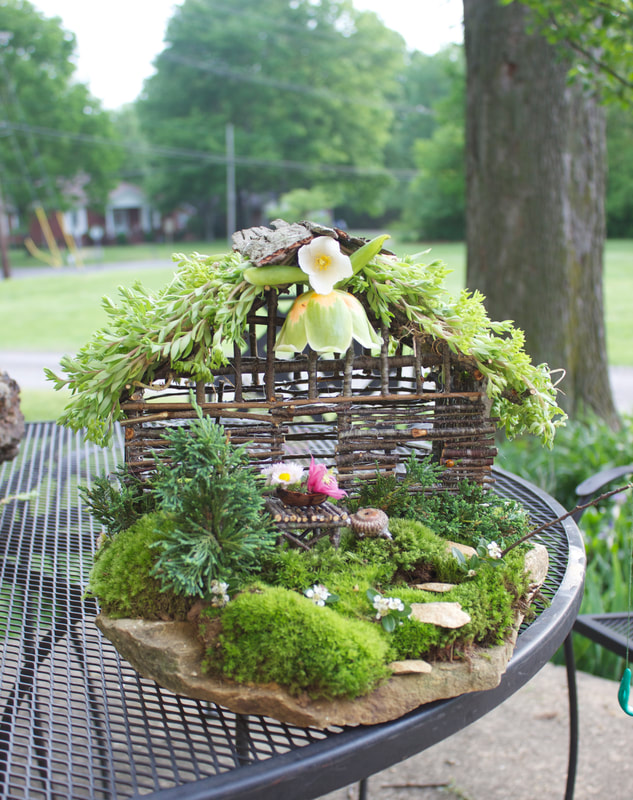
The boys gathered everything for this project from the yard and the arboretum which is basically an extension of the back yard.
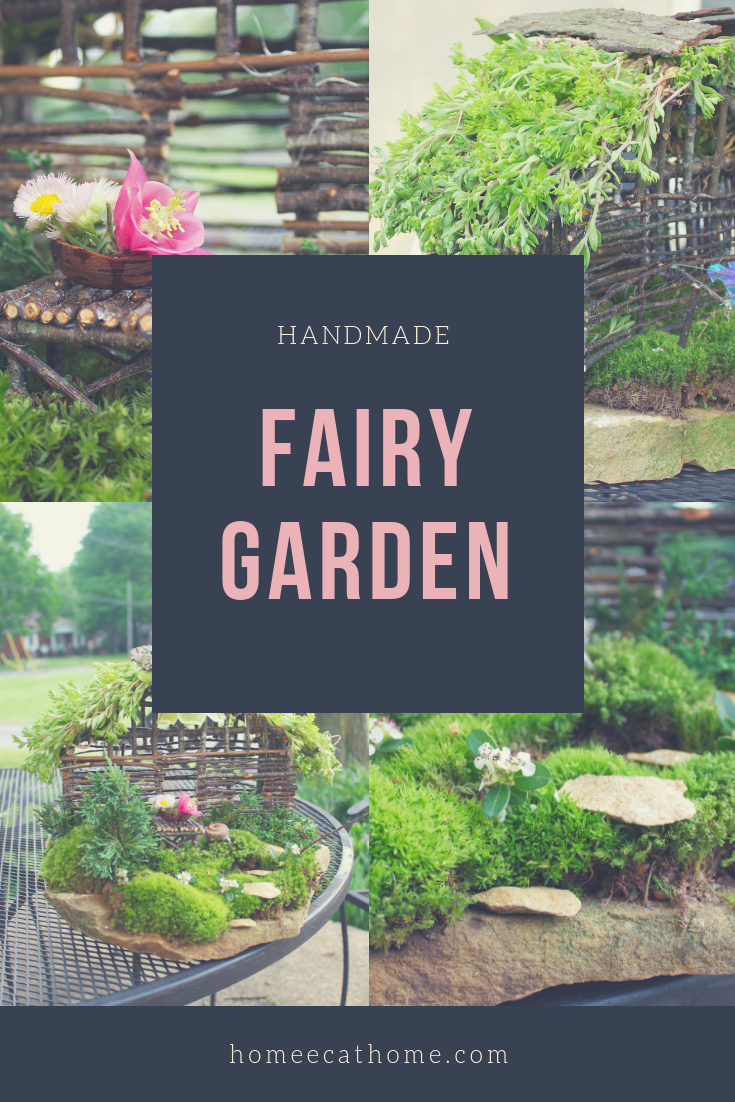
So much detail! They meticulously glued sticks together to build the house and furniture using a hot glue gun.
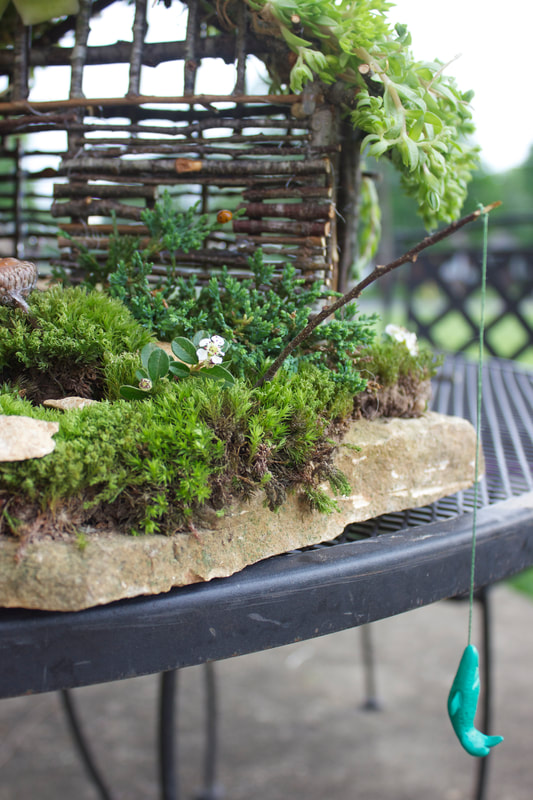
I love this little fishing pole. My husband made a little clay fish to dangle on the line.
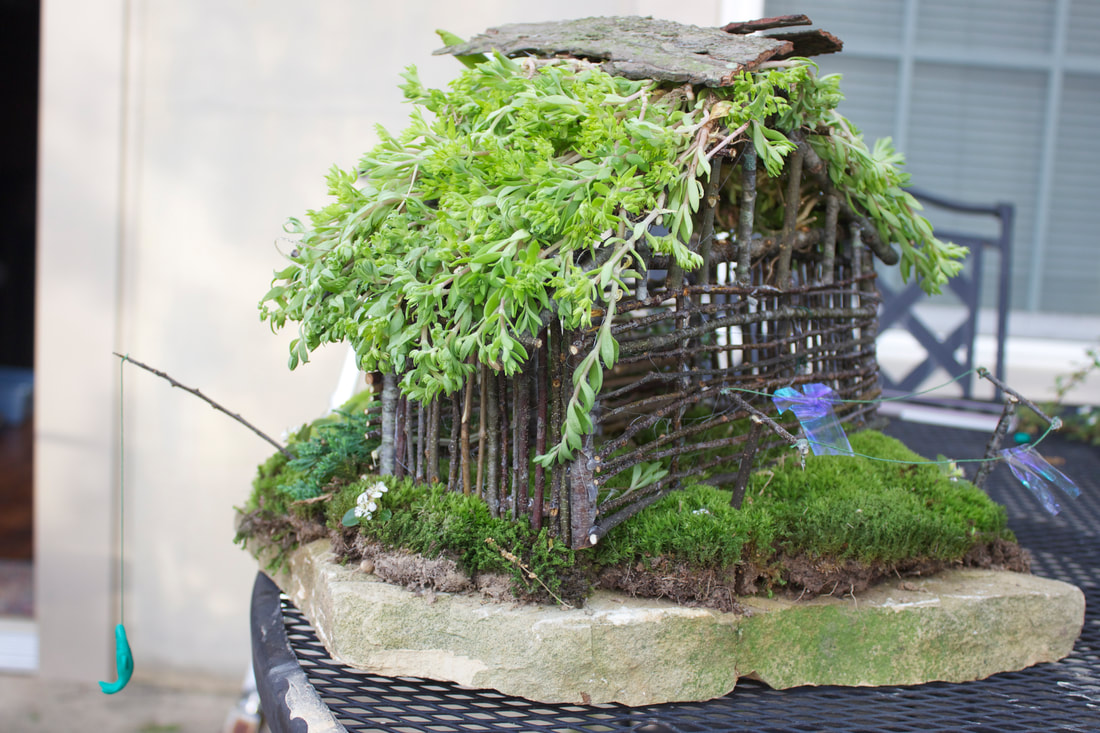
They even made a little clothes line and tiny iridescent clothes to hang on the line. This stone was borrowed from our flower beds.
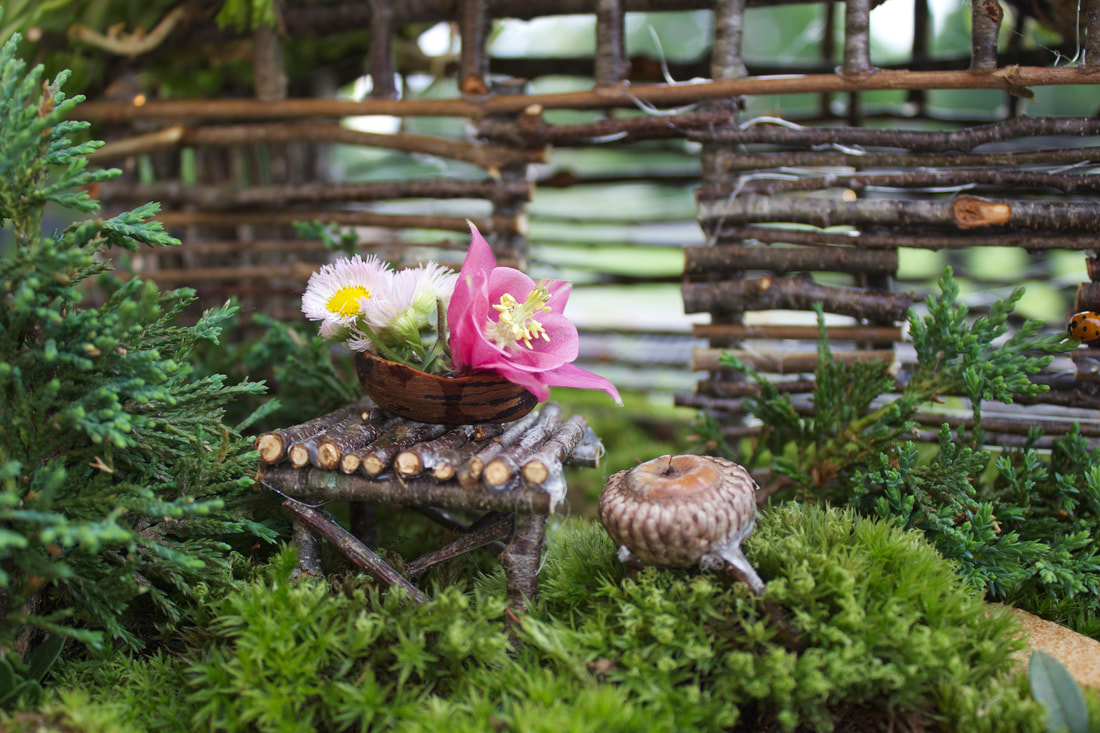
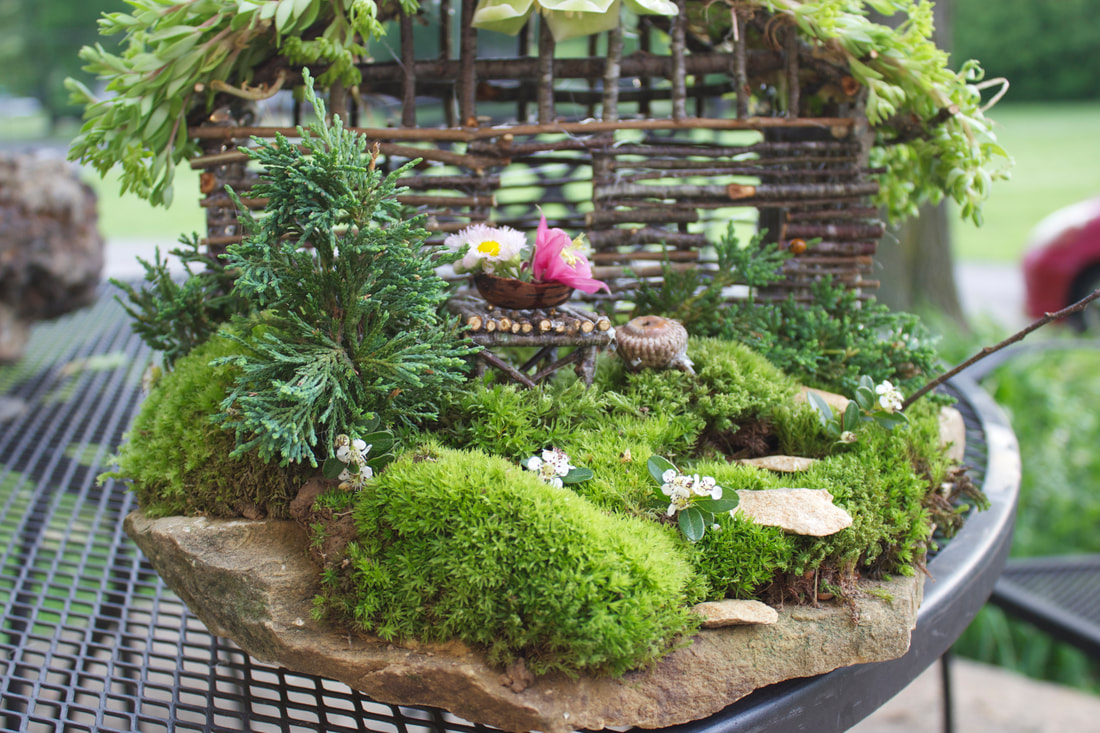
The boys made this tiny pecan shell vase and arranged small flowers in it. Our oldest made this little table and stool from sticks and an acorn.
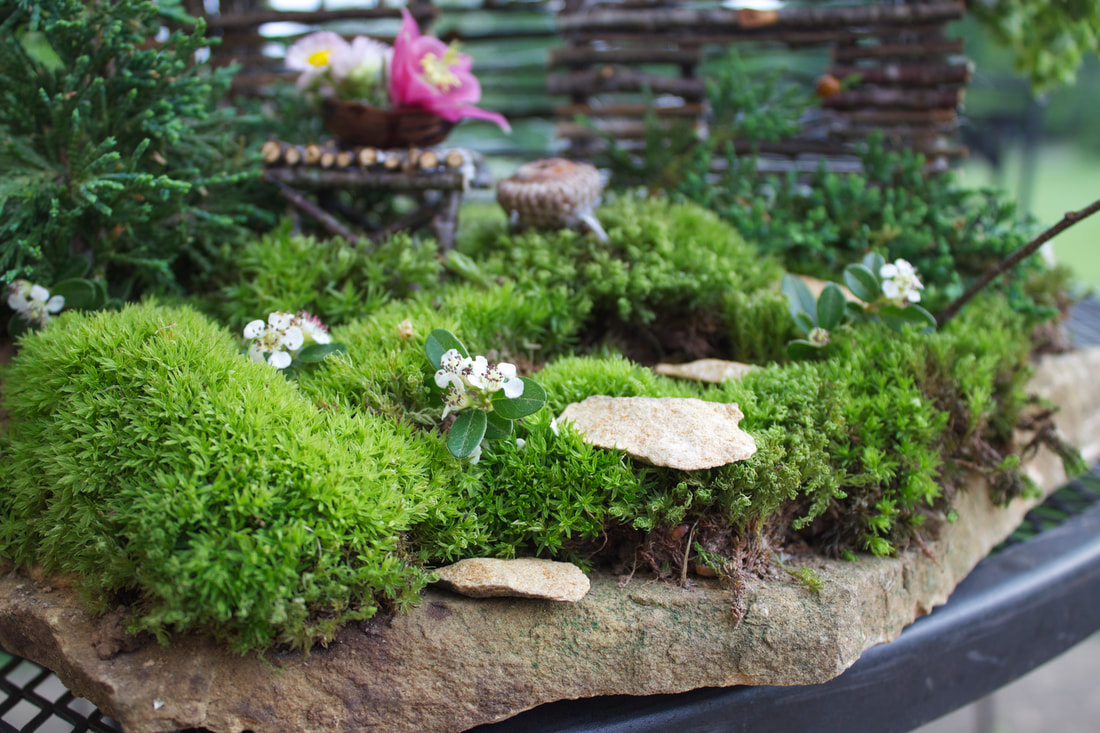
My husband chipped away bits of stone from the large stone to make these little stepping stones.
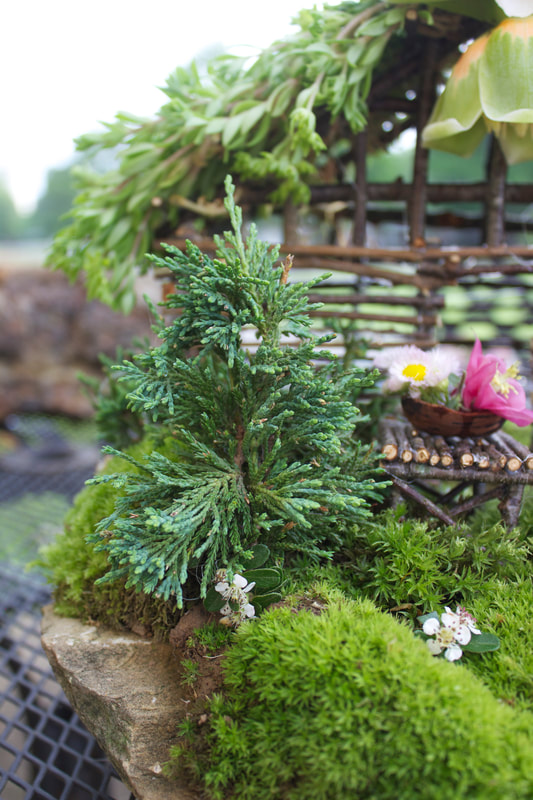
I think this little tree is adorable. It is made from four pieces of Juniper glued together.
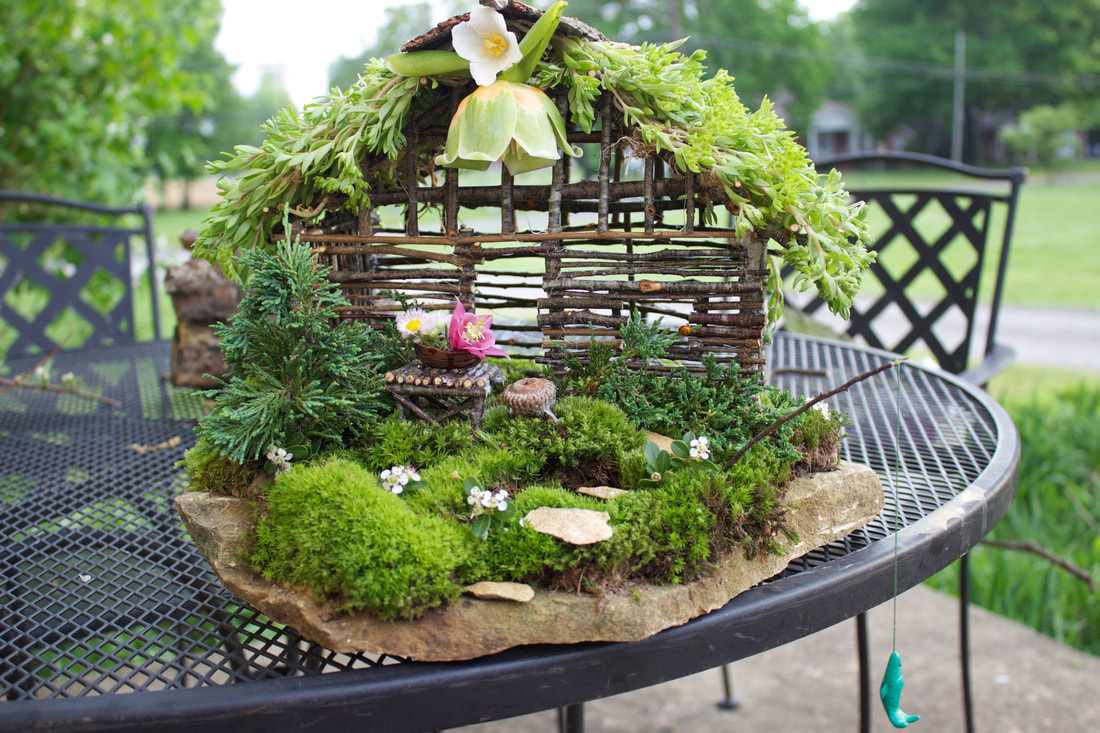
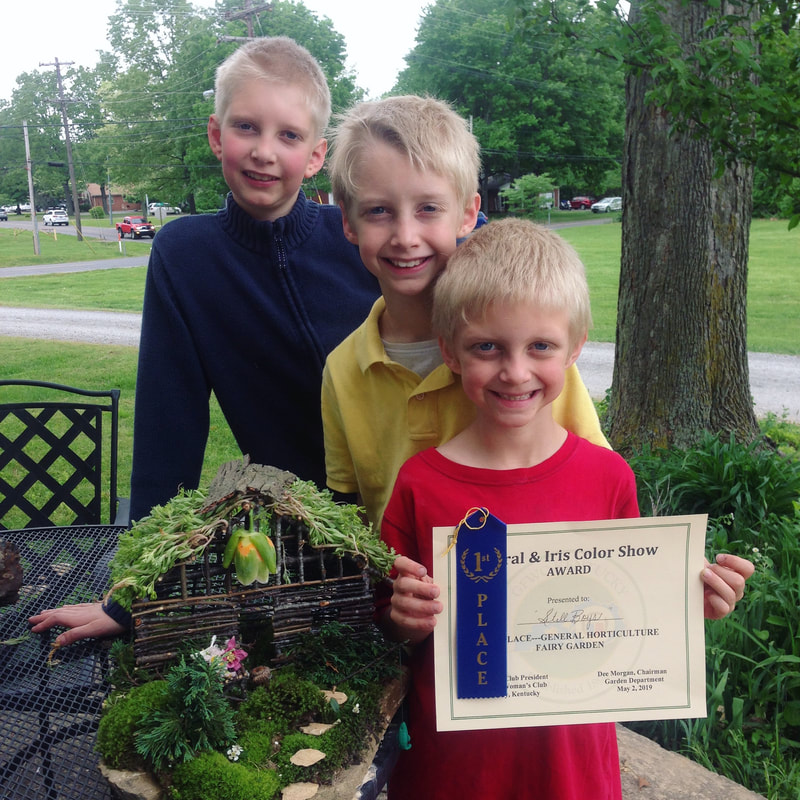
The boys were so excited to win 1st place in the fairy garden competition!
I made a quick video of the fairy garden and posted to youtube.
The boys did an amazing job and had fun doing it! I am so proud of them and my awesome husband.

0 Comments
We are a participant in the Amazon Services LLC Associates Program, an affiliate advertising program designed to provide a means for us to earn fees by linking to Amazon and affiliated sites
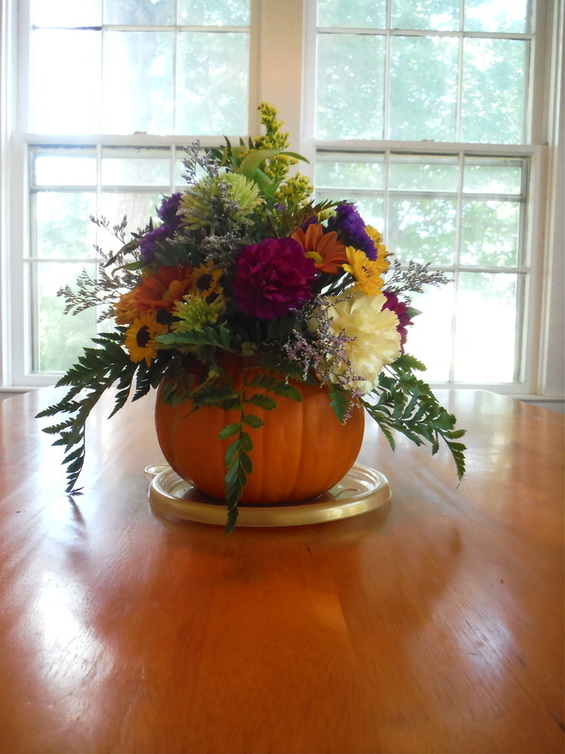
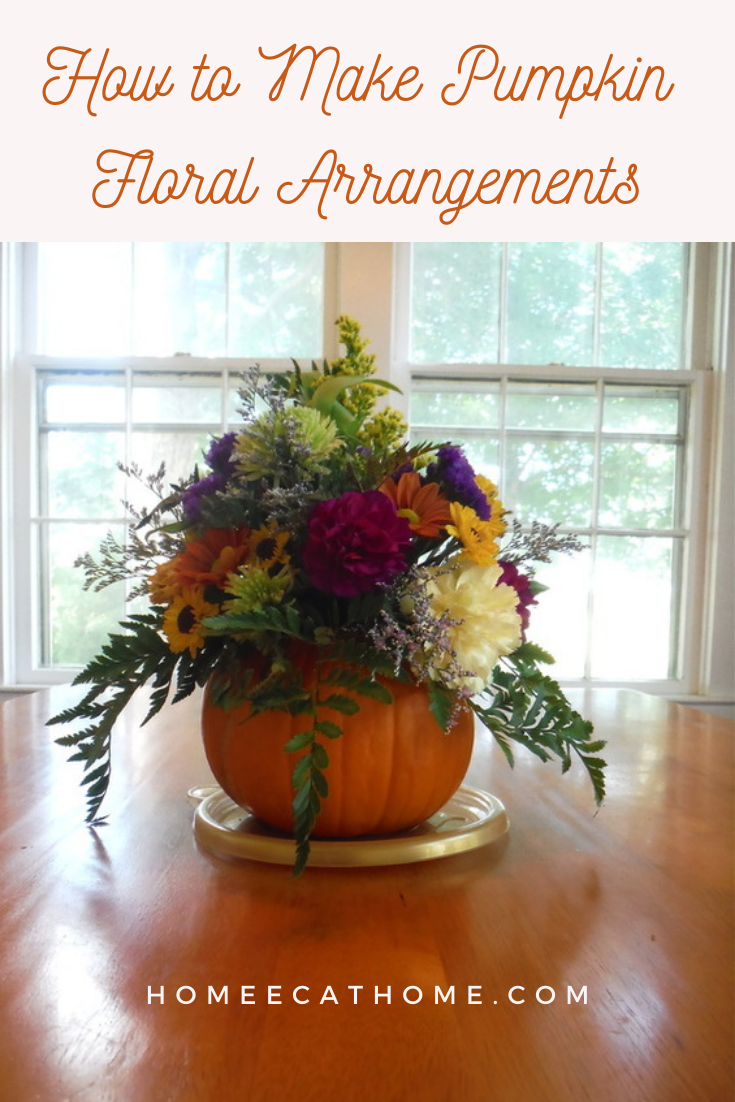
These flower arrangements made in a hollow pumpkin are the cutest! They are perfect for Halloween and easily carry over into November for fall decorating.
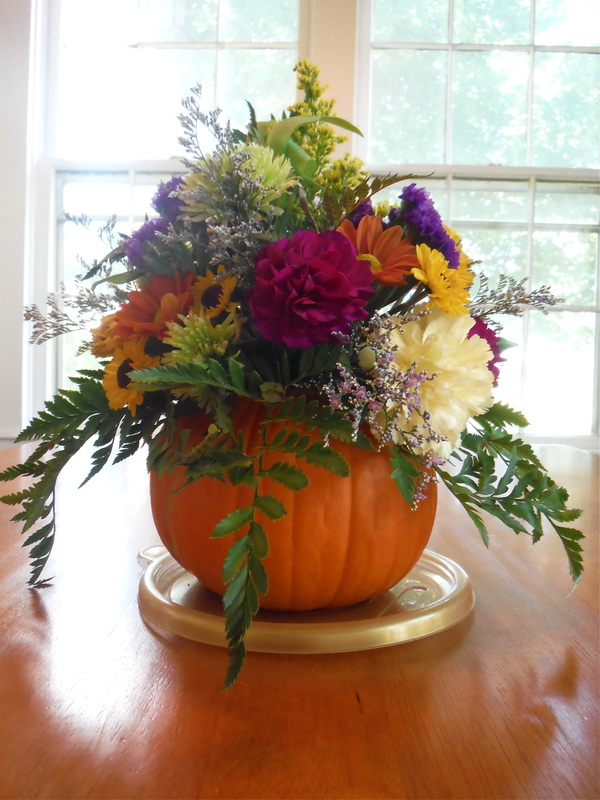
My husband taught his floral design students how to make these pumpkin flower arrangements.
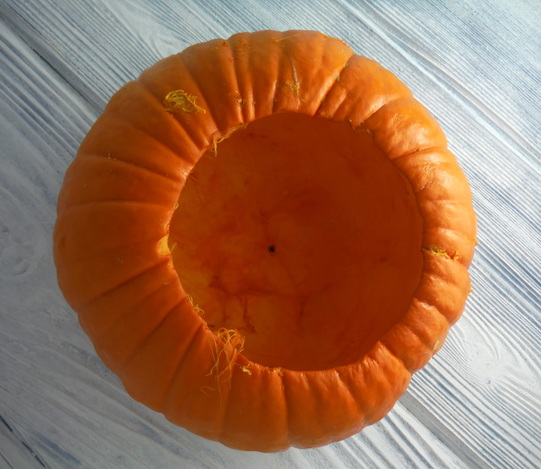
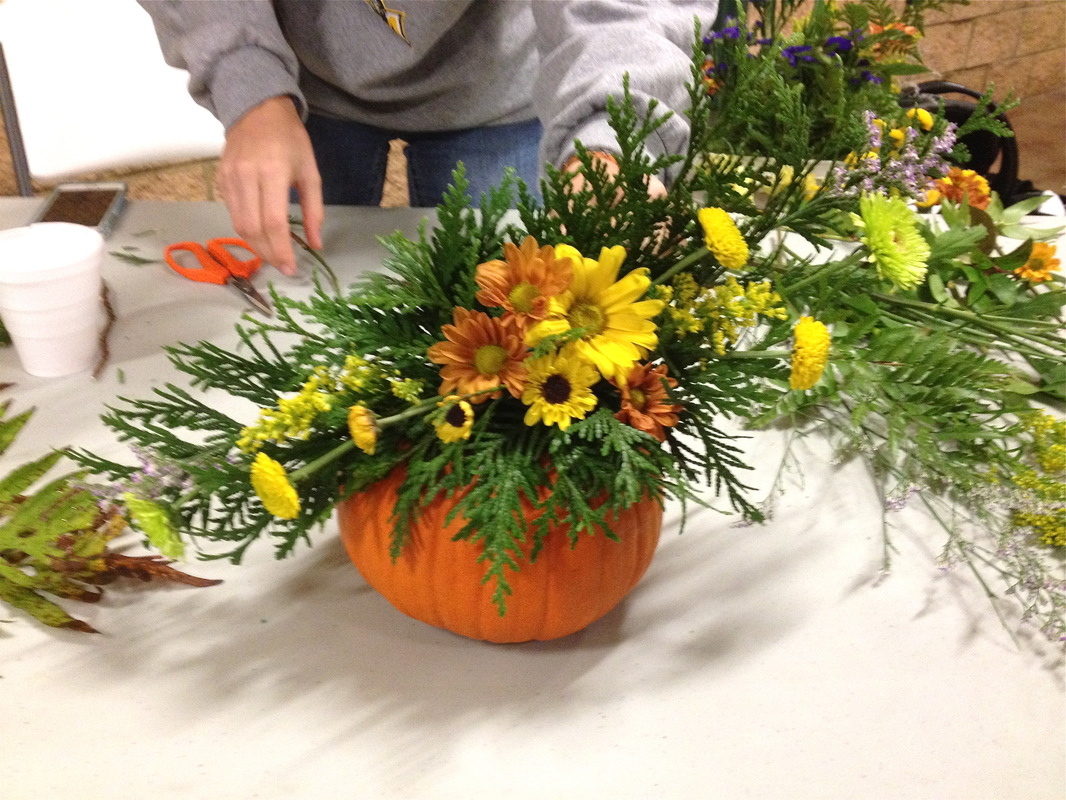
First you cut the top of the pumpkin off. You don't need it anymore since your pumpkin is essentially now a vase. Next scoop out all of the seeds and stringy strands until the inside is pretty clean like this.
You will put floral foam (amazon affiliate link) inside the pumpkin to hold water and the flowers. Once you position the moistened floral foam, start adding flowers until you get a full rounded shape with some height in the center (aim for about 1.5 times the height of the pumpkin). If you are making a centerpiece, it should not have a front and a back. You want it to look good all around since it will be seen on all sides.
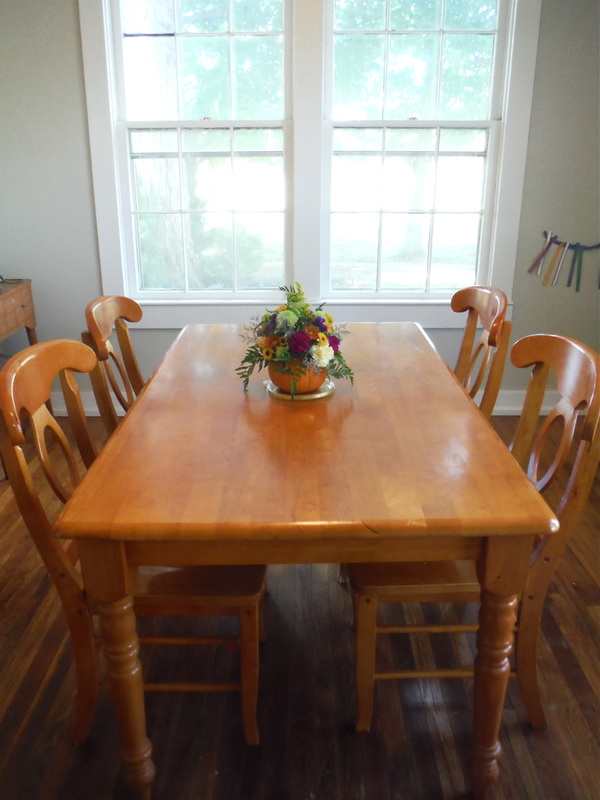
This pumpkin flower arrangement makes such a lovely fall centerpiece.
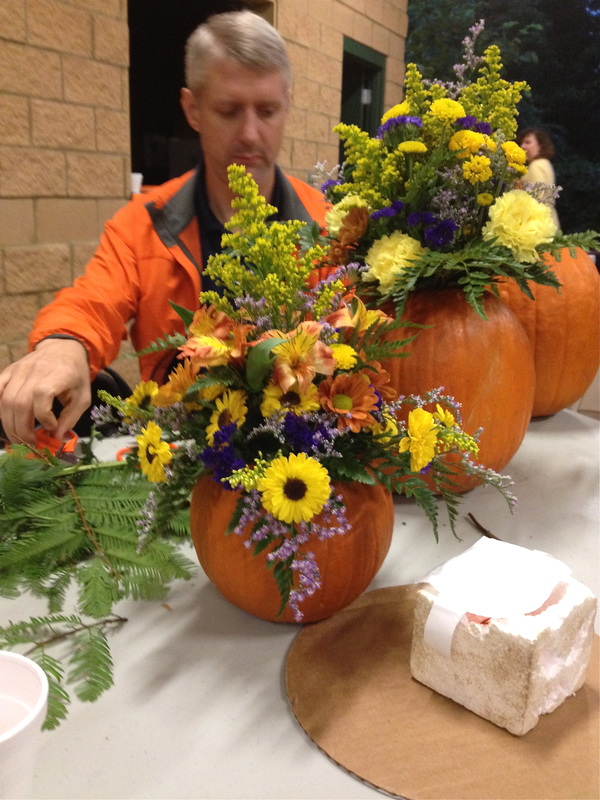
My husband demonstrating how to make floral pumpkin arrangements at Pumpkin Daze at the arboretum. My seven year old made the square styrofoam jack-o-lantern by carving a solid block of styrofoam. He brought his jack-o-lantern to decorate at the arboretum too. He's such a sweet and creative kid and he is always making something.
One of my husband's students helped demonstrate at Pumpkin Daze and created this elegant pumpkin arrangement with floral sprays extending from each side.
Pin on Pinterest
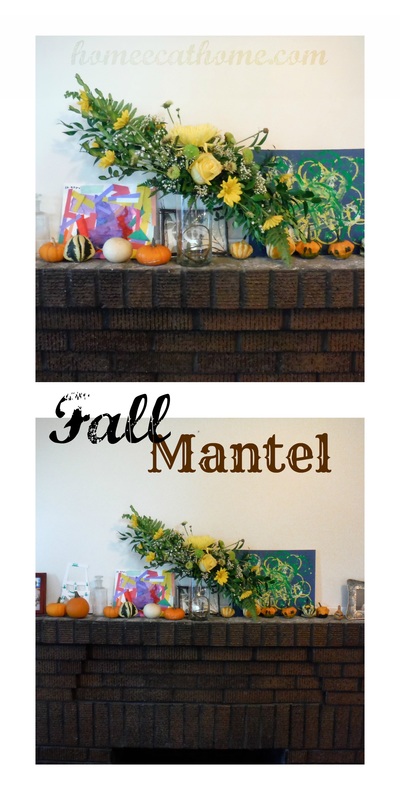
I have fallen in love with our new house. It is a 1920's farm house with lots of character and charm. It's not perfect (a garage and finished basement would be nice), but it suits us well and we have been so happy here since we moved in August. One of my favorite things about this house are the fireplaces. There is one in the living room (pictured) and one in the study (baby's room). For the first 14 years of our marriage we lived in an apartment and then two homes without fireplaces so I really appreciate having a mantel to decorate now. 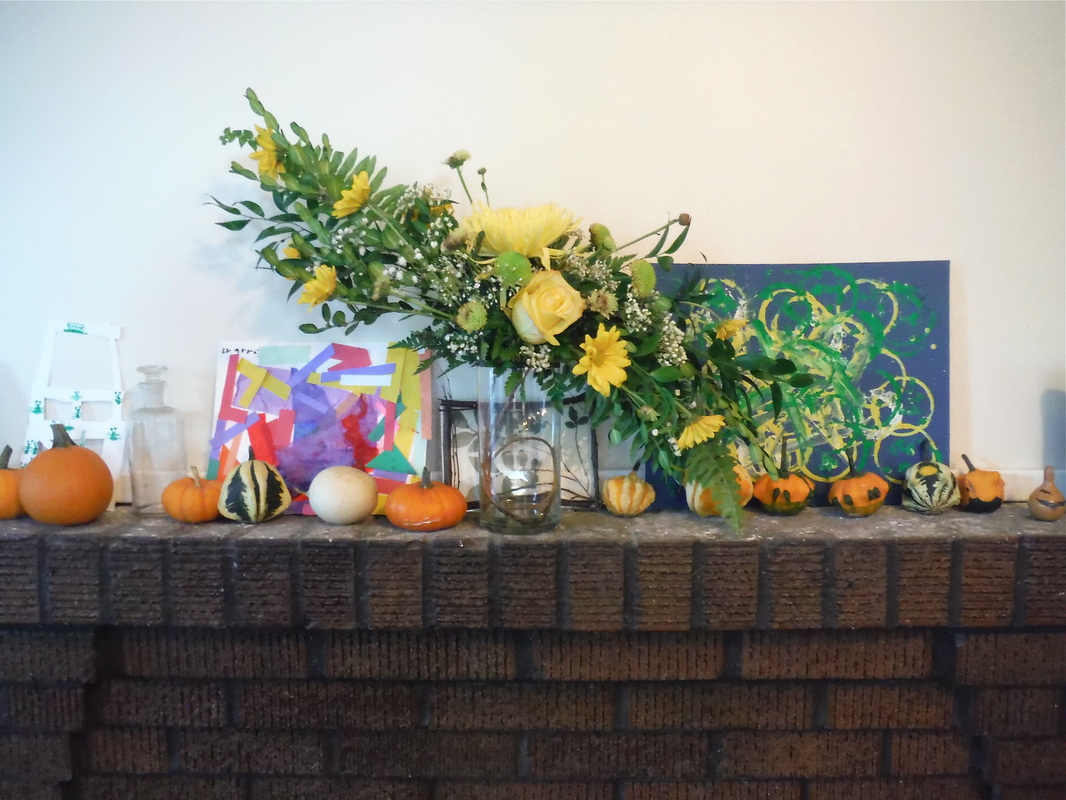
So this is our fall mantel. It's kind of a hodgepodge of different things, but I think it comes together well. When we had our newborn three weeks ago, my husband arranged for a graduate student in horticulture to teach his floral design class for him one day and she made this beautiful arrangement for us. We thought it was the perfect centerpiece for the mantel. This is also a great place to showcase some of the kids' recent art pieces. I added some family photographs and the kids added some pressed leaf prints they made at Horticulture club (a little perk of having a daddy who is a hort professor). When I was on limited activity before the baby was born, my husband took the boys to a gourd festival and they brought home all of the gourds you see on the mantel. The boys actually decided to decorate with their gourds and arranged them on their own. I think they did a nice job. 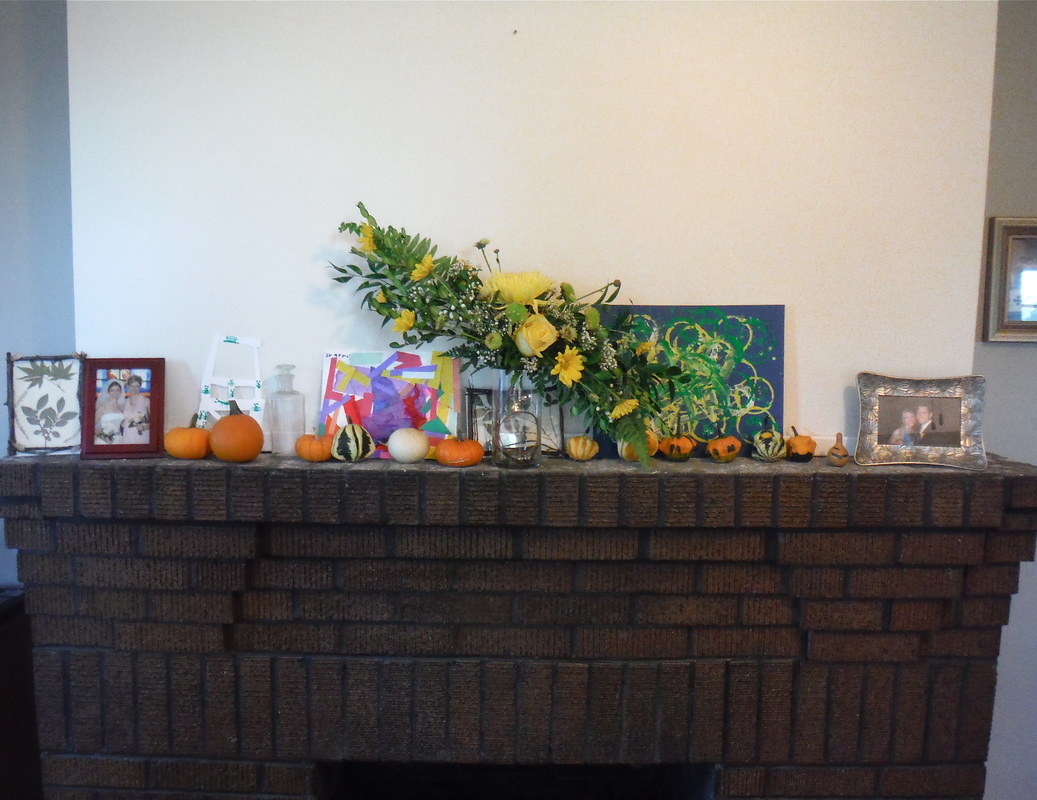
Another thing I love about the fireplace is that the wall above it is painted a lighter color than the rest of the living room. It pops and gives a nice contrast with the dark brick and the light brown walls and lightens up the space. What are your favorite fall decorating tips?
Linking up at Share the Wealth
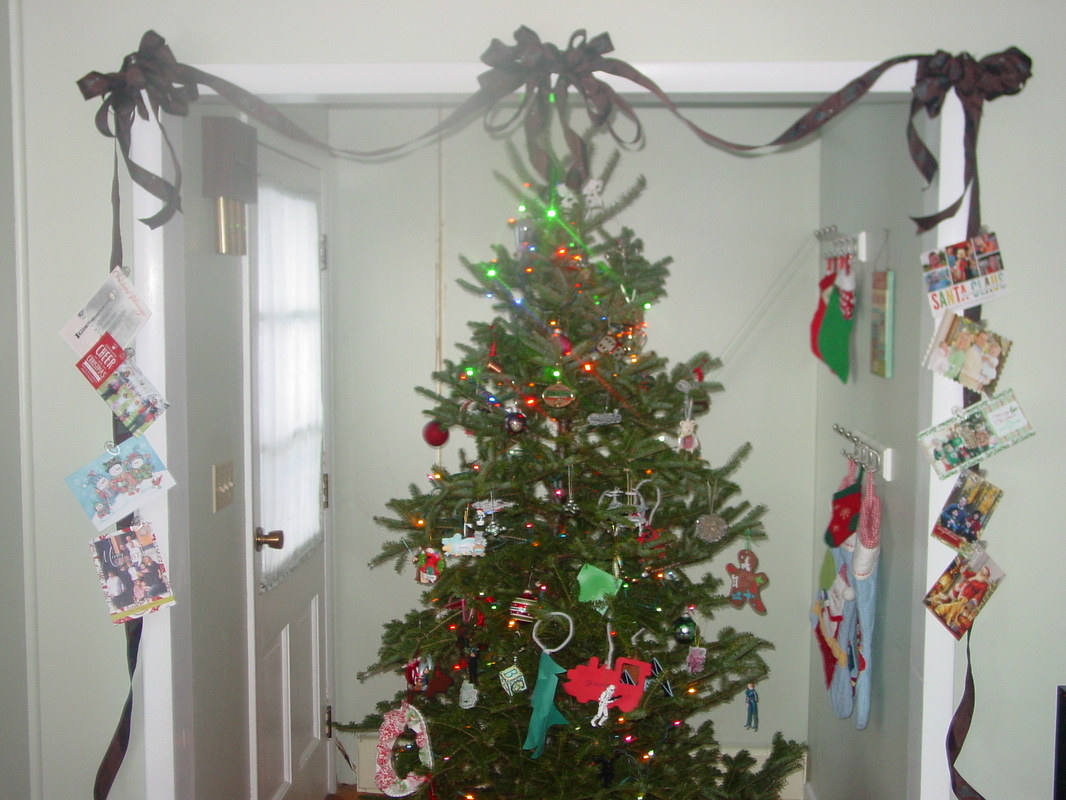
I am preparing to host a Christmas Cookie Decorating Play-date and have been trying to decorate and organize a little more. Today I decided I would make a Christmas Card holder out of ribbon over one of the door frames. Usually our cards are lined up on the piano and fall down and eventually become a big mess.
This was so easy to do. It might have taken 10-15 minutes tops. Supplies needed: A lot of ribbon, I am guessing 15-20 yards depending on the size of your door frame and if you make bows or not. I have a 50 yard roll of brown ribbon with Christmas trees printed on it that I bought at Sam's Club on clearance years ago. You will also need clear thumbtacks to hang the ribbon and paperclips or clothespins to clip the cards onto the ribbon. I have some nice clear clips that worked perfectly for attaching the cards. This was super easy to do, but I did have the help of my husband who is a pretty good bow maker from his years of teaching floral design in his horticulture program. I simply tacked the ribbon to the molding, then tacked up the bows. Then I clipped the cards onto the ribbon. I think it looks so pretty and now we can really enjoy our Christmas cards. It was such a bonus too that I didn't have to trek out in our deep snow and fight the Christmas shopping crowds to find the supplies. I had everything on hand.
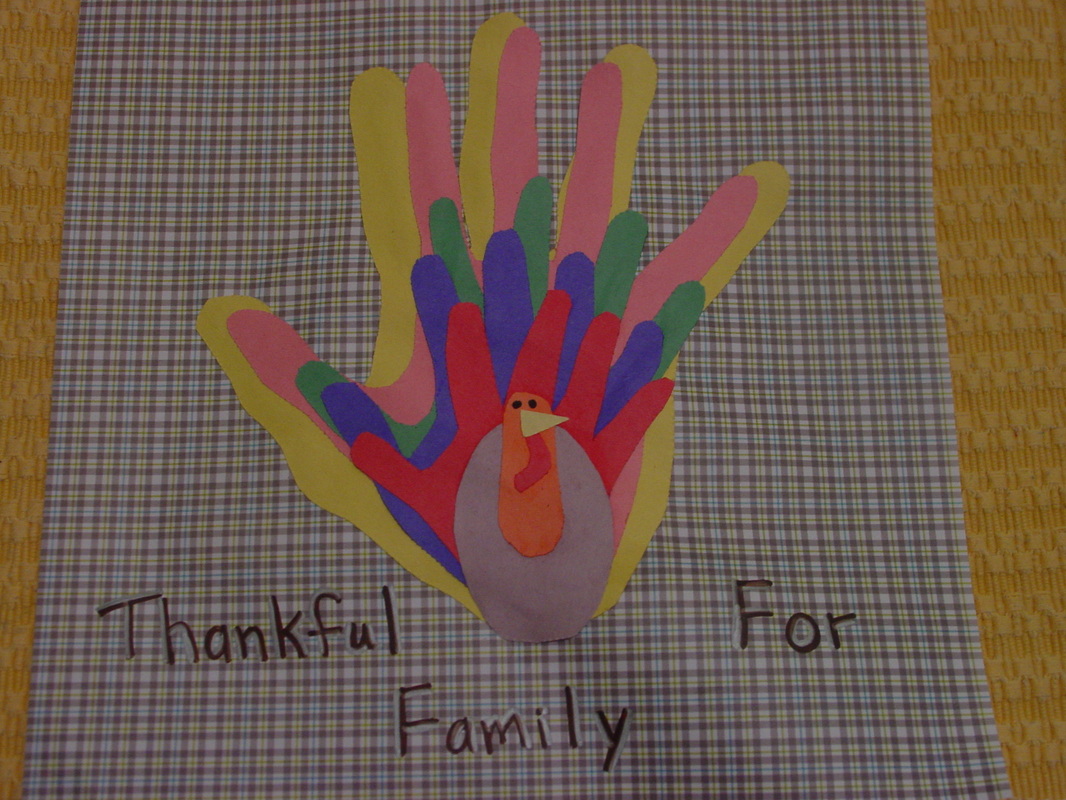
We made these family hand turkey crafts at my Catholic Moms group last week and I thought they were so cute I had to share. This is a really easy craft that you can make as a family. Just cut out everyone's handprints on different colored construction paper and layer the handprints to look like the turkey's feathers. Cut out the turkey's body, head, beak, waddle, and draw on the eyes. We mounted them on 12 X 12 scrapbook paper with Elmer's glue, but you could use whatever you have on hand. Thanks for sharing this fun and festive craft Joslyn.

|

Welcome to Home Ec @ HomeHi, I'm Faith, a former Family and Consumer Science teacher turned food blogger. I love God, my family, and food. You can usually find me in the kitchen preparing family friendly, homemade recipes and taking lots of pictures. 
Still Goldens, Southern, IL
 Fan Favorites

The Best Dry Brined Turkey with Citris and Fresh Herbs

 Dehydrating Pears and Apples in the Instant Pot Duo Crisp Dehydrating Pears and Apples in the Instant Pot Duo Crisp
 
 |

 RSS Feed